Author of solution (idea): Ondřej Hercog
Tested in practice: Since the 2018 season, with a total of 8 hives
Test results: verified, safe when following manufacturing recommendations and usage methodology
The group of breeders for whom the tool is suitable: unrestricted
Justification Production is easy if the procedure is followed. Use on the hive permanently. A component that only increases the overall safety of the hive. If you use this mesh, it can also be used to improve ventilation after lifting the roof.
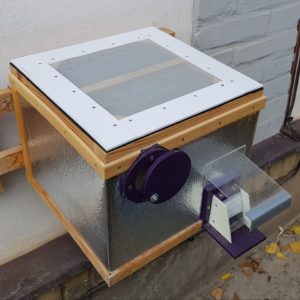
Protective netting
The roof is removed, a protective net is placed on the beehive.
Photo O. Hercog (2019)
What is a protective net?
This is a light frame to which is attached: 1. mesh that bumblebees cannot chew through (fine aluminium mesh) and 2. mesh made of Uhelon 53S, which parasites cannot pass through.
The aluminium mesh does not corrode and cannot be chewed through by bumblebees/parasites. However, small parasites, such as the parasitic wasp Melittobia acasta, can pass through this mesh. Therefore, Karel Kučera proposed the use of industrial mesh with a guaranteed density – Uhelon 53S.
The removable frame is inserted into the beehive body under the roof. The mesh is supplemented with sealing to ensure a reliable seal where parasites could pass.
How to make a protective net?
Create a frame that will fit into the body of the hive with a play of approximately 1mm on the sides. The frame can be made from a wooden strip of approximately 10 x 25mm cross-section, in a modelling style.
We recommend using waterproof adhesive for bonding, and reinforcing the corners. Splints, small screws, steel pins, etc. can be used on the joints – depending on your resources and abilities.
It would be suitable to add an internal partition to the frame. The result should be a light but strong frame that does not change its dimensions and fits well when the roof is loaded.
The frame allowance is necessary in order for it to be removed even if the wood becomes damp and swells.
Thin strips are used on the frame to prevent the frame from warping due to humidity and subsequent leakage.
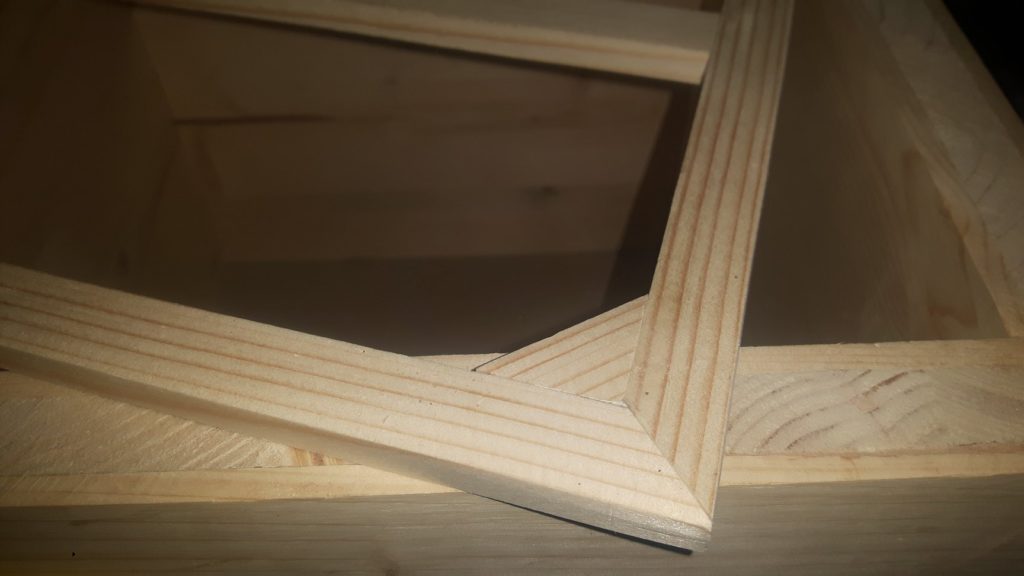
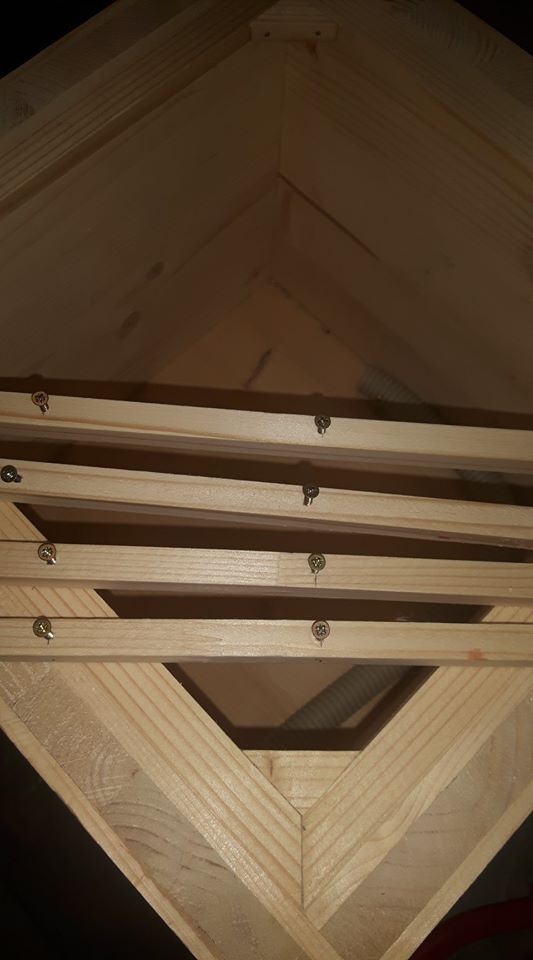
Frame detail – the corner is reinforced by bonding in a piece of trim.
A crossbar is added to the frame. Everything is glued, fastened with screws/steel needles.
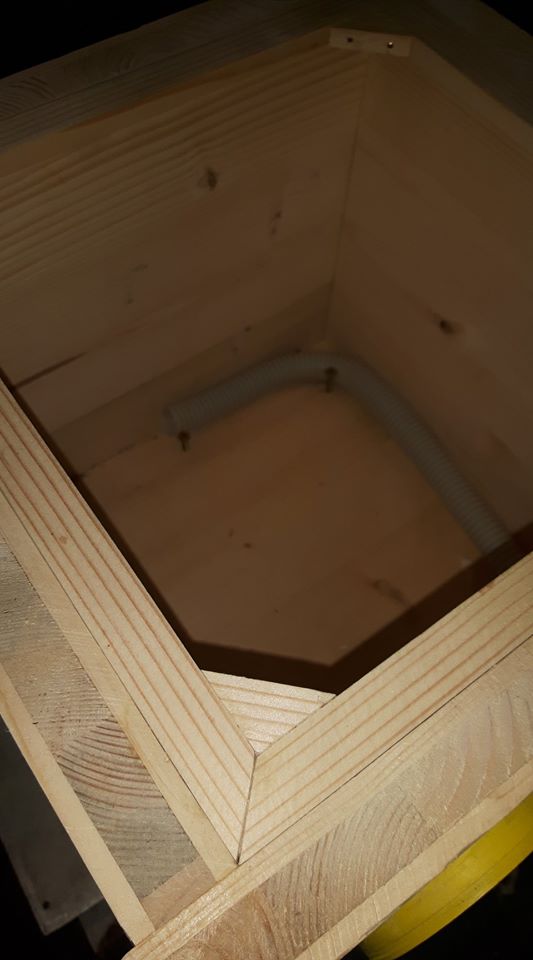
Frame in the core of the ulcer. It needs to be adjusted so that it has a clearance of approx. 1mm around the perimeter.
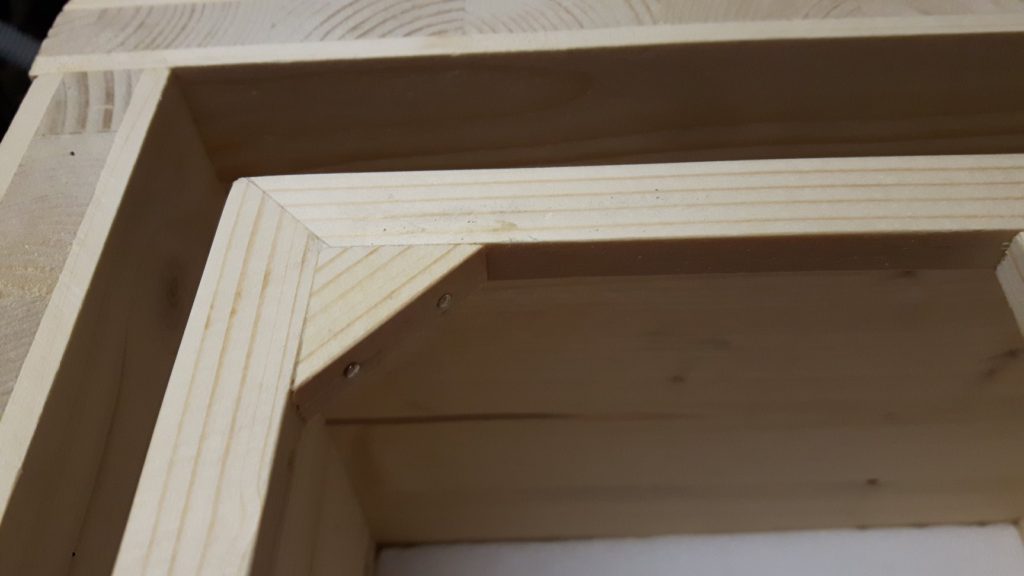
Frame detail – the corner is reinforced by gluing in a part made from a strip. A crossbar has been added to the frame. Everything is glued, fastened with screws/steel pins.
Strips for the hive body.
It is used to seat the frame.
Then attach fine Uhelon 53S netting to both sides of the frame and cover it with fine clay netting.
Beware – the Uhelon is therefore always inside and the bumblebees cannot reach it with their mandibles
You can use a stapling gun, for example, to fix the netting.
Then trim the nets so that no mesh burrs protrude beyond the frame.
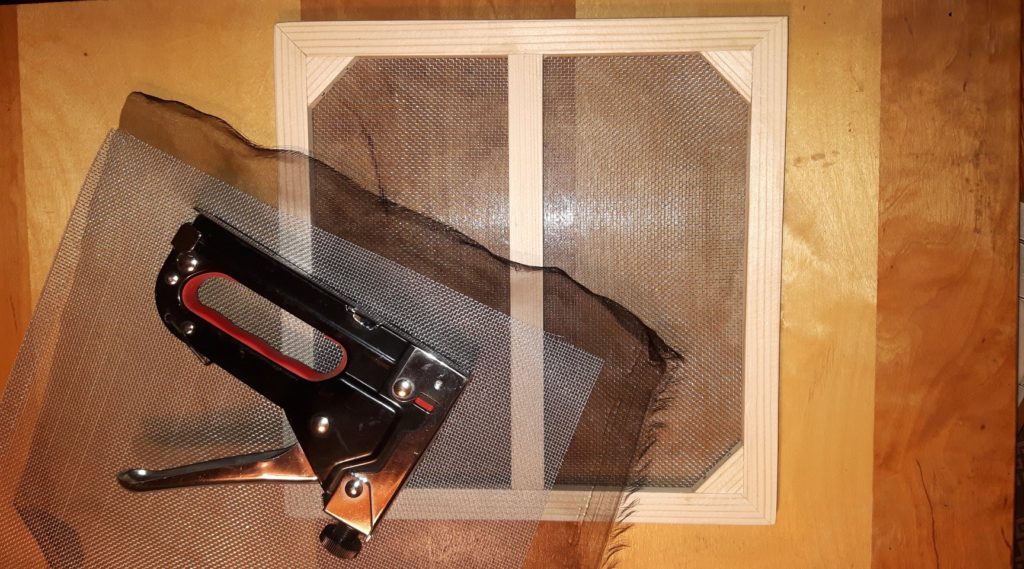
Attach the UHELON 53S netting to the frame and cover it with aluminium netting. The UHELON 53S is always on the side where bumblebees cannot access.
Note: black mesh is used for demonstration purposes, UHELON is white.

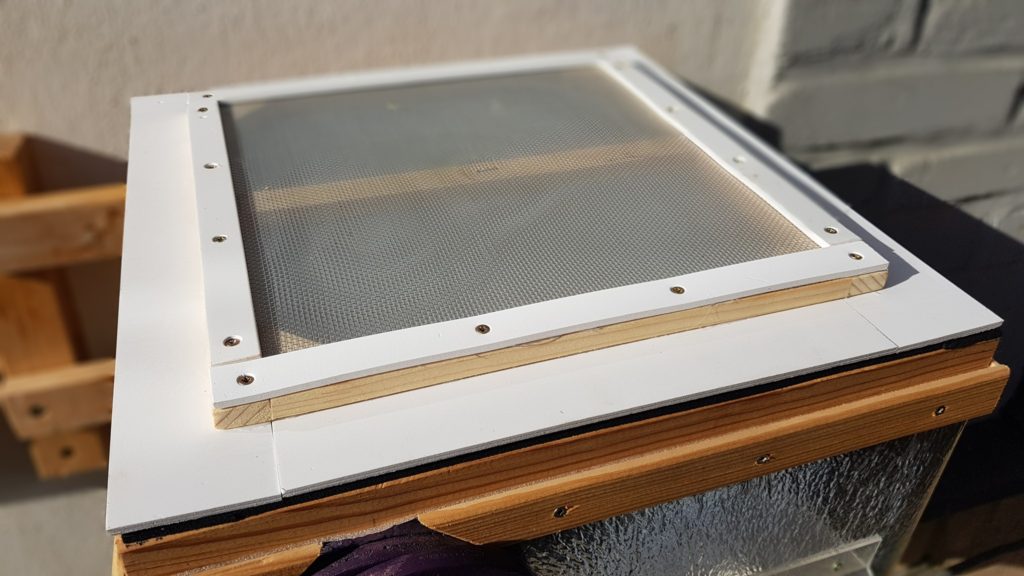
The frame is fitted with nets.
Afterwards, fit the frame with a collar made from a strip of plastic, which you can attach using, for example, small countersunk screws. The collar will hold the frame recessed into the body of the hive. Strip the underside with a strip of the same plastic. Ensure that the netting is pressed down firmly and that there are no gaps anywhere.
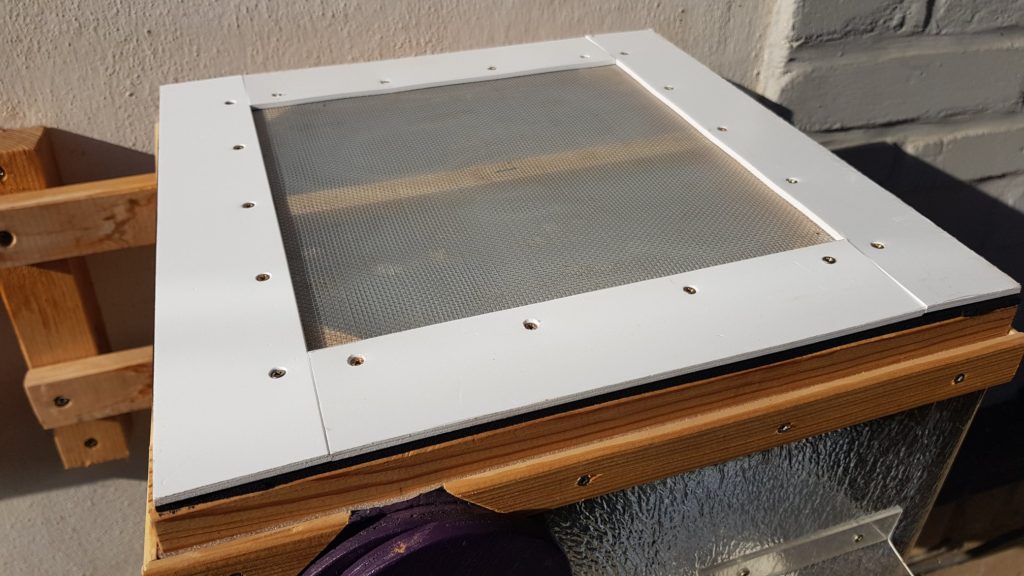
Protective netting fitted to the beehive – detail.
For the collar and skirting, I found that using a thin board worked well. Hobbycolor (GuttaGliss) 3mm is a good option, for example – a board made of this material can be easily cut with a utility knife, it's flexible, and if you drop the frame, it won't break like plexiglass. You can also use other materials you have available; the recommended thickness is 1.5 – 3mm.
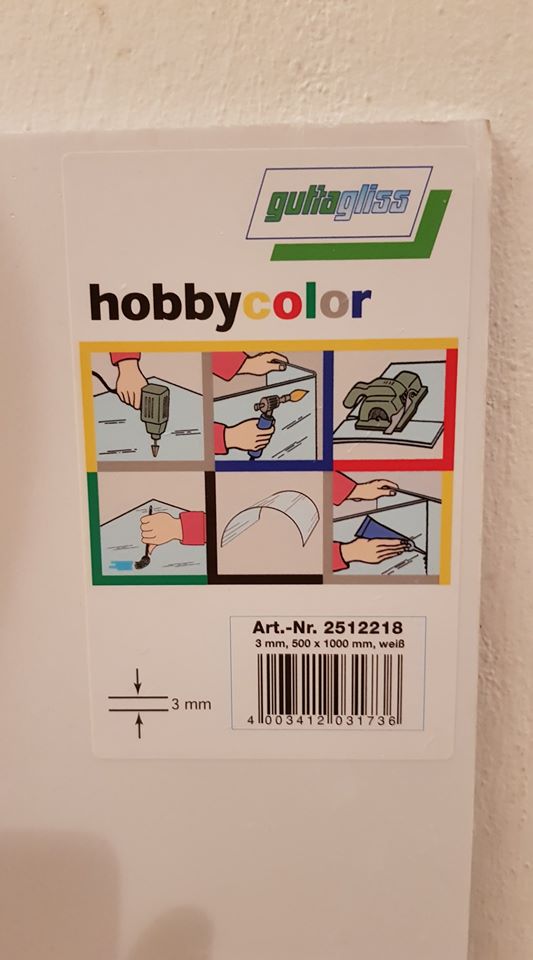
Plastic sheet – available at DIY stores
I also recommend adding ledges to the ulcer's body for the frame to rest on with its underside.
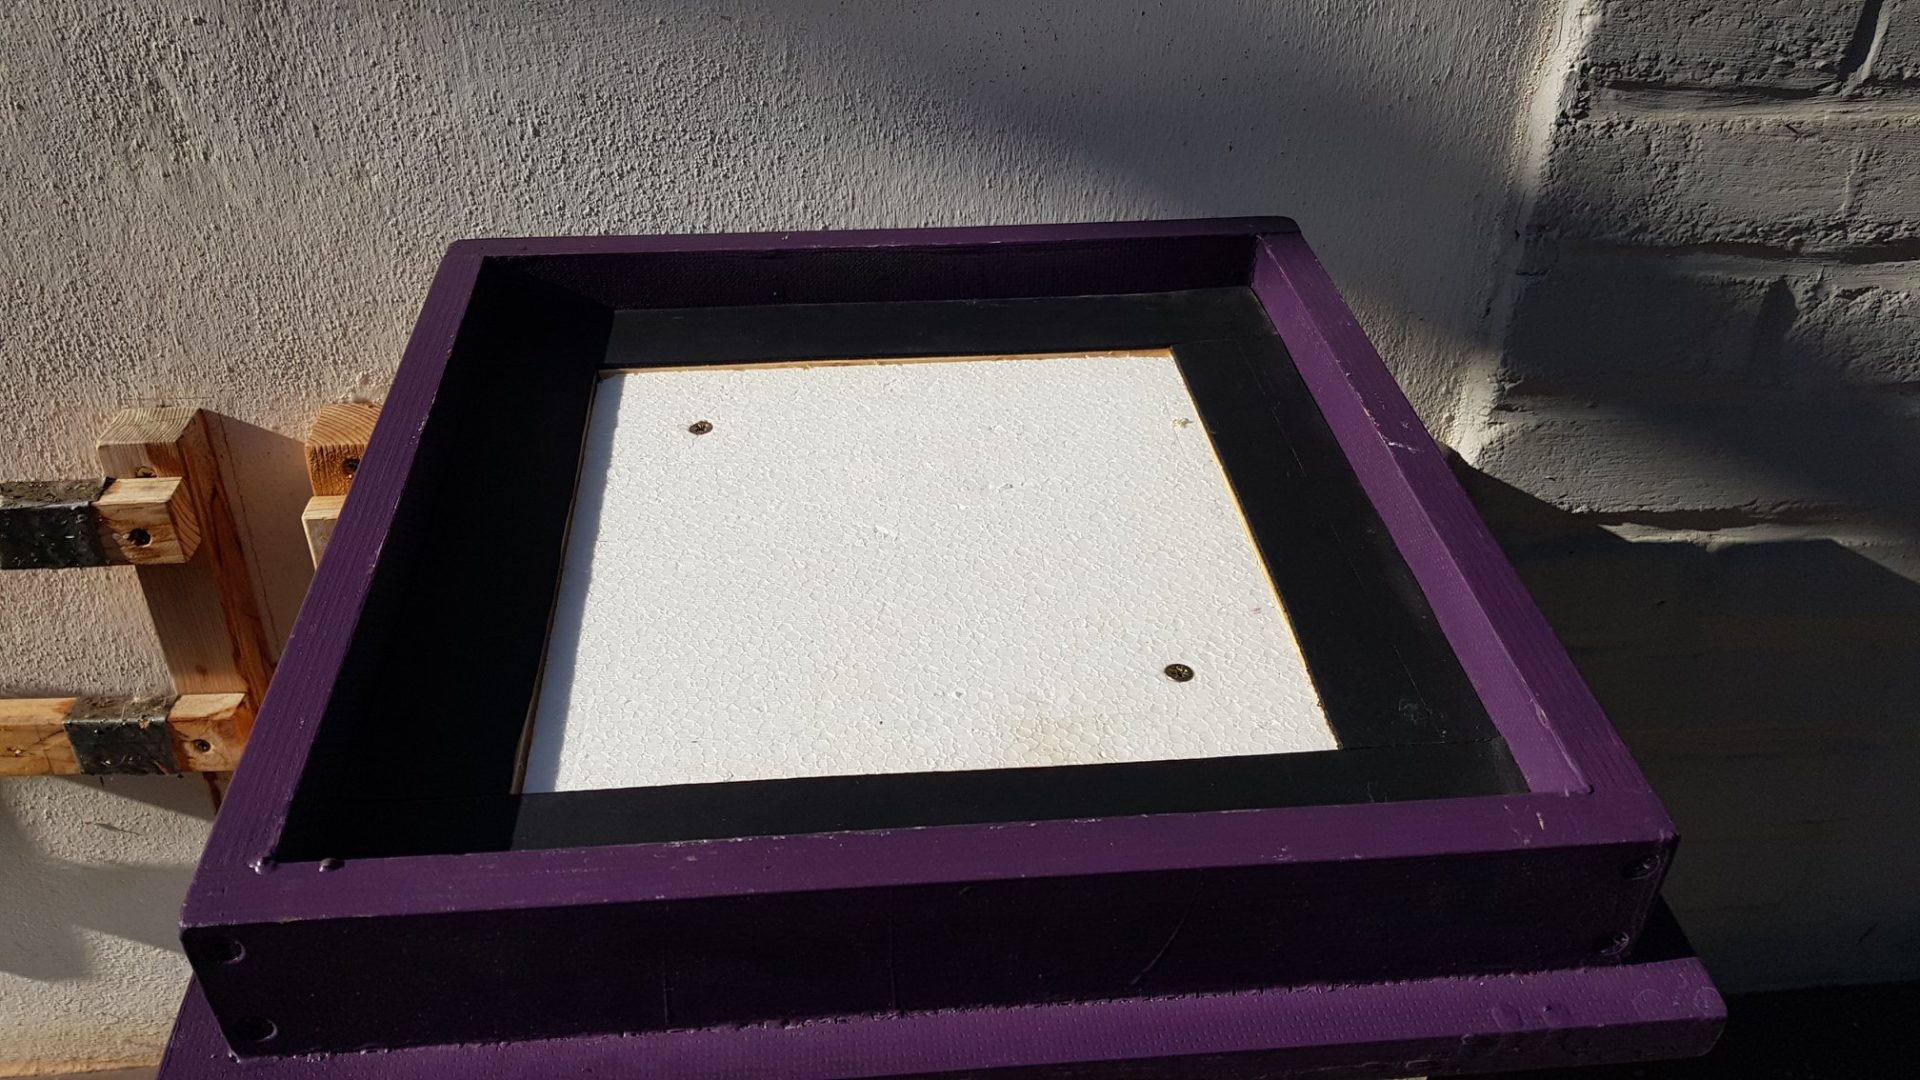
Protective netting – underside.
Test whether the frame fits into the hive and remove any defects.
Finally, seal the seating surfaces with seals = housing of the hive body and the hive strips. If you use the same height of seals, the protective mesh will fit perfectly and seal.
Protective mesh seal
1. landing area on the hive body and 2. on the rebates in the hive
Tesa gaskets or soft gaskets for fans are suitable as seals. 5mm foam can also be used, but it degrades after a year and needs to be replaced.
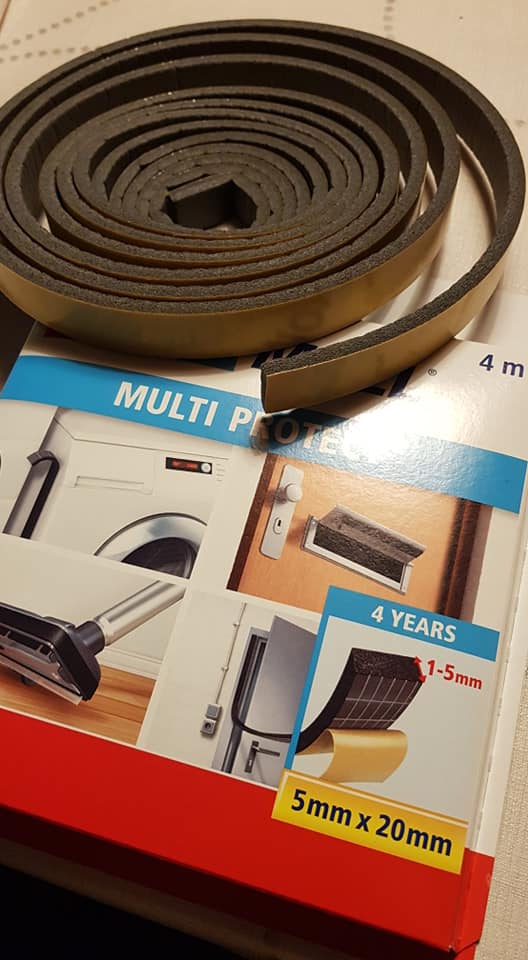
An example of a suitable soft gasket.
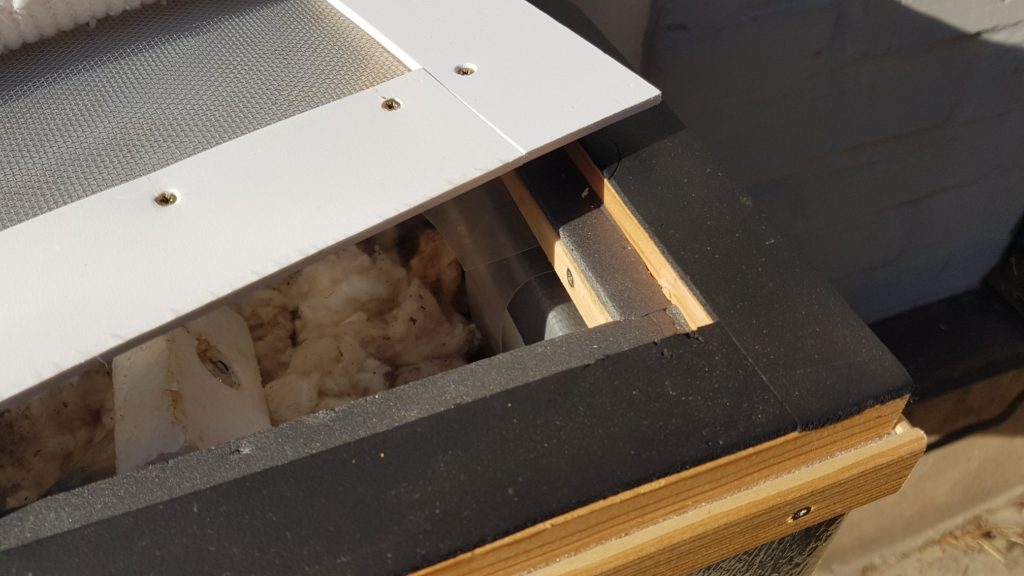
Don't forget to add sealant under the roof so that the protective frame collar seals on both sides.
Ensure that there are no gaps at the frame joints, the mesh fastenings, and in the seals. Otherwise, the entire solution would lose its effectiveness.
Sealing under the roof on battens. Removable internal insulation under the roof.
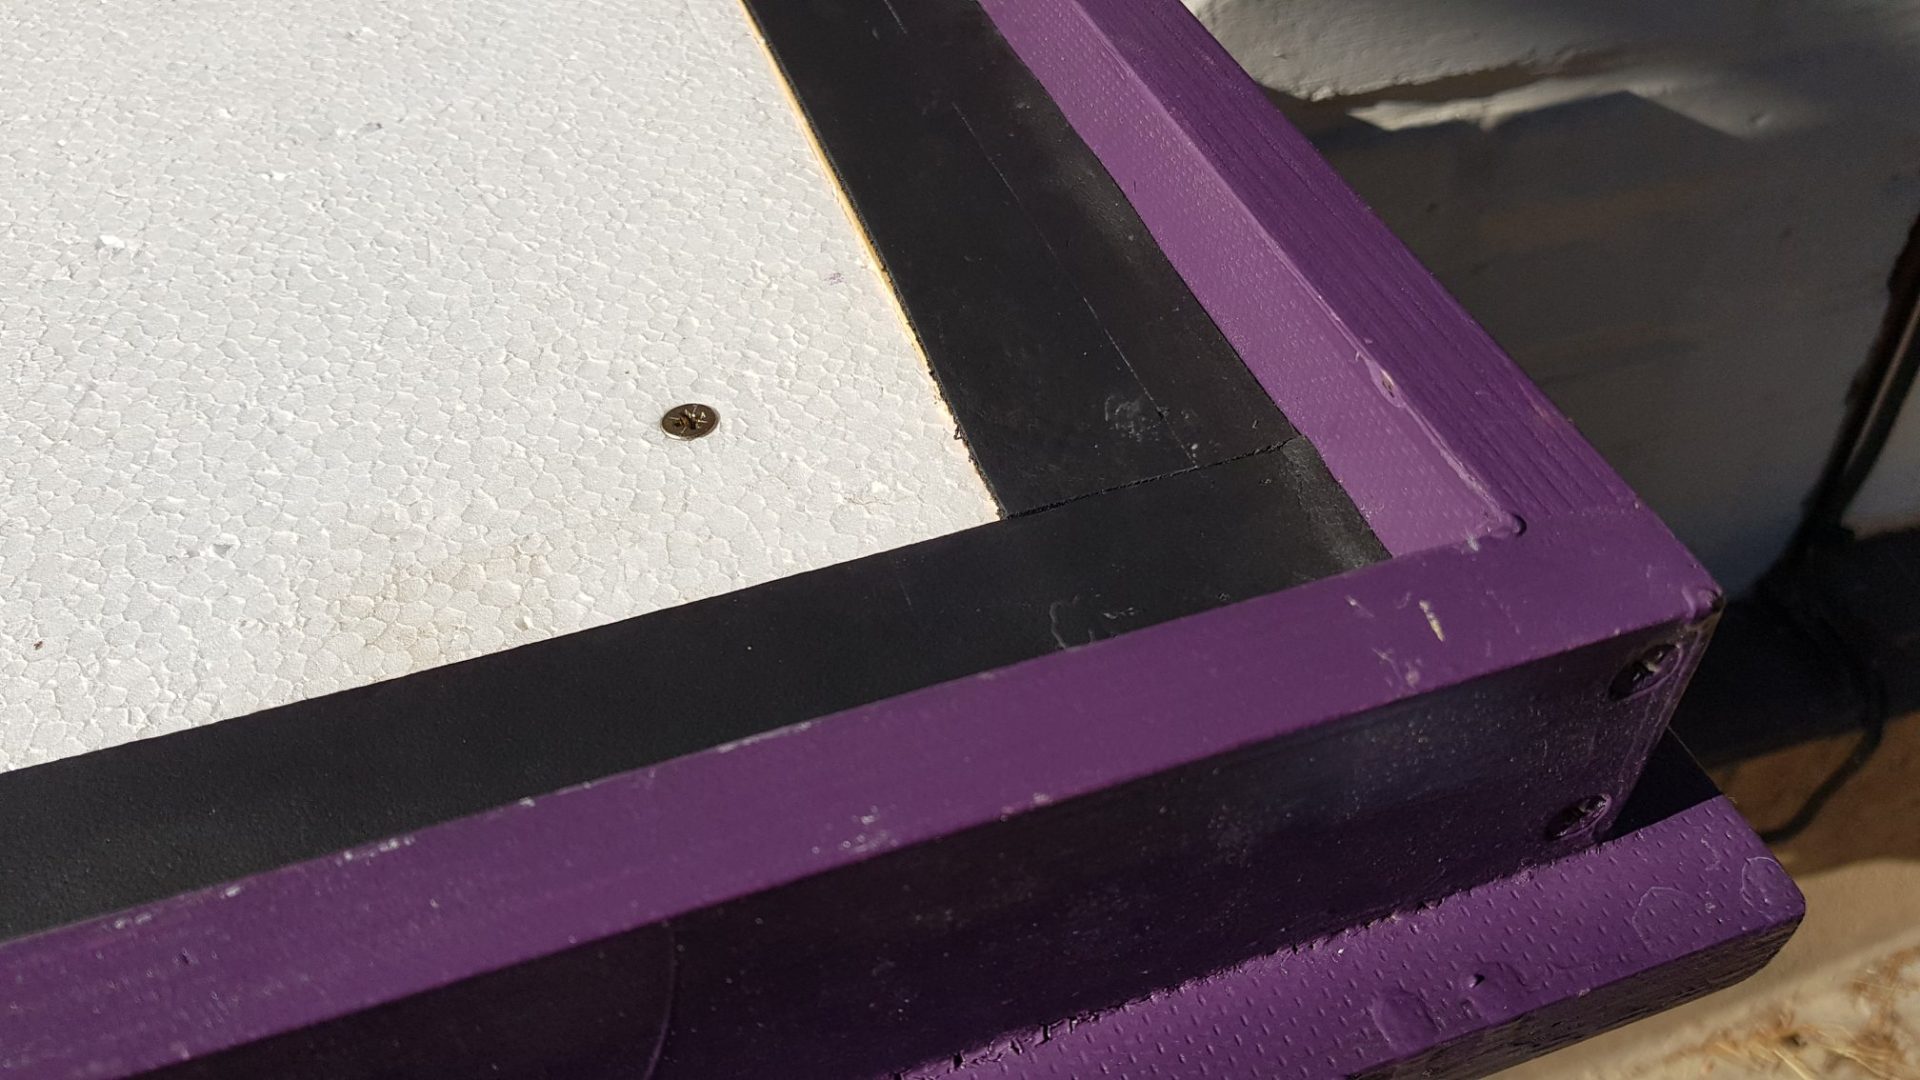
Sealing under the roof on battens and removable internal roof insulation – detail.
For details of the protective netting’s manufacture, please refer to the attached photographs and schematic diagram.
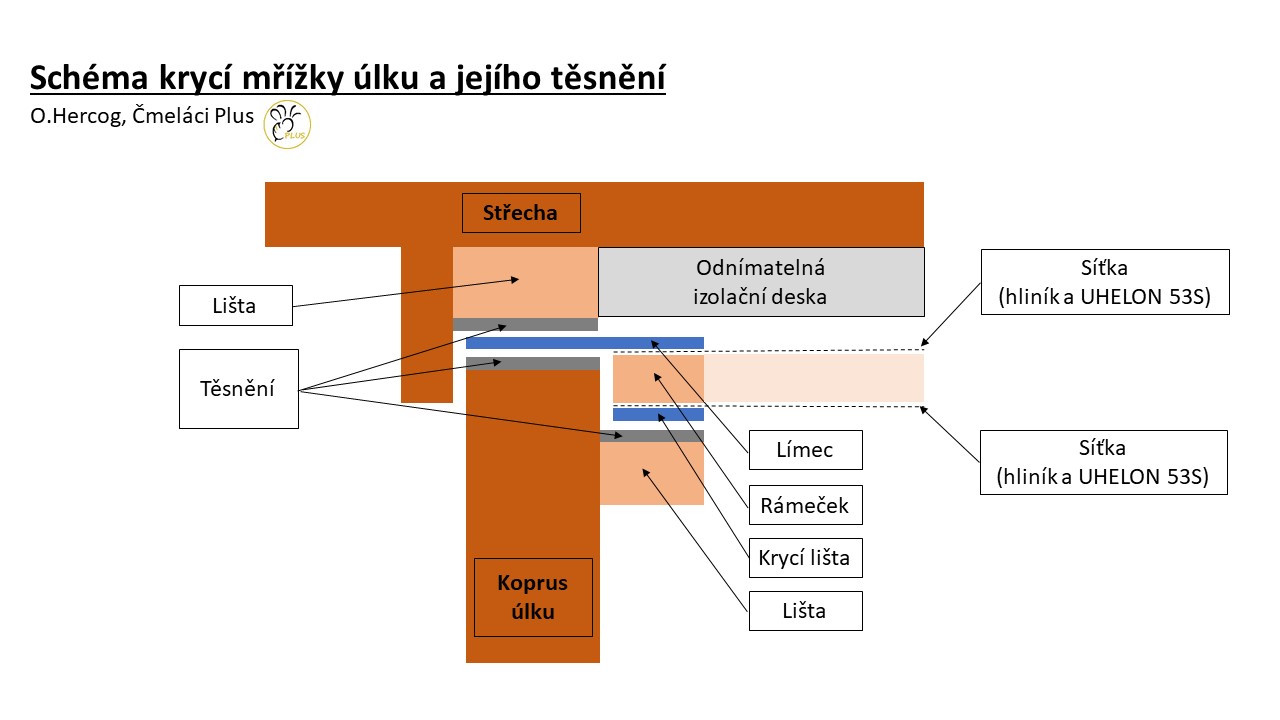
Diagram of the protective mesh and double seal of the ullage.
How to use the protective net?
We recommend using the netting all year round.
It can remain deployed and can only be removed during checks/interventions at the nest. Occasionally check with a glance that the mesh is not damaged anywhere and that it still seals well around the entire perimeter.
If you use this mesh, it can also be used to improve ventilation after lifting the roof.