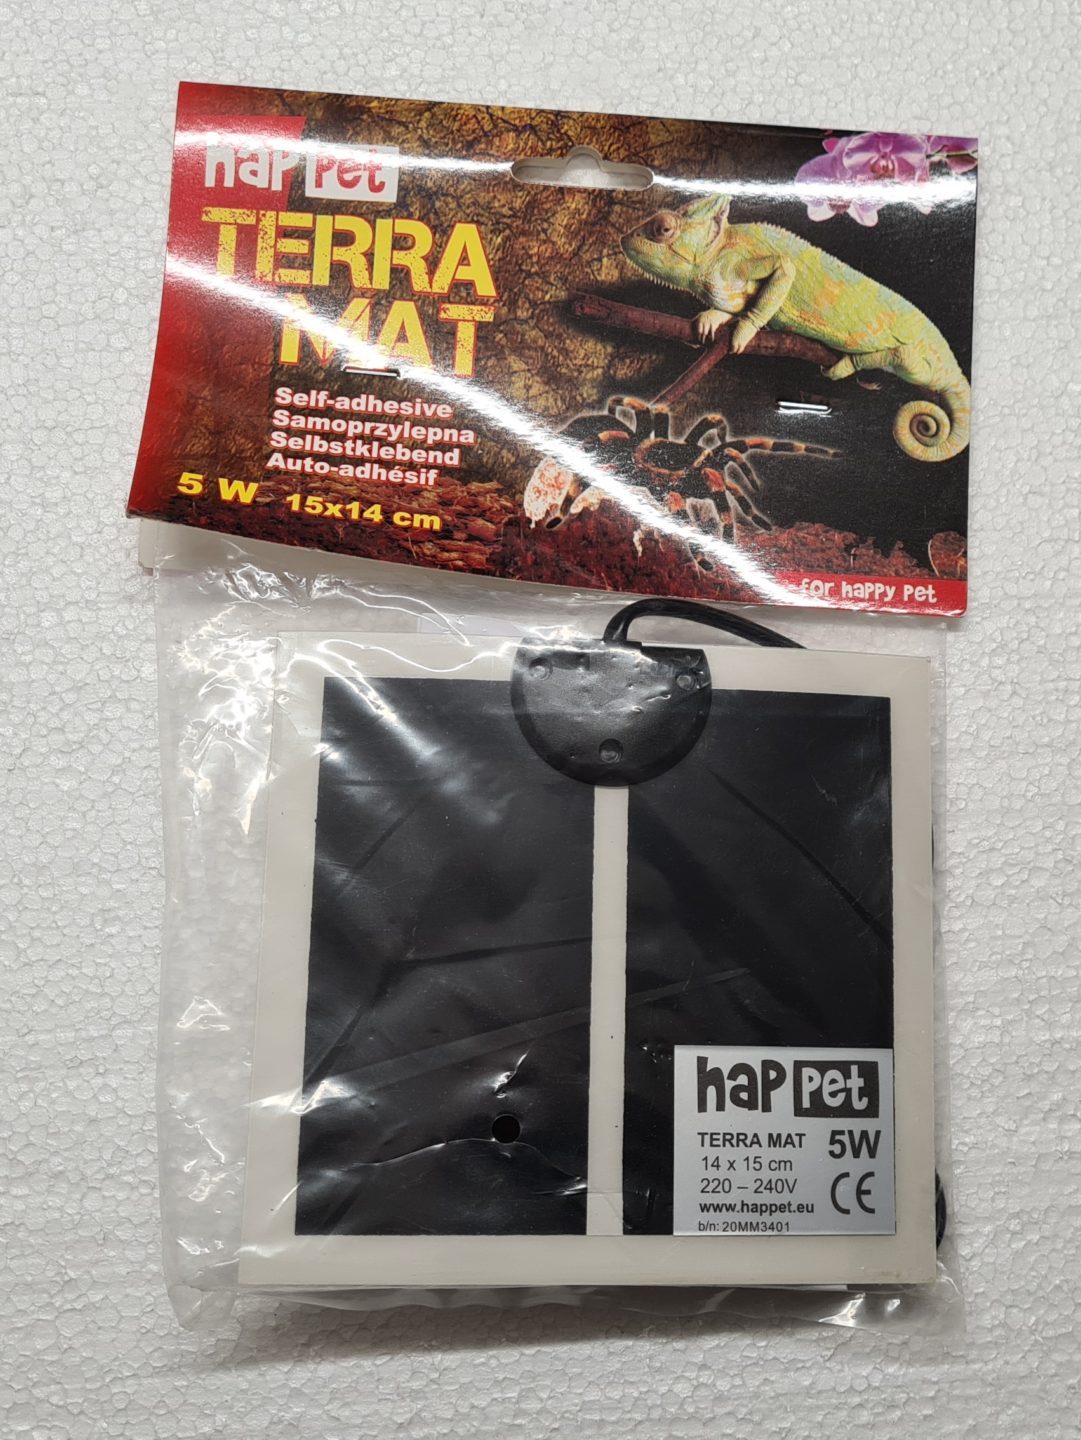
HapPet Terra MAT 14 x 15 cm Heating Mat 220V
Photo: O. Hercog 2021

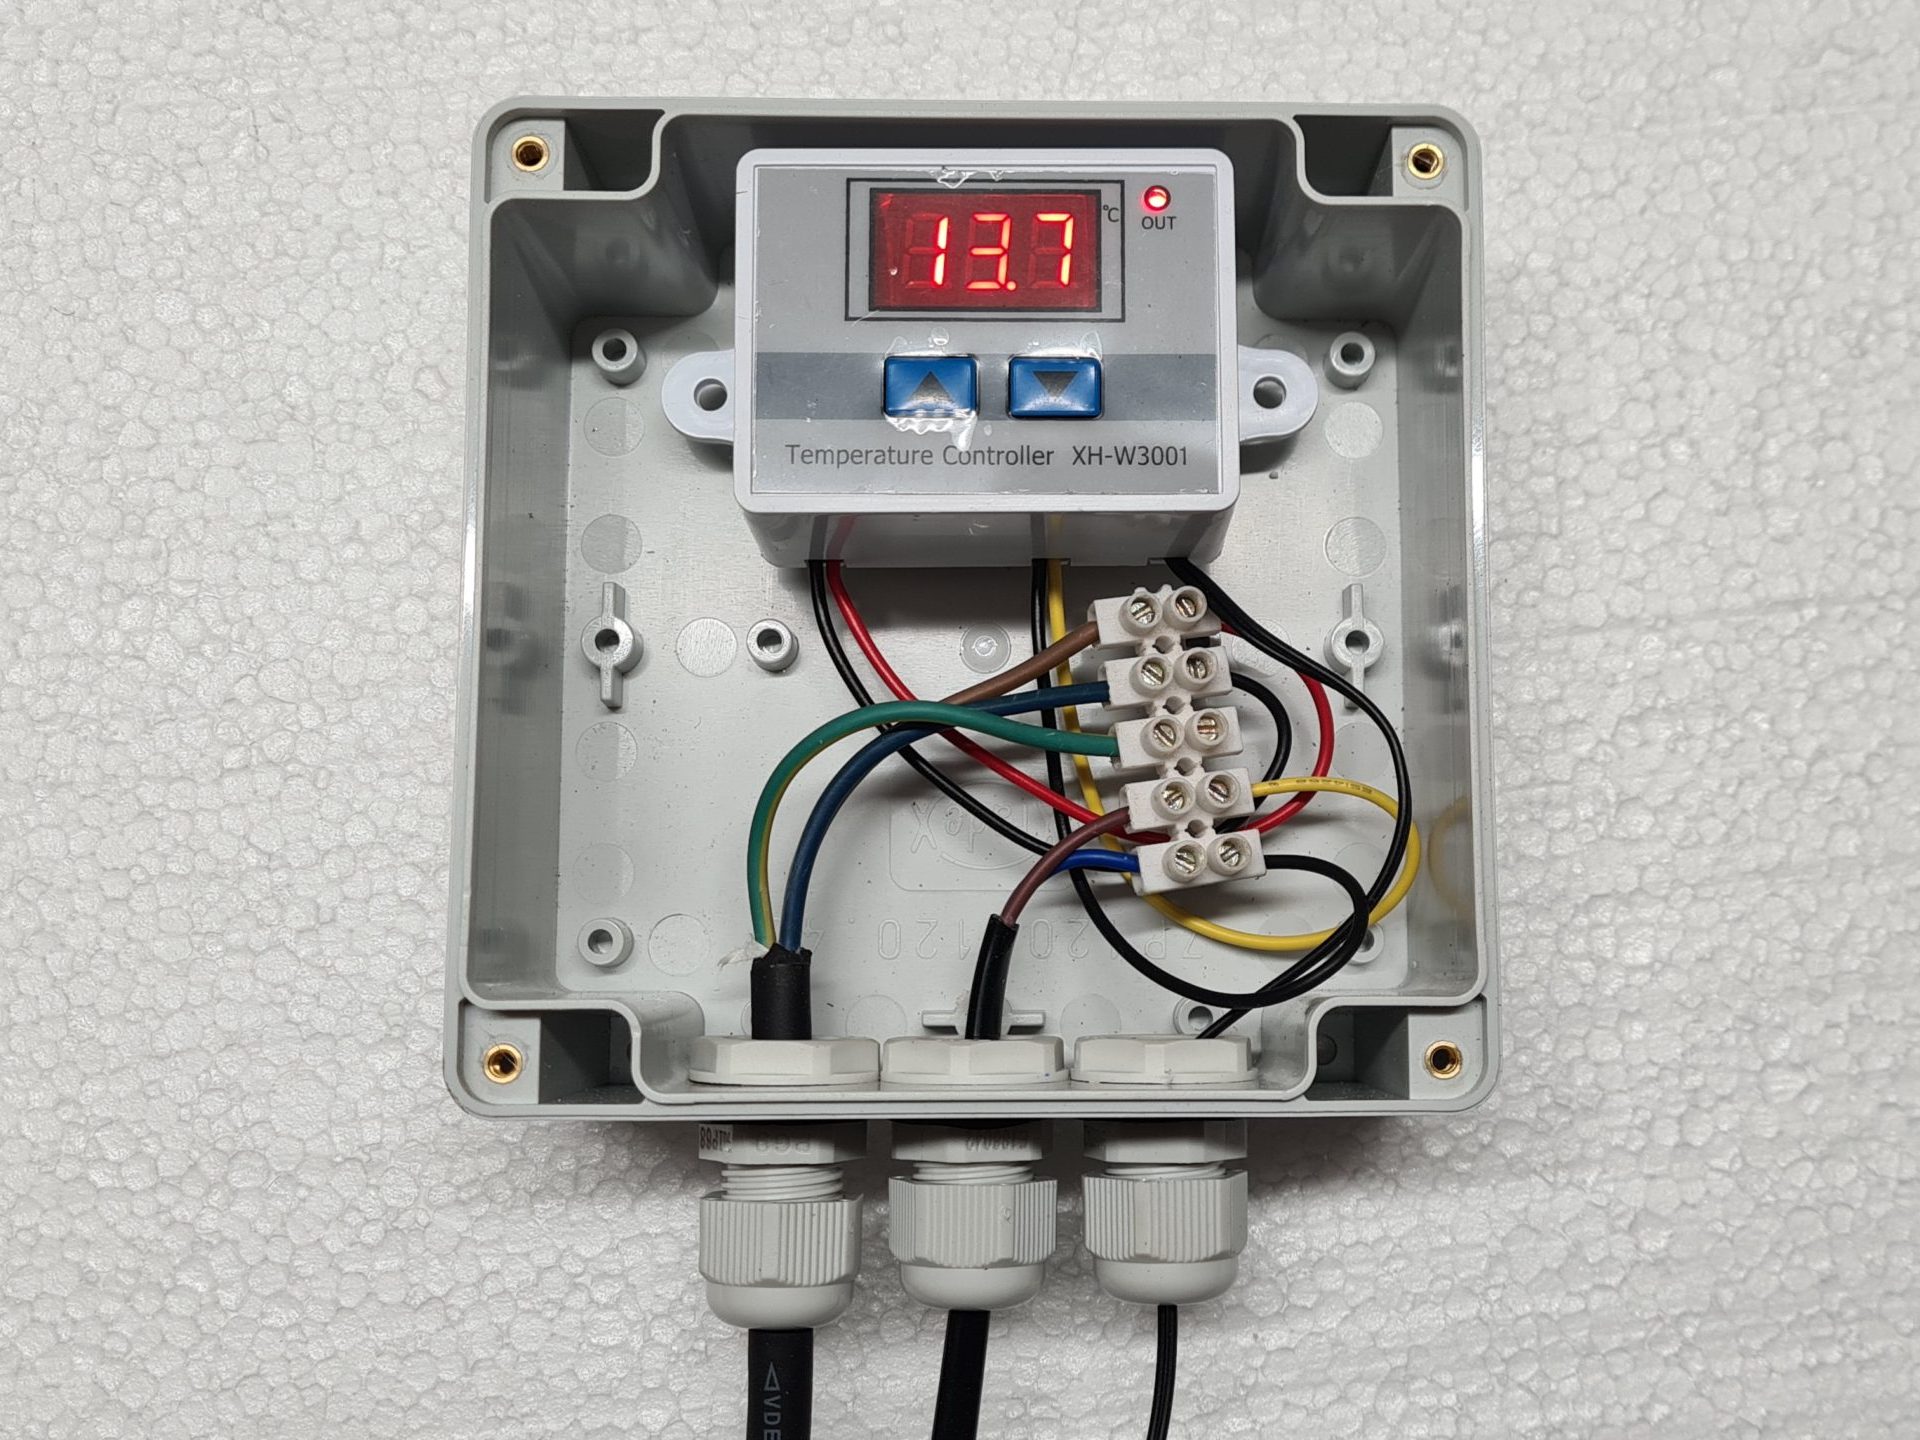
XH-W3001 Digital Thermostat 220V
Photo: O. Hercog 2021
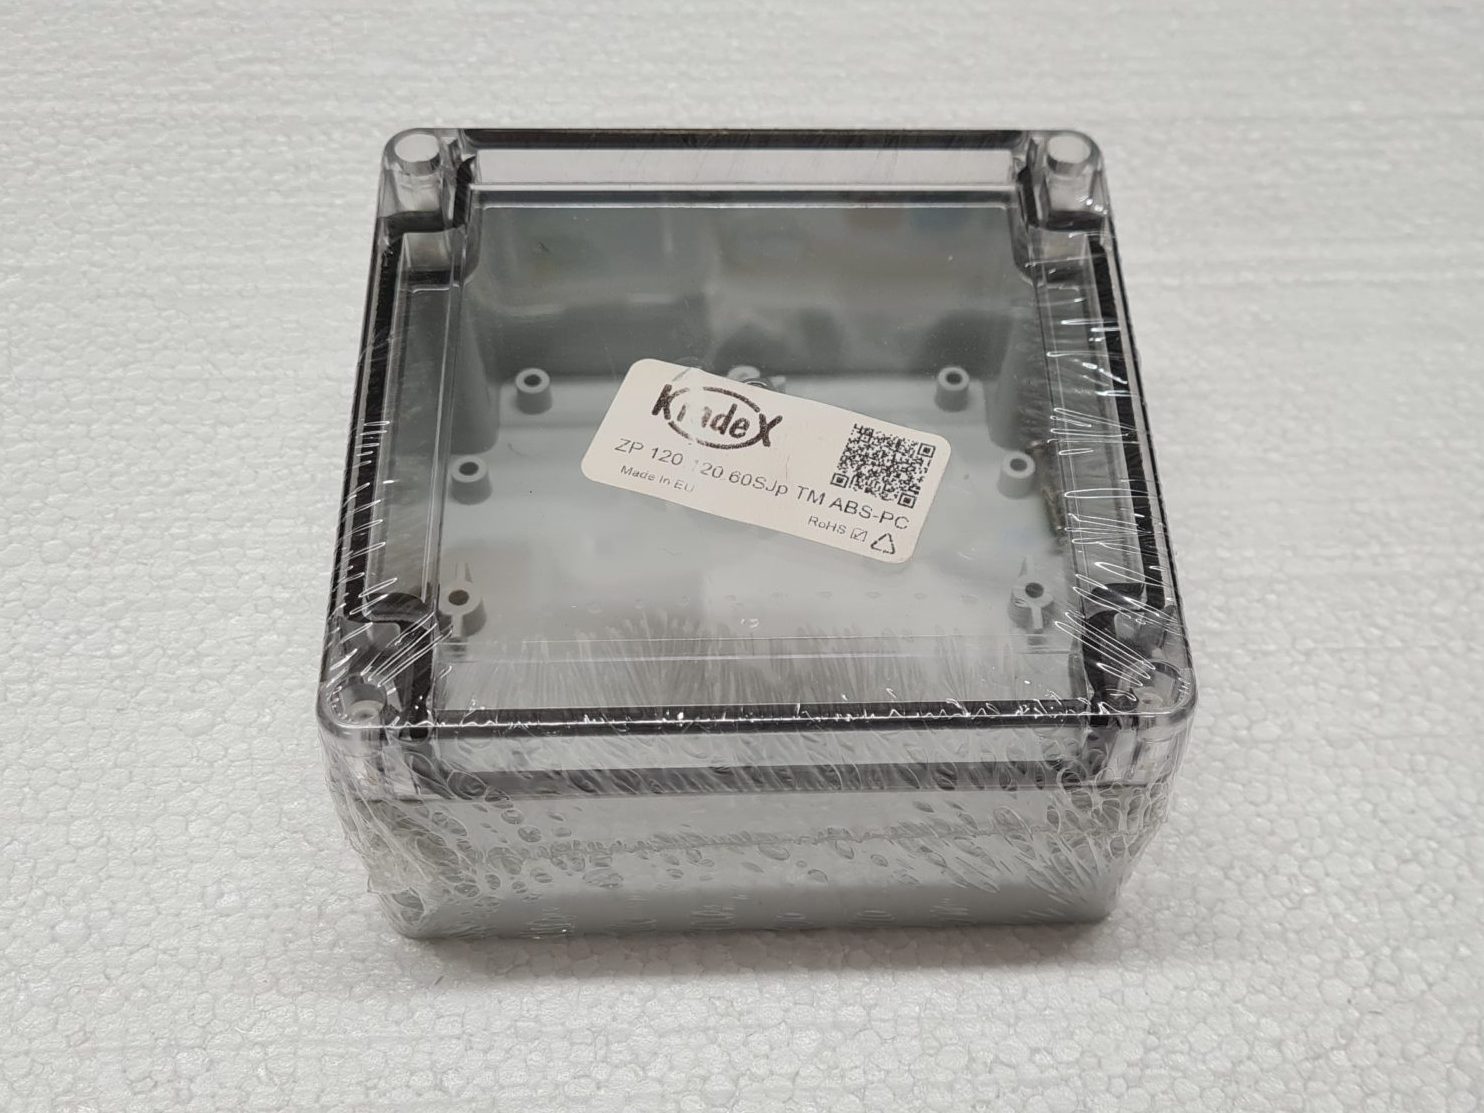
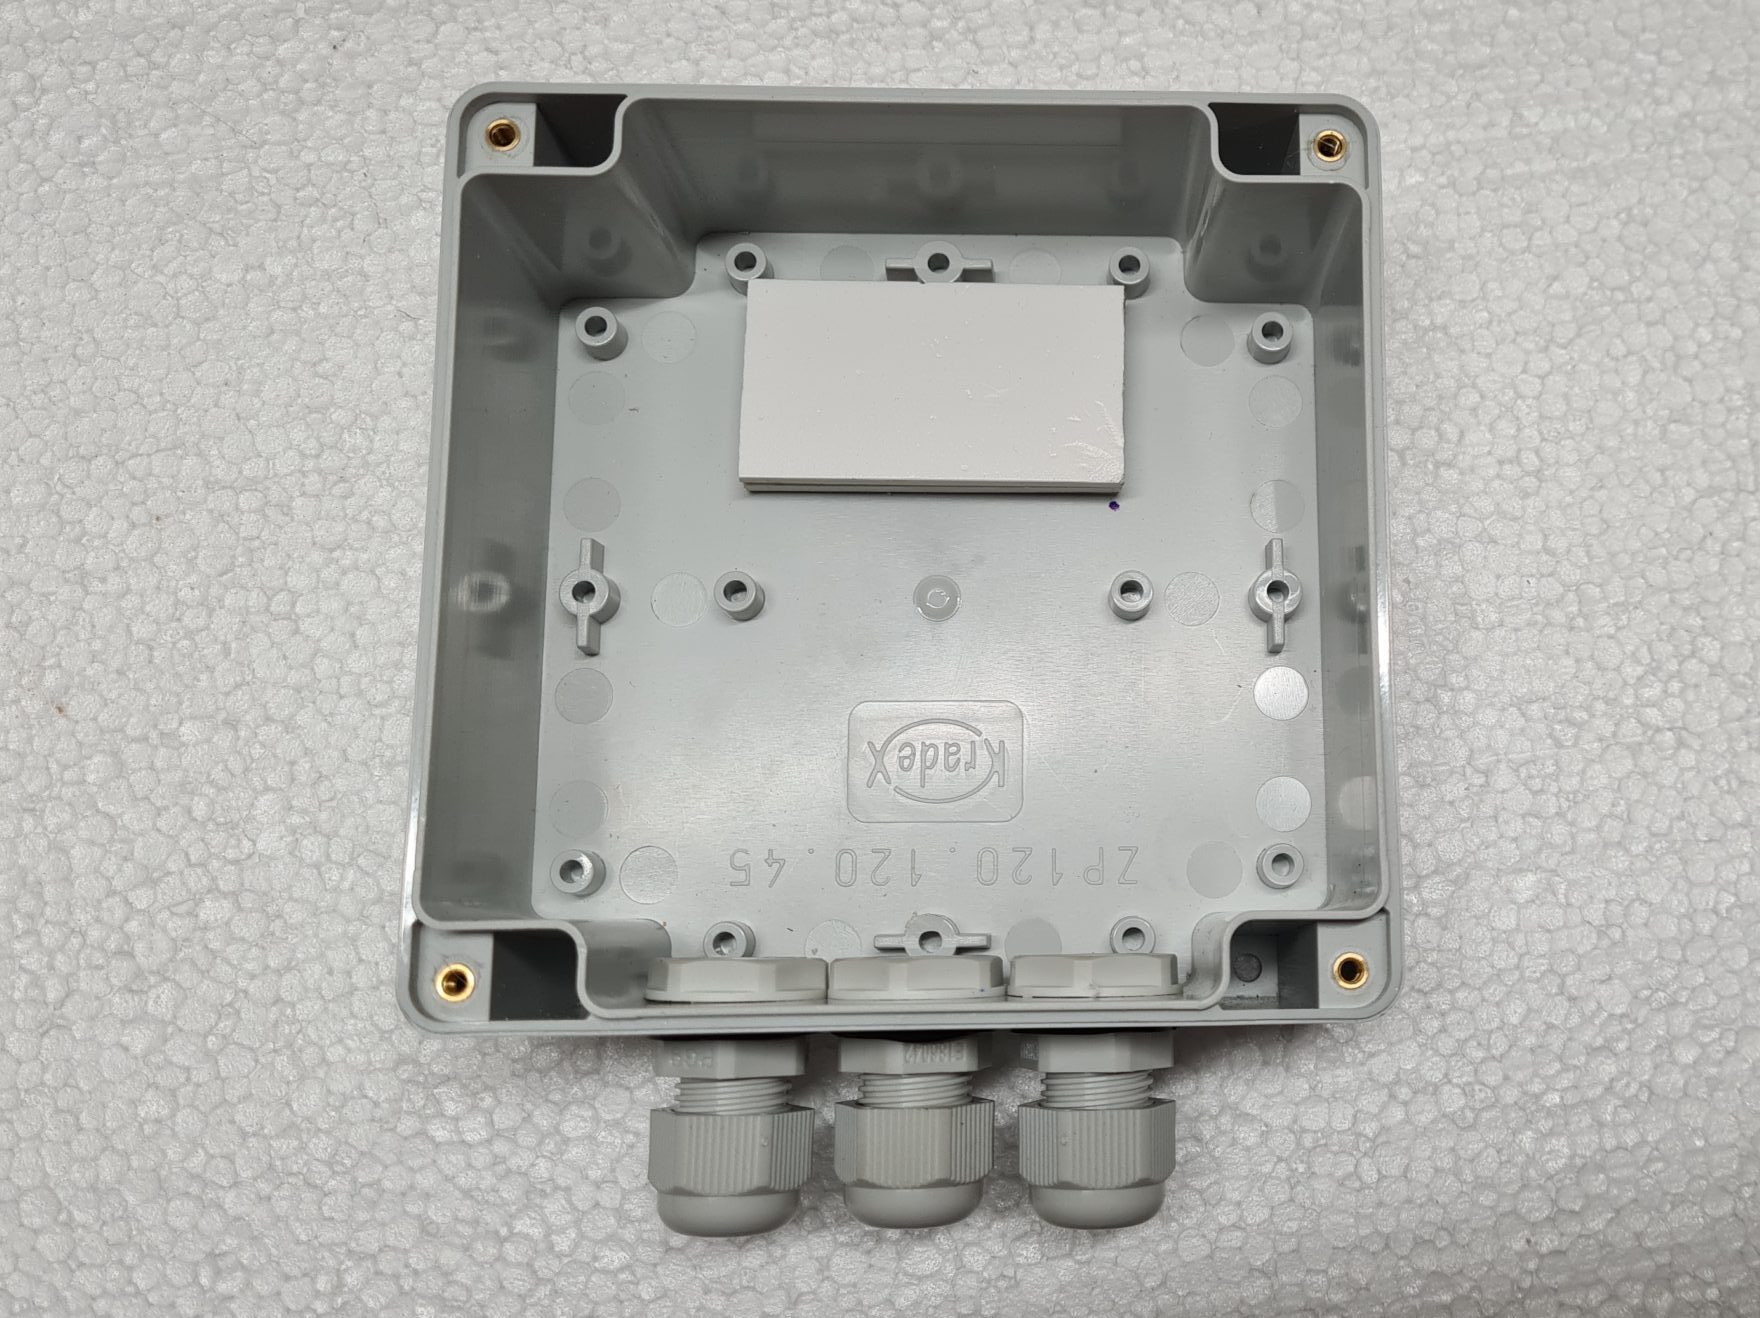
Plastic enclosure IP54
Photo: O. Hercog 2021
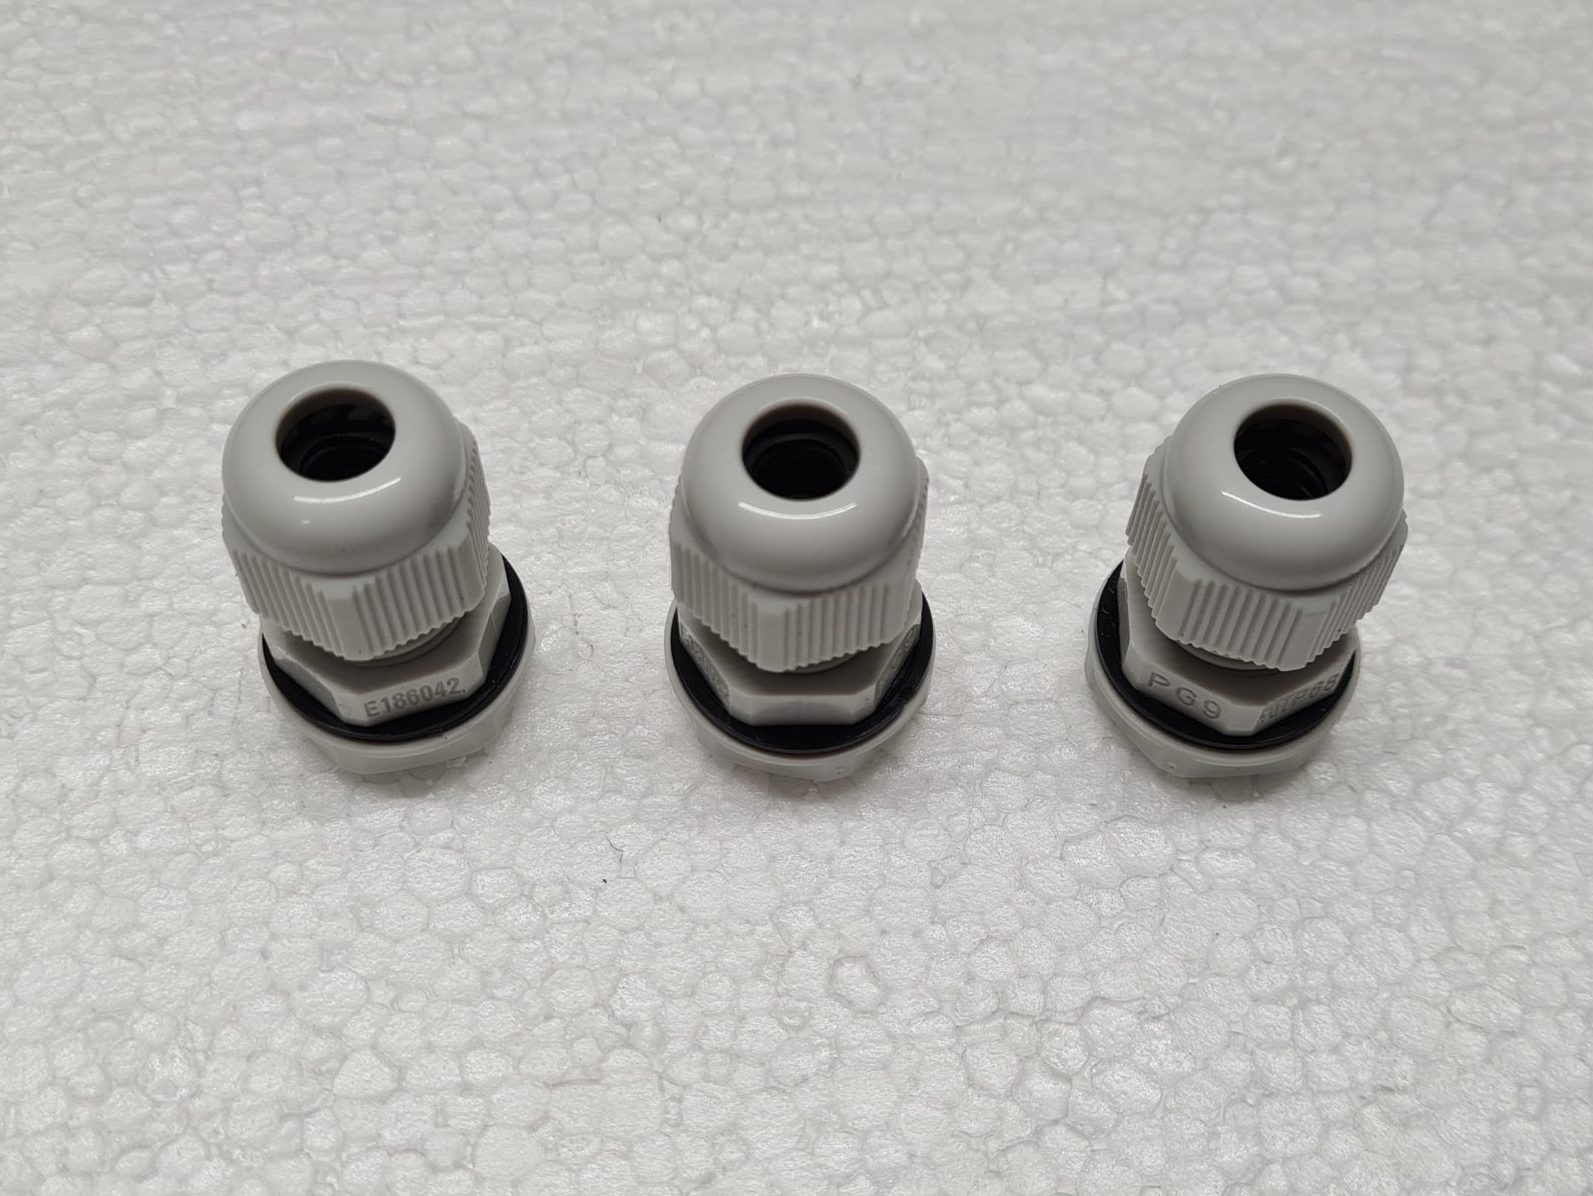
Cable gland PG 9
Photo: O. Hercog 2021

220V rubber power cable
Photo: manufacturer
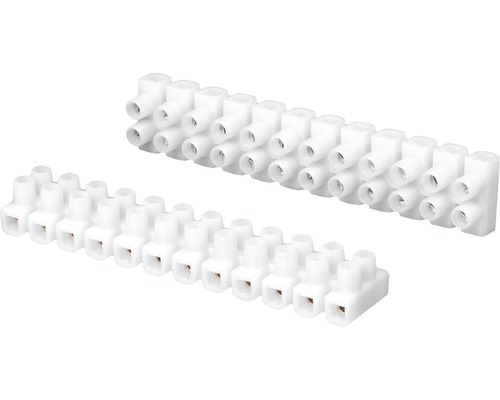
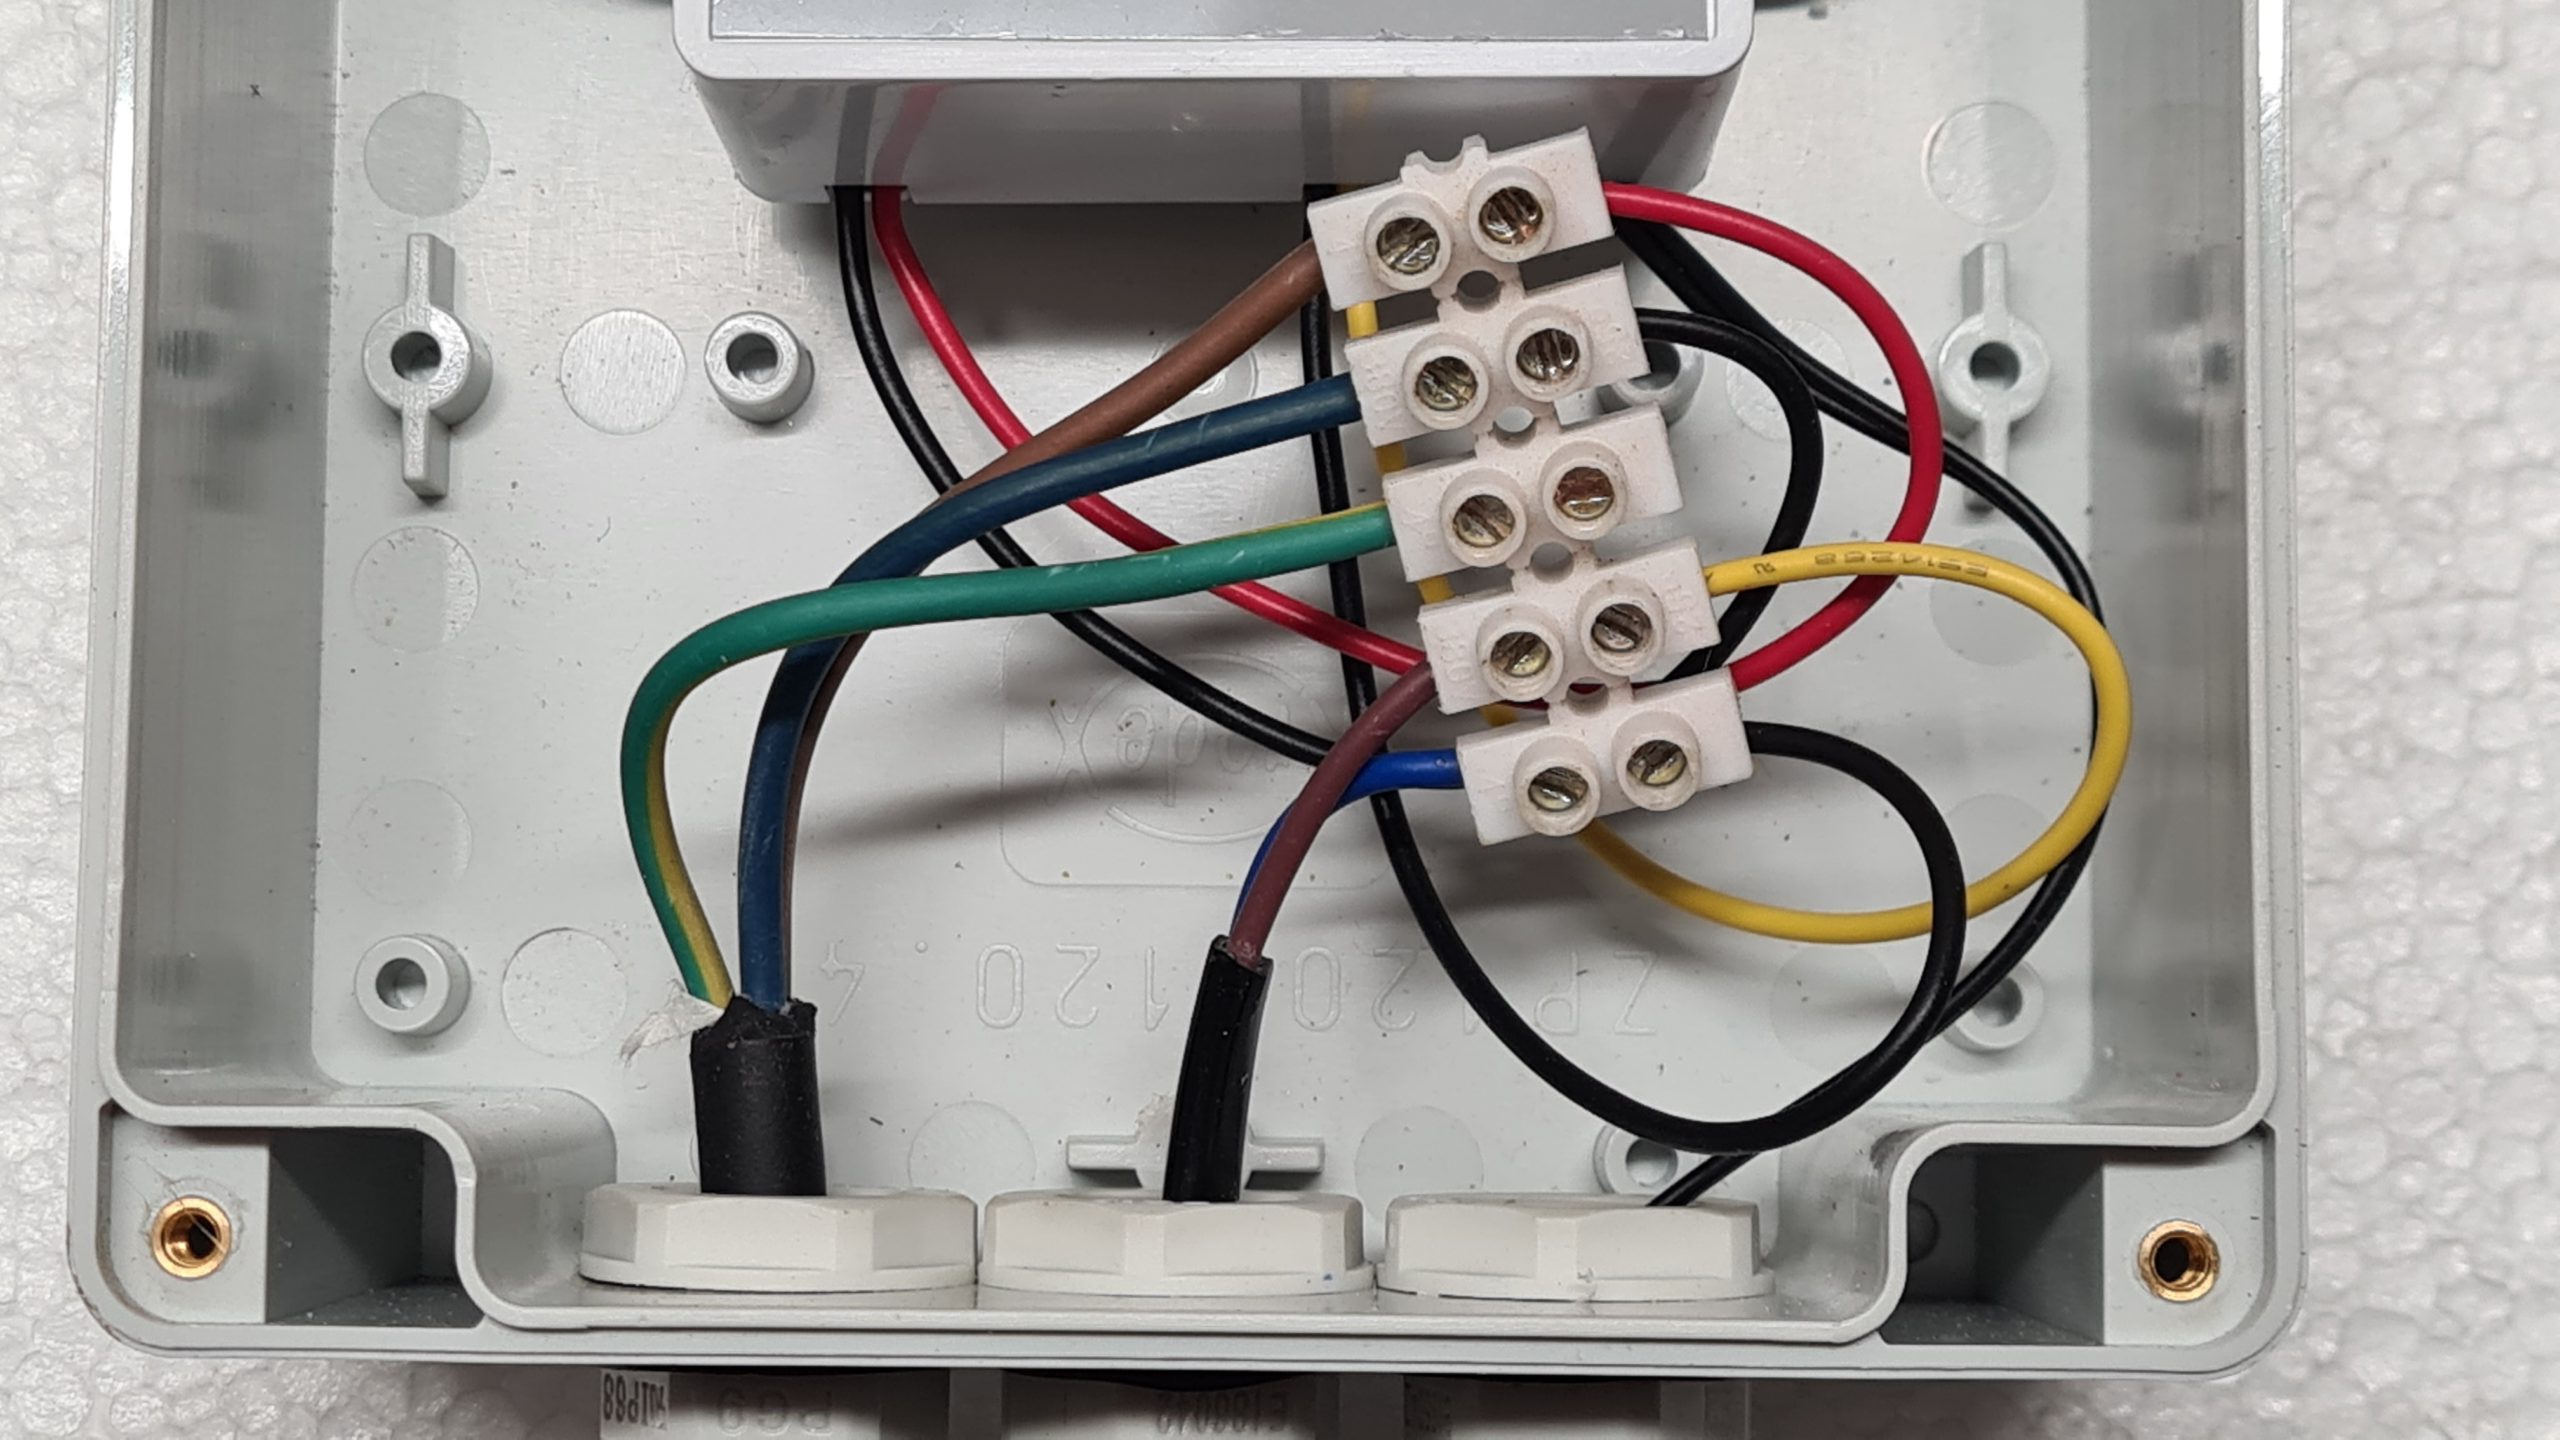
EM terminal block
Photo: manufacturer
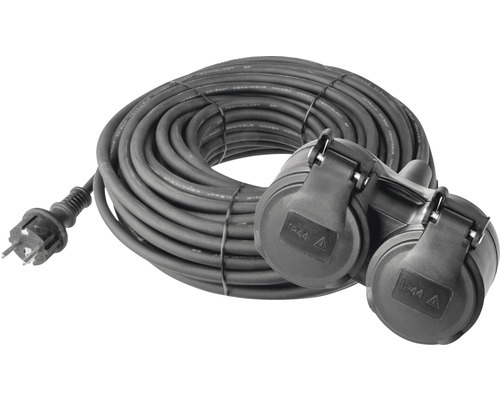
Rubber extension cord – IP44
Photo: manufacturer
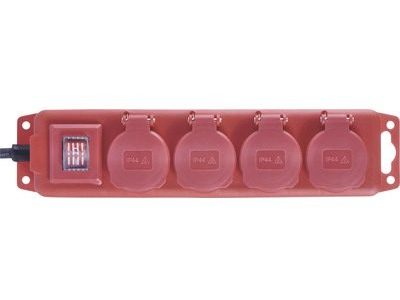
Extension cord 4 sockets – IP44
Photo: manufacturer
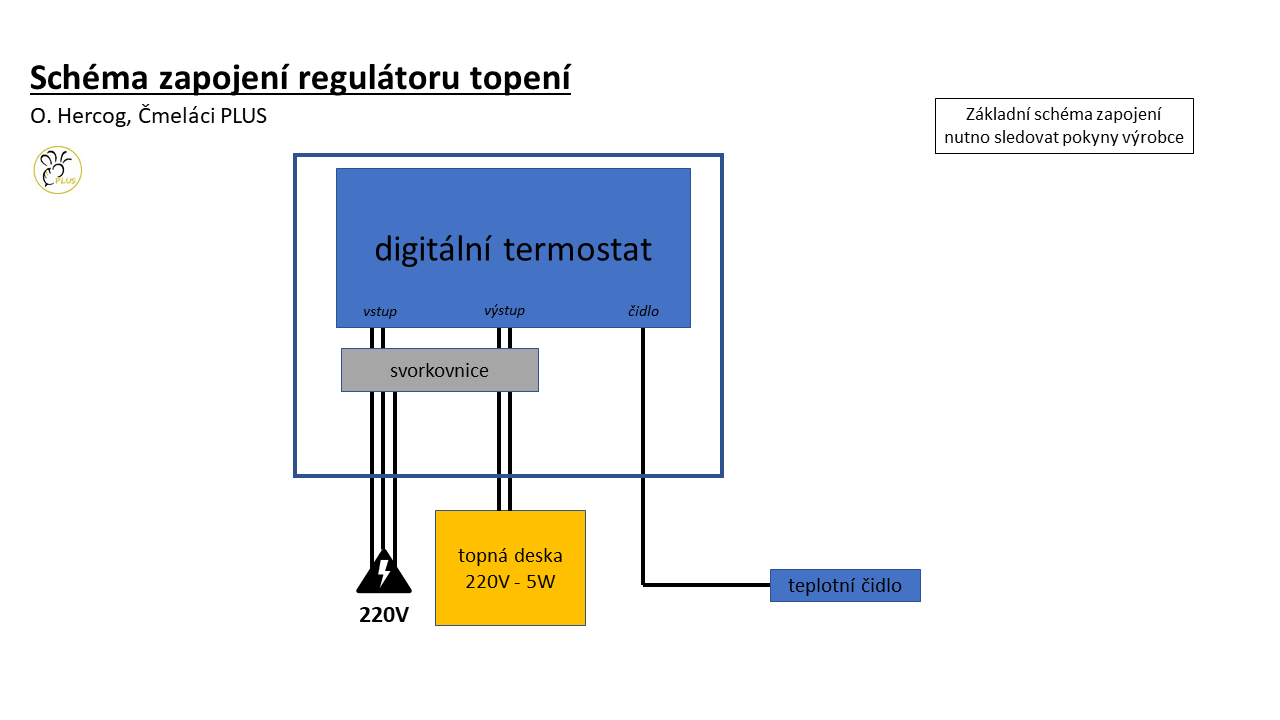
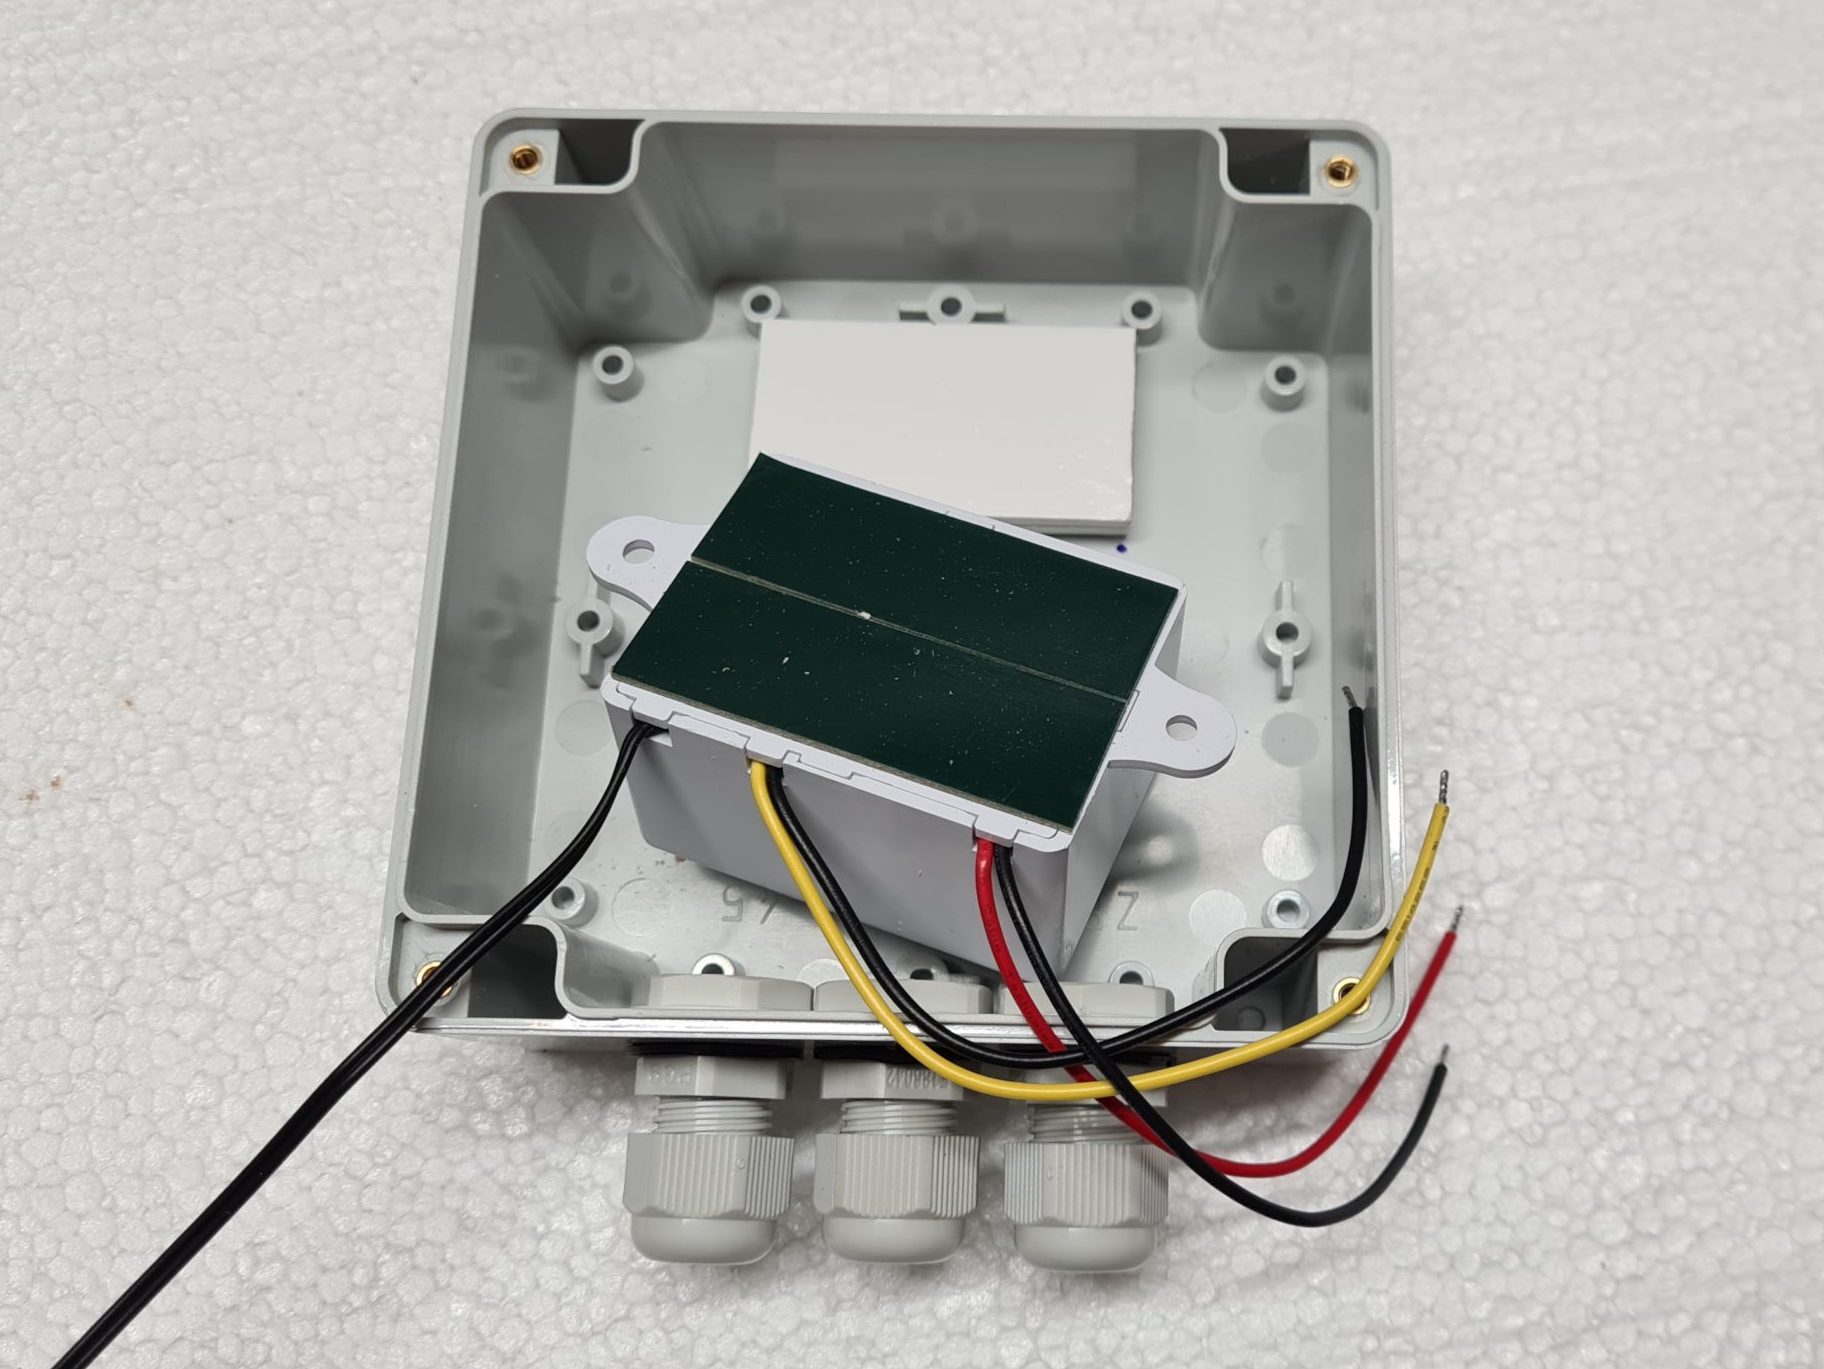
Heating plate diagram
Source: O. Hercog 2022
Connecting the thermostat and heating plate
Photo: O. Hercog 2021

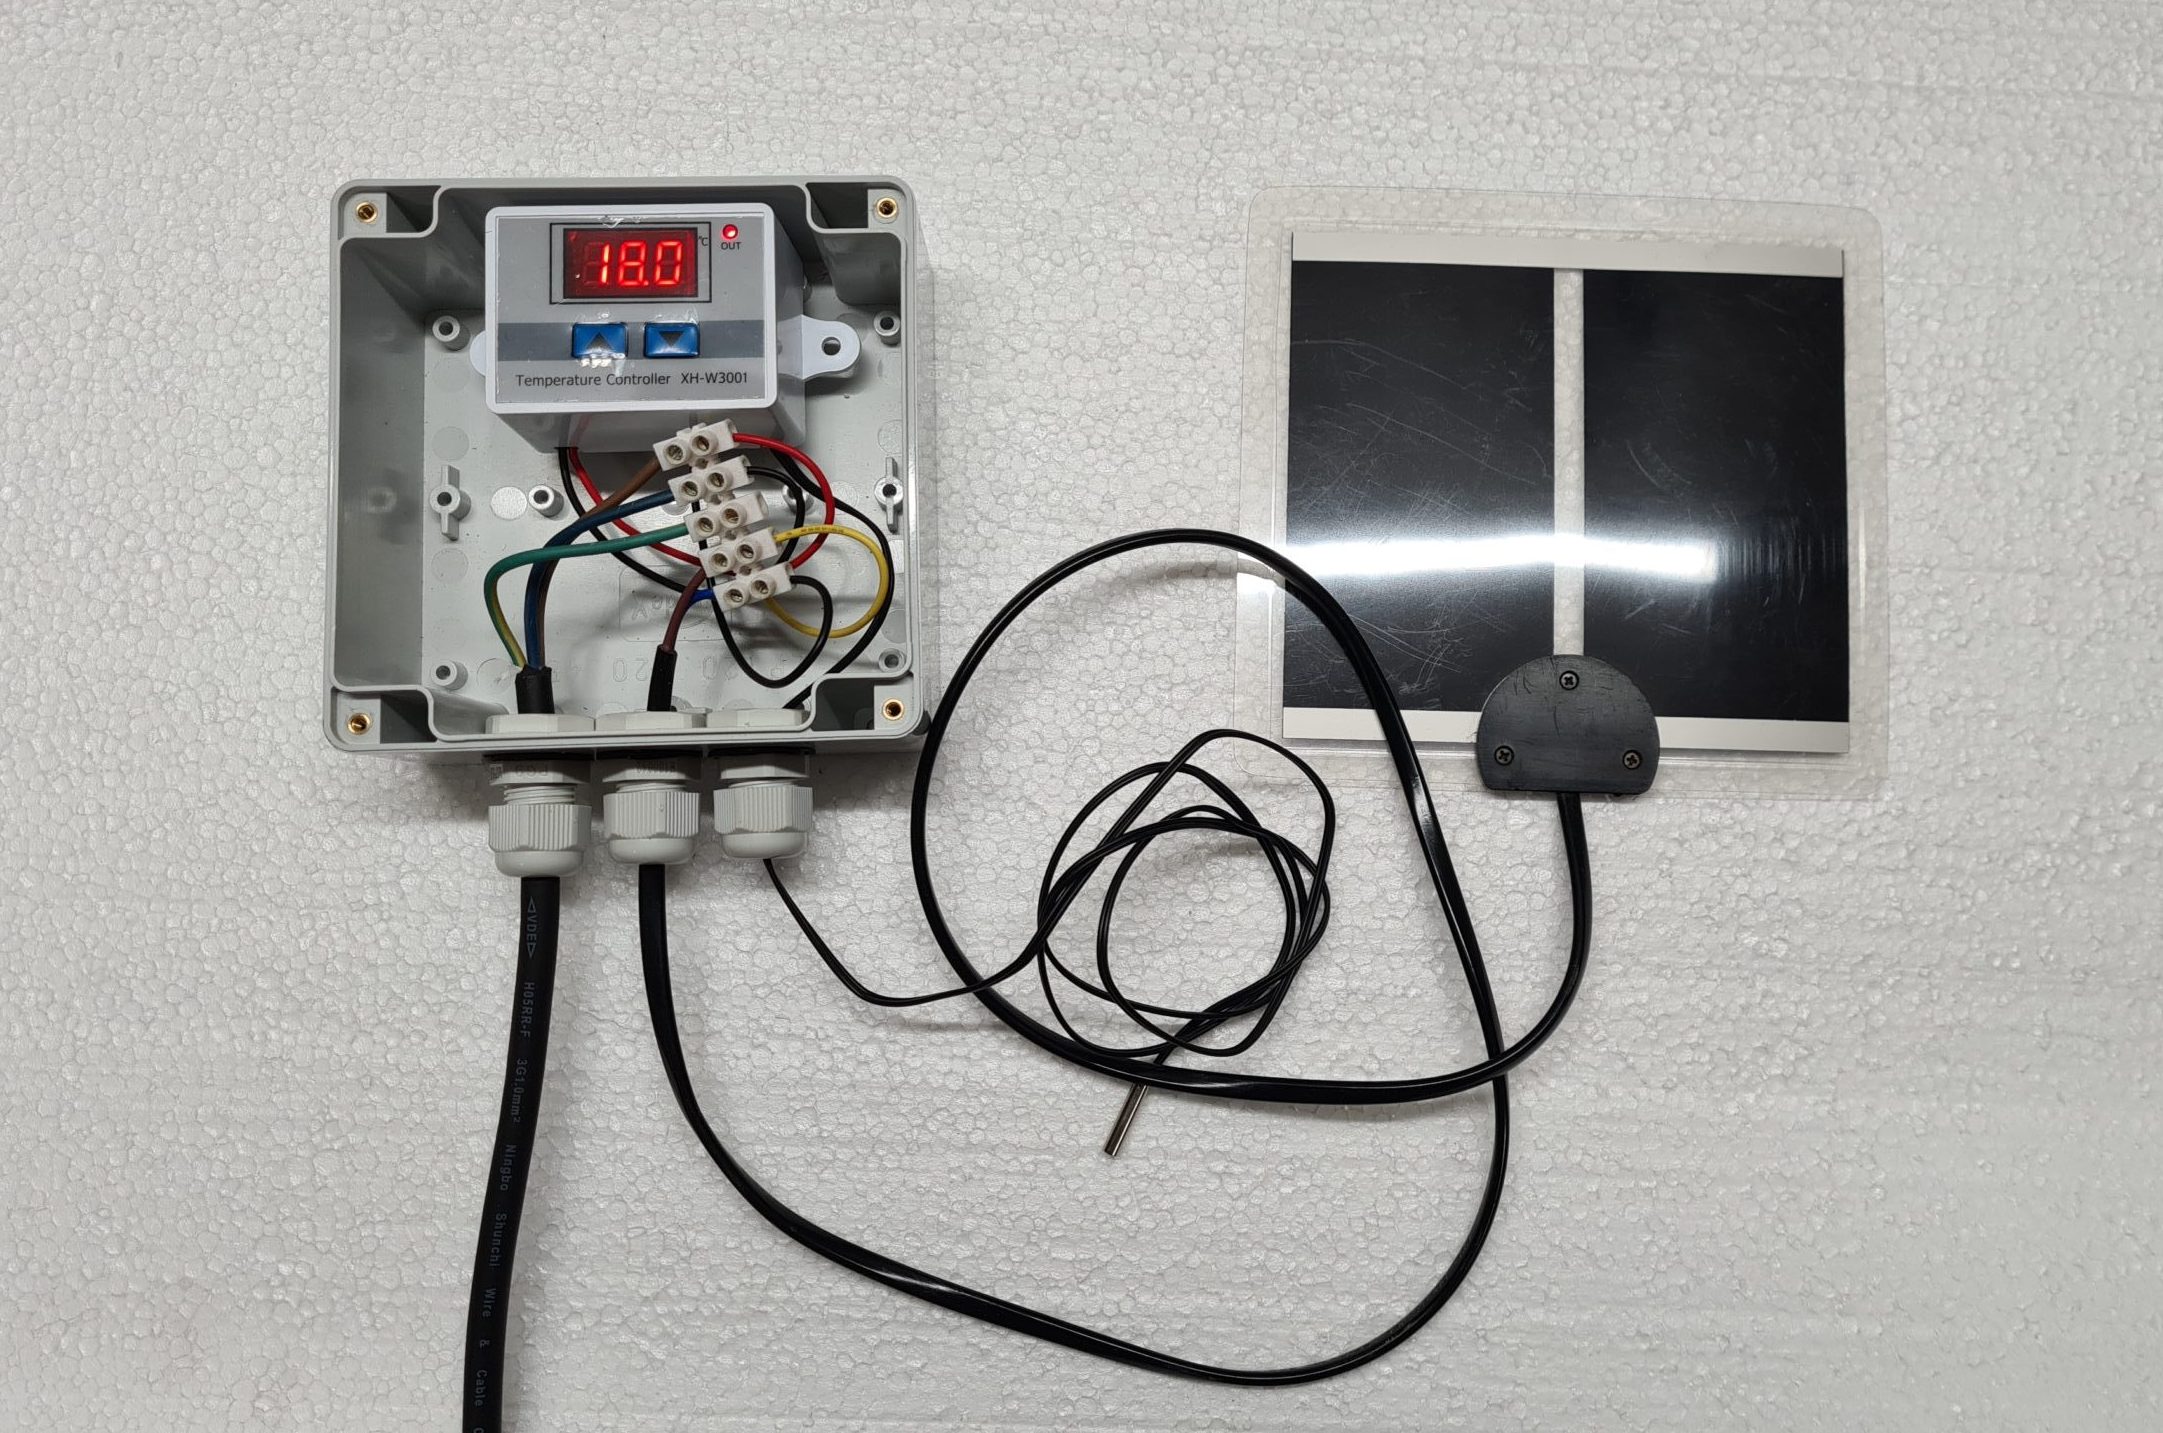
Digital thermostat – rear side (incorrect labels on the controller)
Photo: O. Hercog 2021
Thermostat gasket
Photo: O. Hercog 2021
The underside of the thermostat with double-sided adhesive tape
Photo: O. Hercog 2021
Thermostat connection
Photo: O. Hercog 2021
Thermostat connection
Photo: O. Hercog 2021
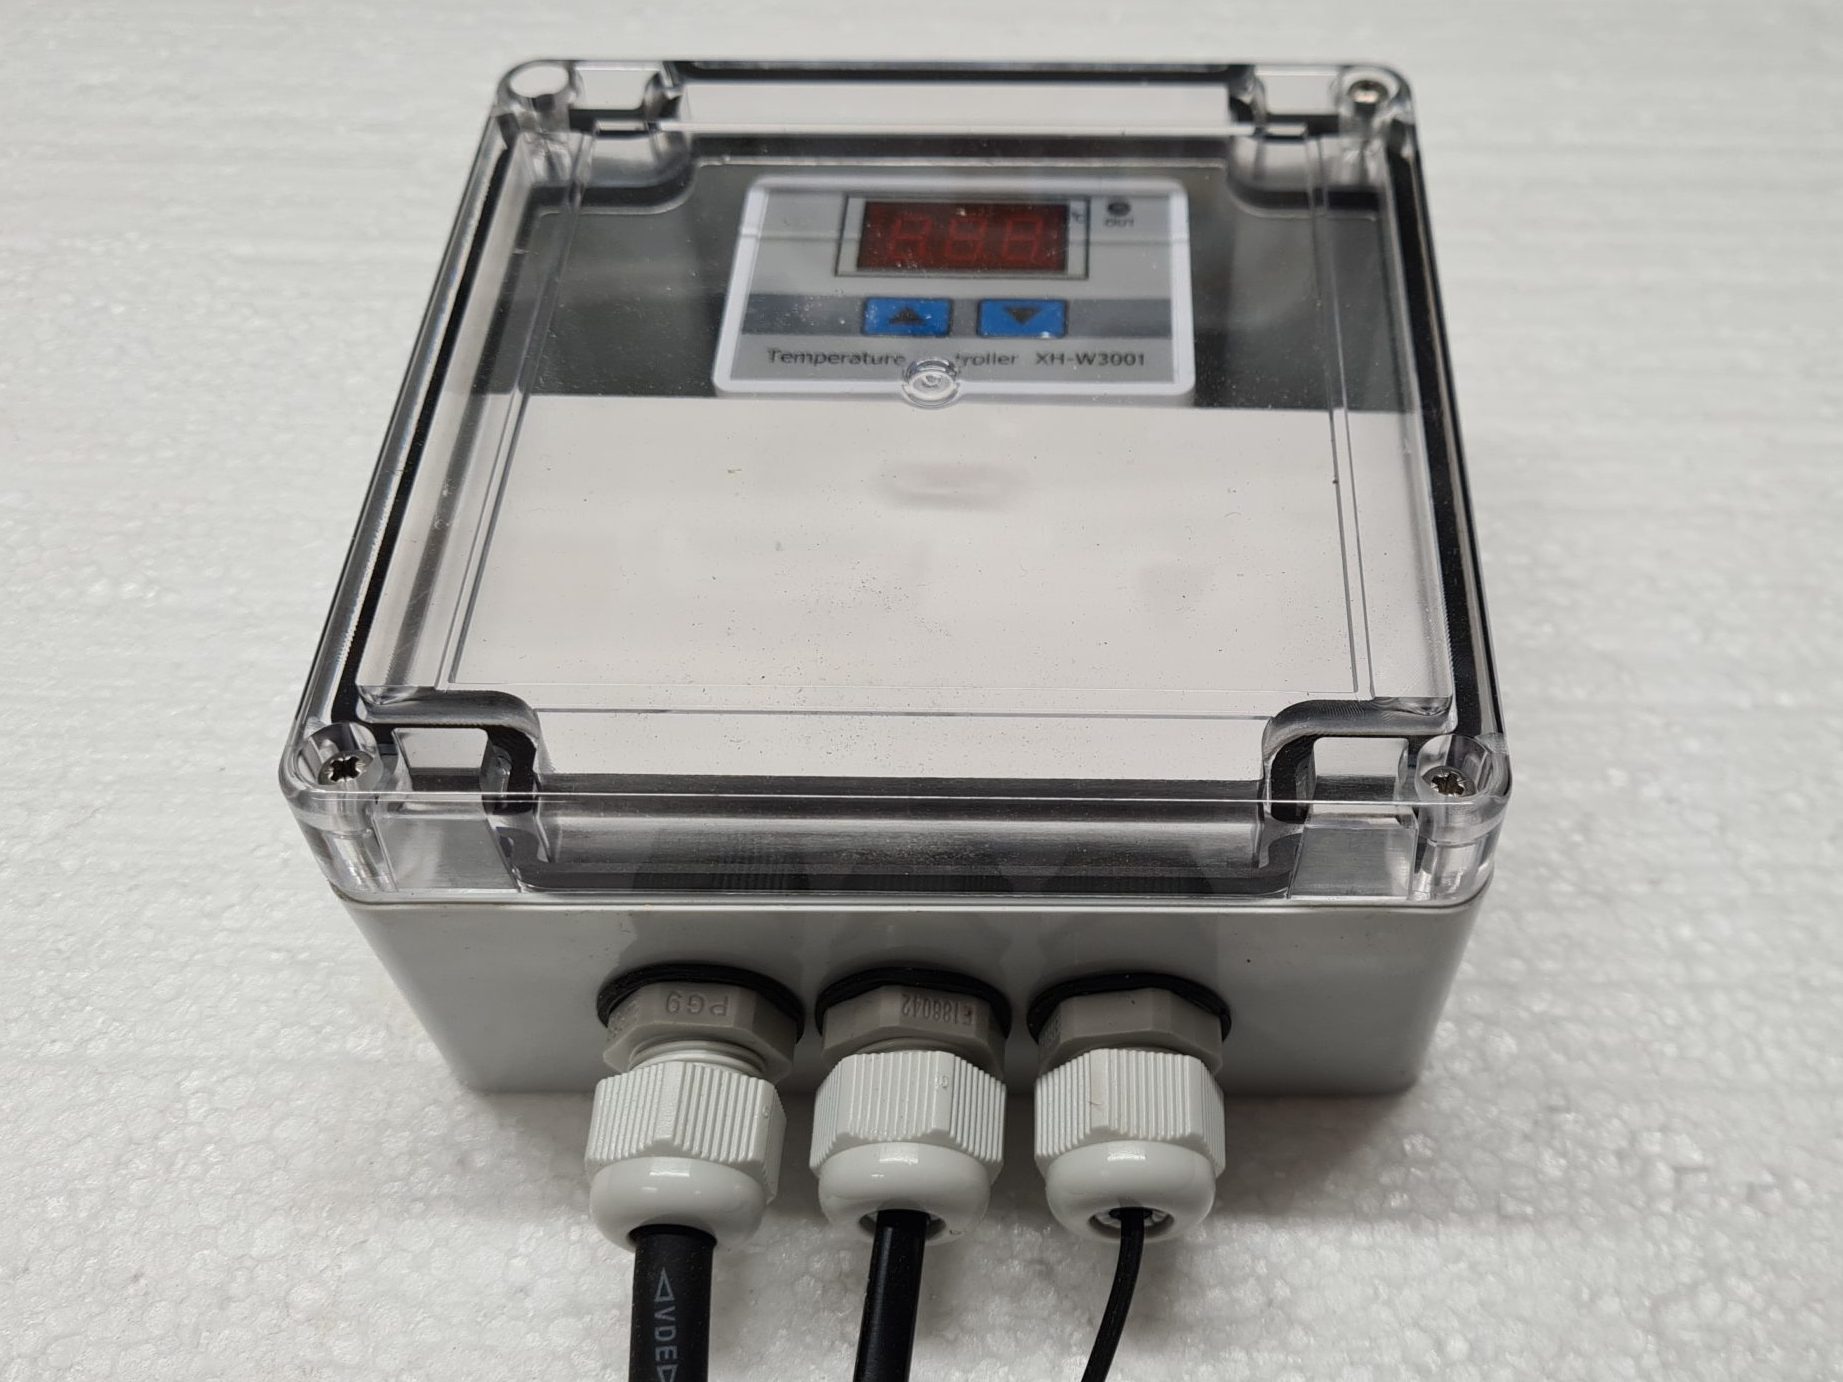
Thermostat in a box – Photo: O. Hercog 2021
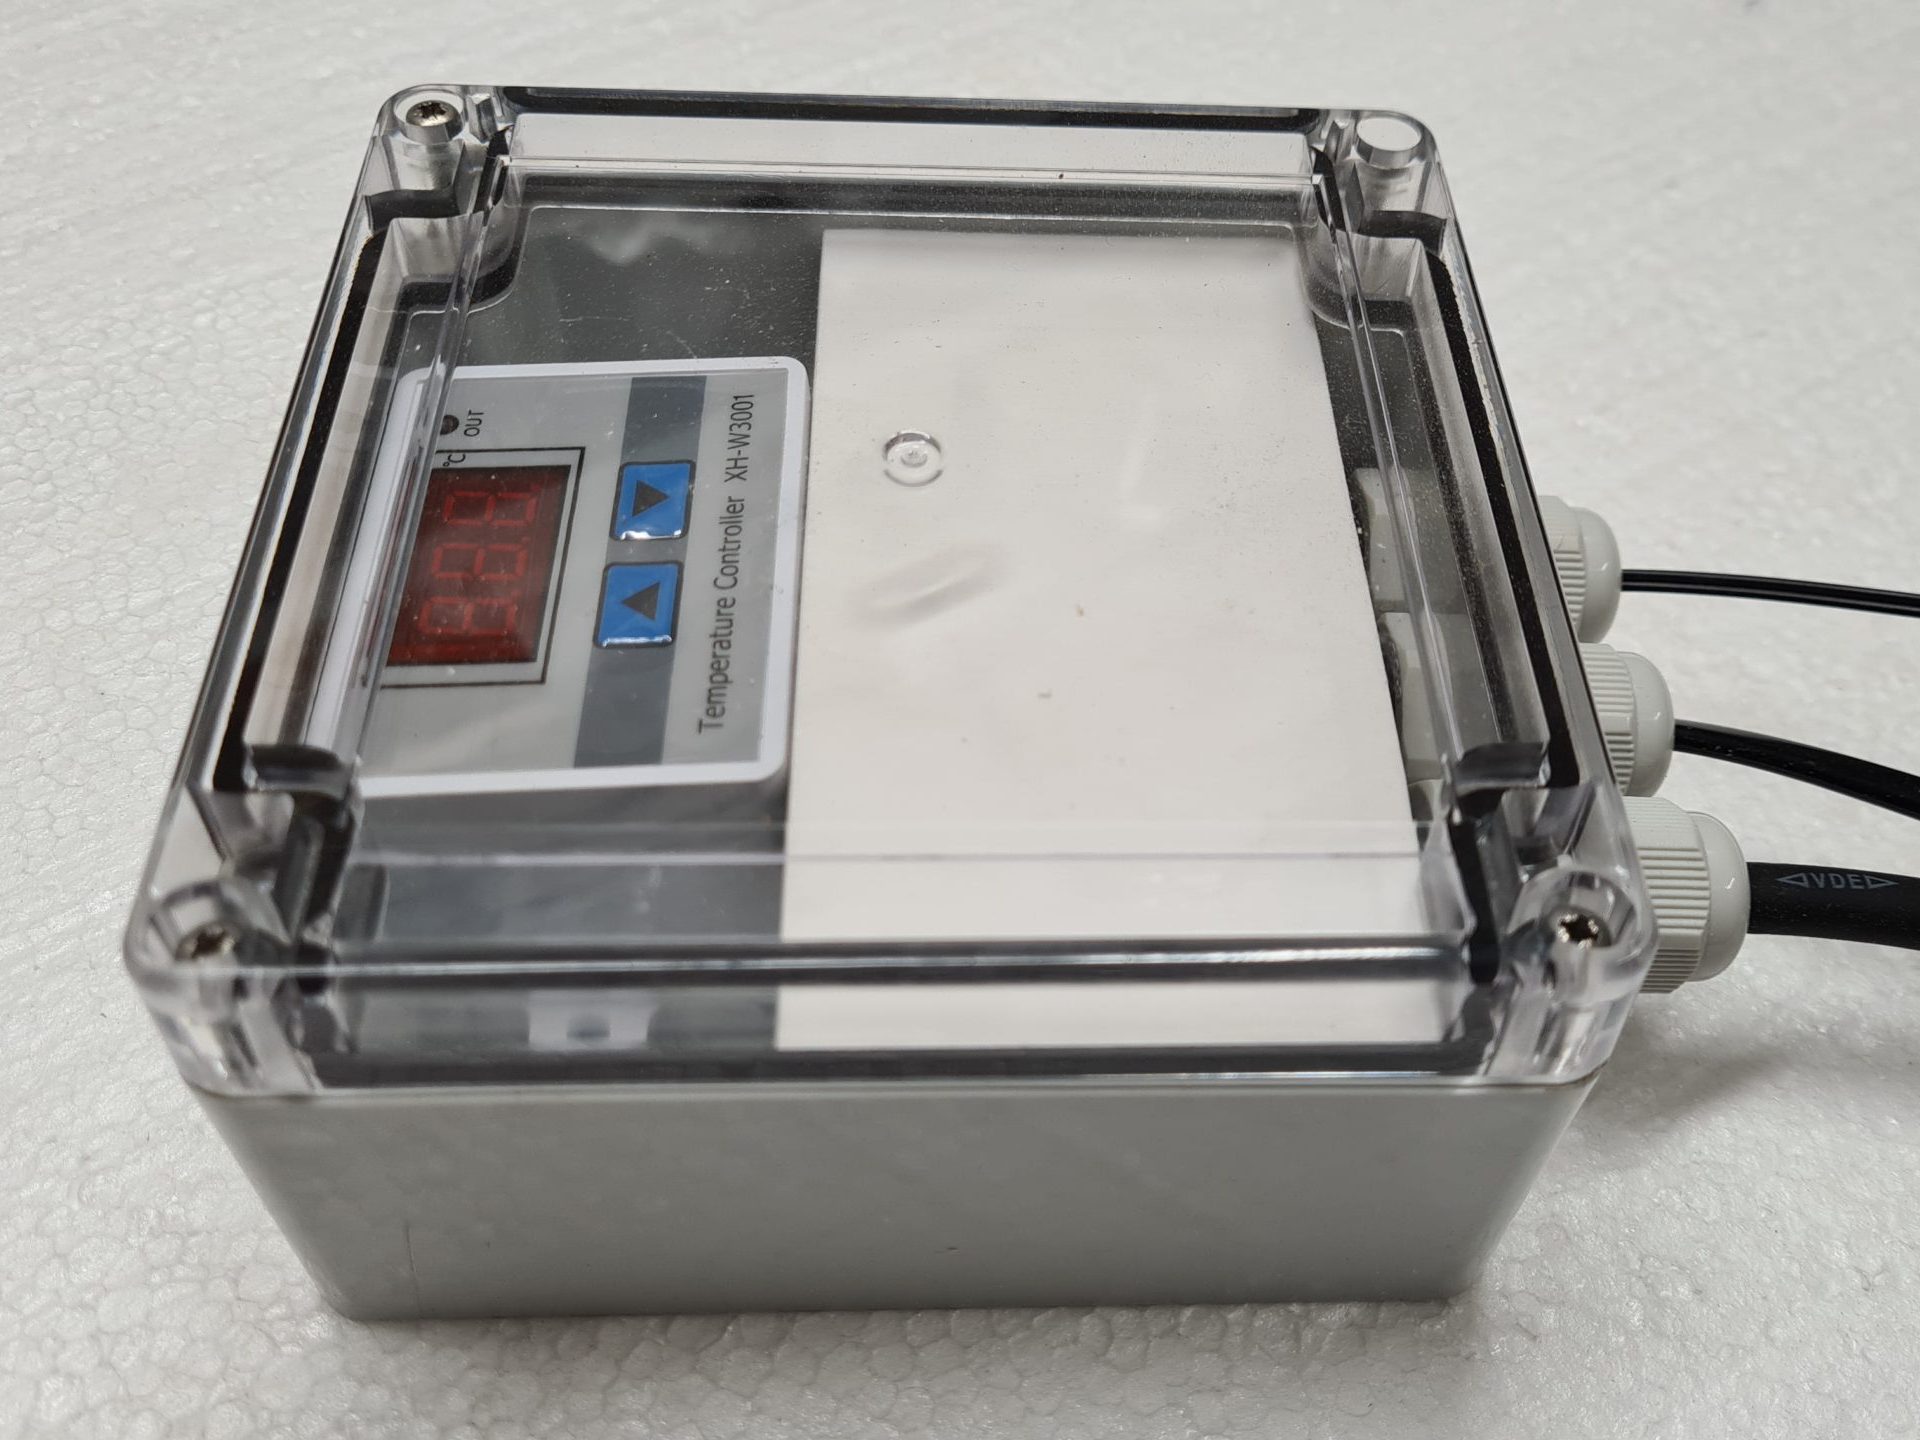
Thermostat in a box
Photo: O. Hercog 2021
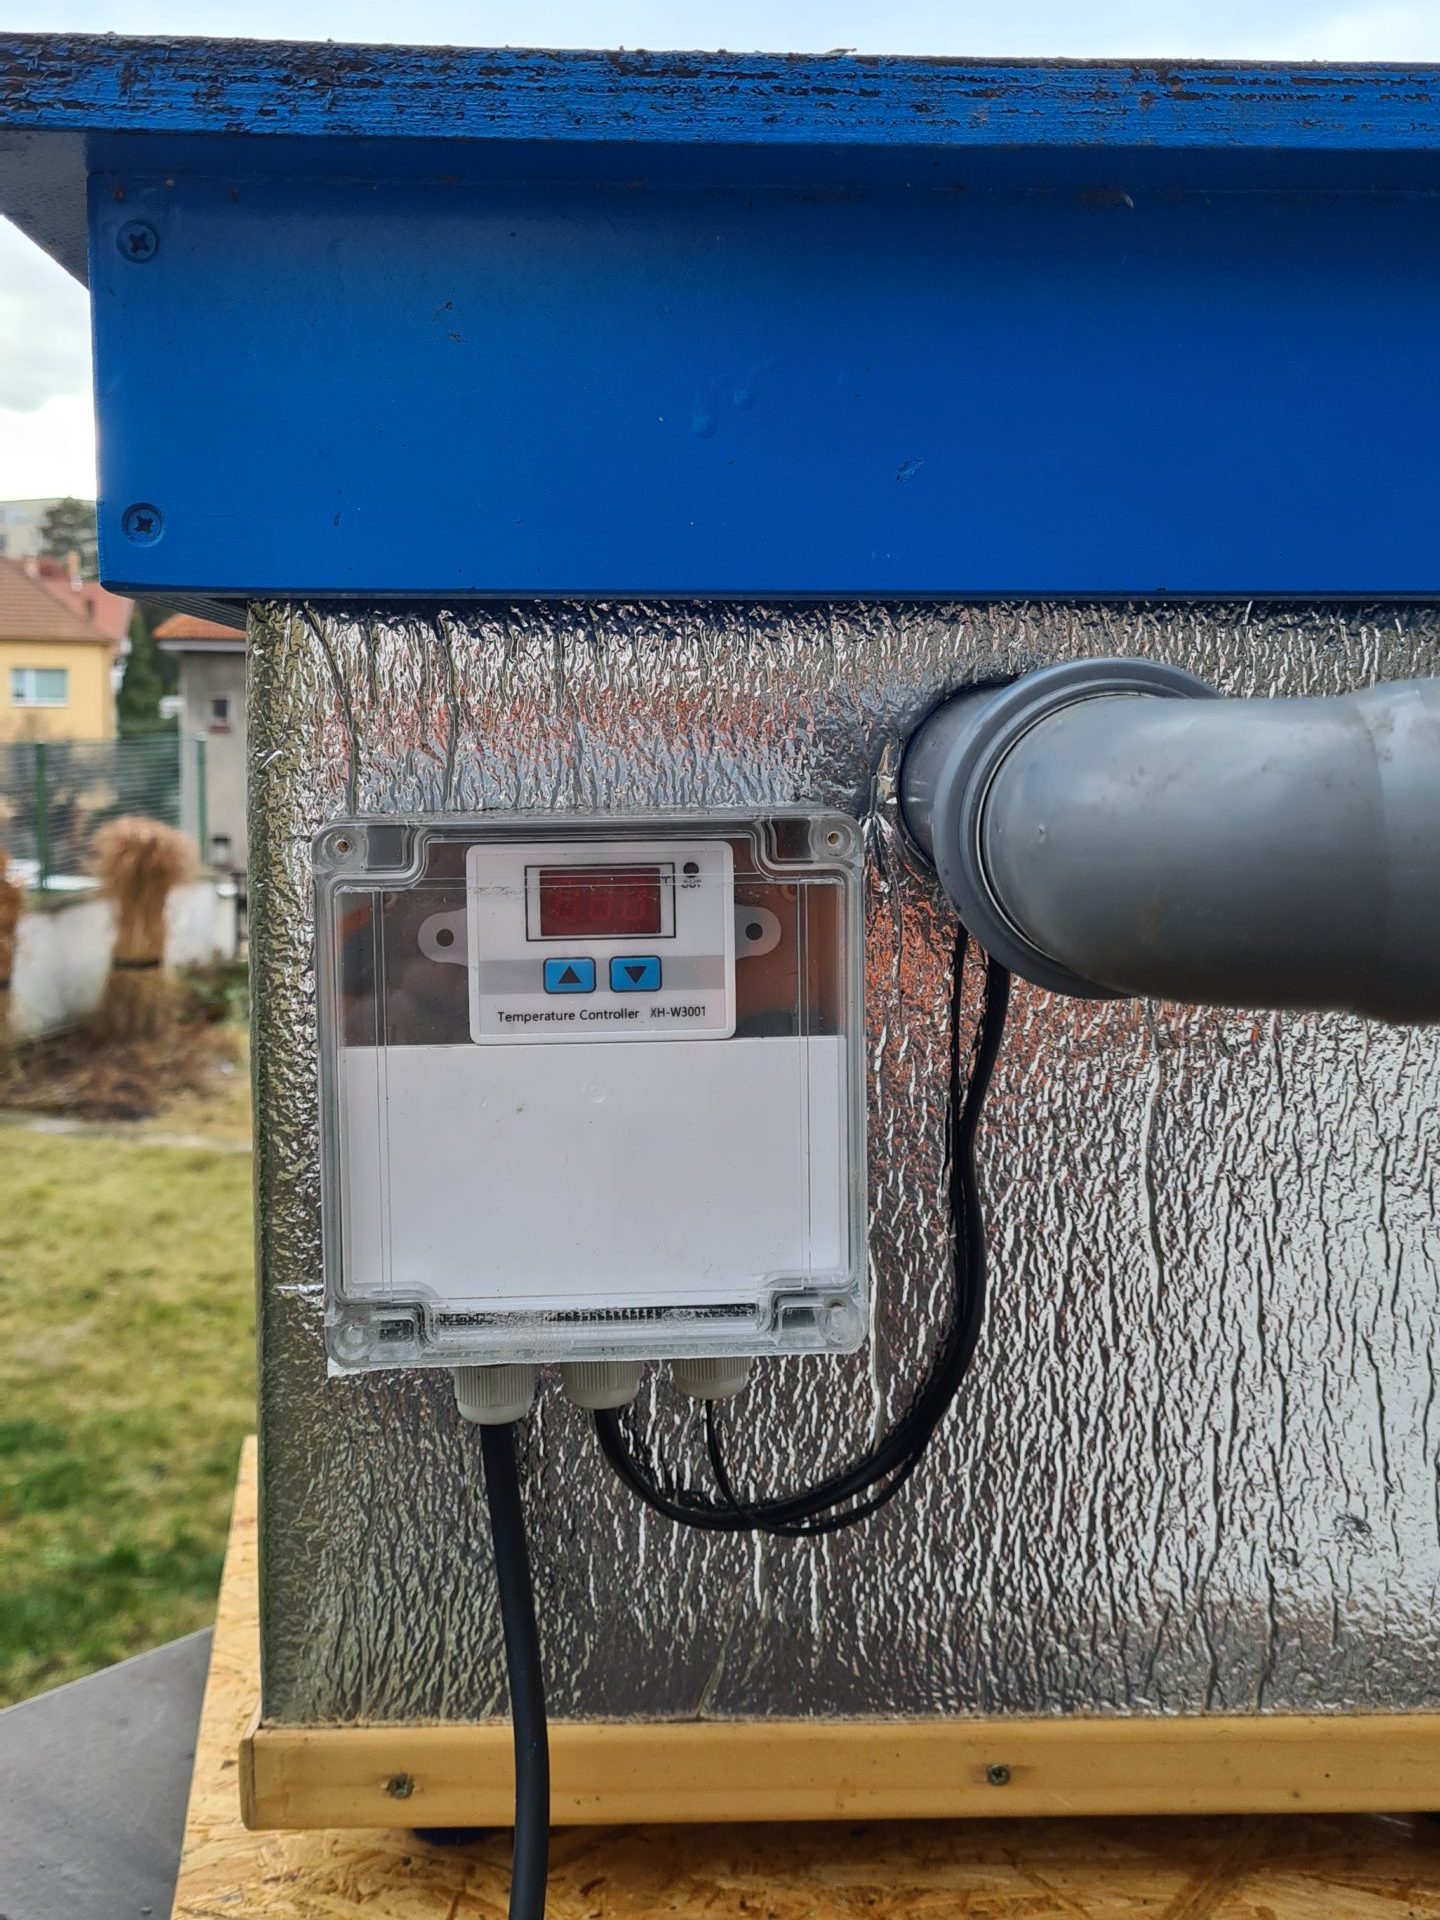
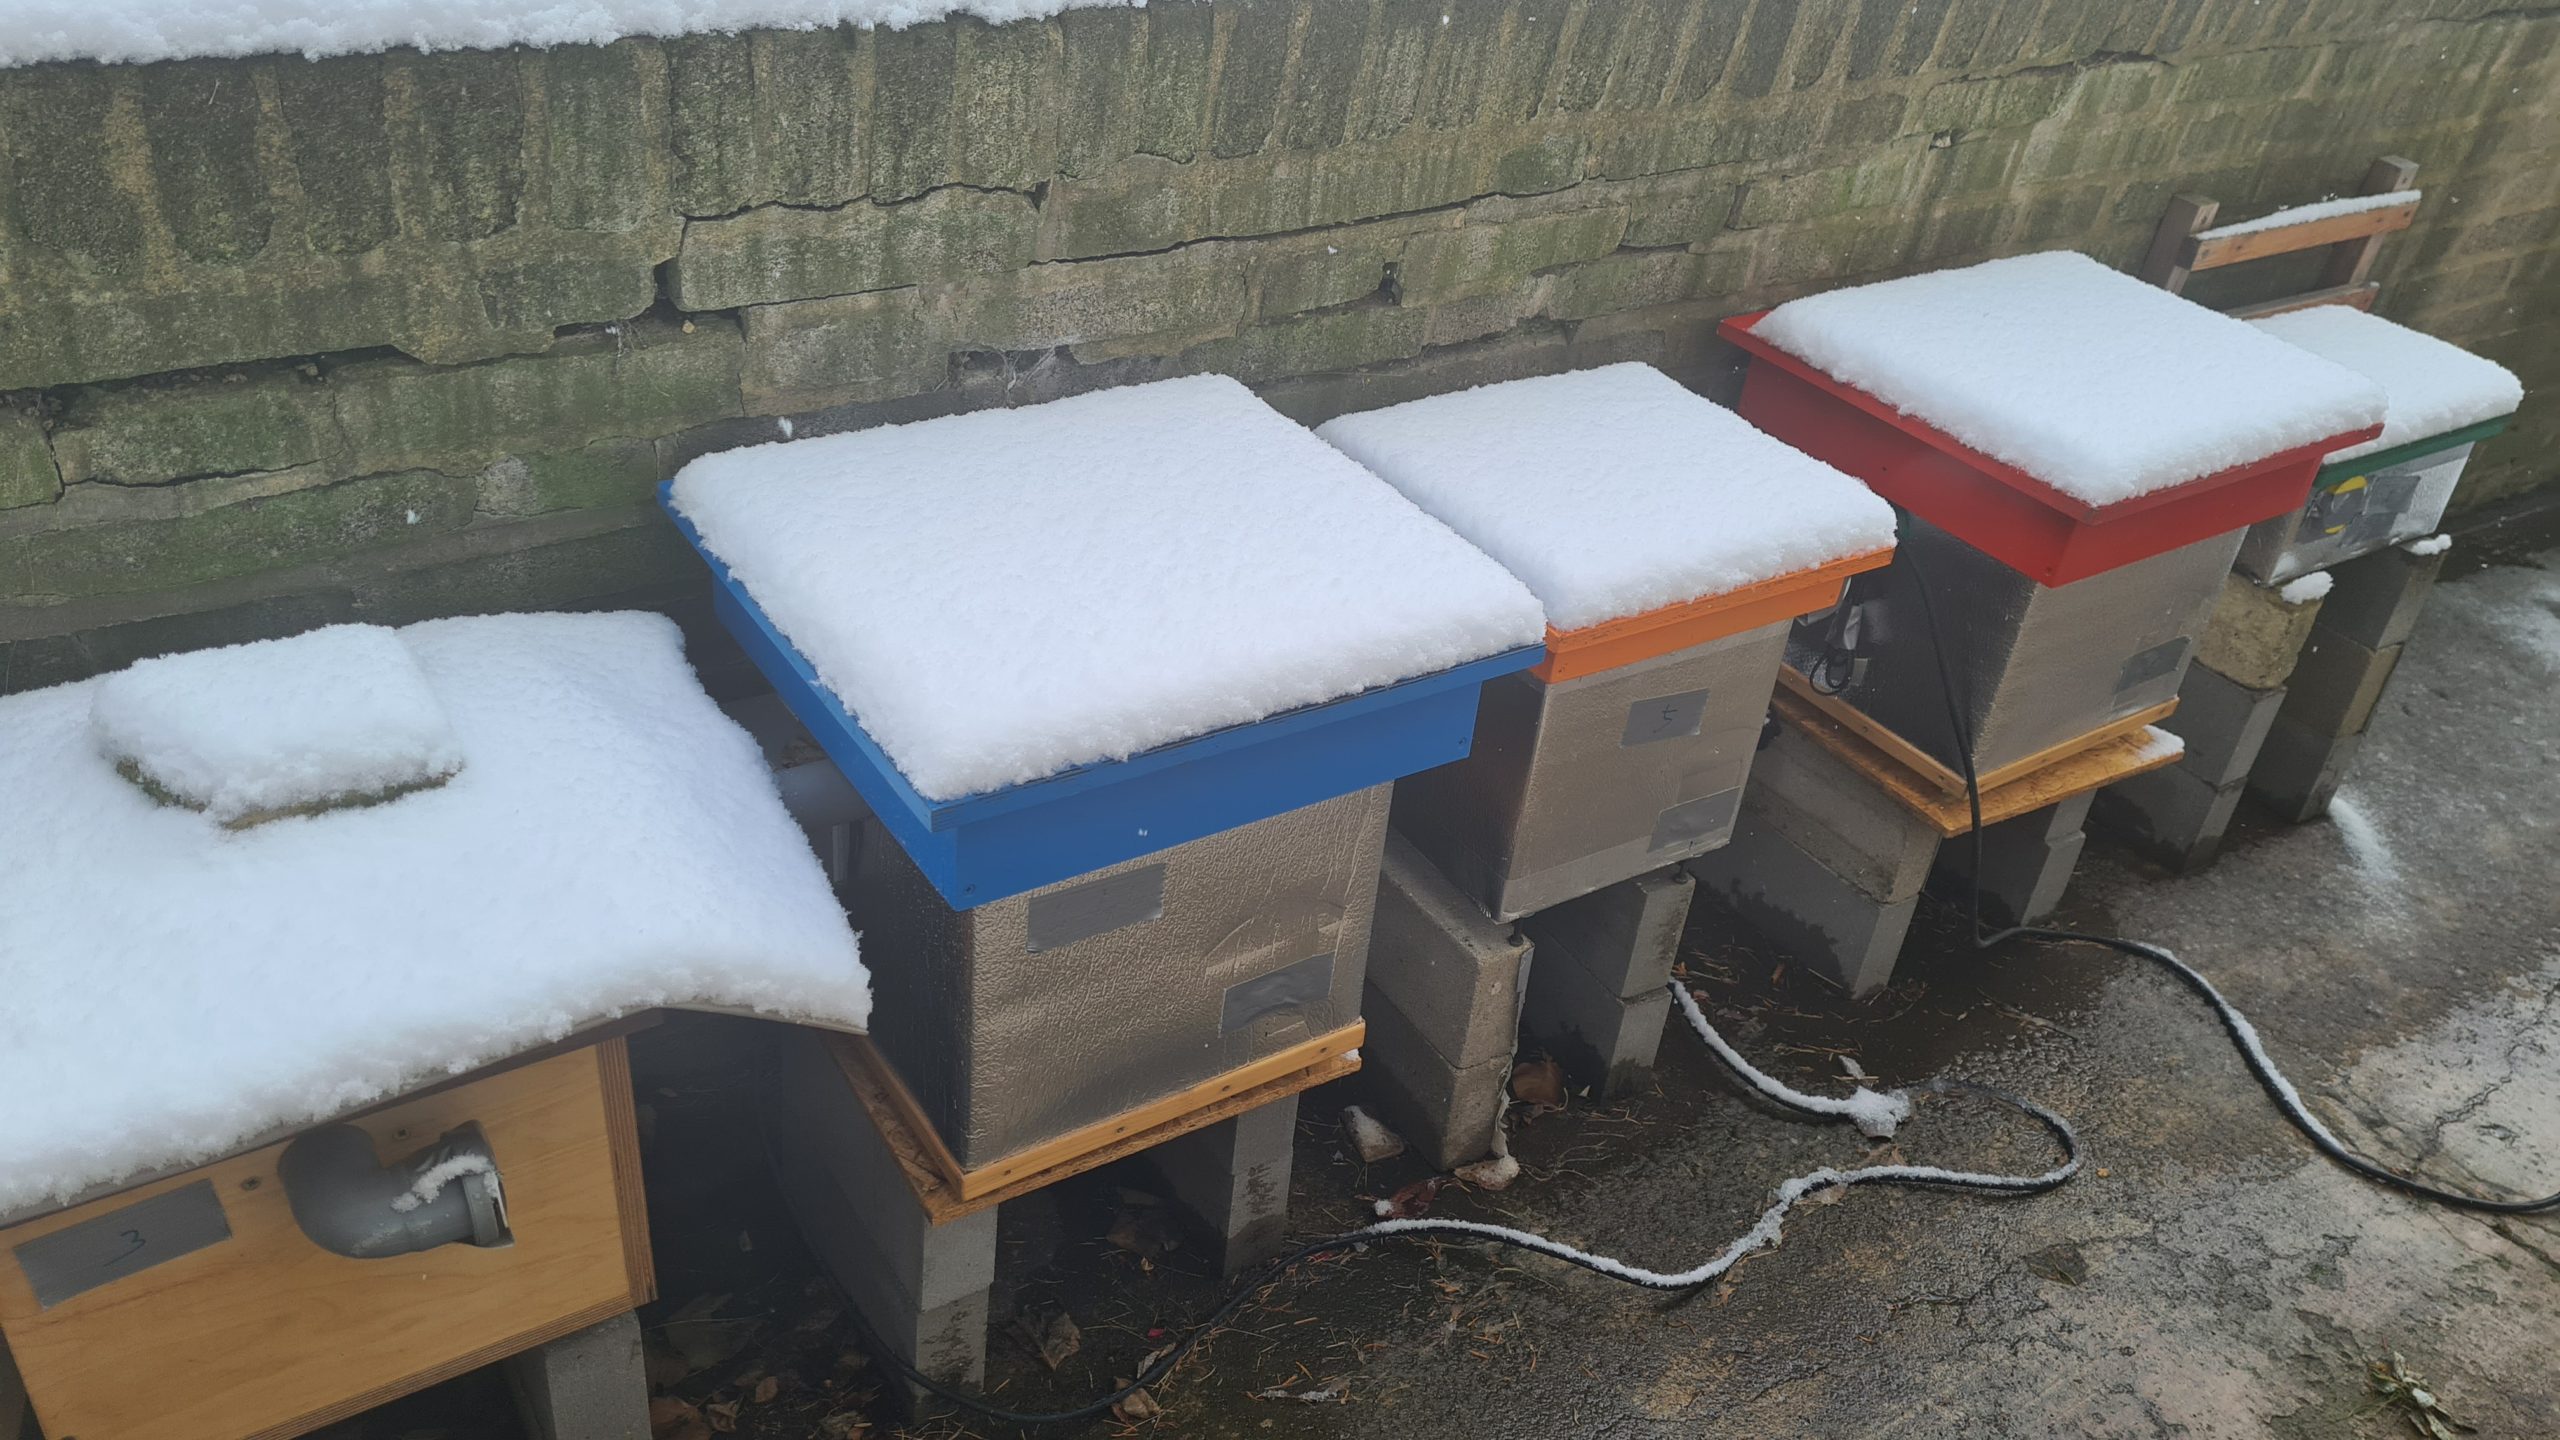
Regulator in a box on the wall of the hive
Photo: O. Hercog 2021
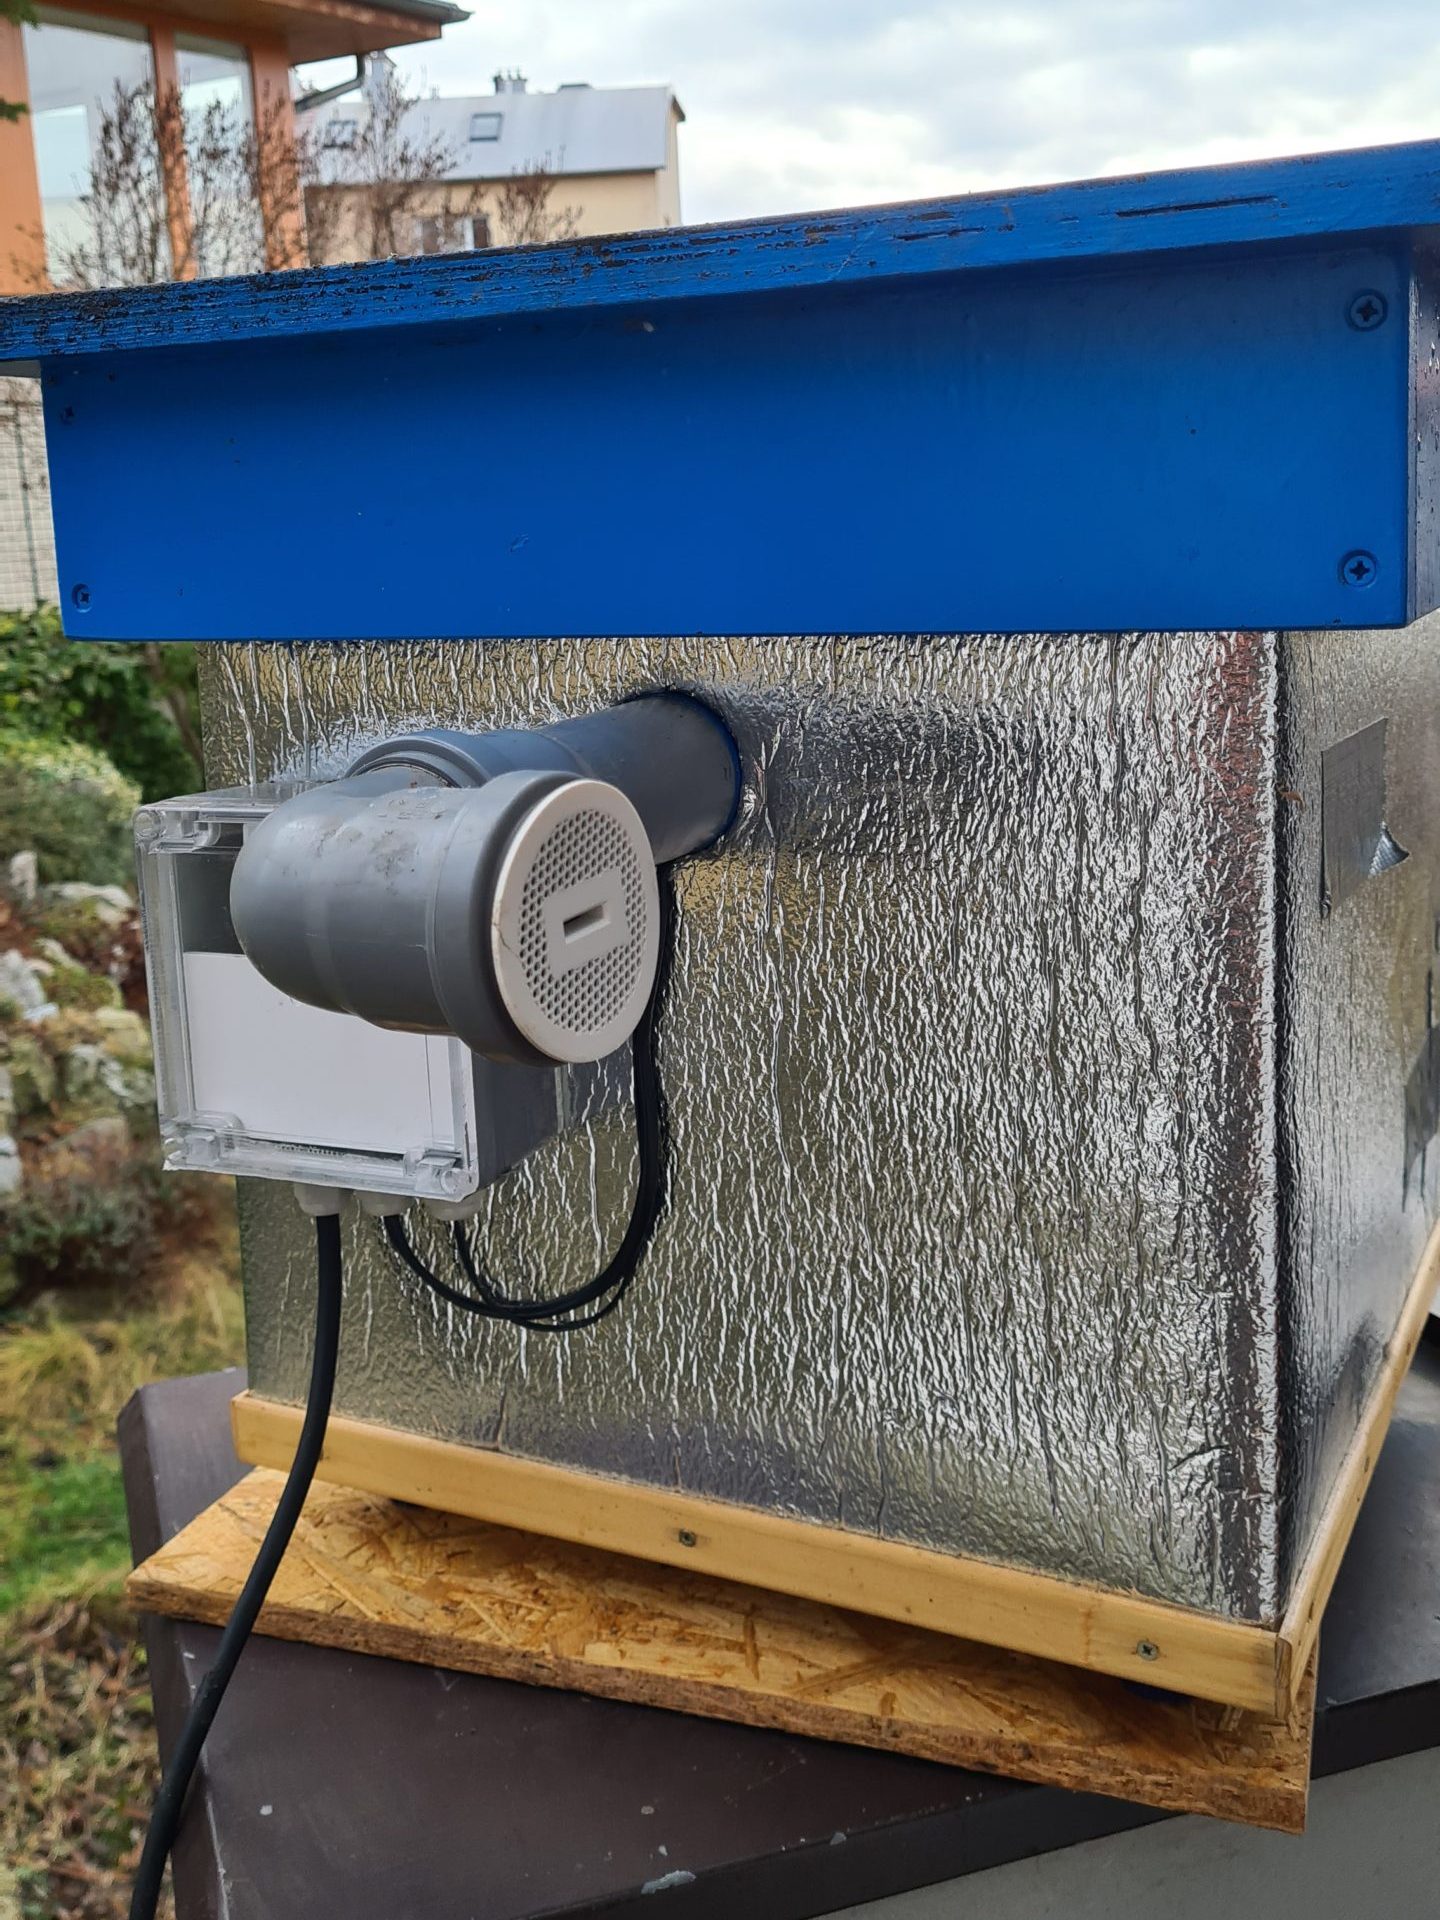
Regulator in a box on the wall of the hive
Photo: O. Hercog 2021
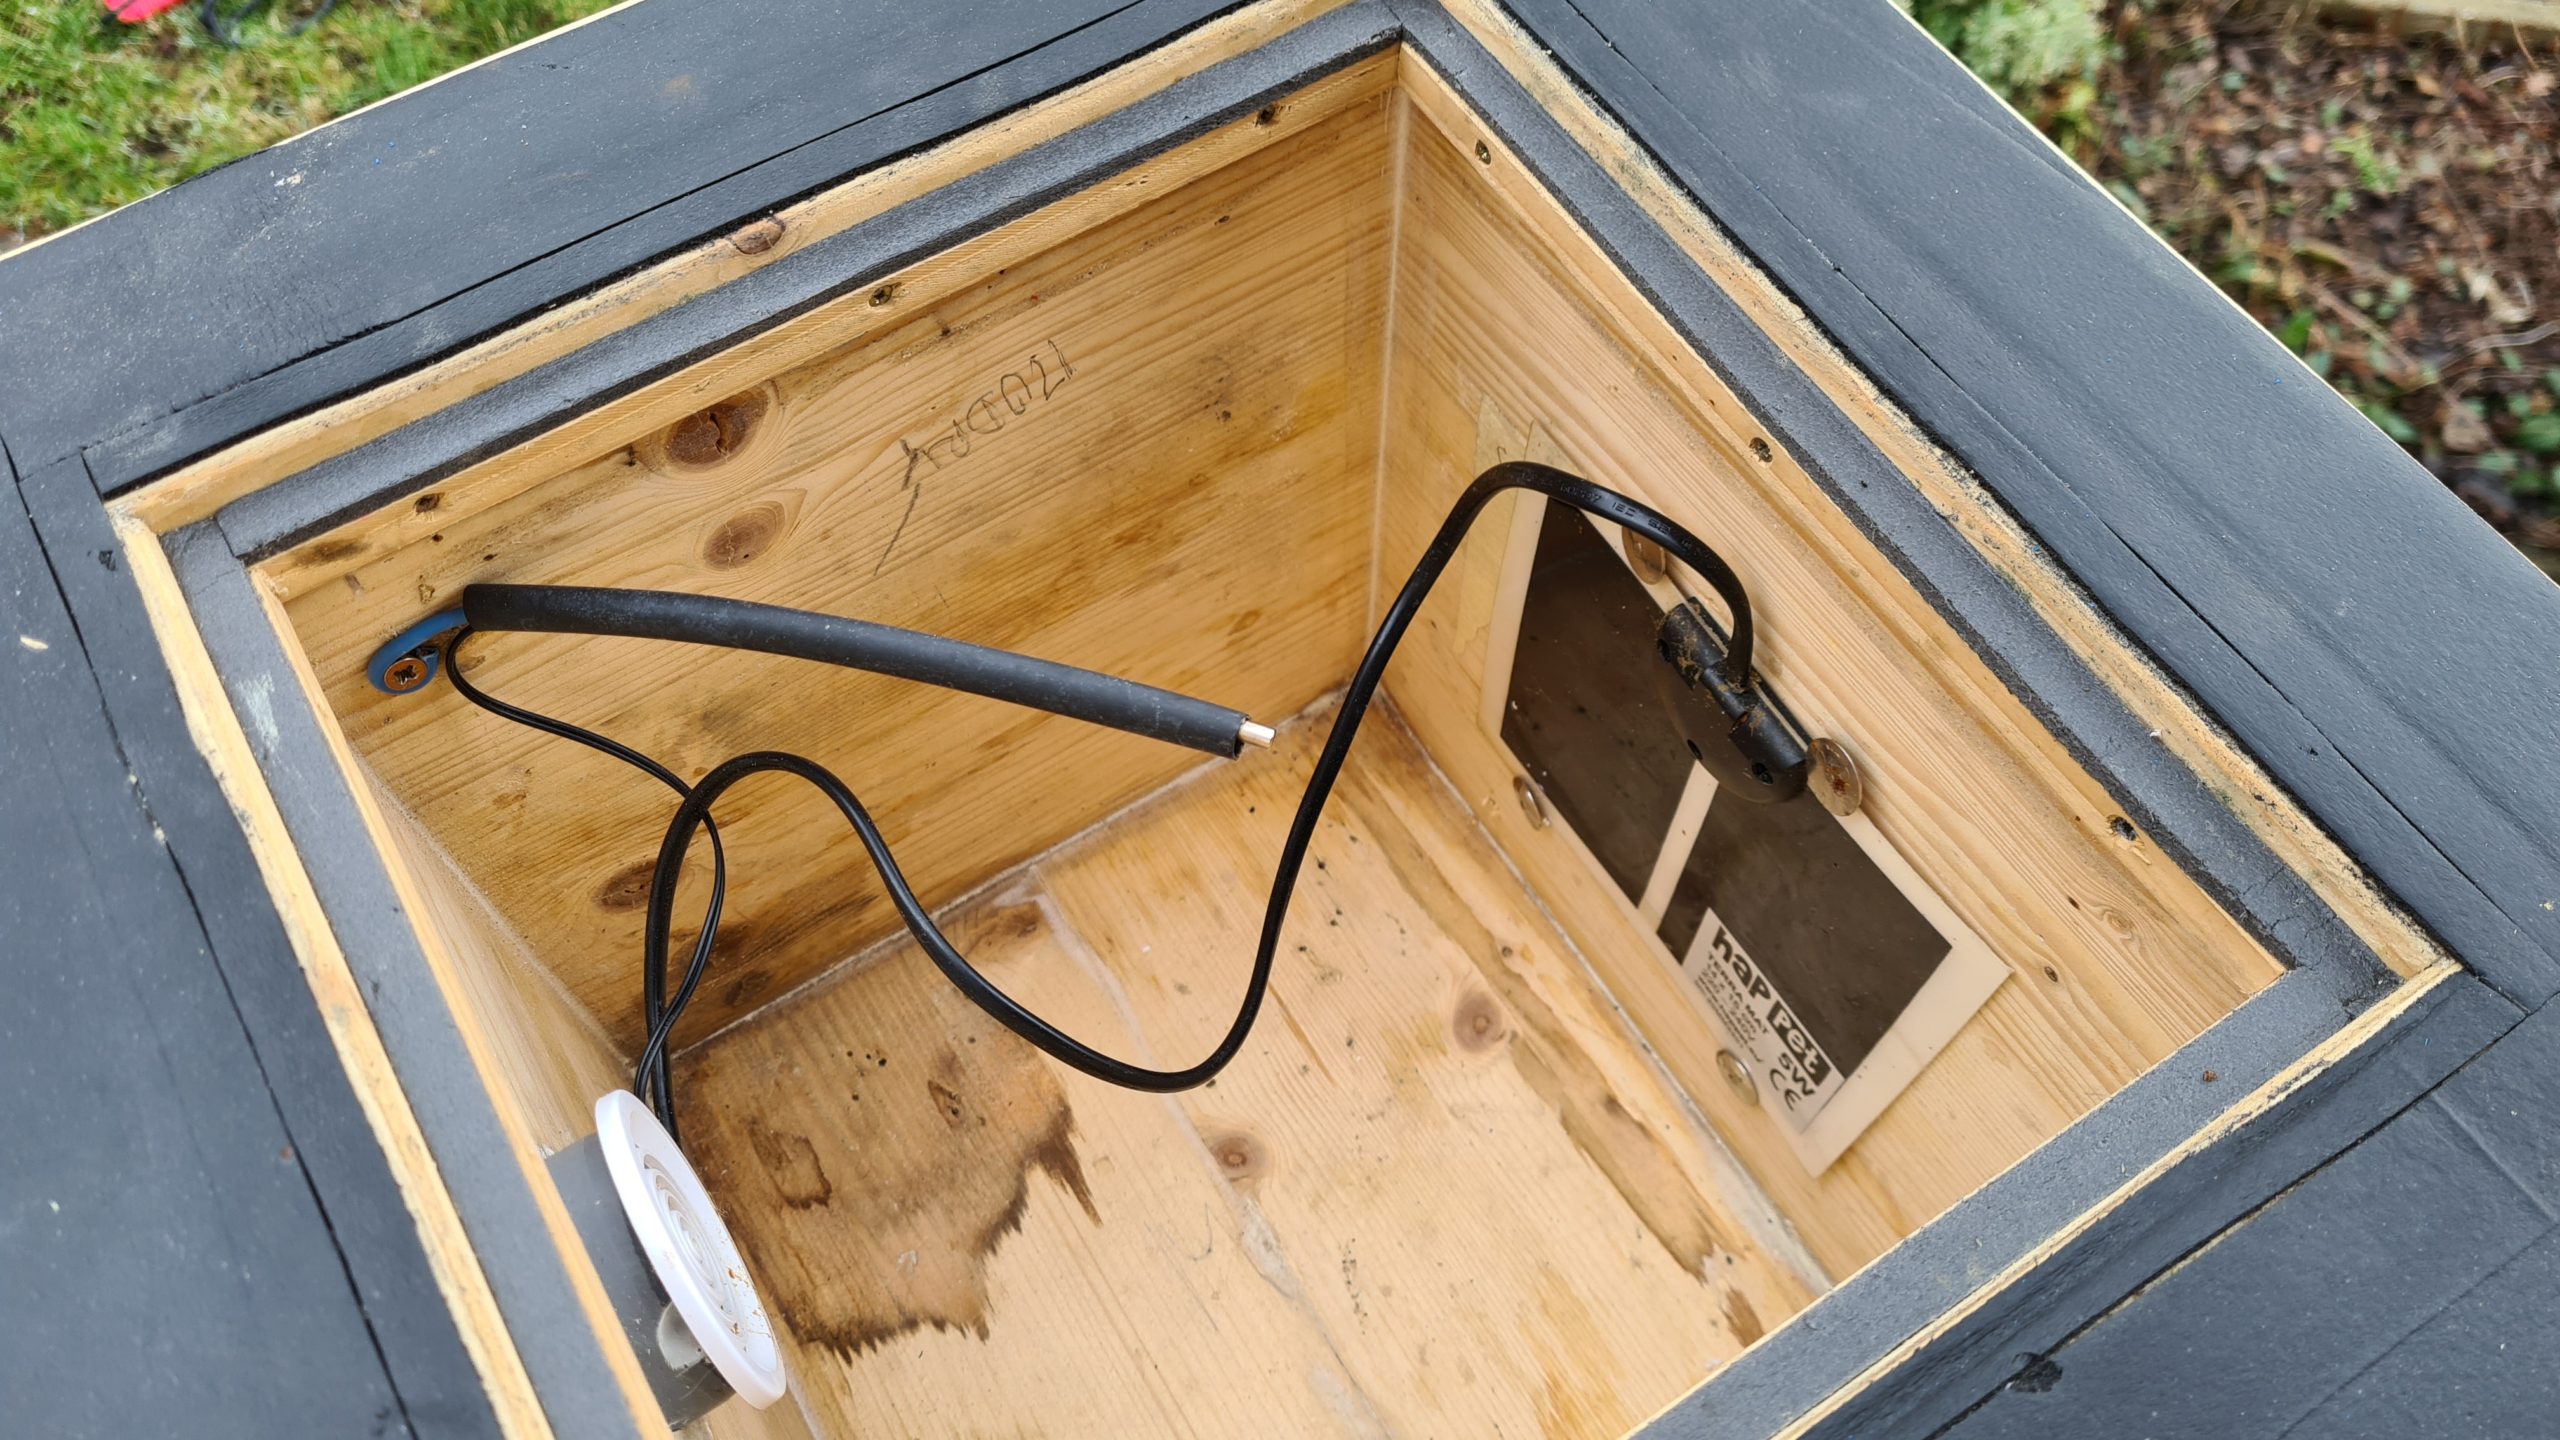
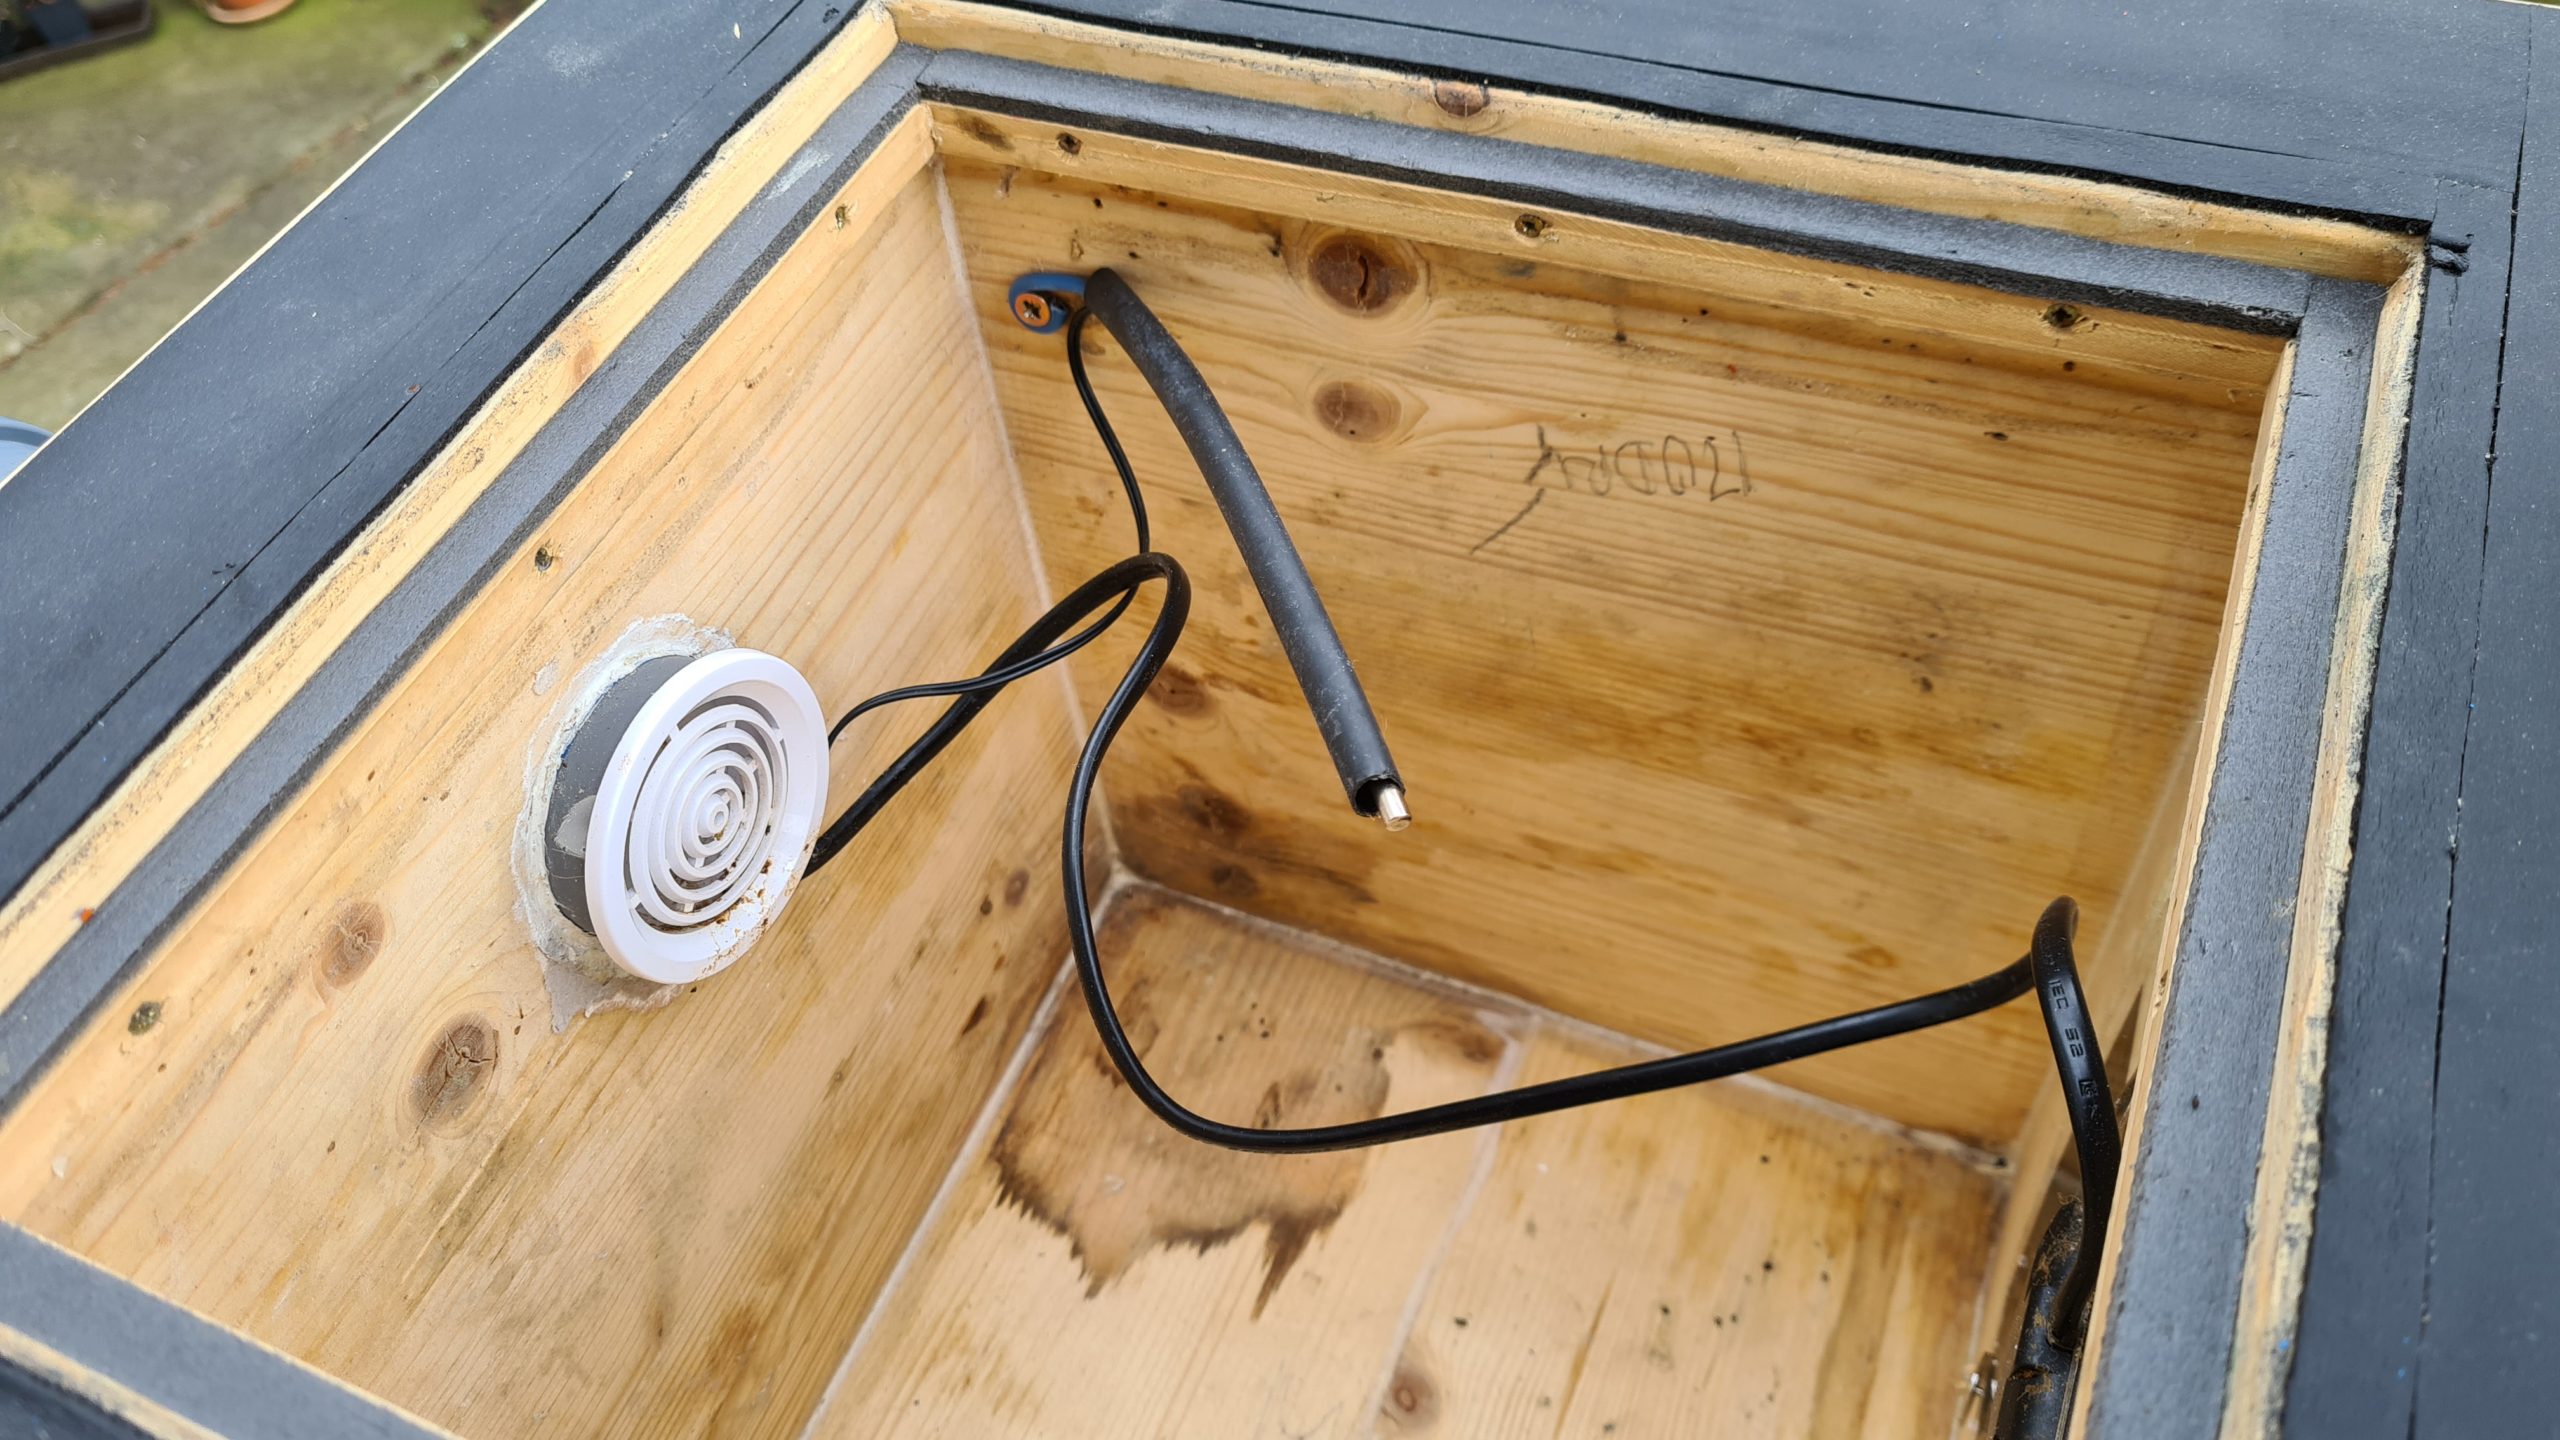
Heating plate and temperature sensor
Photo: O. Hercog 2021
Heating plate and temperature sensor
Photo: O. Hercog 2021
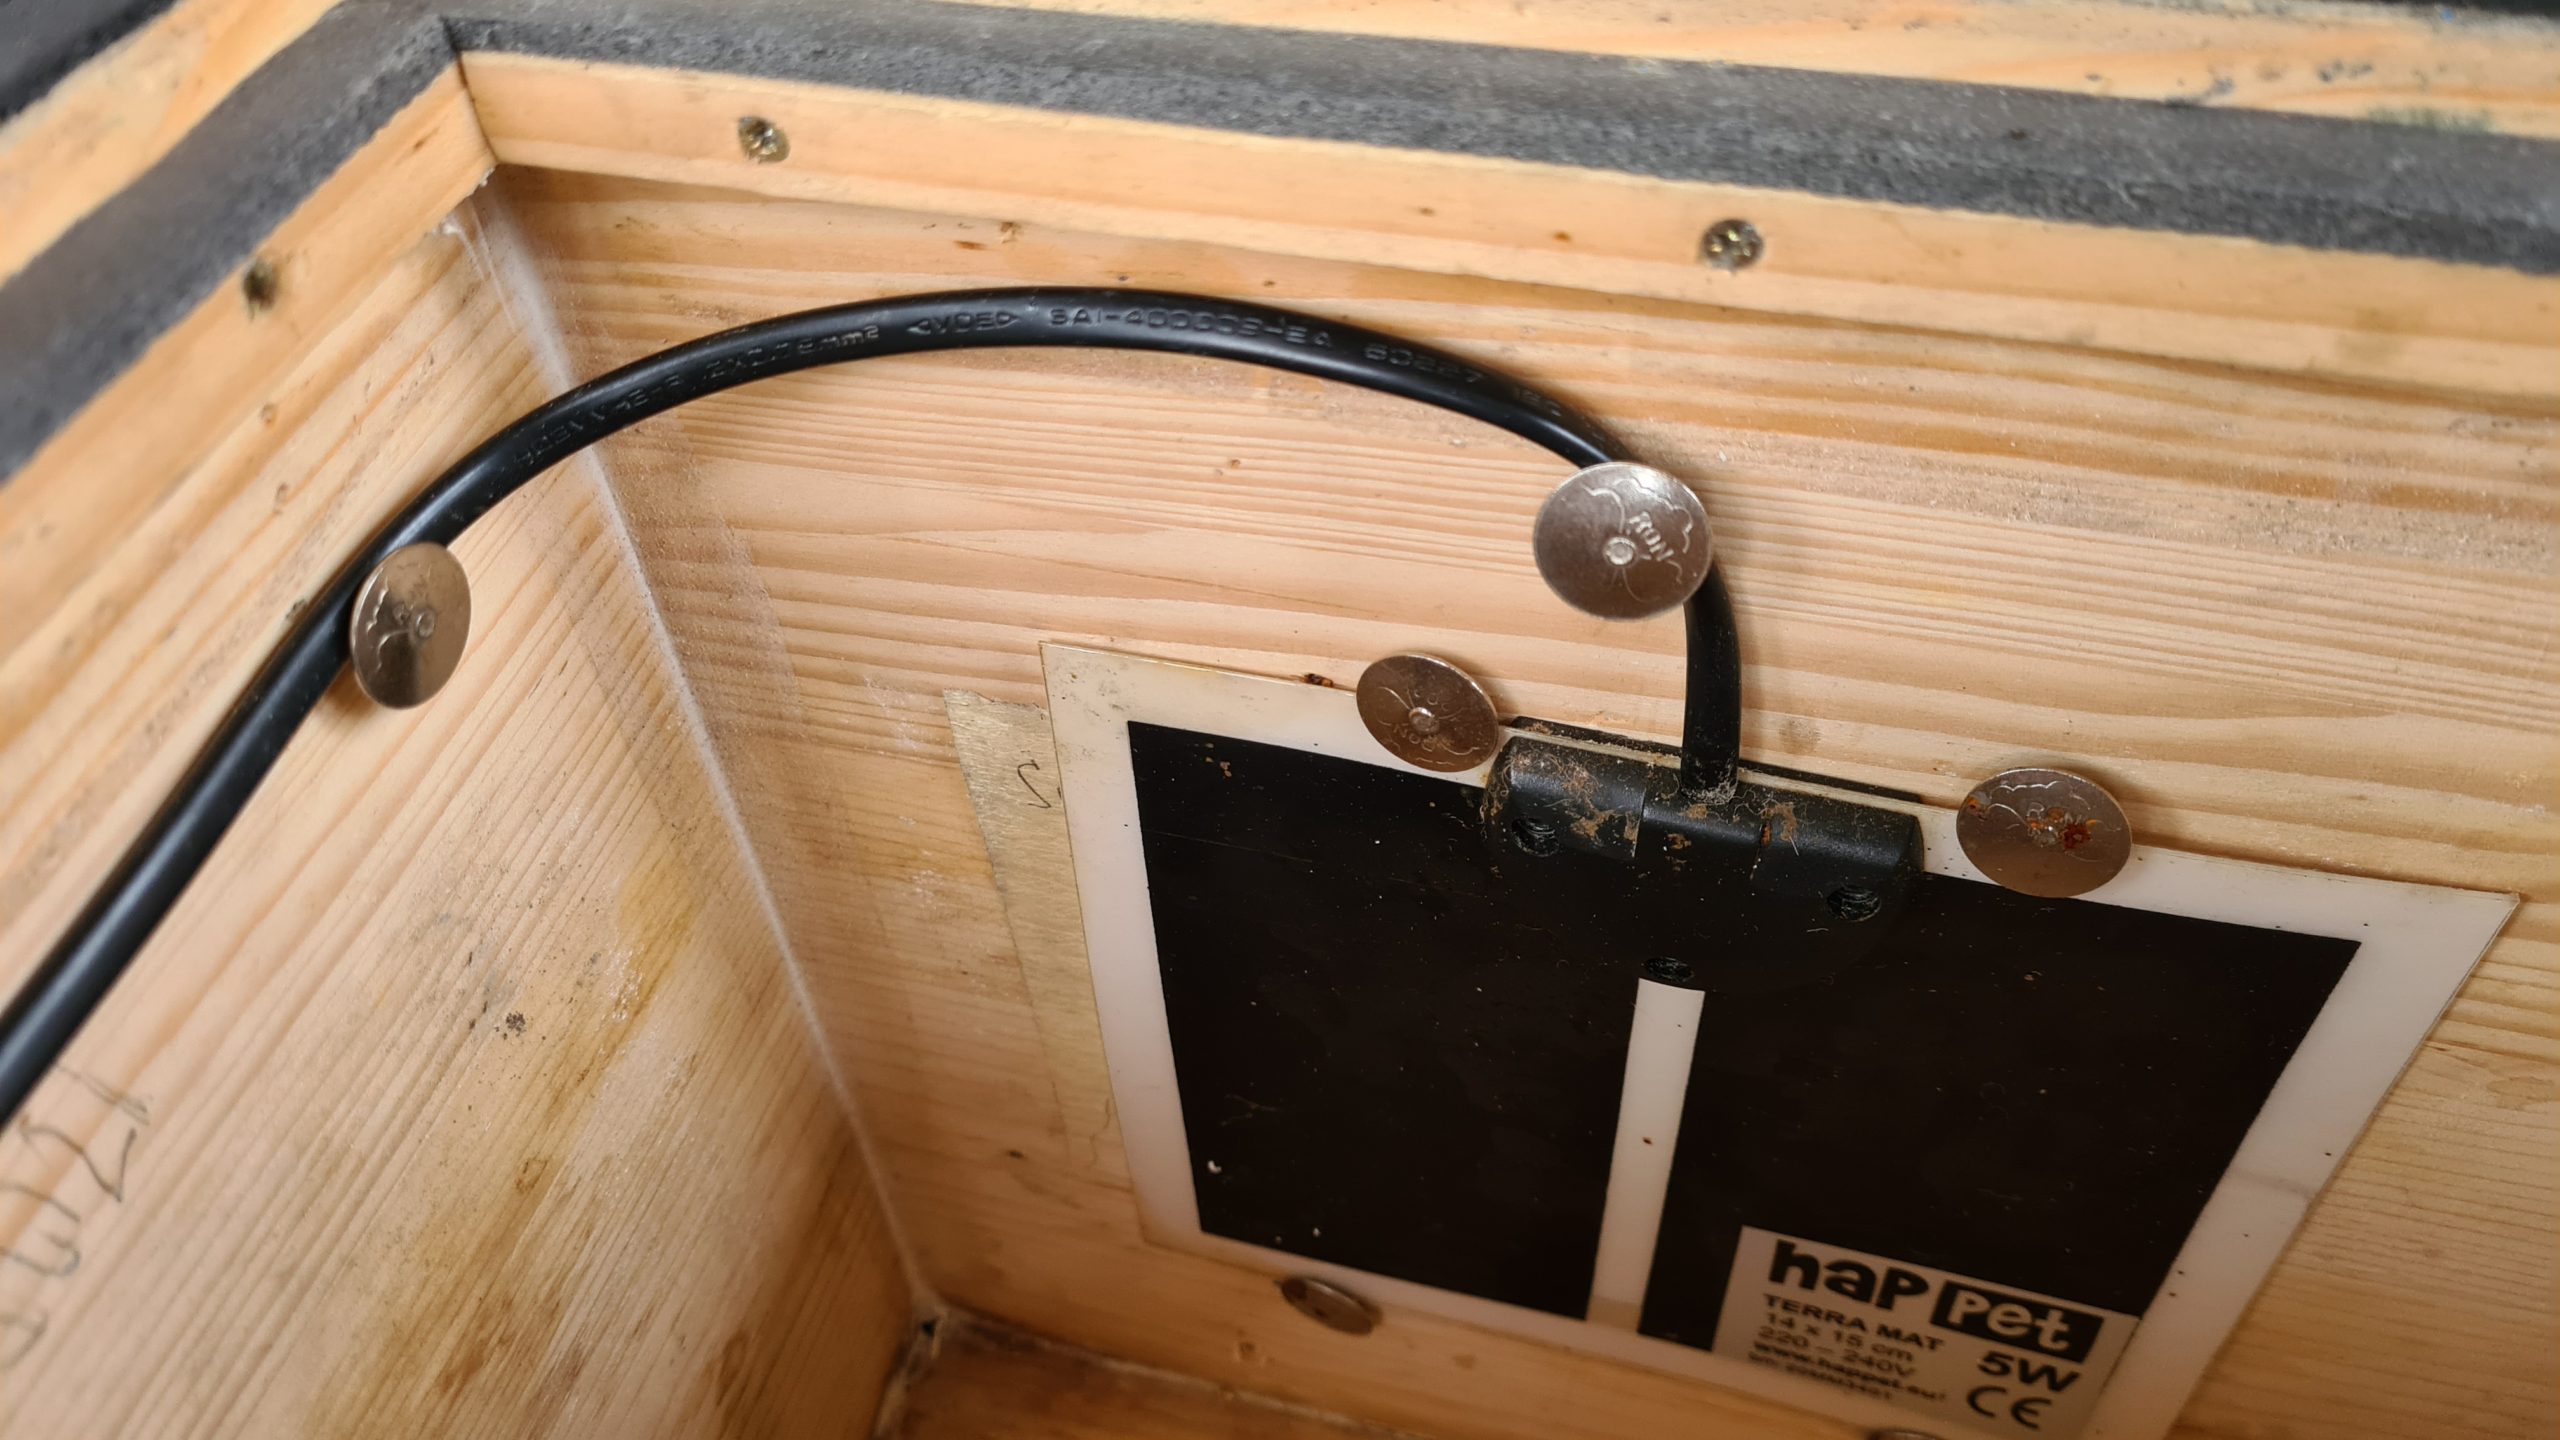
Attaching the heating plate with pins without puncturing
Photo: O. Hercog 2021
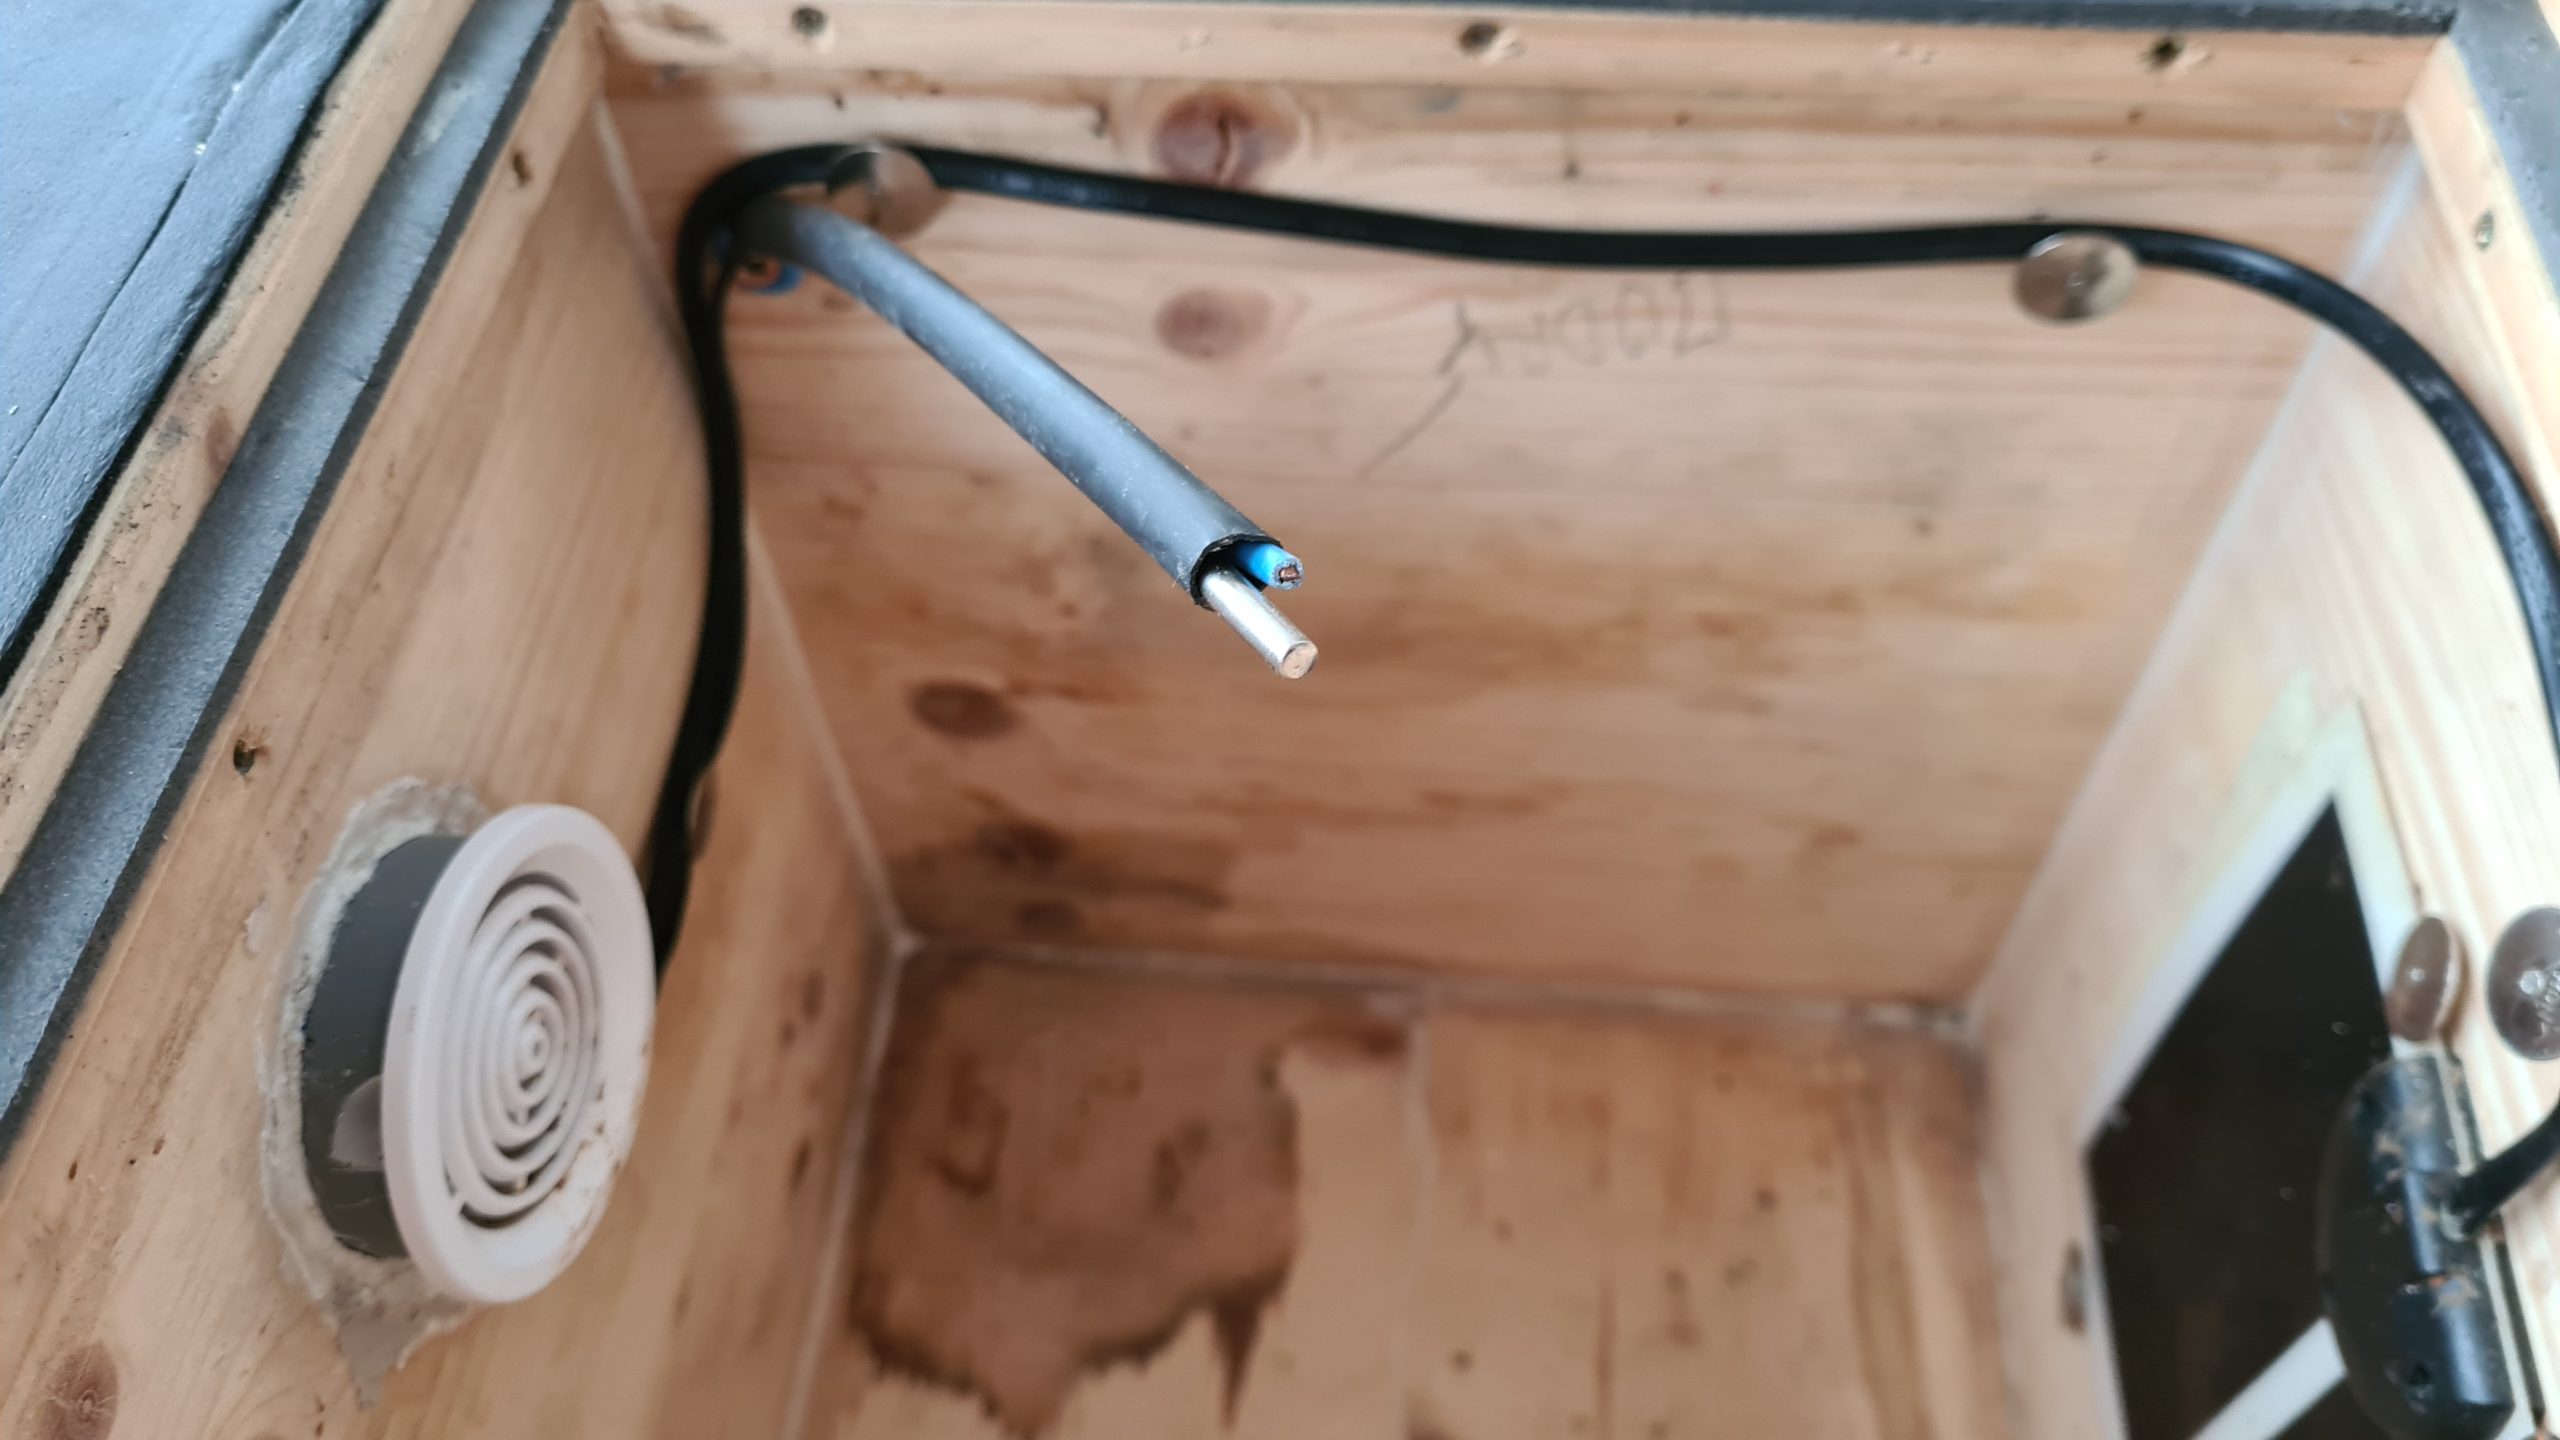
Temperature sensor
Photo: O. Hercog 2021
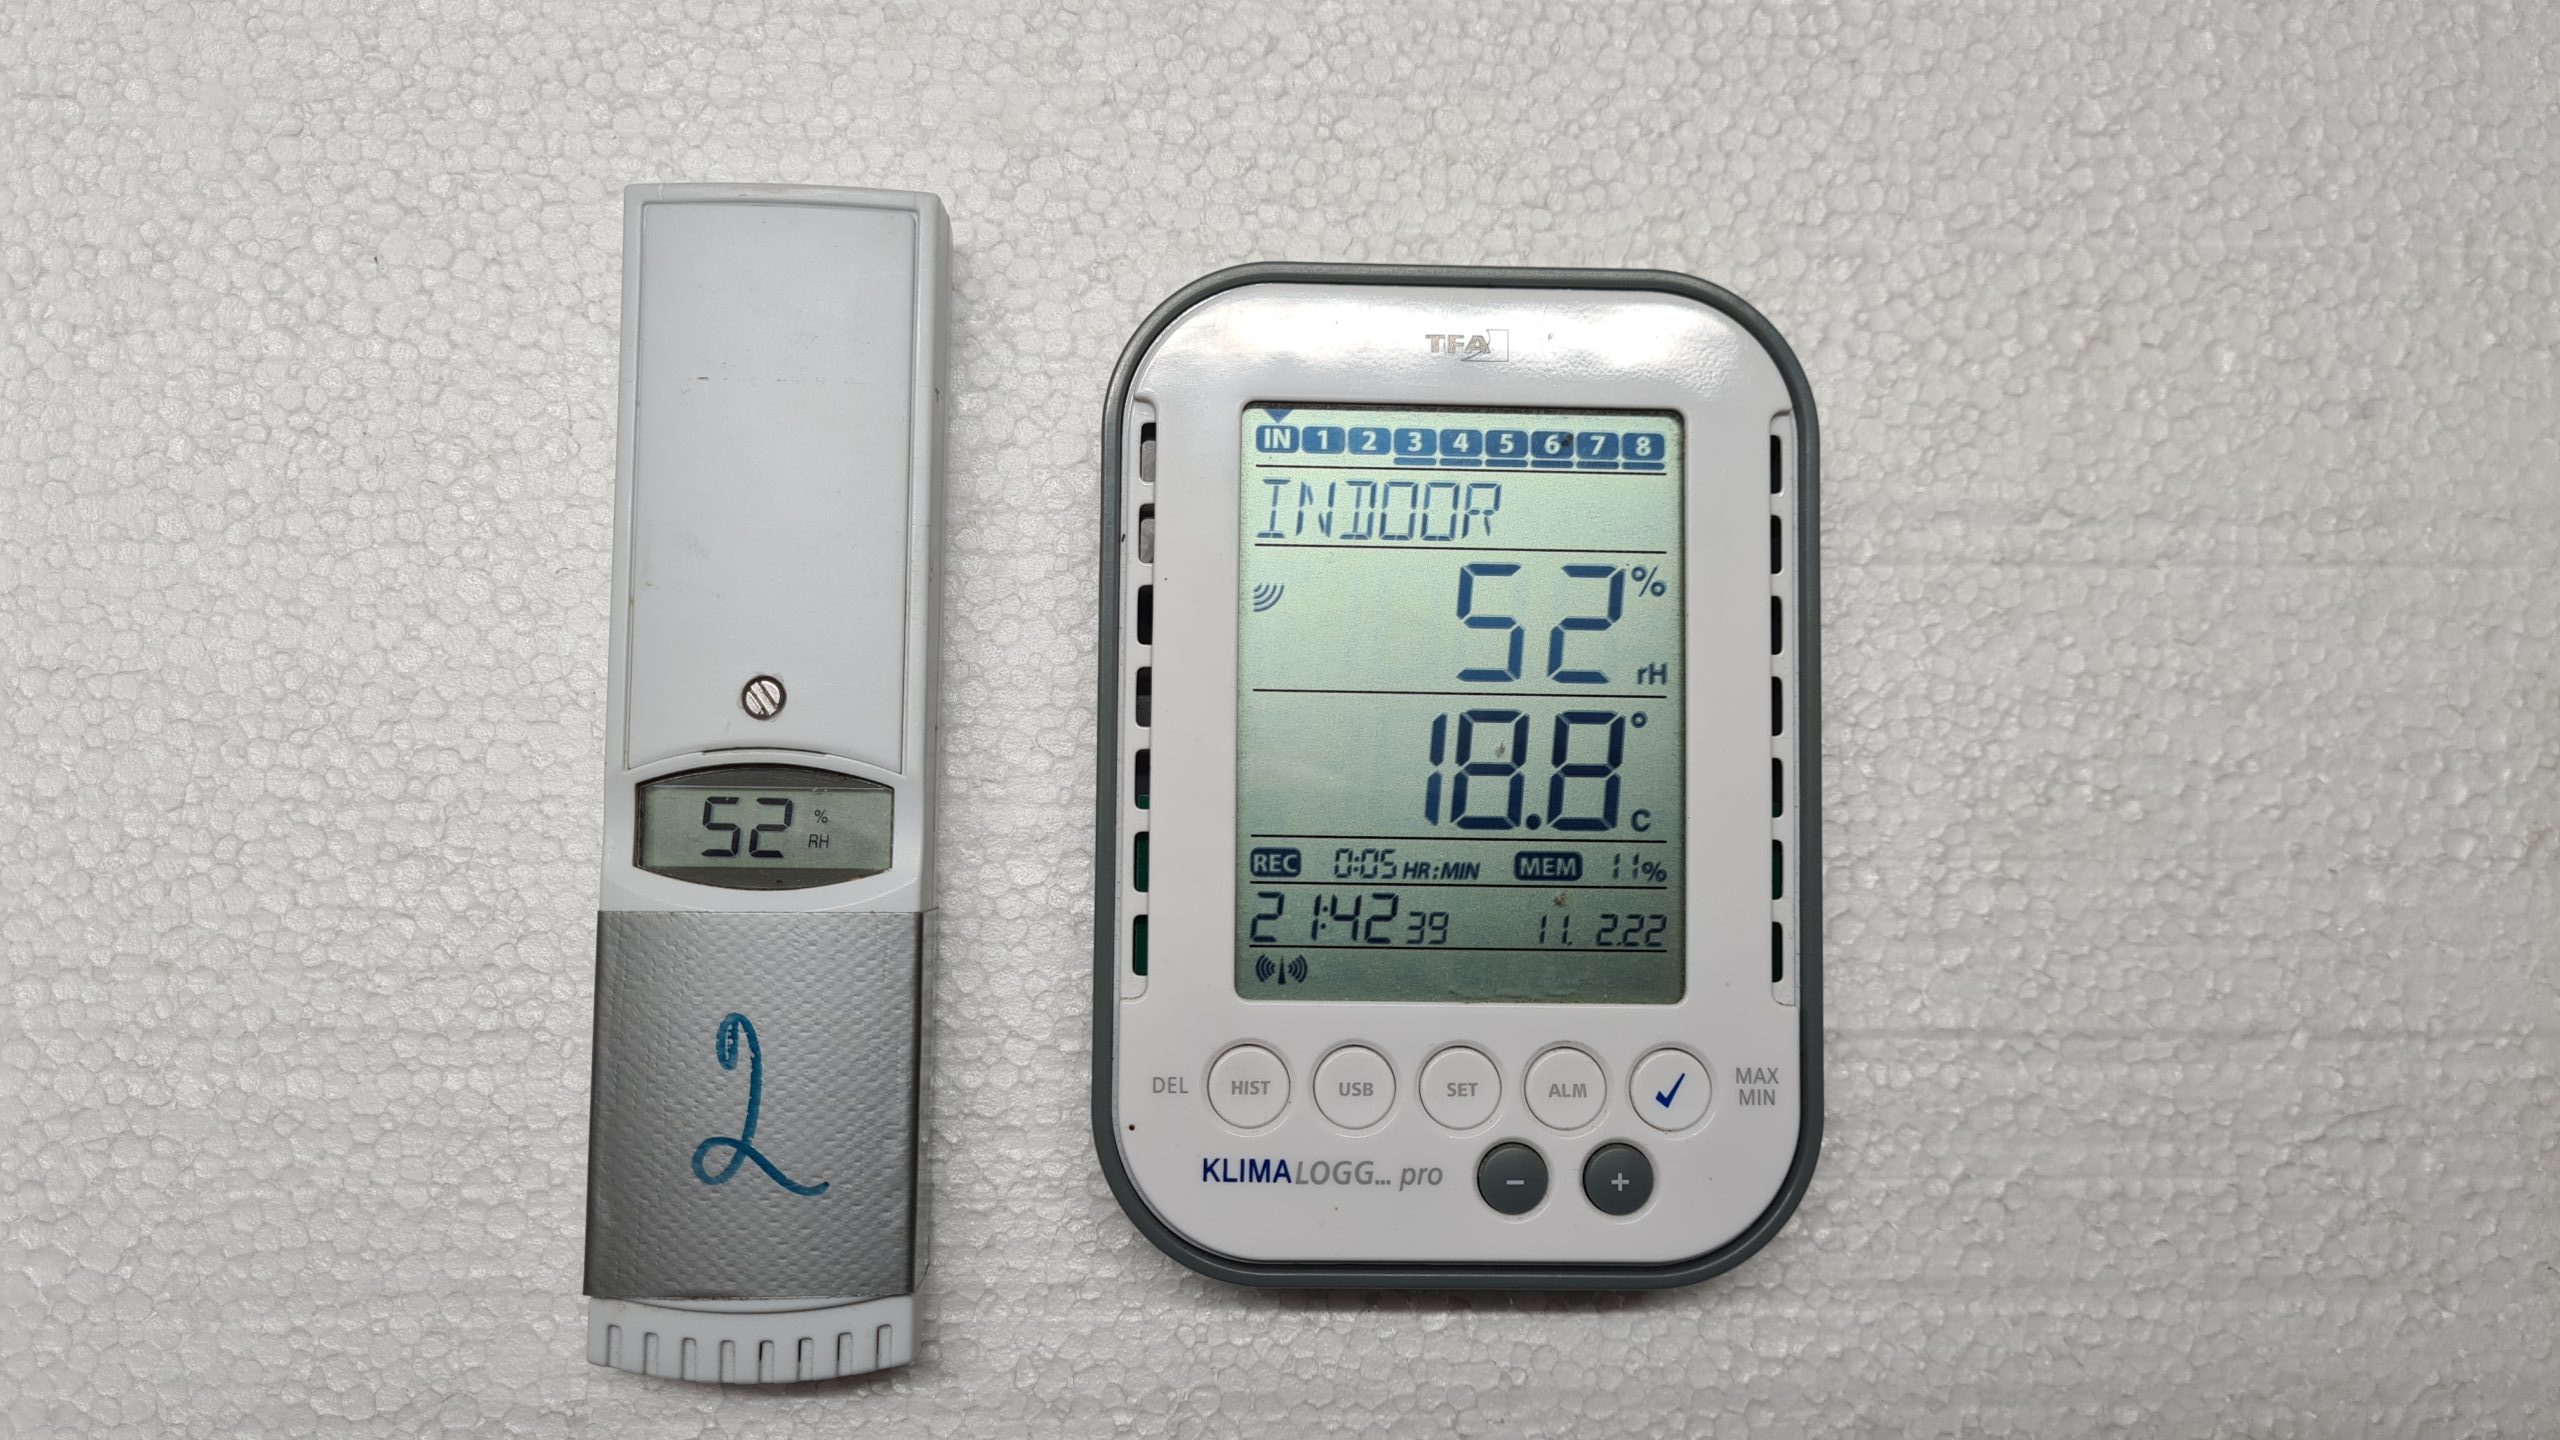
Temperature measurement kit
Photo: O. Hercog 2021
Measuring temperatures in ulcers
Photo: O. Hercog 2021

Graph 1 – Measurement of temperatures in a beehive with a 5W heating plate and XH-W3001 220V digital thermostat
O. Hercog measured

Figure 2 – Measuring temperatures in the hive with a 5W heating plate and XH-W3001 220V digital thermostat
O. Hercog measured

Graph 3 – Temperature measurements in a beehive with a 5W heating plate and XH-W3001 220V digital thermostat – comparison with other beehives – Measured by Ondřej Hercog