Bumblebees PLUS – Rain Cover
Photo O. Hercog
Try it yourself and see – it's a doddle 🙂
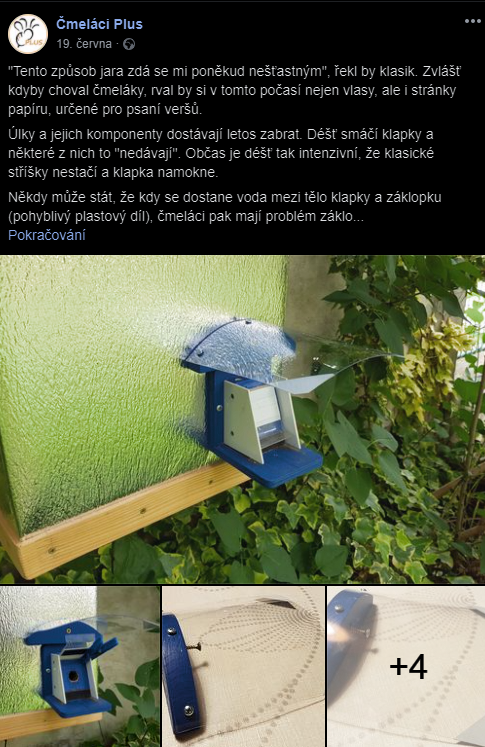
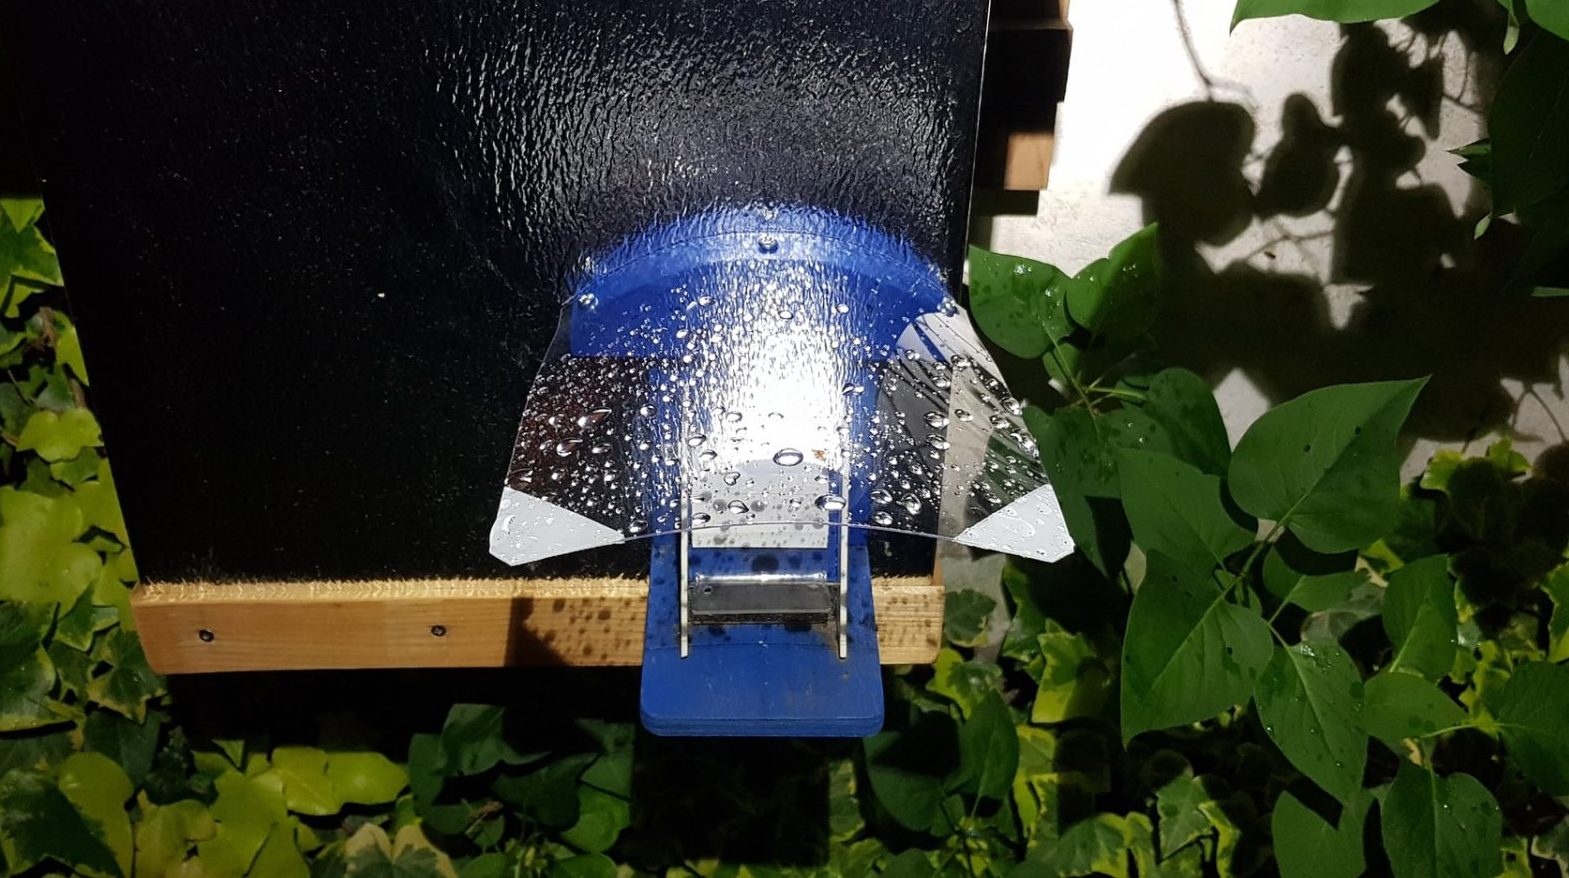
Bumblebees PLUS – Roof over the flap
Photo O. Hercog 6/2020
Roof made according to the Čmeláci PLUS instructions
Bumblebees PLUS – Roof over the flap
Photo O. Hercog 6/2020
Fitting a canopy over a commercially manufactured flap with canopy dimensions as per our instructions
Adapt the dimensions according to the mounting of the damper on your hive!
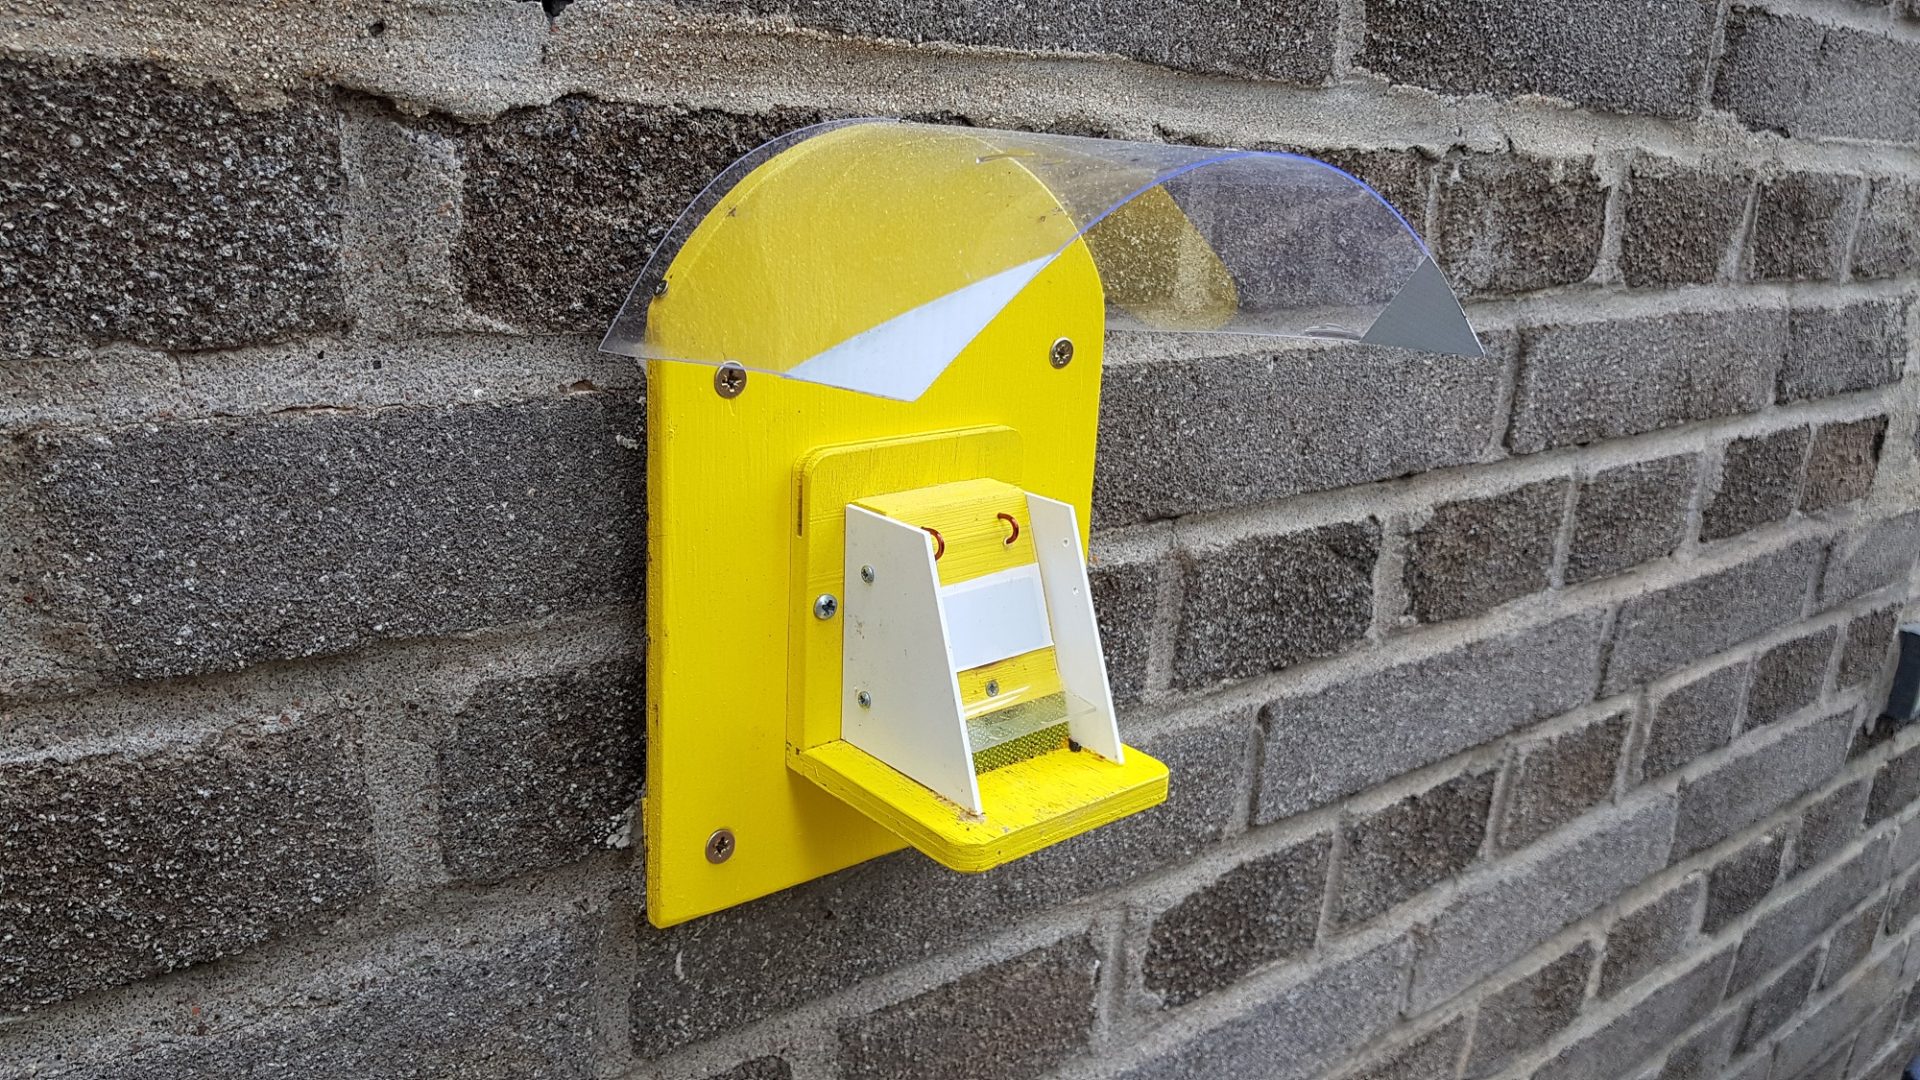
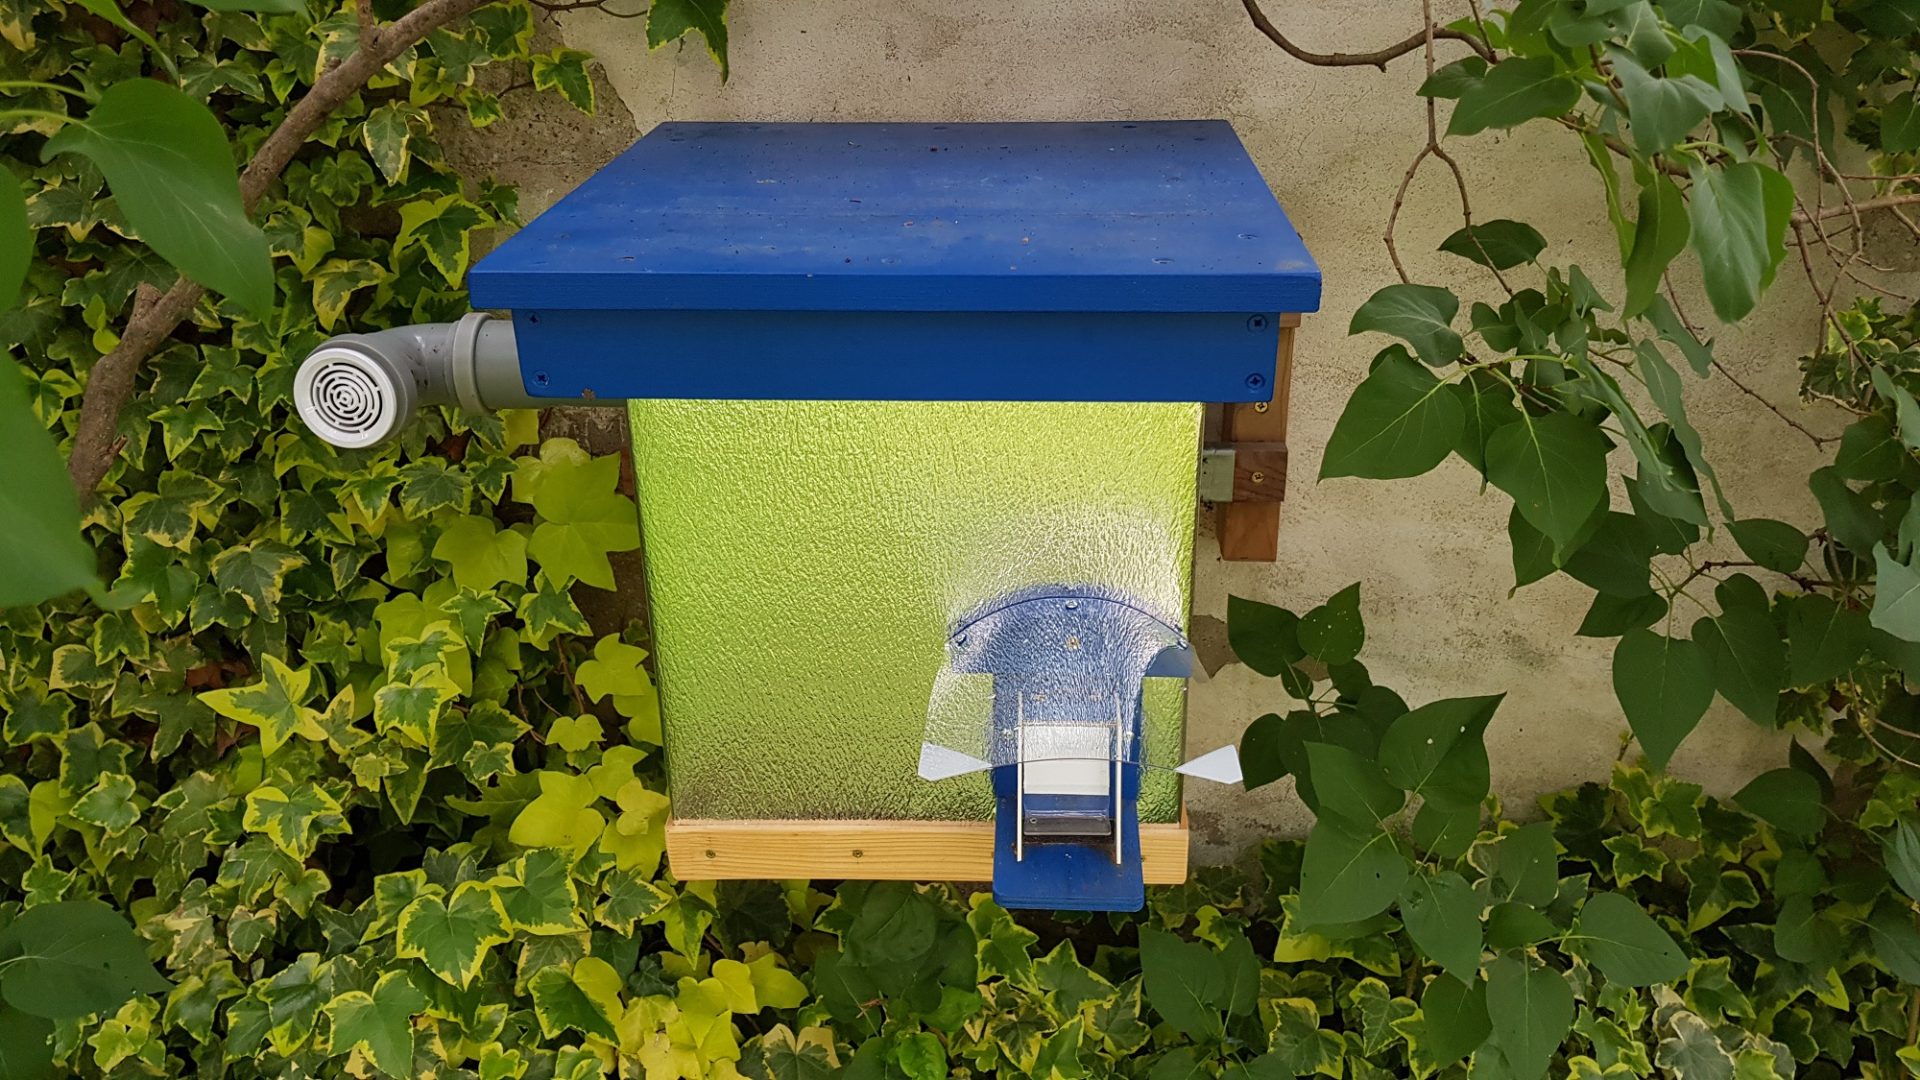
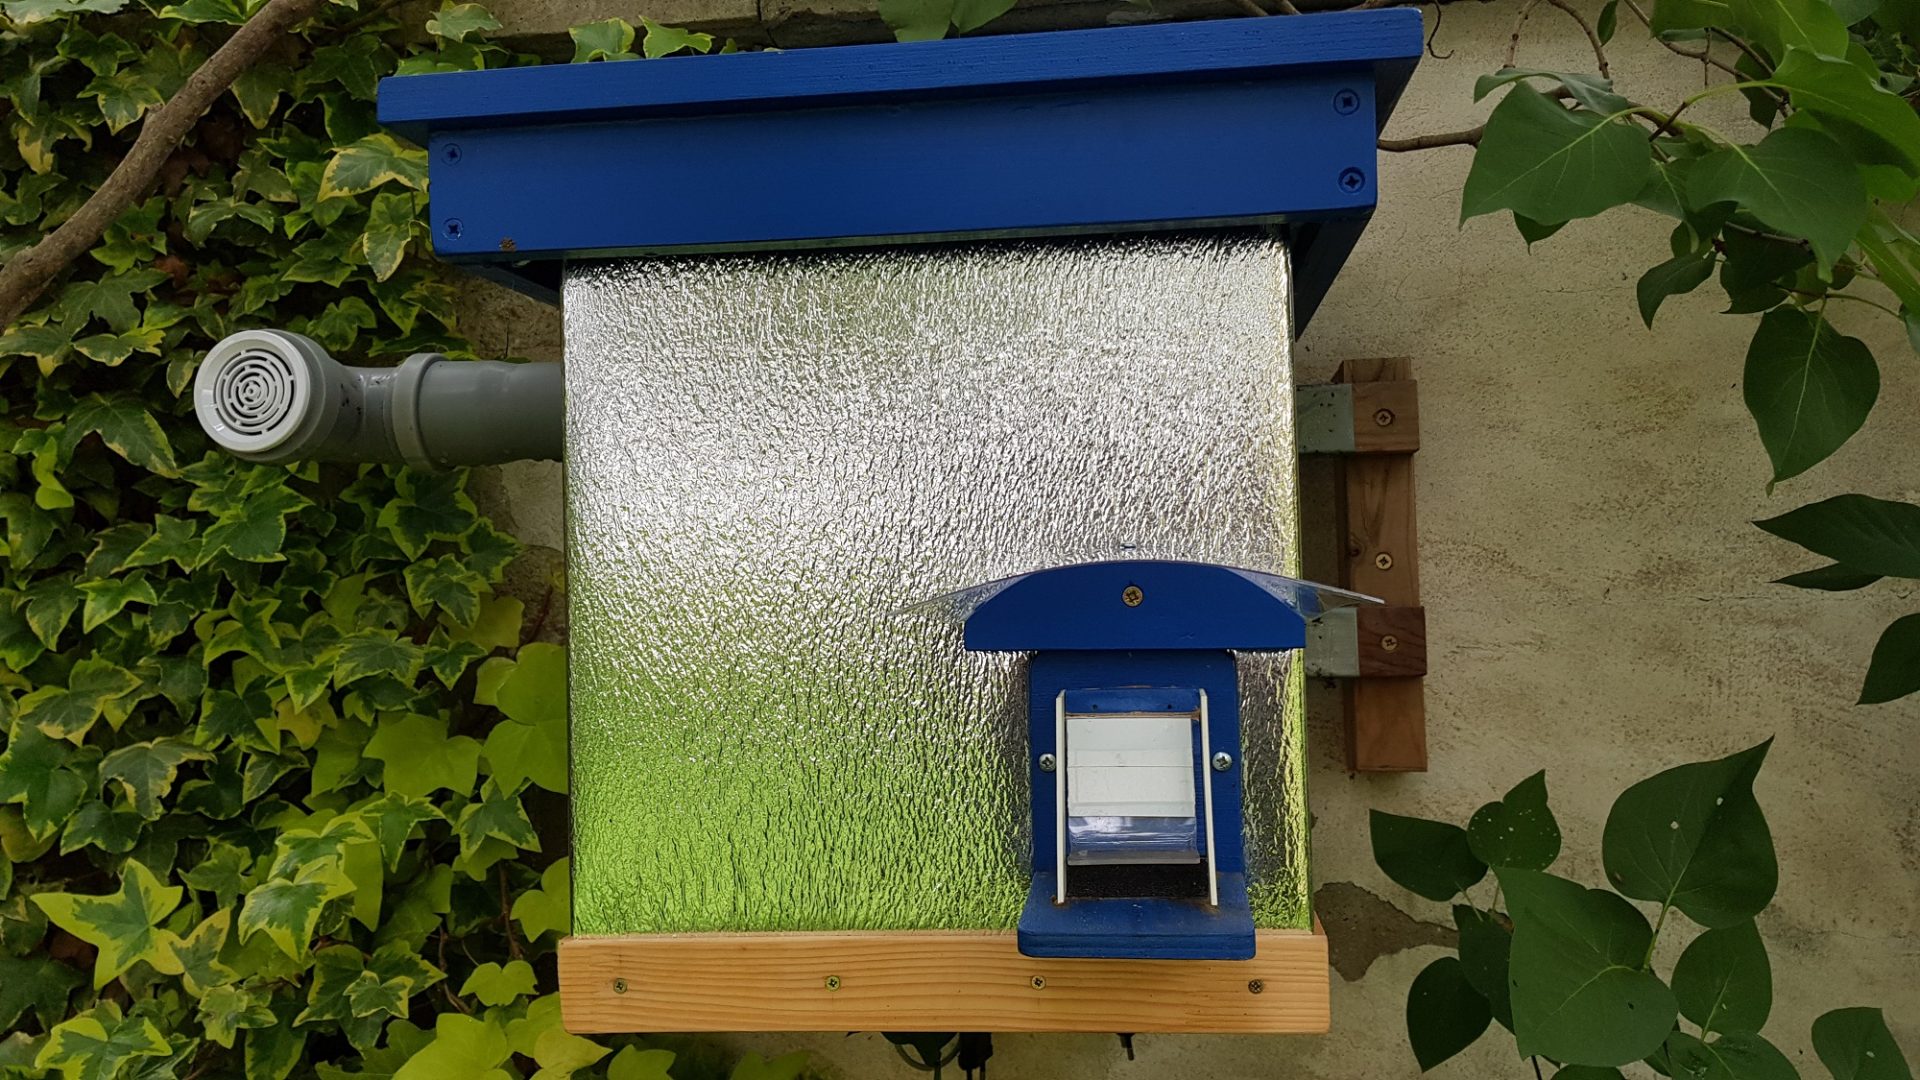
Bumblebees PLUS – Covers for flaps located on the wall
Photo O, Hercog 6/2020
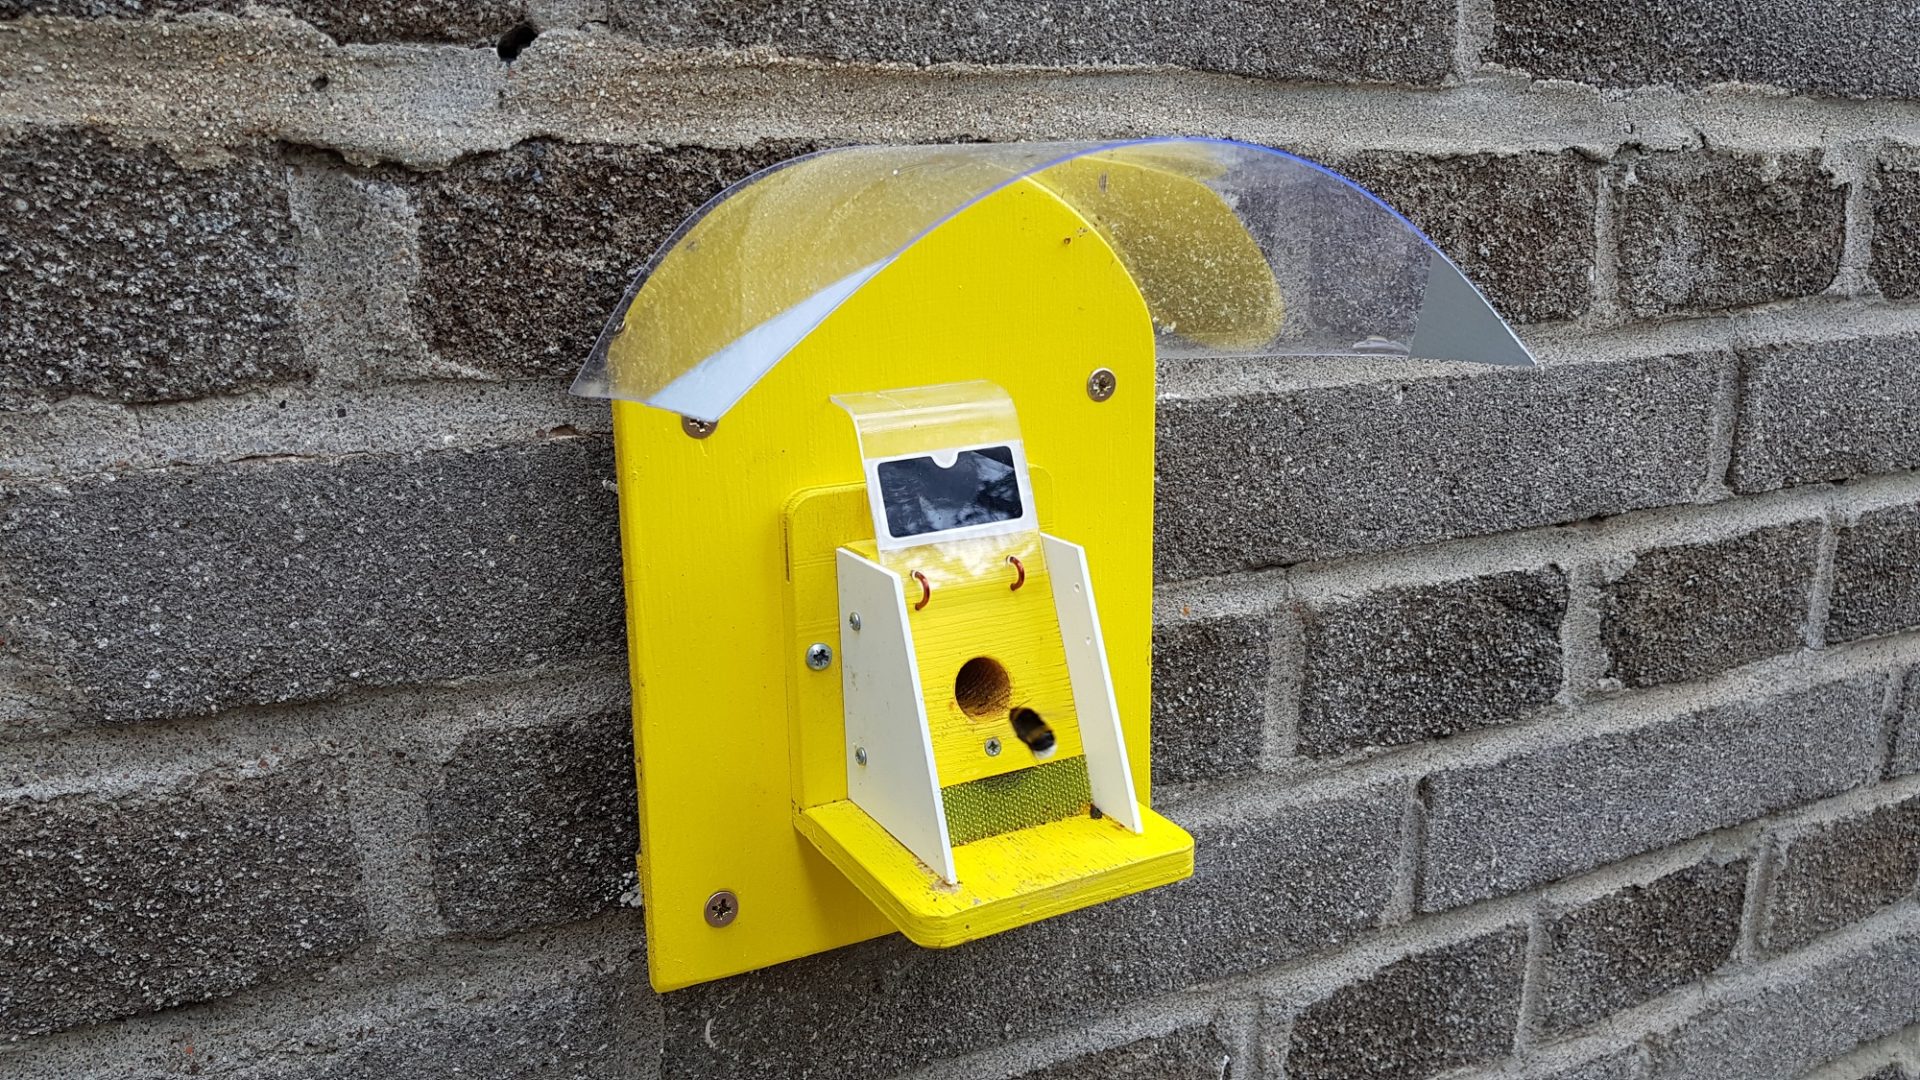
Bumblebees PLUS – Covers for flaps located on the wall
Photo O, Hercog 6/2020
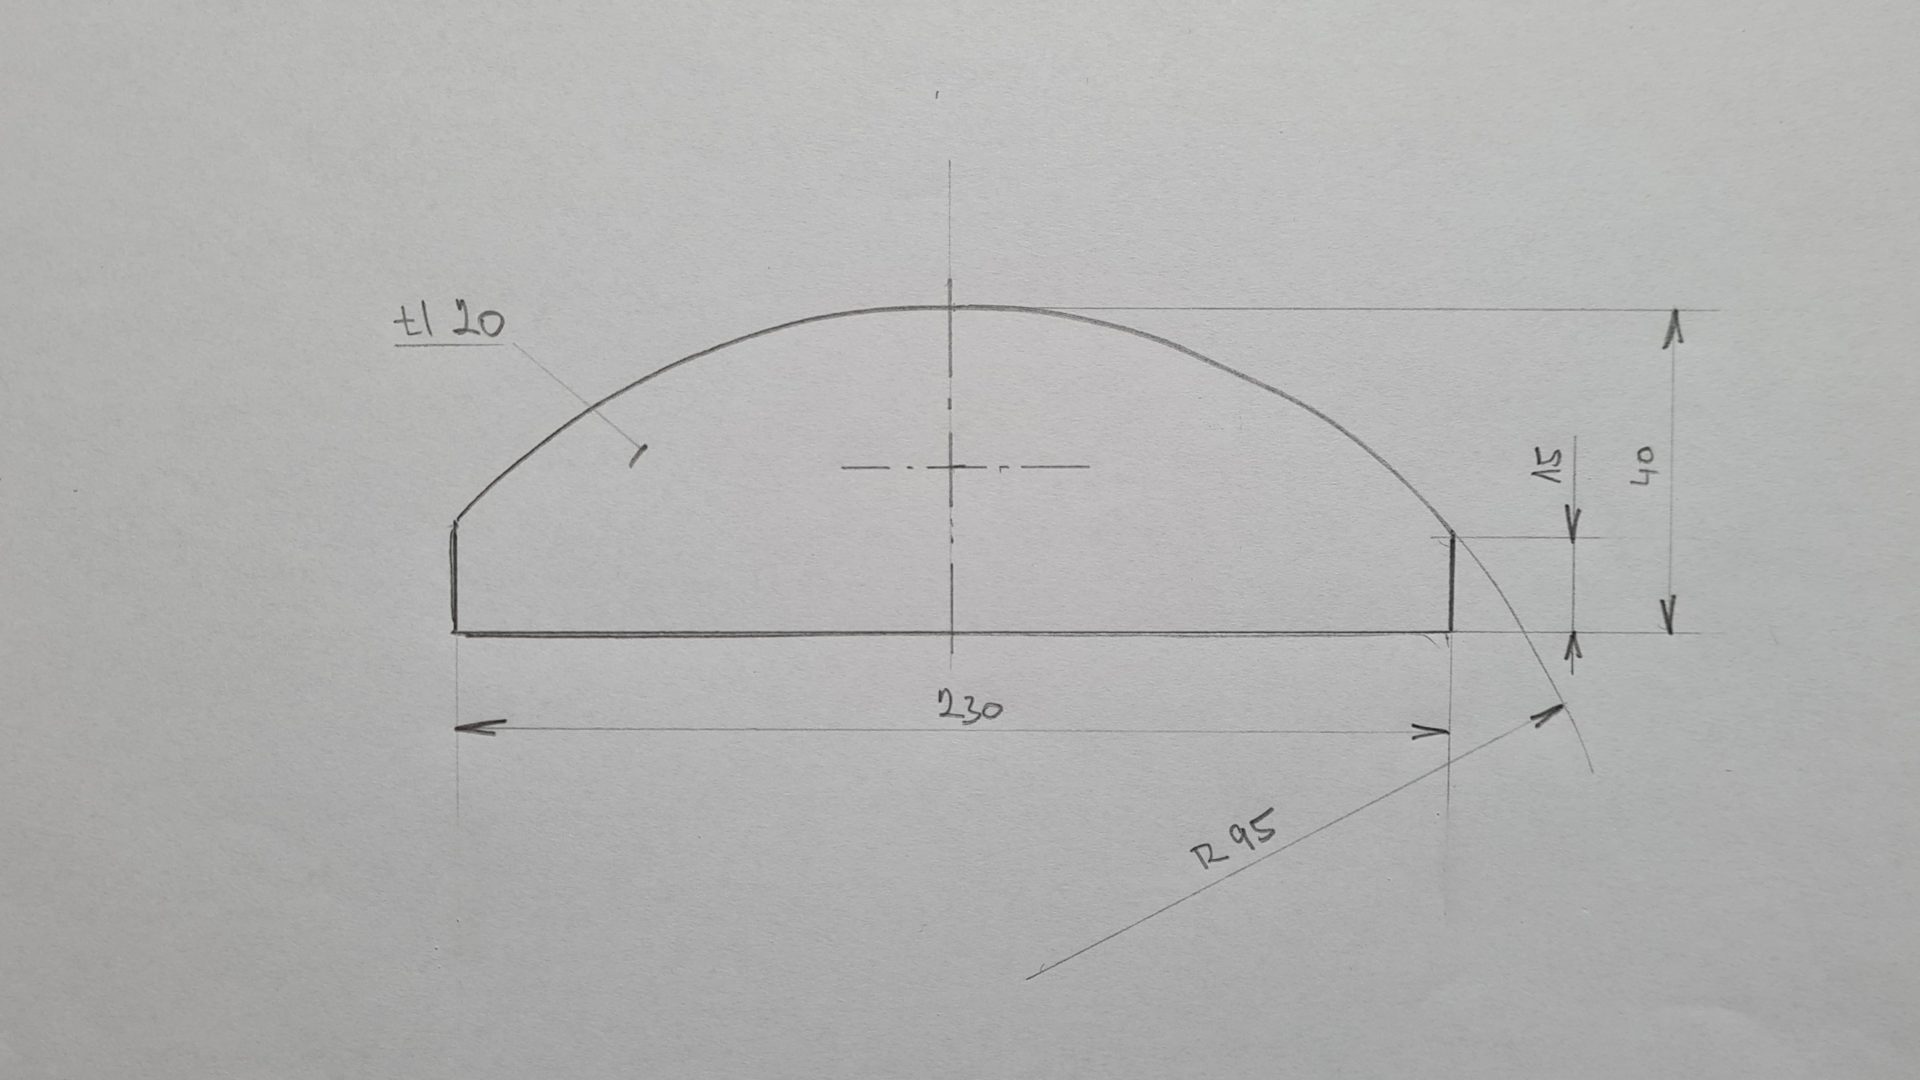
Bumblebees PLUS – Roof holder – drawing
O. Hercog 6/2020
Adjust the dimensions according to your purpose before carrying out the final surface test.
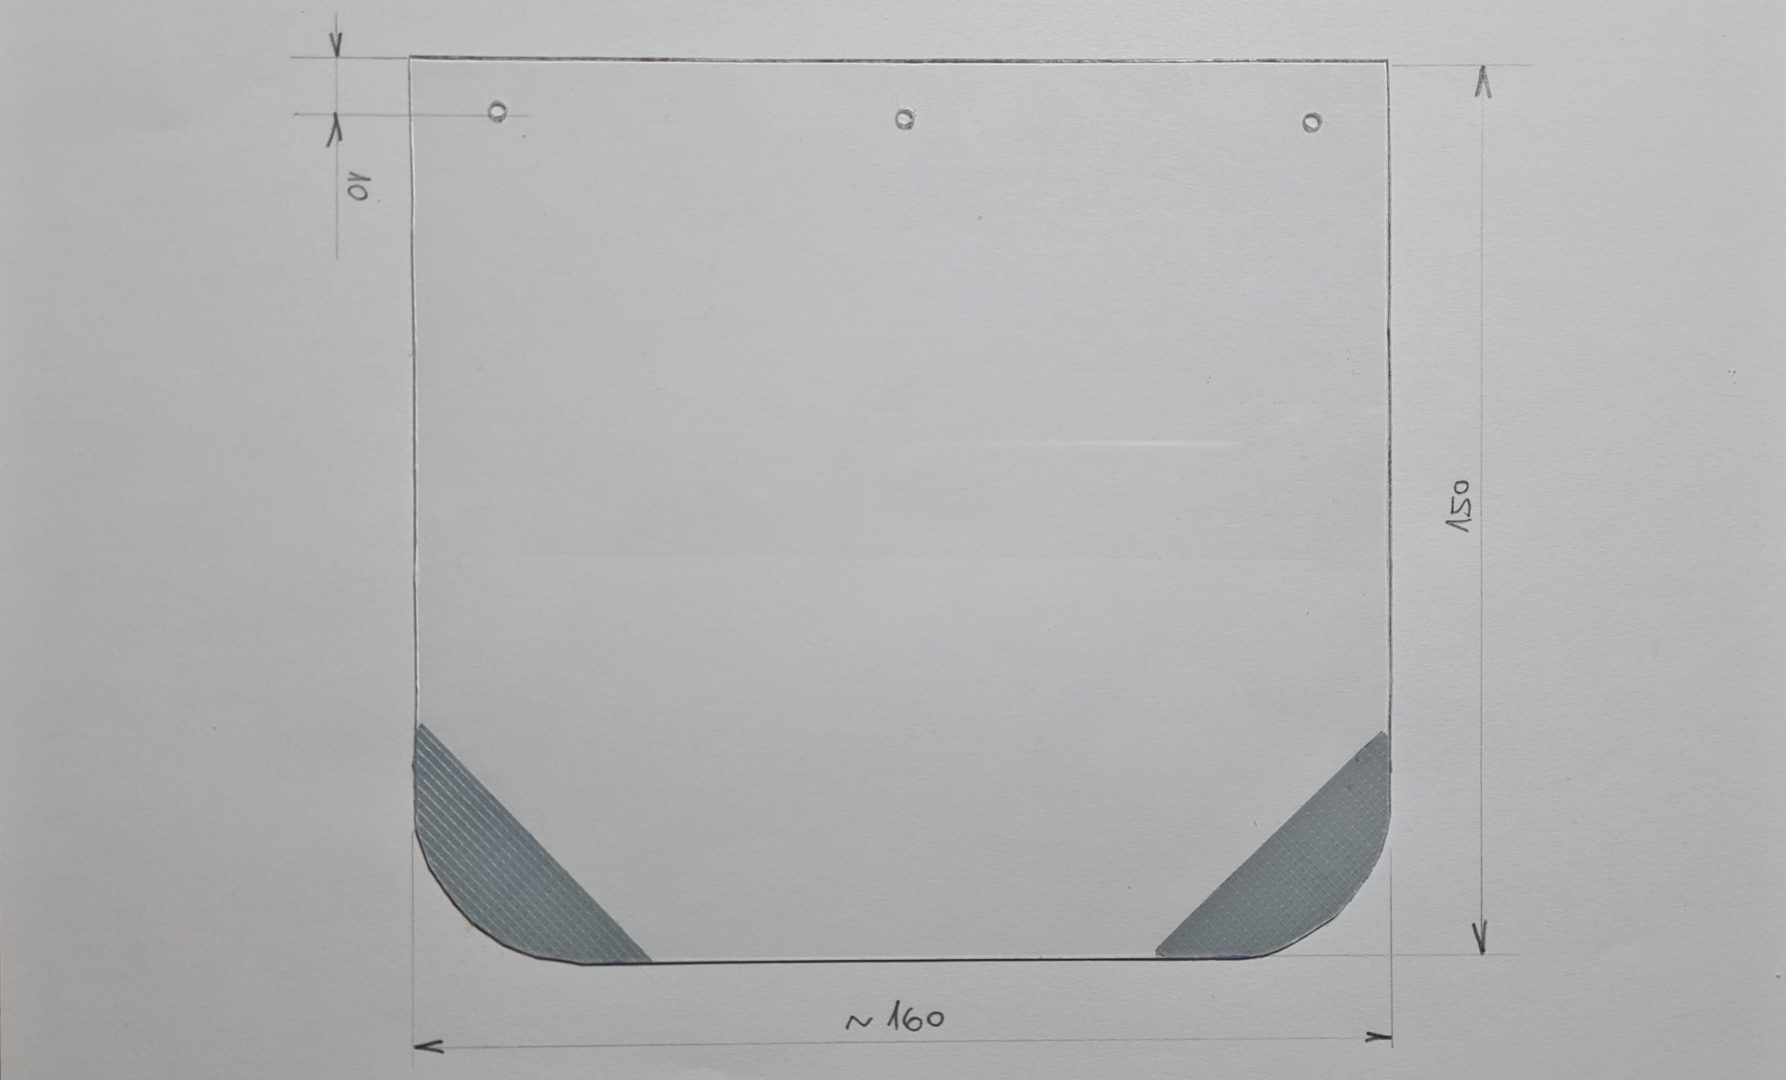
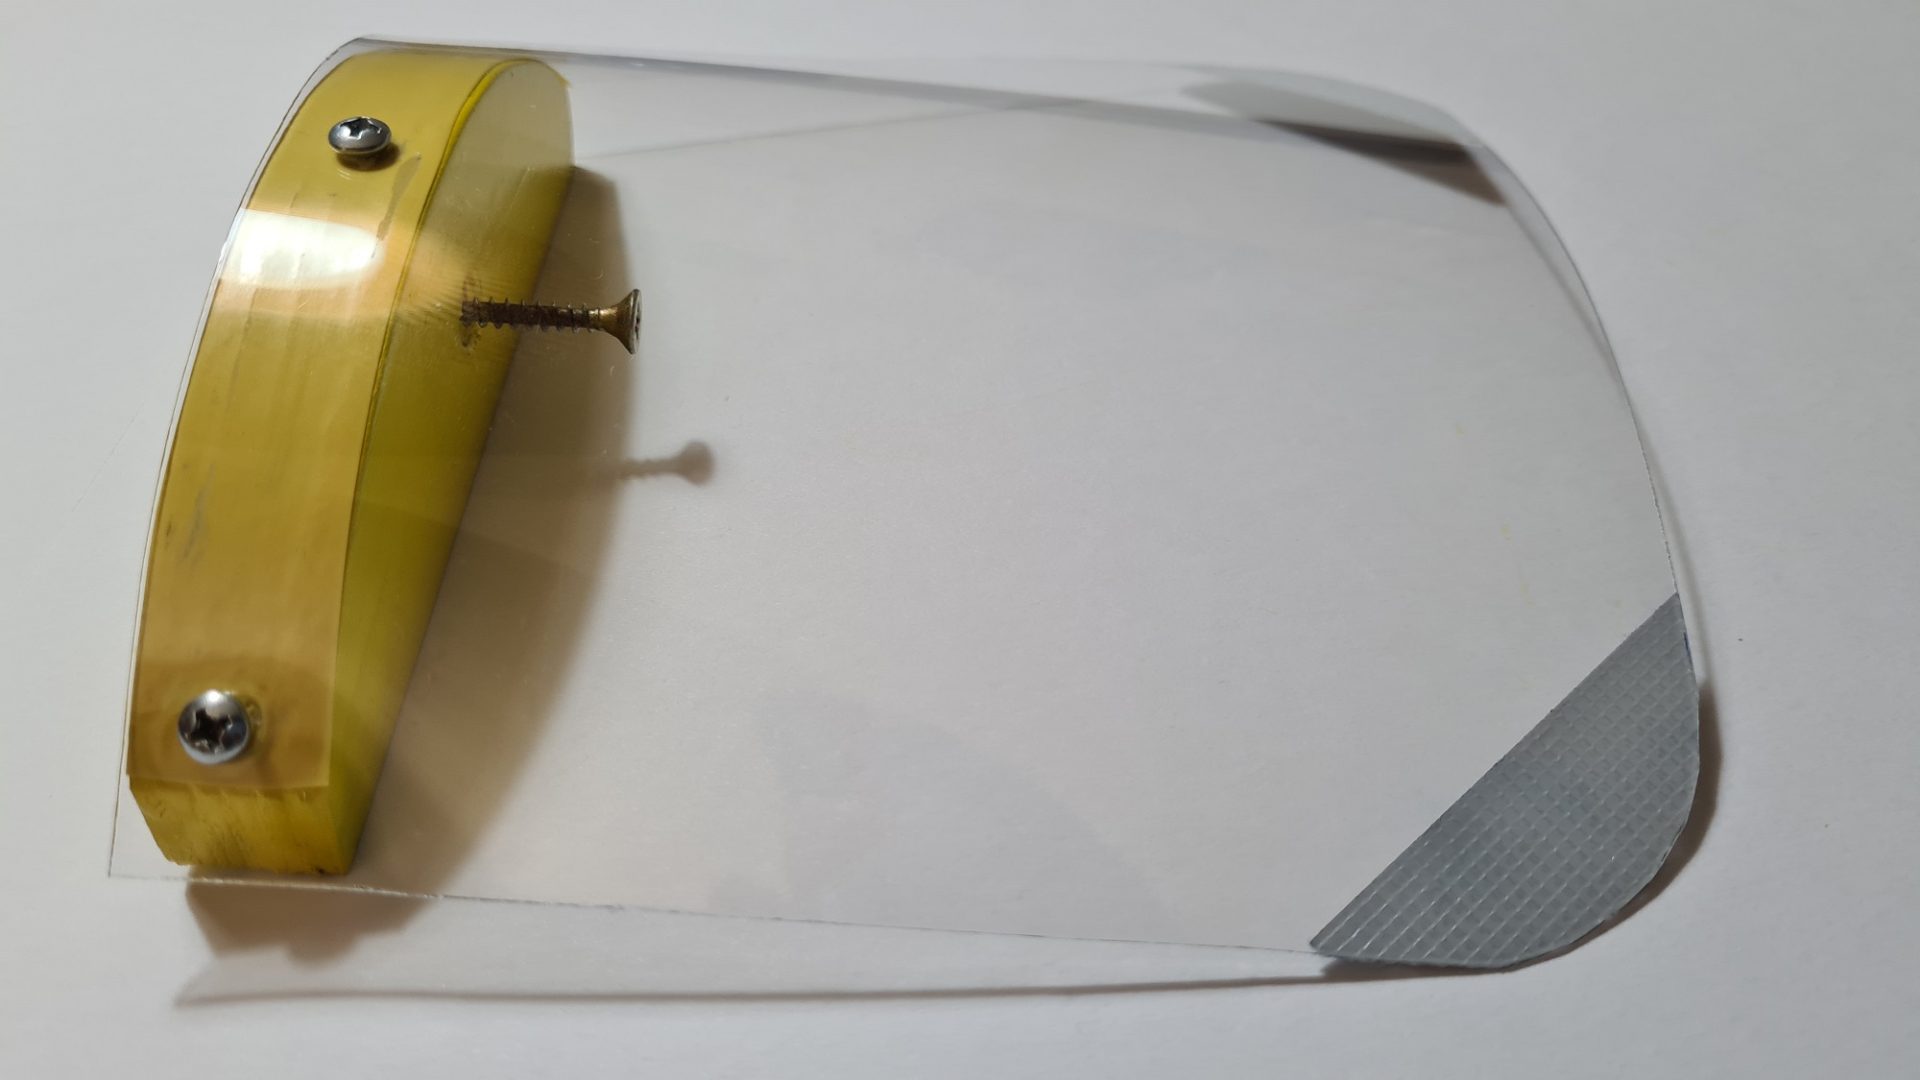
Polycarbonate canopy – dimensions
Photo O. Hercog 6/2020
Adjust the dimensions according to your task and the bracket you have made.
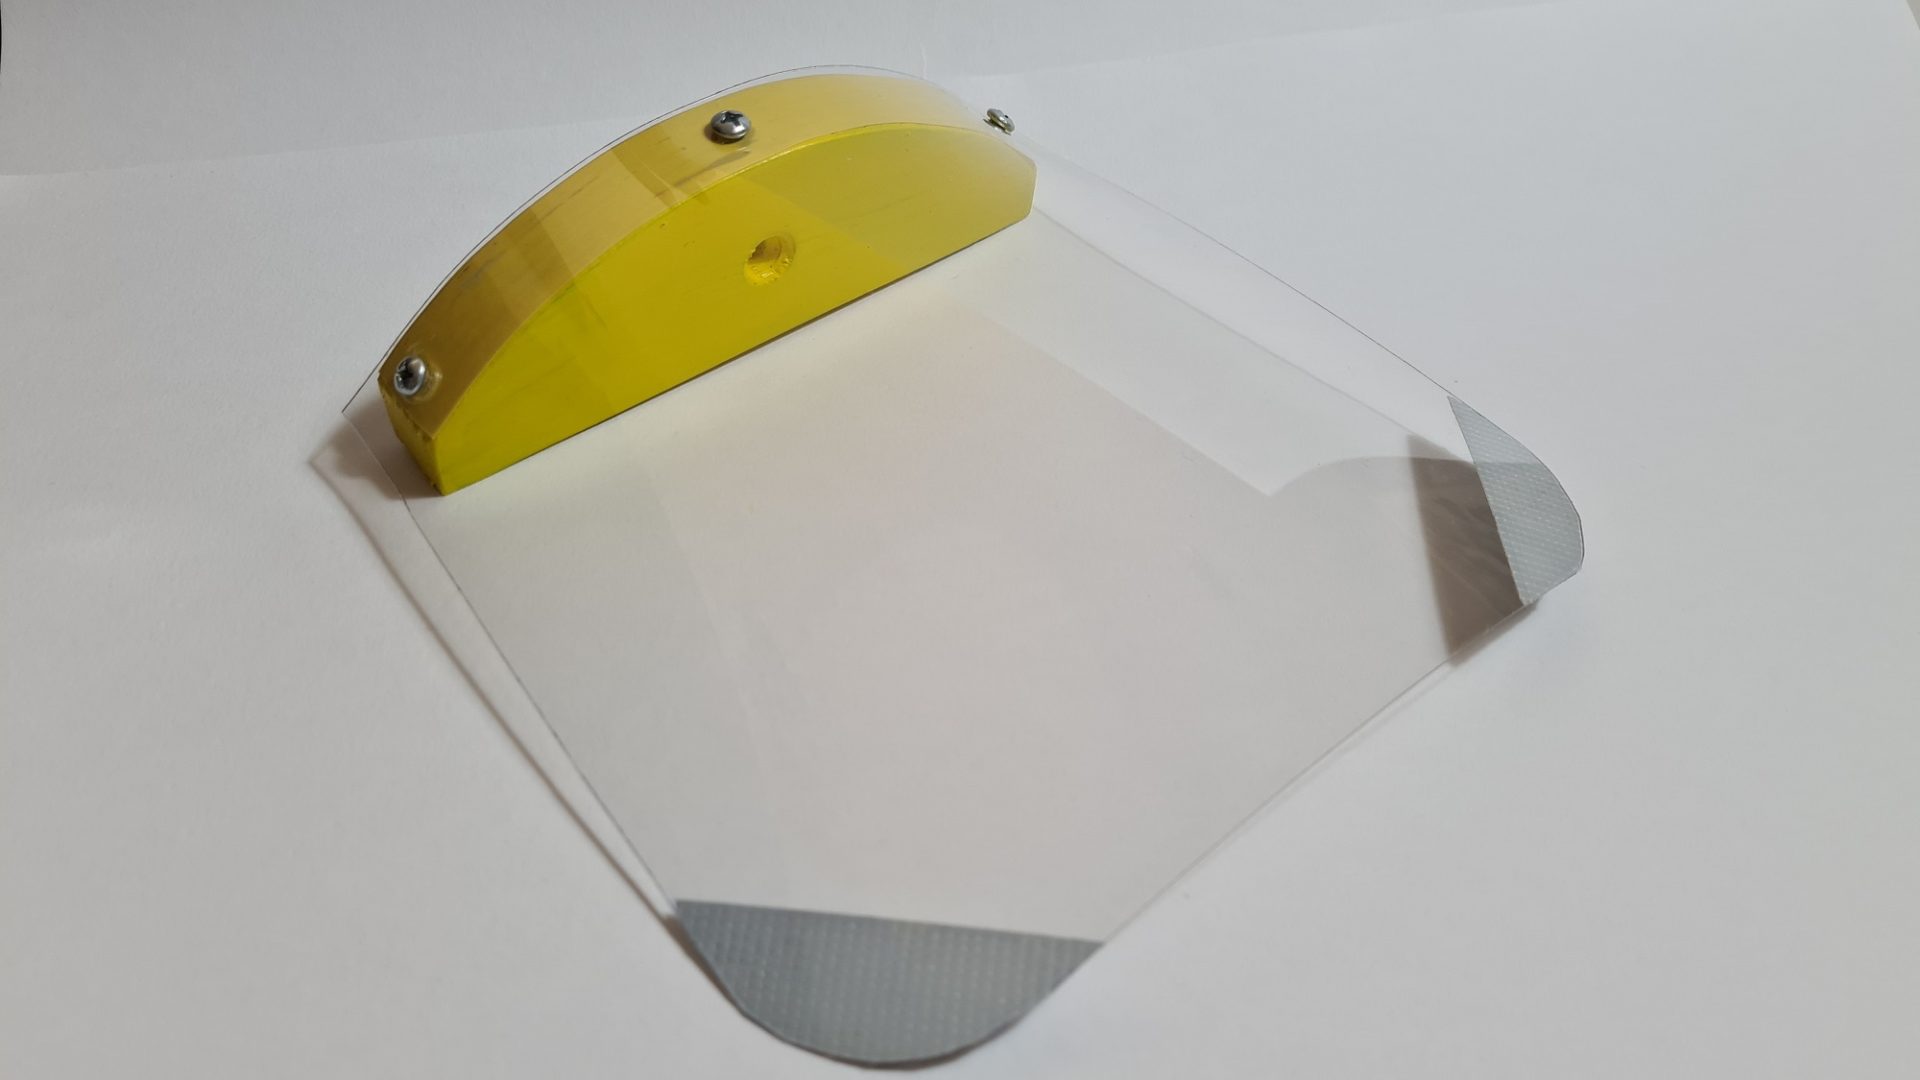
Bumblebees PLUS - Roof mounted on bracket
Photo O. Hercog 6/2020
Don't forget the overhang that covers the canopy bracket.
Bumblebees PLUS - Roof mounted on bracket
Photo O. Hercog 6/2020

Bumblebees PLUS - Roof mounted on bracket
Photo O. Hercog 6/2020
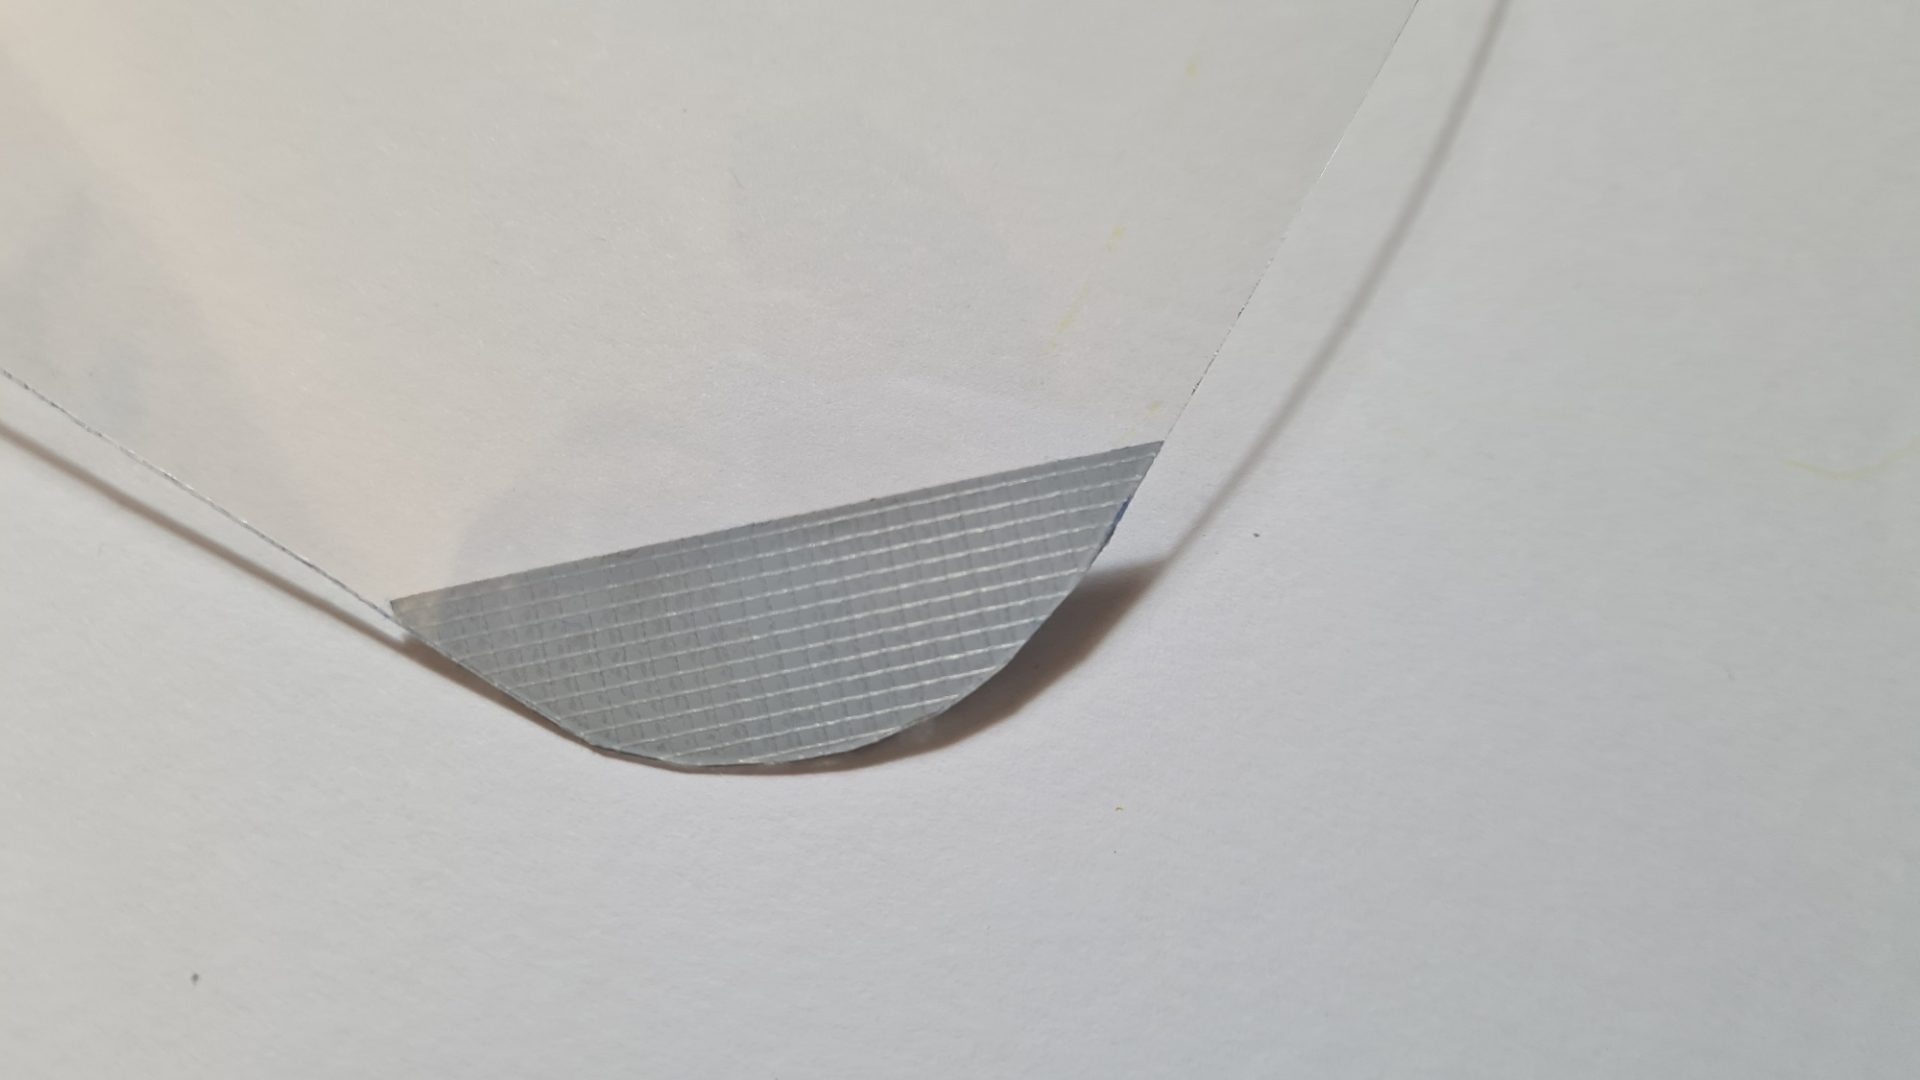
Bumblebees PLUS – Polycarbonate Roof – Rounding or Chamfering of a Corner
Photo O. Hercog 6/2020
Don't forget to round or bevel the edge of the roof so you don't injure yourself on it when moving the hive!
Bumblebees PLUS – Roof over the flap
Photo: O Hercog, June 2020
Canopy made according to the PLUS Bumblebees instructions – side view
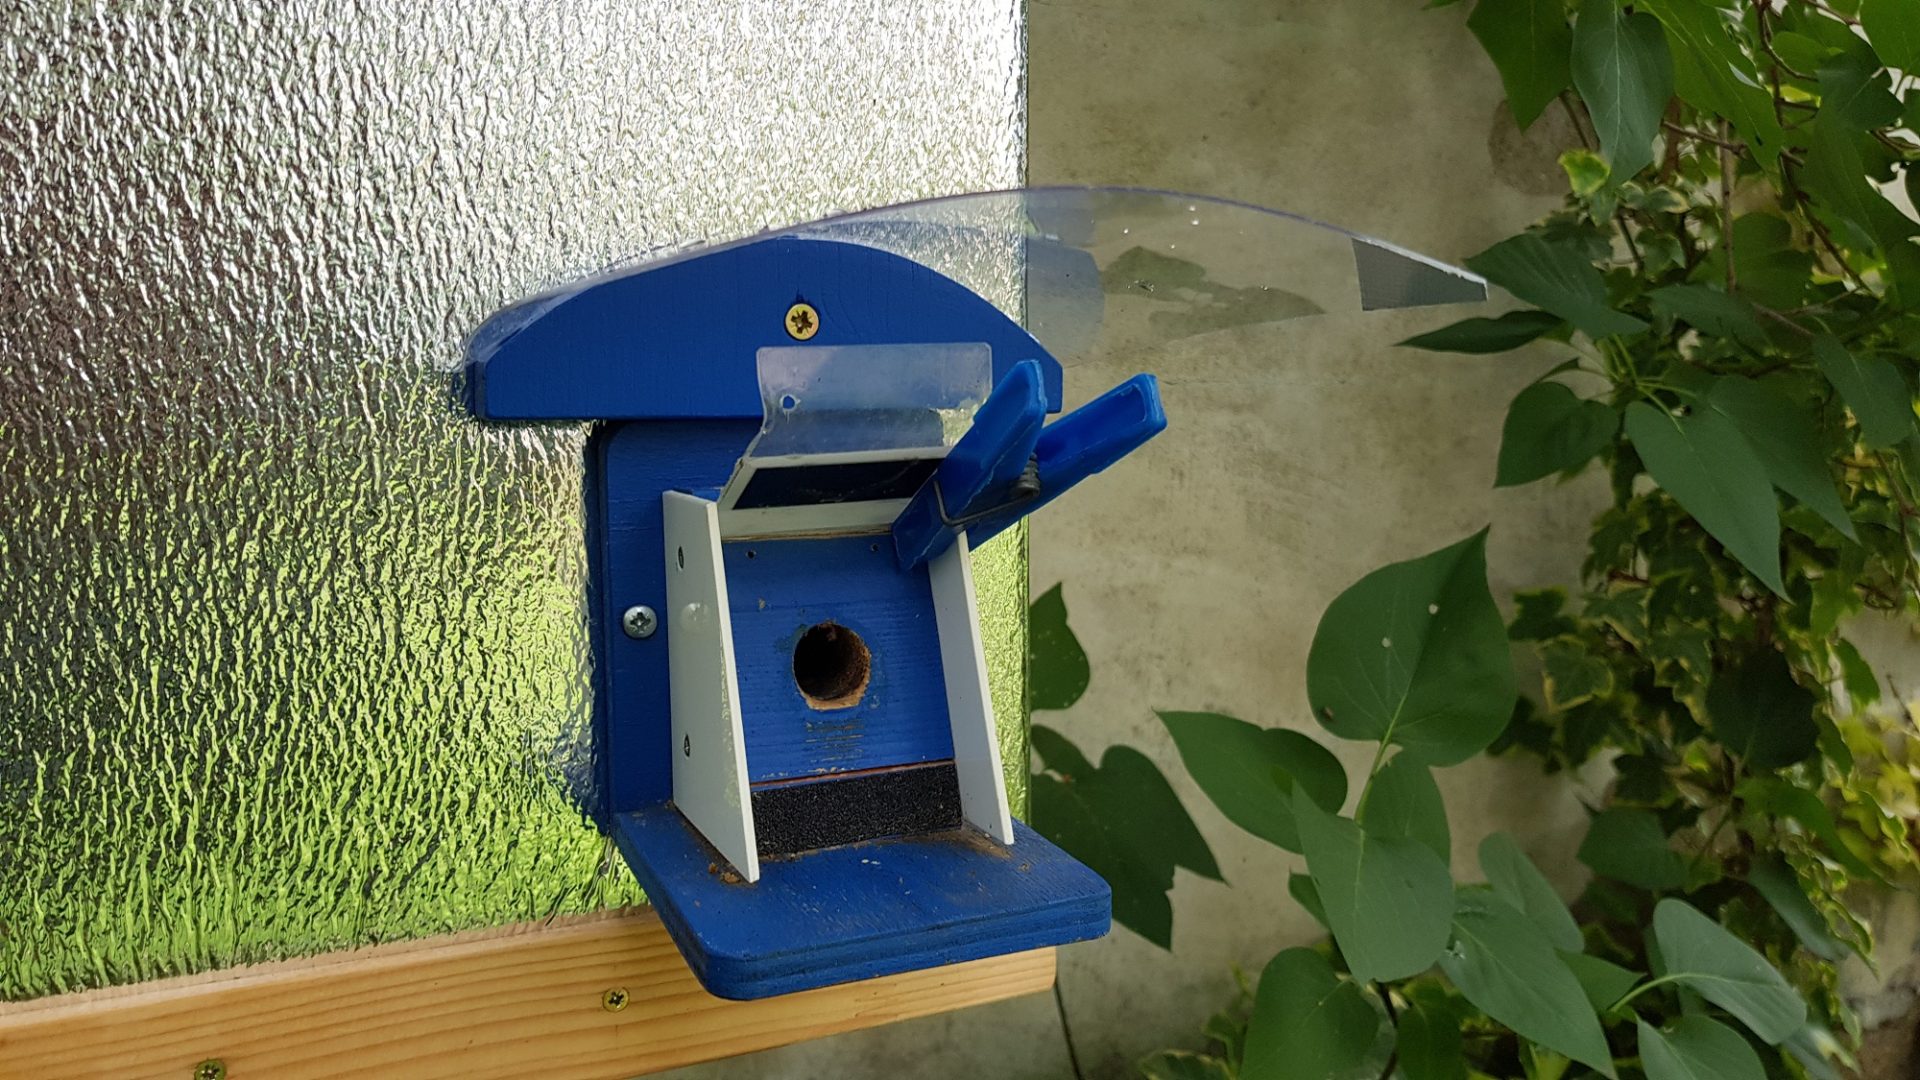
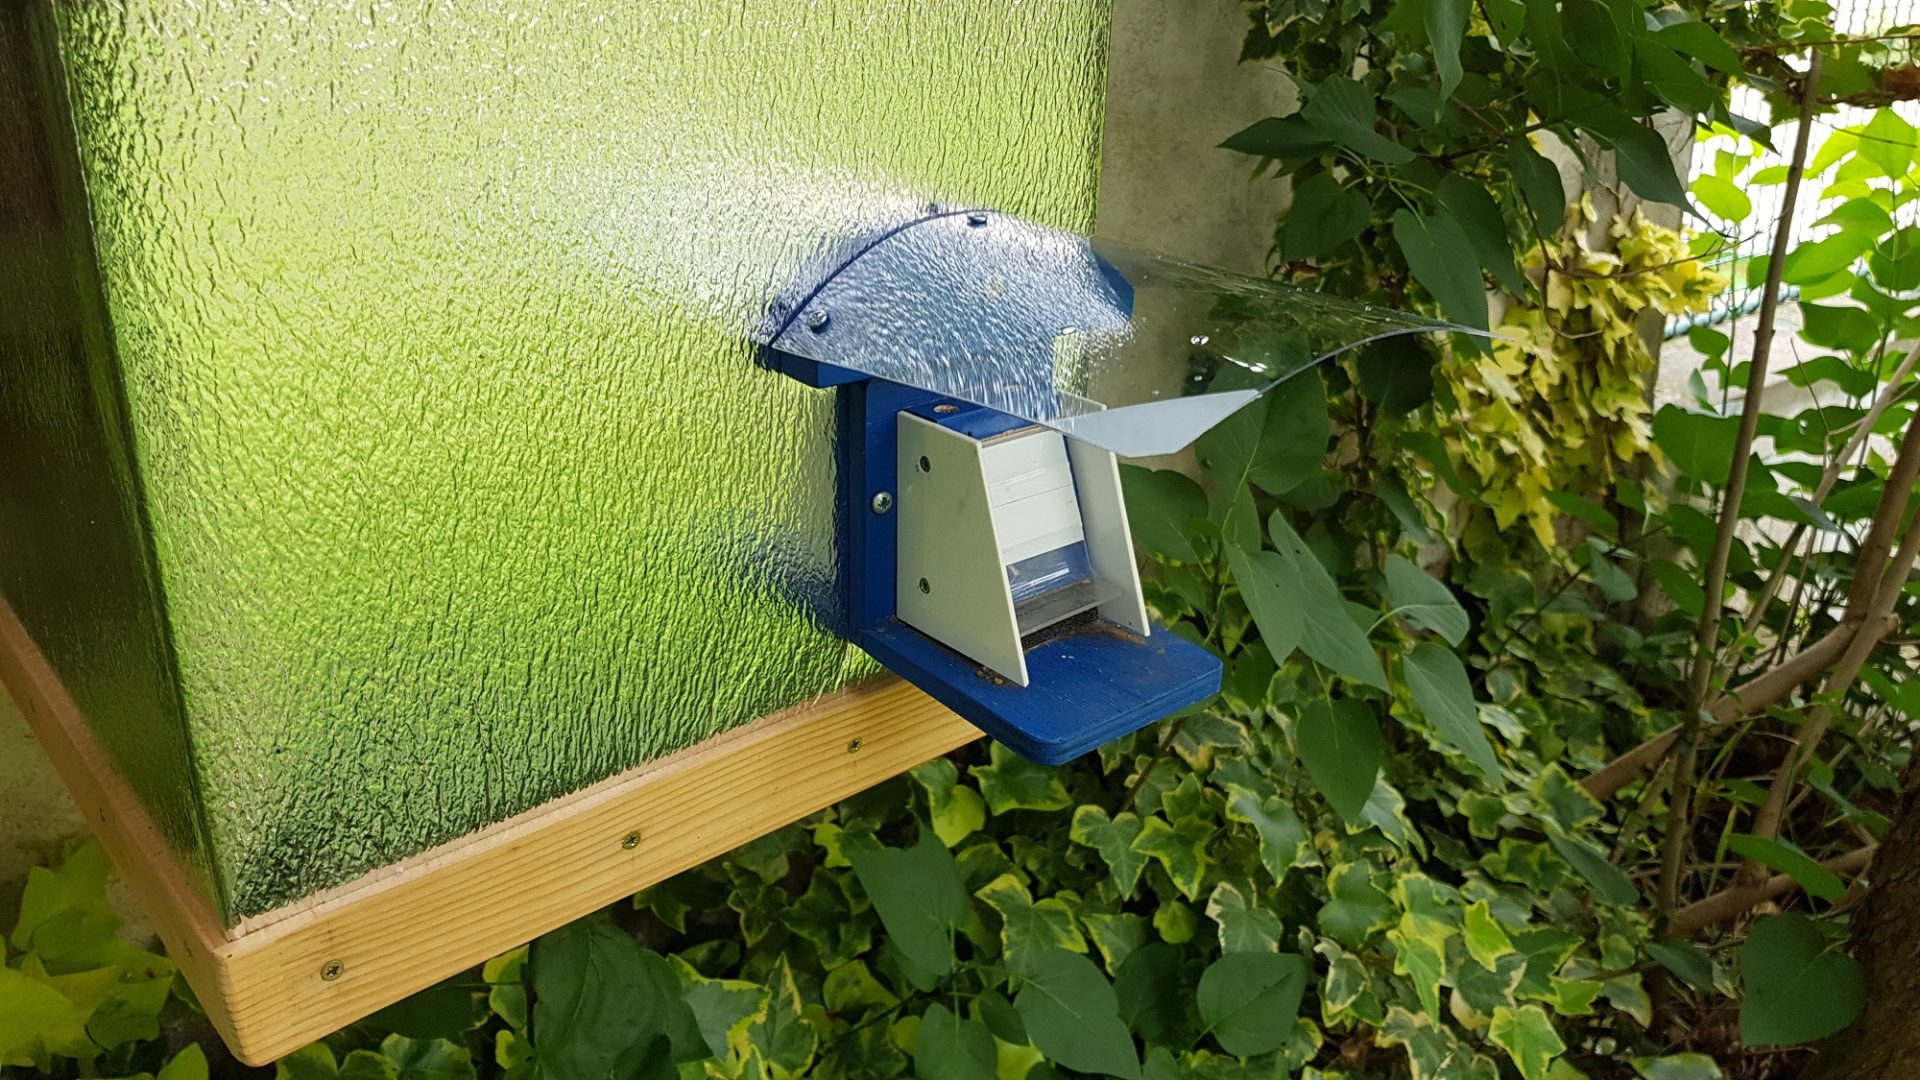
Bumblebees PLUS – Roof over the flap
Photo O, Hercog 6/2020
Canopy made according to the Čmeláci PLUS instructions – latch in the open position,
Choose the height of the canopy so that the latch can be easily lifted and reaches the flap – for example, for cleaning