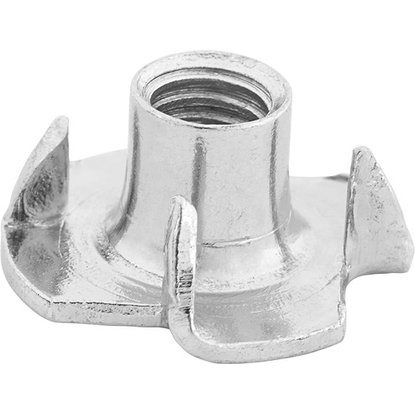
Bumblebees PLUS – Wood Nuts for Screw Stands – LUX Insert Nuts
Internet source
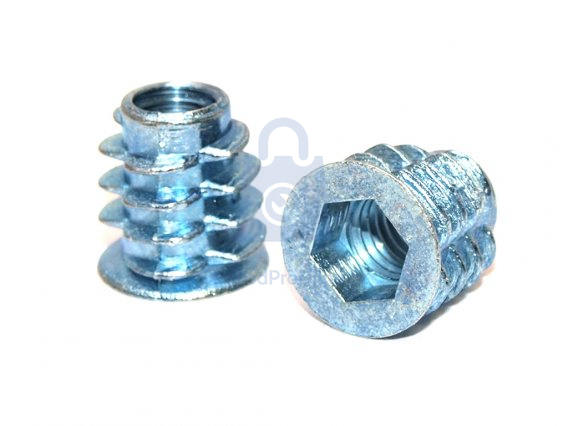
Bit grub, cone nut with collar and internal hexagon
Internet source
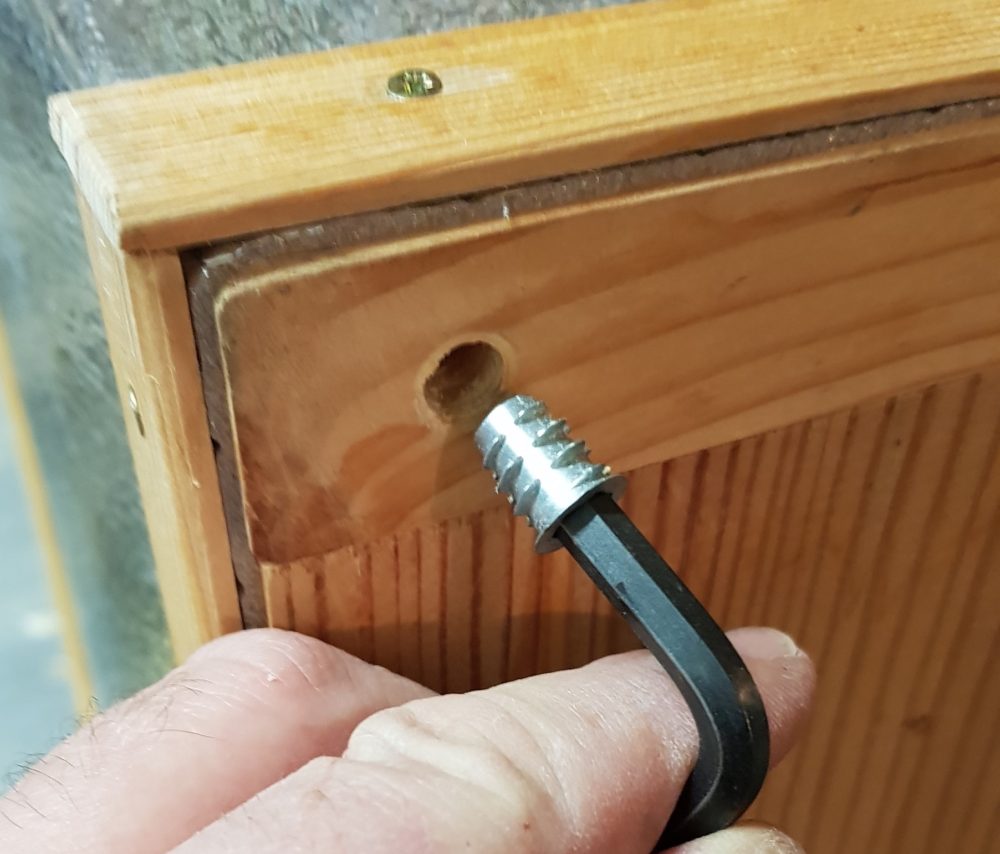
Bumblebees PLUS – Collar head socket screw with collar and internal hex – assembly
Photo O. Hercog
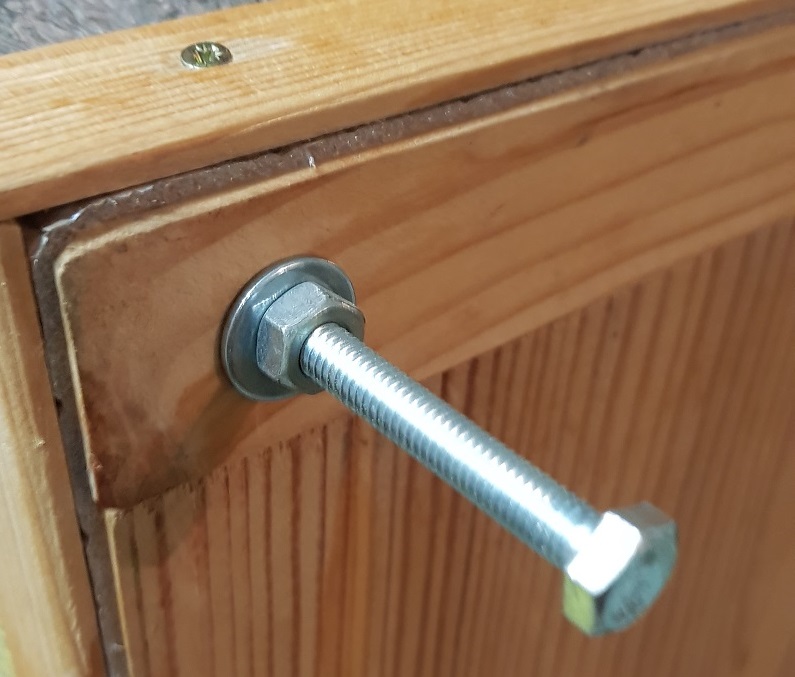
Bumblebees PLUS – Hive leg from screw improved with washer and lock nut
Photo O. Hercog