Wall protector flap

Startled indoors - protective flap on the wall

Solution Author:  Ondřej Hercog (Čmeláci PLUS) with the use of Eva Kalčíková's idea
Tested in practice:  From the 2019 season
Test resultsverified, safe when respecting manufacturing recommendations and usage methodology
The group of breeders for whom the tool is suitable:  unrestricted
Justificationa protective flap, located on the wall, will allow the safe and thermally stable environment of the interior to be used for placing the hive (bumblebee nest). When placing the flap on the wall, it is necessary to specifically address some details, such as protection against ants.

Date of last update: 22/1/2021

Introduction

If you have the option to place a surprise for the interior, so don't hesitate

Very suitable locations would be, for example, a brick garage or a house cellar. 

Such an environment offers the moth a great number of advantages. The main ones appear to be Stable temperature, but also a relatively safe place where such a shock is hard to find Parasites. But they might find him there Rodents. if it is lying on the floor or on a shelf where rodents can get to it.

The entrance hall is connected to the exterior via a corridor and draught into the interior. The parasites therefore only „see“ the protective flap from the hive. This makes it all the more important to regular cleaning of the protective flap.

You can read more about the ulcer's location HERE

Our solution is based on Eva Kalčíková's design. She placed the mite trap in the garage and the flap on the outside of the wall. To protect it from the rain, she used half of a plastic bucket. This created an elegant curved canopy.

We liked this solution, so we adapted it into this form.


Components

Bumblebees PLUS - Flap on the wall - startle - hallway - flap

Wall trap – basic components
Photo O. Hercog (4/2020)

Solution description

Our description is brief and rather inspirational, the photographs will tell you more.

Description

  • Klasická ochranná kapka je umístěna na mat from high-quality plywood. The thickness of the board should be no less than 10 mm.
  • Materials that are susceptible to temperature fluctuations and deformation (chipboard, OSB board, etc.) are not suitable for the backing.
  • The mat, like the protective flap, is painted acrylic paint
  • The top side of the pad is finished with a radius
  • On the spoke, the plastic is attached with screws. canopy from 0.75 mm polycarbonate, see similar solutions for a simple canopy
    Note: the canopy solution can also be used in this case
  • The pad is firmly attached waffles, in the wall are wall plugs.
  • In order to prevent ants from getting in to the flap, or to the corner, the mat touches the wall only in a few places and possible transitions are treated with insect glue (Chemstop).
  • Alternatives to Chemstop are sticky tapes, which are located on the underside of the mat (towards the wall),
  • The fan is positioned indoors according to the same recommendations, to ensure its Availability.
  • vulnerability in the interior should have protection against parasites and ants (at least the legs/base).
  • The lure should be placed where rodents cannot reach it – for example, on a separate shelf on the wall.
  • Slipper it's the back side Hydrated to the input hallway to the glen.
  • Connect the flap to the mat – the hallway is sealed silicone.
  • Under the flap it is advisable to thin gasket, for example from leftover Mirelon.
  • The corridor is sealed into the wall for example, with expanding foam or plaster.
  • It is not recommended to brick up the pipe, due to the possibility of future exchanges sky Cleaning
  • Internal diameter of the corridor It is 25 mm, provided it does not exceed 80-100 cm. Larger lengths should be proportionally increased.
  • Bear in mind that condensation may form in the hallway Condensate a therefore it should not be bent, the bumblebees might not be able to get out.
  • Hallway should be after the season, or before the next season well cleaned, or exchanged for a clean one.
  • The entrance hall is interrupted before the ulcer and fitted with a suitable coupling. This is where the bumblebee queen enters.
  • Ant protection should  check before the start of the next season renew.
  • If you use a long external corridor, you may no longer need to have in ulcer of gait no. There’s no point in blocking the bumblebees’ path to their nest.
Bumblebees PLUS - Shutter on the wall - shutter on the pad

Flap on the wall – flap on the mat
Photo O. Hercog (4/2020)

Bumblebees PLUS - Flap on the wall - flap on the mat - back

Flap on the wall – flap on the base – back
Photo O. Hercog (4/2020)

Bumblebees PLUS - Flap on the wall - flap on the mat - back

Flap on the wall – flap on the base – back
Photo O. Hercog (4/2020)


Bumblebees PLUS - Wall flap - hallway coupler

Wall trap - hallway connector
Photo O. Hercog (4/2020)

Assembly

The photographs are illustrative, so just a few notes perhaps.

  • Be careful correct flap placement so that it is easily accessible for routine maintenance, see clapperboard description
  • Don't forget that the clapper works correctly when it is well-balanced  (garlic lengthwise and the back side vertically)
  • Be careful Good sealing of the corridor on the back wall  Flap washers
  • Be meticulous when Ant protection solutions
  • Don't forget hallway coupling. This should be secure, but should come apart easily once you let the mother in.
  • The coupling can be bought, or made from PVC pipe, around the coupling No light must show through!
Bumblebees PLUS - Flap on the wall - Production of a mat for the flap

Wall flap – Making a backing for the flap
Photo O. Hercog (4/2020)

Bumblebees PLUS - Wall flap - hallway coupler

Wall trap - hallway connector
Photo O. Hercog (4/2020)

Bumblebees PLUS - Flap on the wall - preparation

Wall trap - preparation
Photo O. Hercog (14/2020)

Bumblebees PLUS - Clapper on the wall - reverse side of the mat and on it adhesive strips

A flap on the wall – the back of the pad with adhesive strips on it
Photo O. Hercog (4/2020)


Bumblebees PLUS - Clapper on the wall - reverse side of the mat and on it adhesive strips

A flap on the wall – the back of the pad with adhesive strips on it (this time the pad is blue and the adhesive strips are yellow)
Photo: O. Hercog (April 2020)

Bumblebees PLUS - Wall flap - corridor sealing

A gap in the wall – sealing the corridor with silicone
Photo O. Hercog (4/2020)

Bumblebees PLUS - Flap on the wall

A hatch in the wall – side view
Photo O. Hercog

Bumblebees PLUS - Flap on the wall

A hatch in the wall – a view from above
Photo O. Hercog (4/2020)


Bumblebees PLUS - Indoor Startle

Sudden fright indoors
Photo O. Hercog (4/2020)

Position of the flap

One of the advantages of mounting the shutter on the wall is that you don’t have to worry too much about sunlight. Nevertheless, we recommend using shady spot.

But don’t forget that when positioned like this, You cannot move the startle. It is therefore necessary to choose a place where you will not regularly encounter bumblebees. Doesn't fit for example, instead of at entrance in the garden or indoors. It’s possible, and you’ll get used to it. The question is, though, what will your neighbours and visitors think…


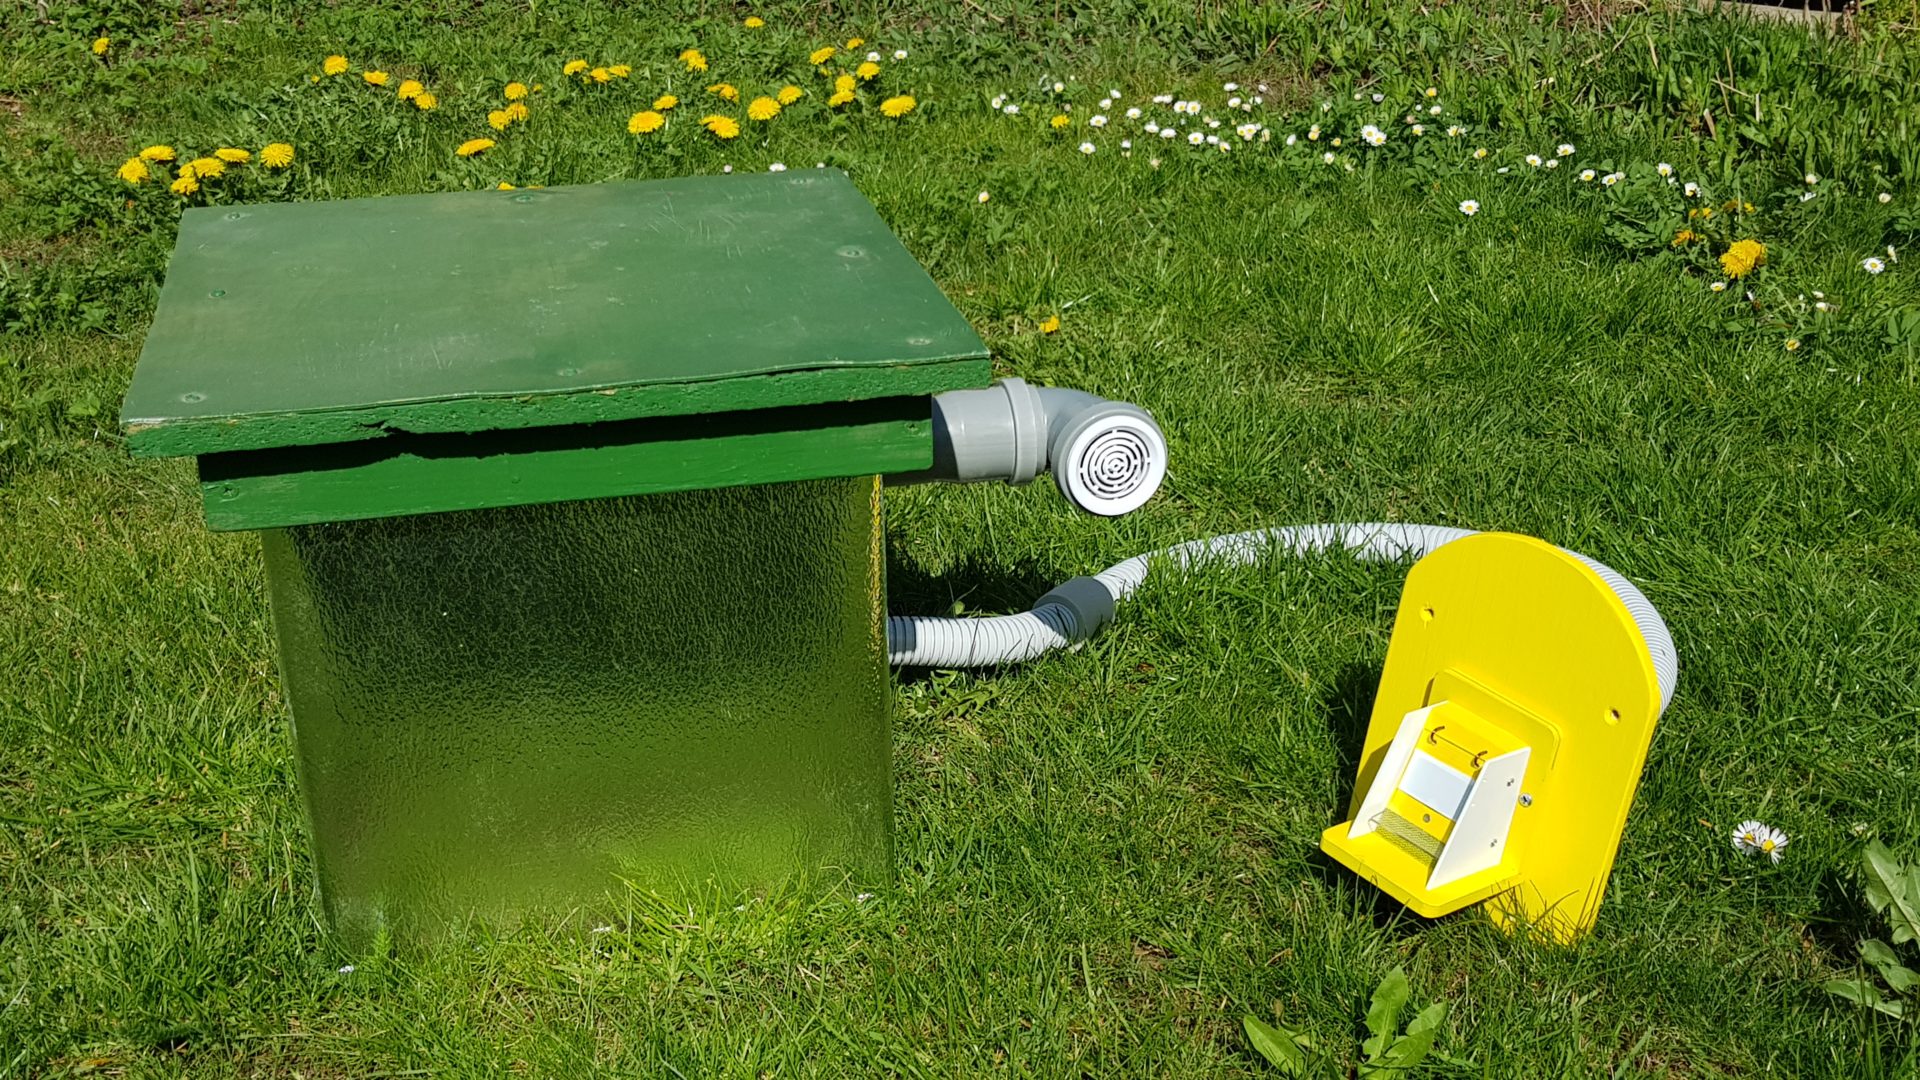
The mother's settlement

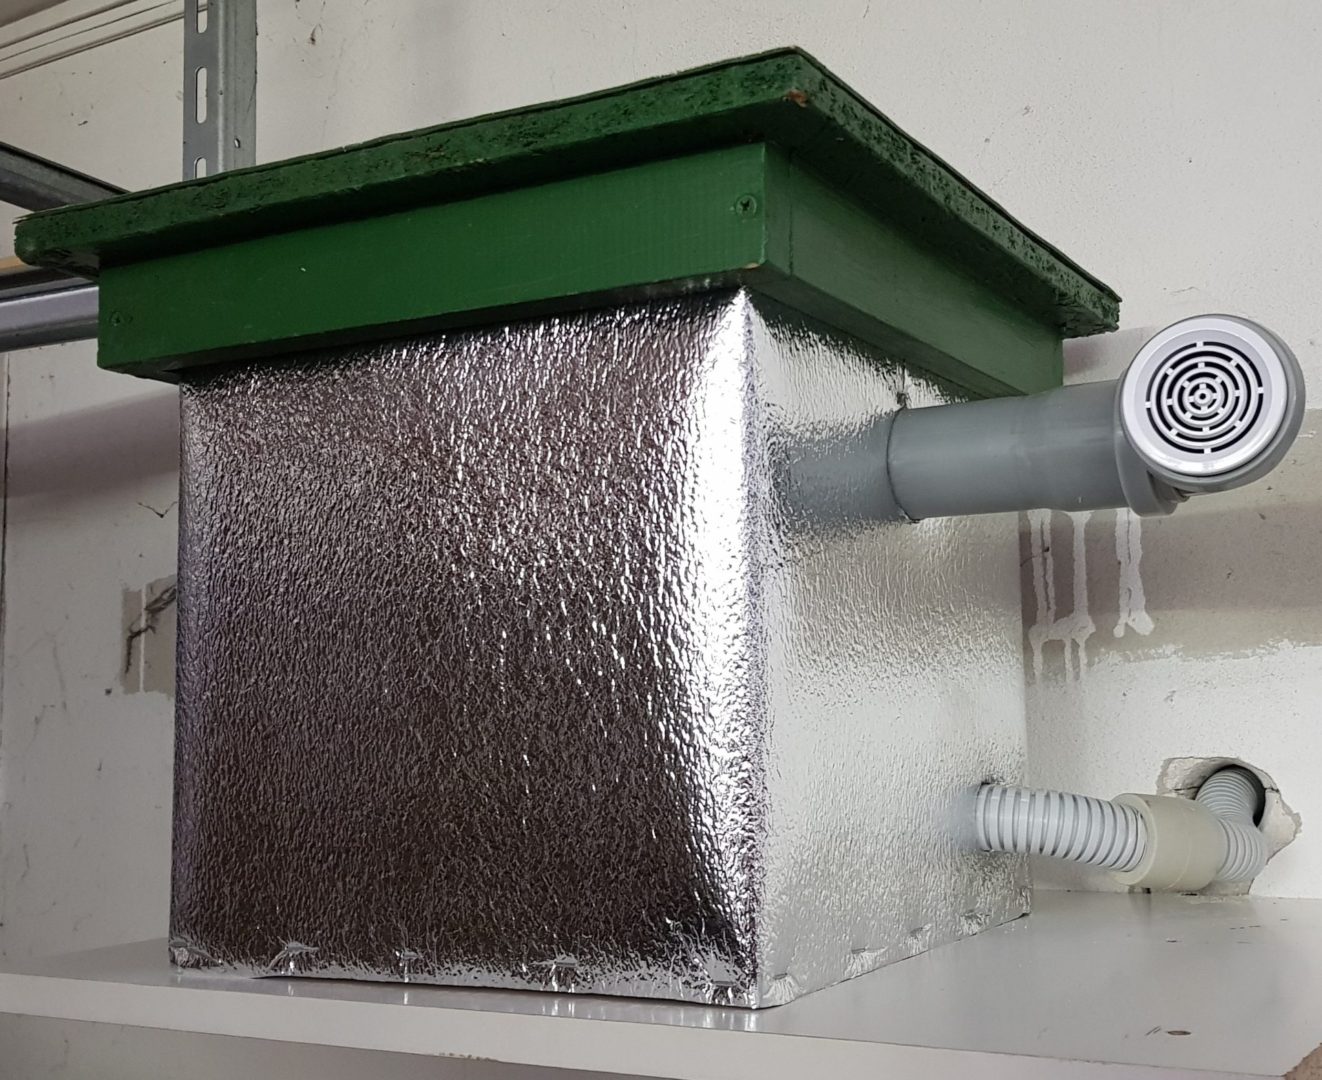
Prepare the start in the same way, like other hives. Here, too, thermal insulation is worthwhile. Unless the room is very cold and the temperature does not fluctuate significantly, thermal insulation is not necessary.

Proceed the mother's settlement is described HERE.

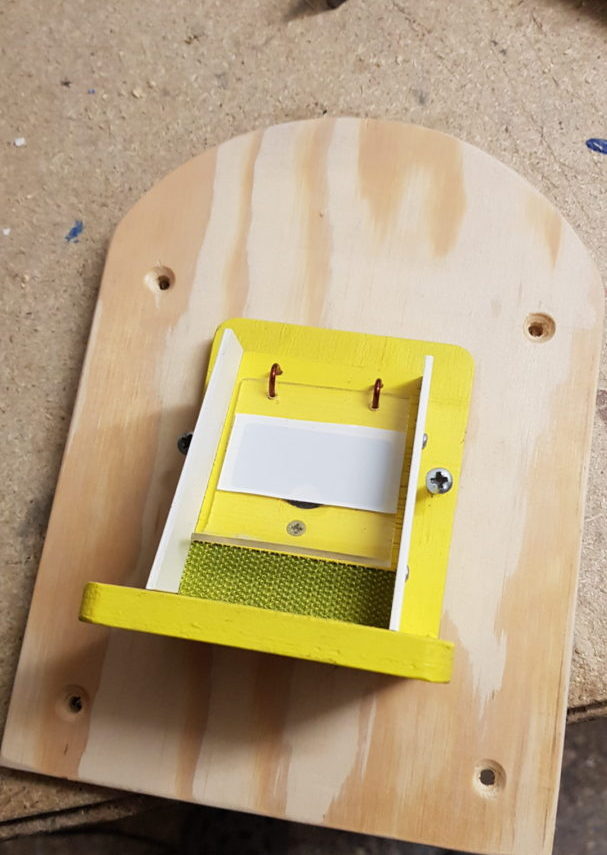
When placing the queen in a hive with a long passageway, i.e. in this case as well, proceeds in a similar way

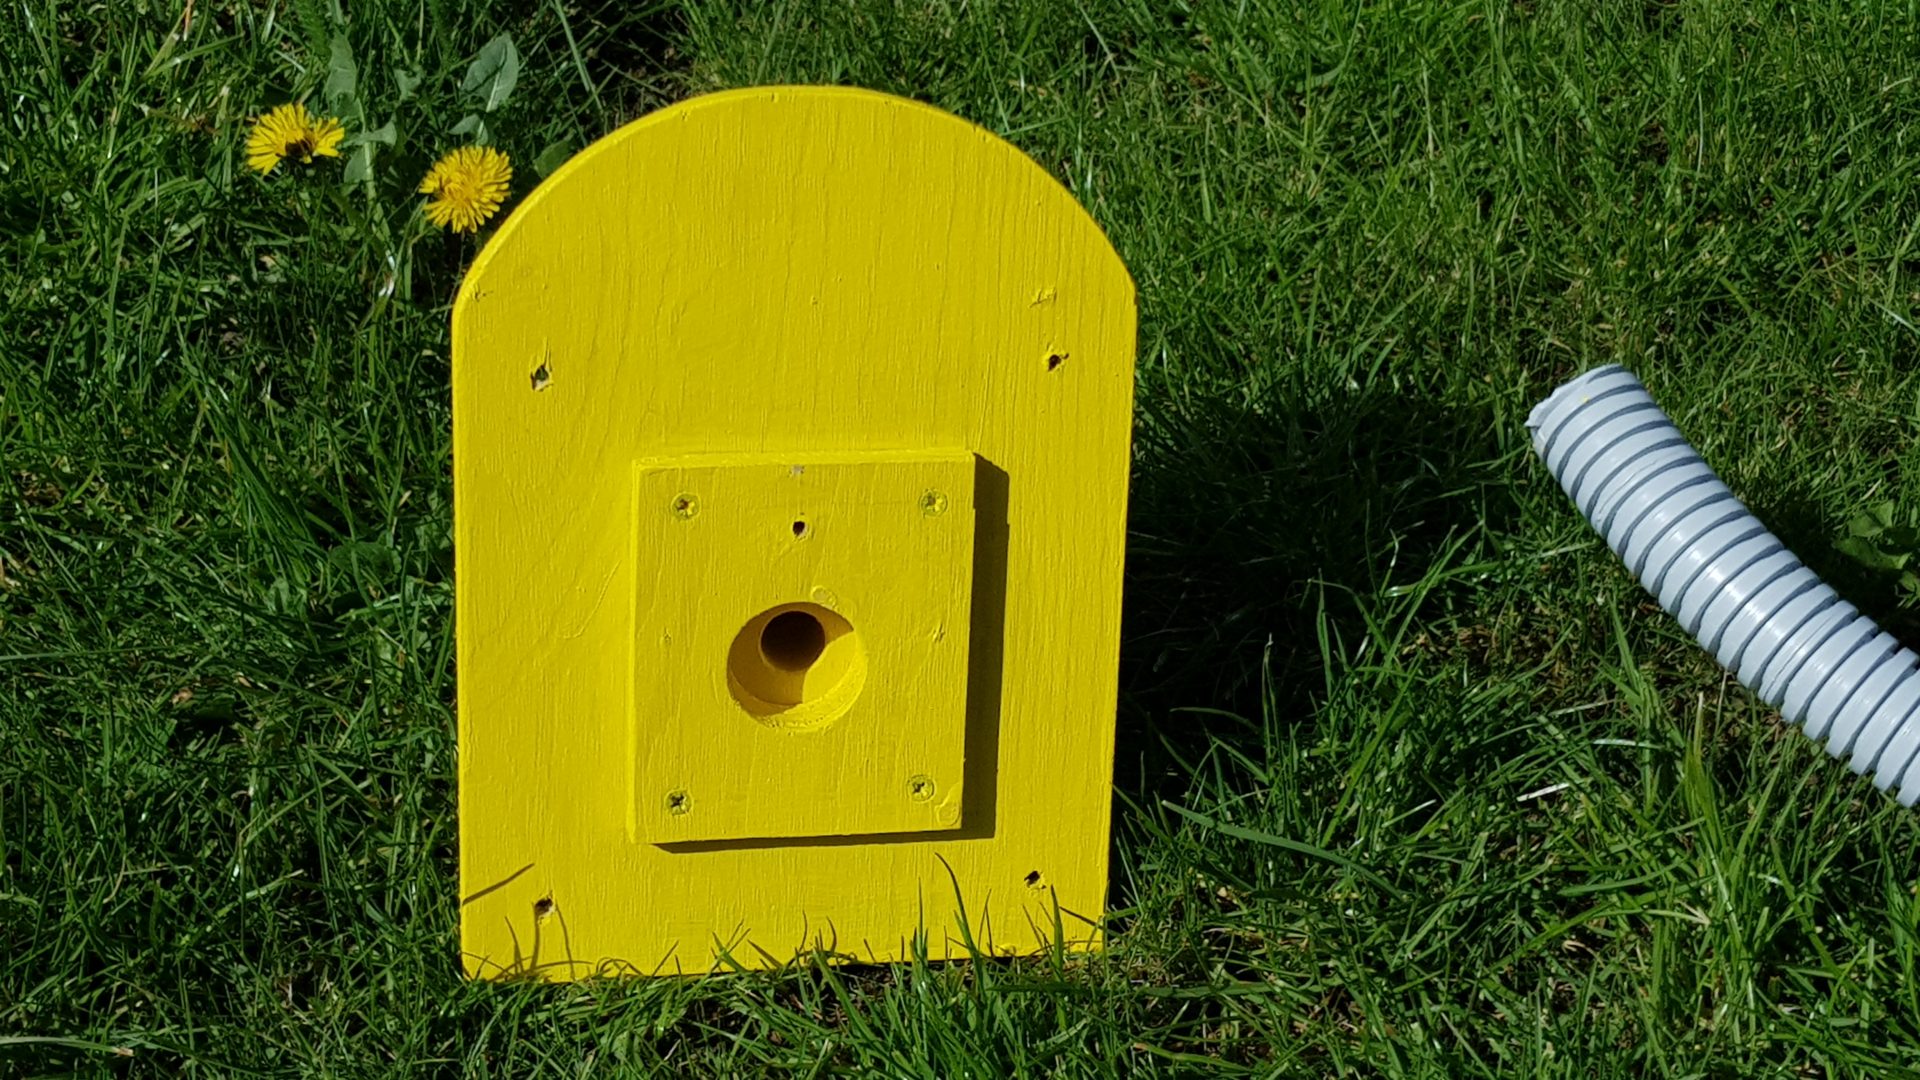
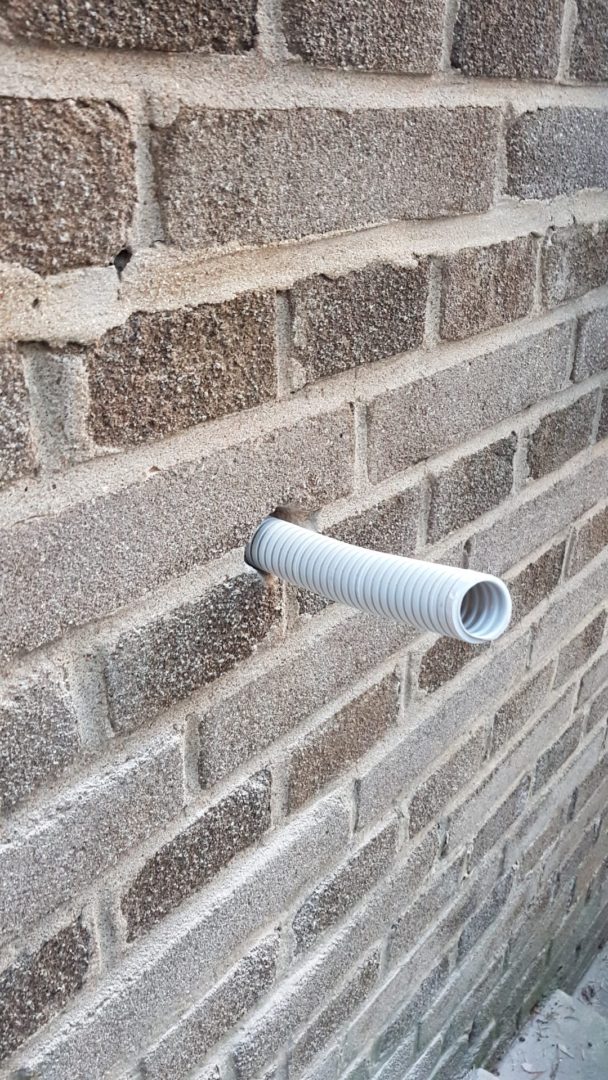
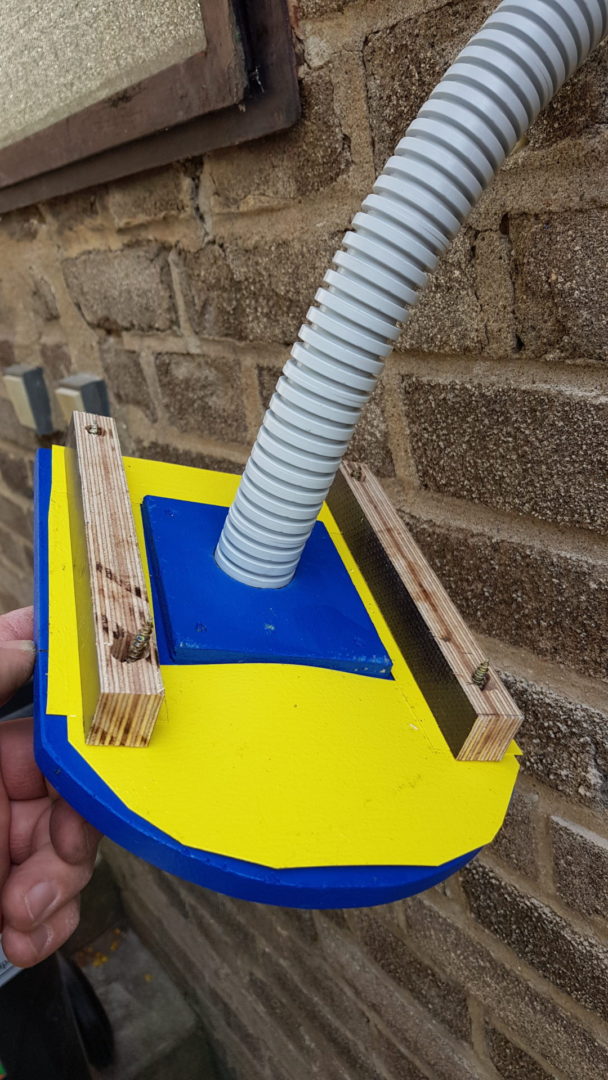
The difference is that bootloader do not insert it into the flap’s inlet, but to a disused corridor towards the lair

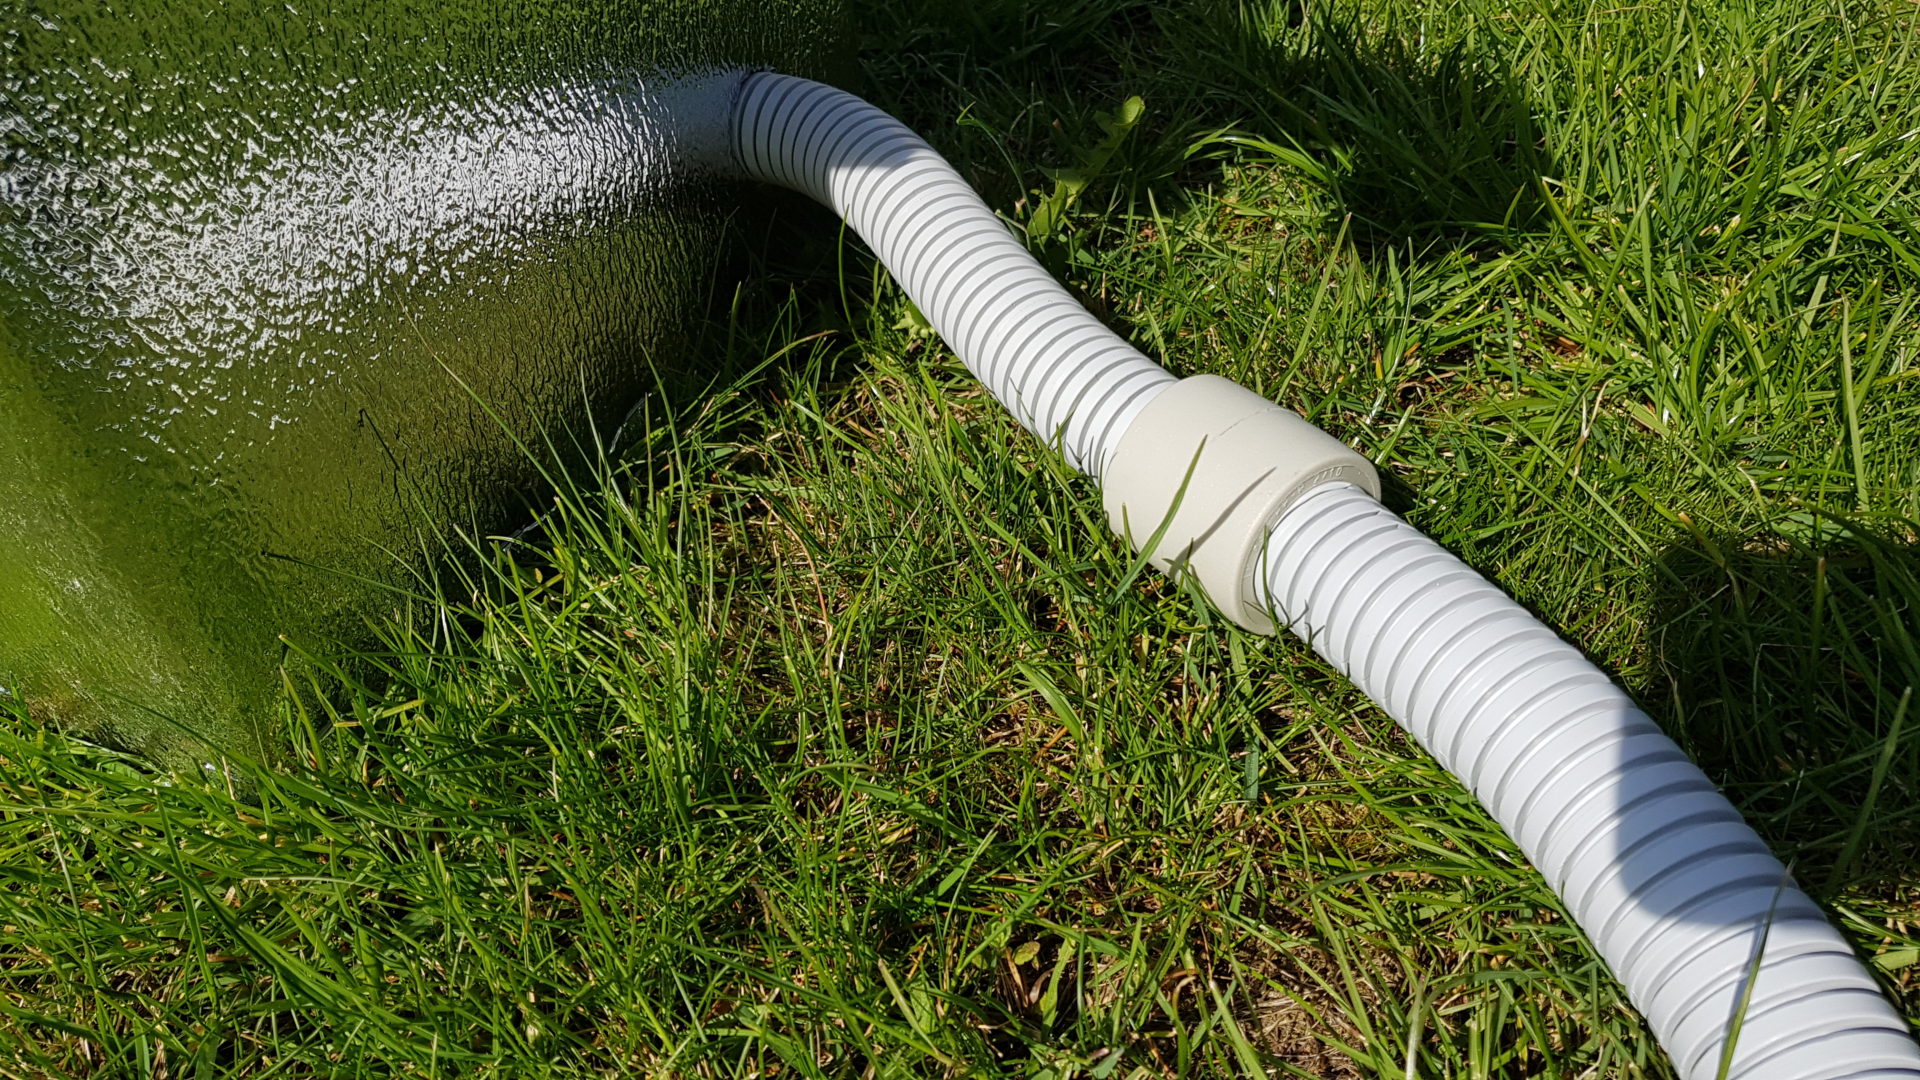
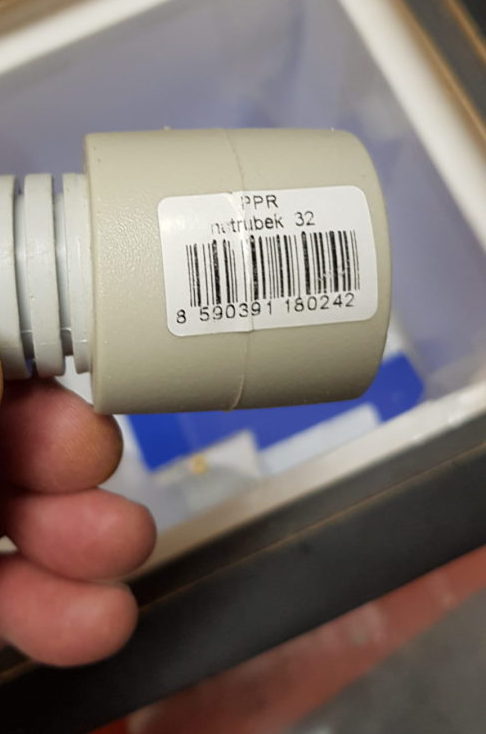
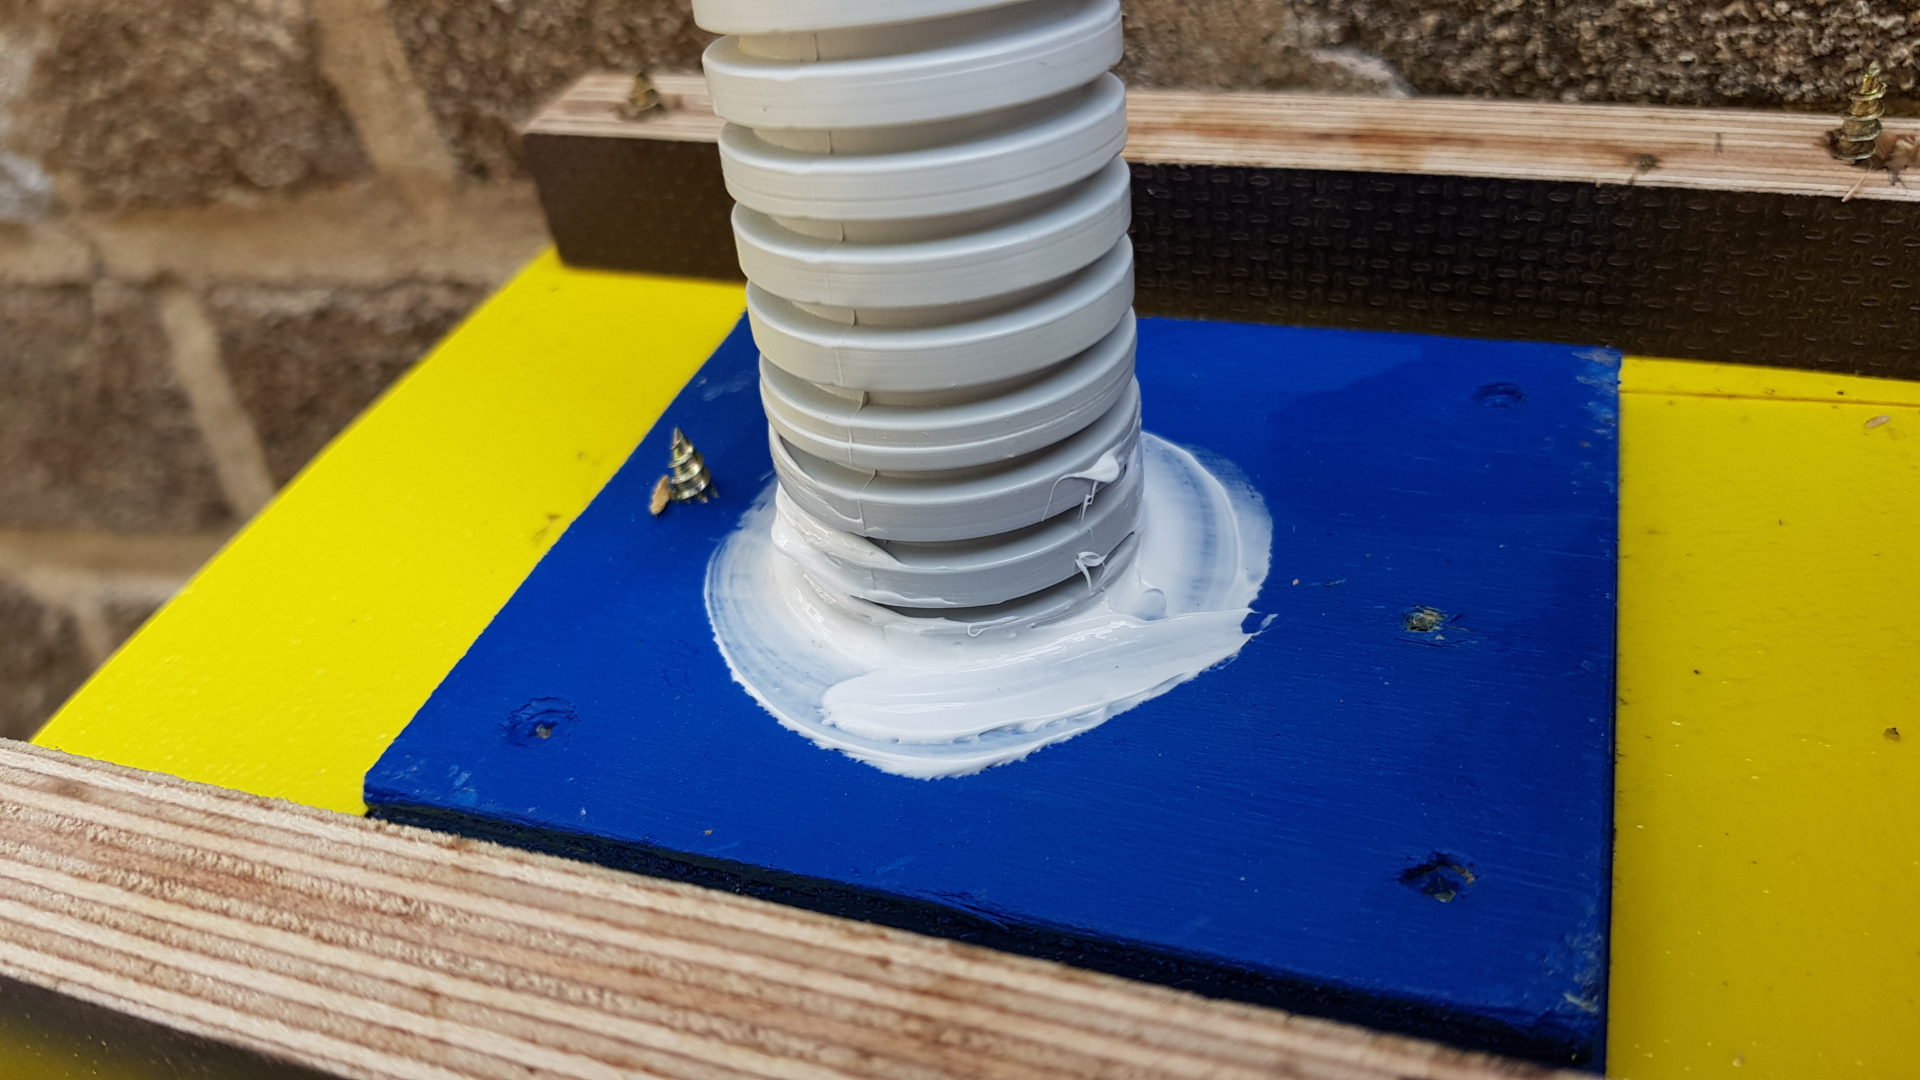
Just wait until the queen enters the hive. Then the entrance Connect the tube using a connector. But do it Carefully, so as not to injure the queen. You must therefore be sure that she has really entered the hive. If you listen, You'll hear it. The mother makes buzzing sounds as she passes.

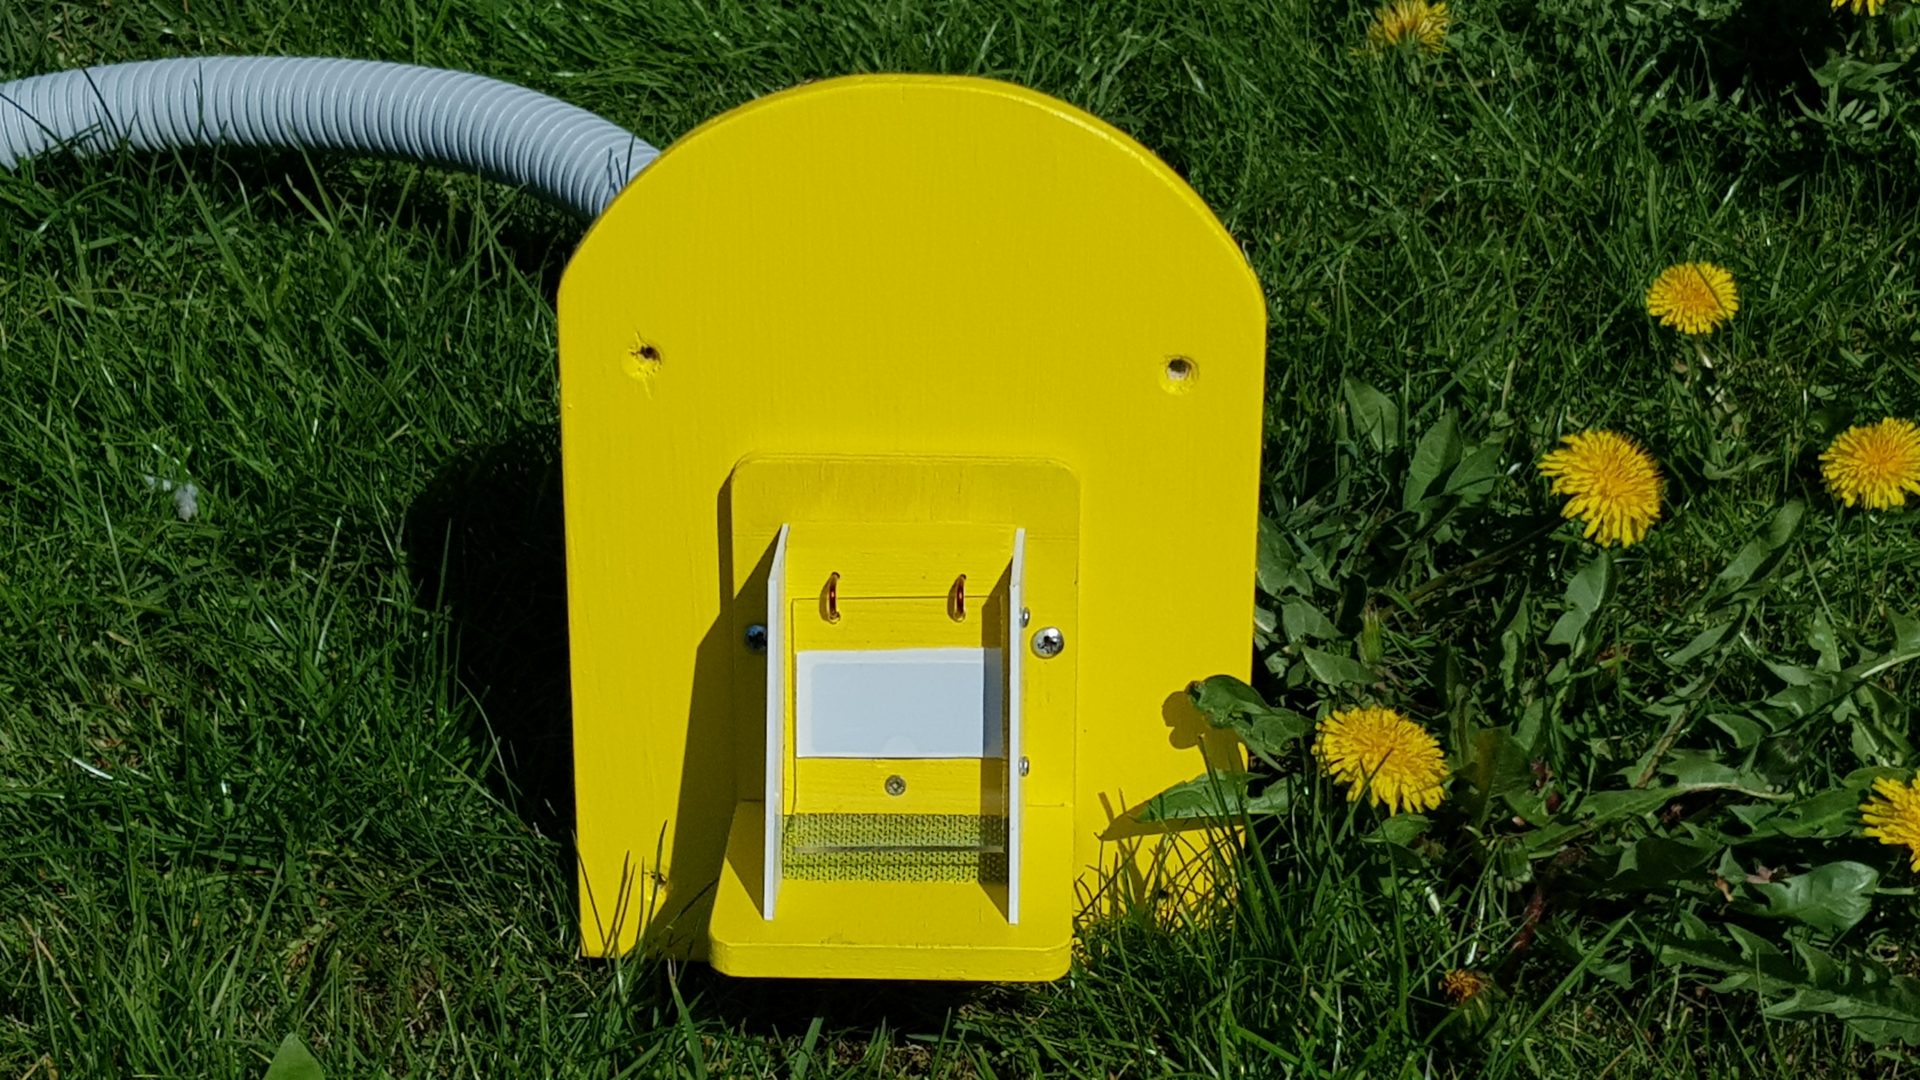
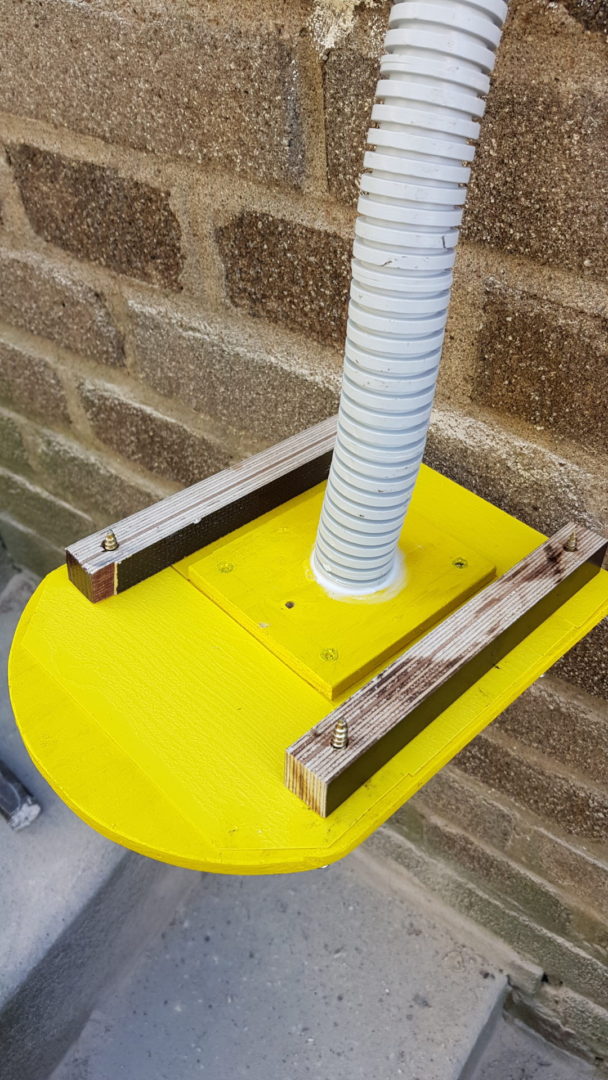
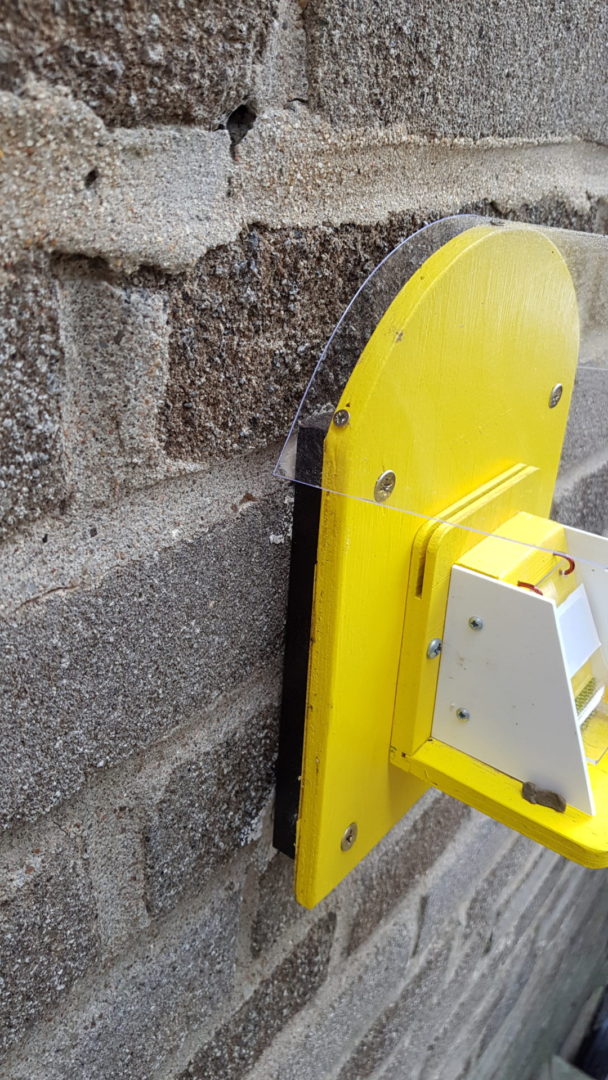
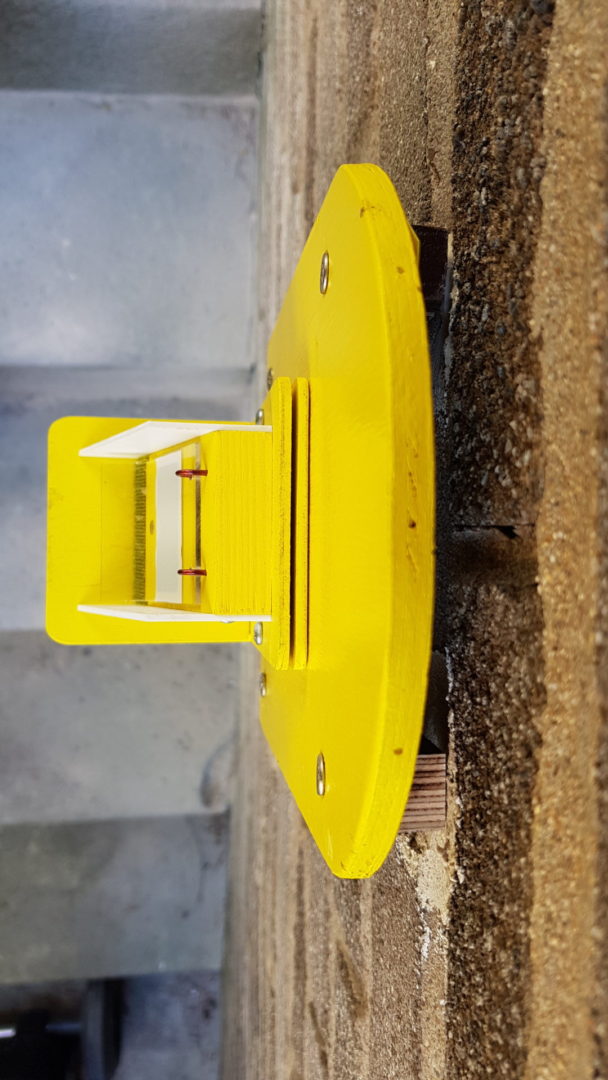
Leave the protective flap on the wall open and then you You use it the same way, as with other ulcers.

Don't forget that when fitting the nut, it must be blocked air vent, as well as a well-sealed cage. Therefore, leave it closed until the mother has reliably settled and the indoor temperature rises above 15°C.

An alternative procedure is to introduce the mother through the flap.. However, you need to close the flight entrance for 5 minutes and hope that the mother passes through the corridor into the hive. Consider this procedure as an alternative; it is not very reliable. 

If the mother does not leave the shock within the hour (it won't fly out of the flap), it is necessary to check that there isn't one „frozen“ in it. The procedure is described in the nut seating instructions.

It is possible to house all kinds of bumblebees in an underground dwelling. However, some species do not like long tunnels, for example, the common carder bee (Bombus pascuorum) and the red-shanked carder bee (Bombus ruderarius). These species often live on the surface and do not utilise cavities, therefore they do not expect tunnels, especially not long ones. Nevertheless, rearing these species of bumblebees in underground dwellings located indoors is successful.

Installing a queen bee in a nucleus hive indoors is a little more complicated, but the extra work will be worth your while.


Mothers' Return

The only disadvantage of ulcers in the interior is probably their static positioning. You cannot displace fear, and that's a bit of a problem when you... mothers born here return in spring

This problem is also solvable and with a bit of patience and the timely opening of the protective flap, conflicts during the return of mothers can be prevented or minimised.