Experienced bumblebee breeders recommend creating a so-called „Bumblebee hoist“.
This is a solution proposed by Mr Miroslav Stuchl, which you can find on some websites, but without the pictures. We tried to build such a bumblebee lift a few years ago, tested it, and have been using it ever since.
Thanks to this solution, it is possible to simply remove the nest at the moment you need to take some action, or when after the end of the season you want to remove an intact nest from the hive and photograph it whole and undamaged.
From personal experience We can confirm this is working. Brilliantly, and gives you options for working with a bumblebee nest without endangering it in any way.
We are devoting a separate chapter to this solution.
Solution
- Once you have the inlet chute/pipe secured in the hopper, see Corridor in the apiary, you can easily create an abstract.
- Create yourself second bottom from a firmer base.
Use strong solid cardboard (not corrugated), thin waterproof plywood, or a piece of plastic sheeting. A 5mm thick polystyrene sheet can also be used successfully.
Watch out Do not create a base from material that softens or collapses when it absorbs moisture. - The shape of the false bottom amend so that it can be inserted and remove = the inlet tube and its bend must not be impeded (therefore, we create the bottom only after fixing the tube).
- The second bottom from the top cover with the same cardboard, what you are cladding the walls of the hive with.
We recommend using the white card from confectionery boxes and fixing it to the second floor with adhesive tape (see the chapter on preparing the hive for details – we are finishing). - You will attach to the underside of this second base curtains, which the bottom will be lifted. Create 4 hinges, preferably so that they are continuous and run under the second bottom.
For example, you can use 2-3 cm wide strips from a sturdy plastic bag, ribbons, or strings to create 4 hangers. - We recommend curtains to the bottom of the bumblebee lift place symmetrically, so that the lift is easily pulled when in use
- Then you place the second bottom on the bottom of the hive.
- Try it out, and as you lift the false bottom behind the curtains, adjust the shape of the false bottom or curtains as needed
- Adjust the curtains so that they run along the walls of the hive, You attach it at the top with drawing pins and cut off any excess parts of the hinge.
Use ours too for the creation of the bumblebee lift Photo instructions, who will illustrate everything for you.
Control
- We recommend trying out a bumblebee lift before you settle your fright!
- The entrance hall, nor any other elements, must obstruct the removal of the false bottom and thus, in the future, the removal of the entire nest from the hive.
Use of a bumblebee lift
A description of the inspection and intervention at the nest can be found in the chapter
; here, therefore, is just a brief summary to provide the necessary context:
- Take the hive indoors
- Remove bumblebees from the nest
- Remove excess padding
- Unfasten the hinges and carefully pull out the false bottom along with the contents of the ulcer.
- When removing a comb from the hive, use both hands – do not squeeze the comb.
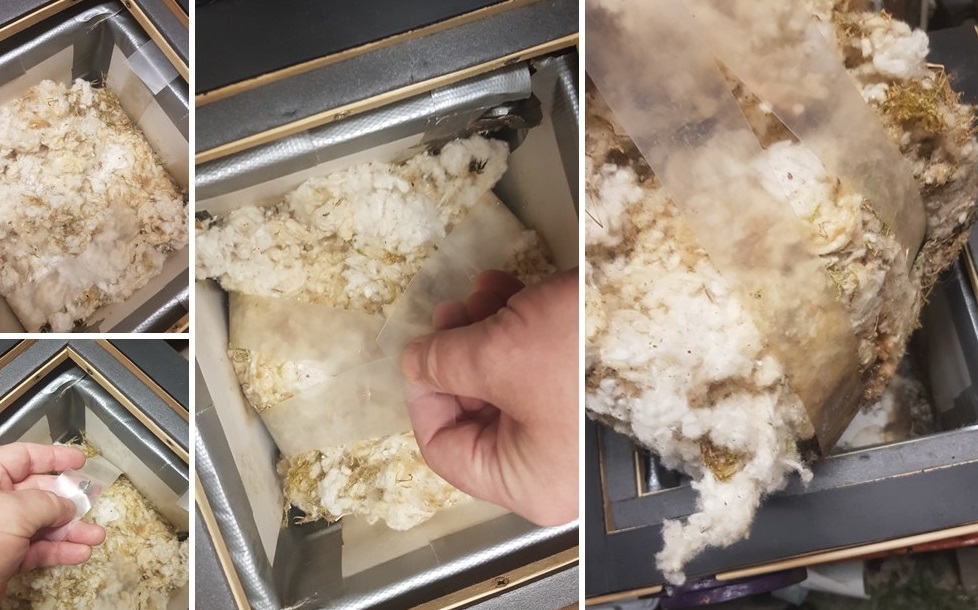
Bumblebee lift in action
Photo O. Hercog – he only had two hands and needed to take photos 😀
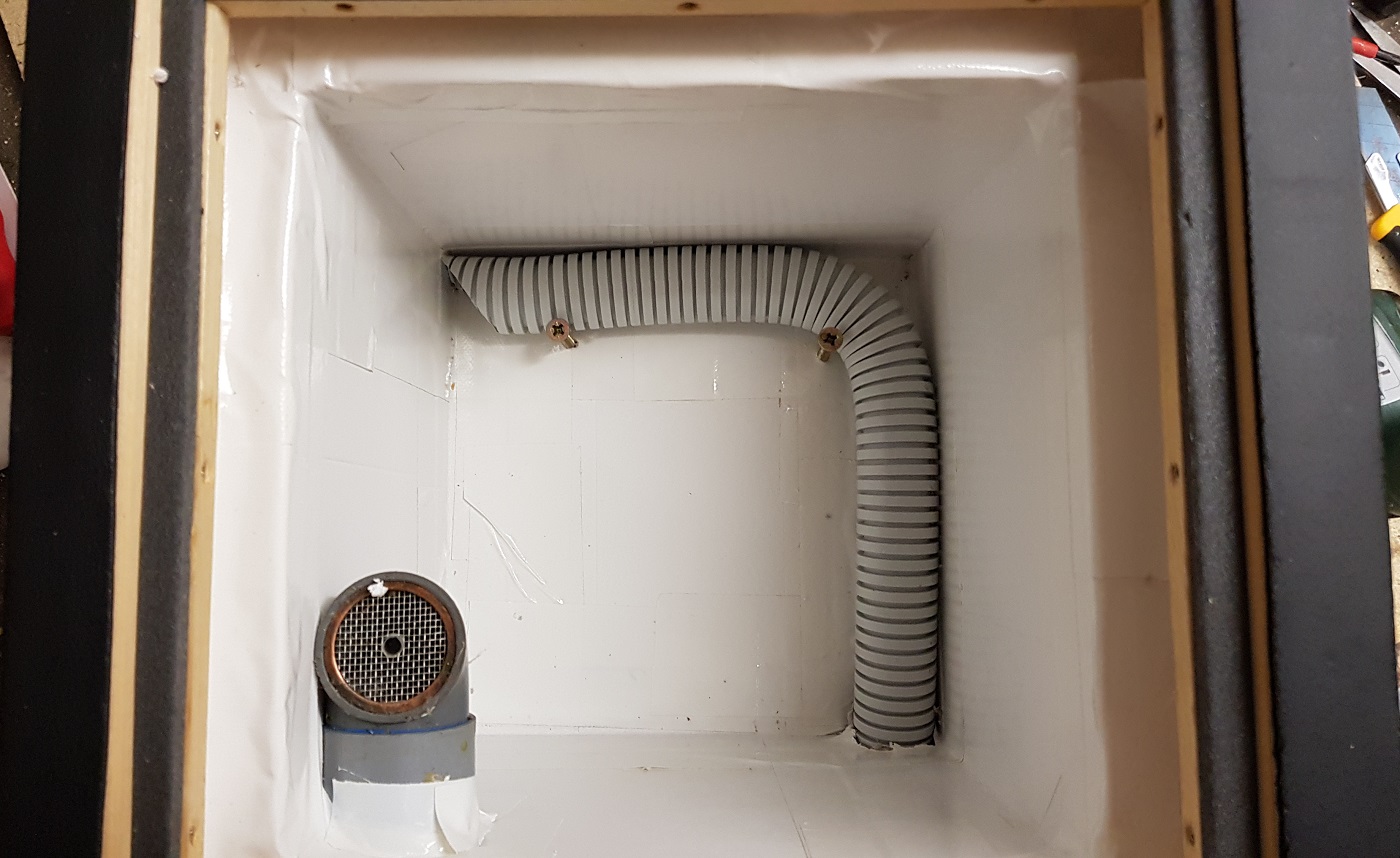
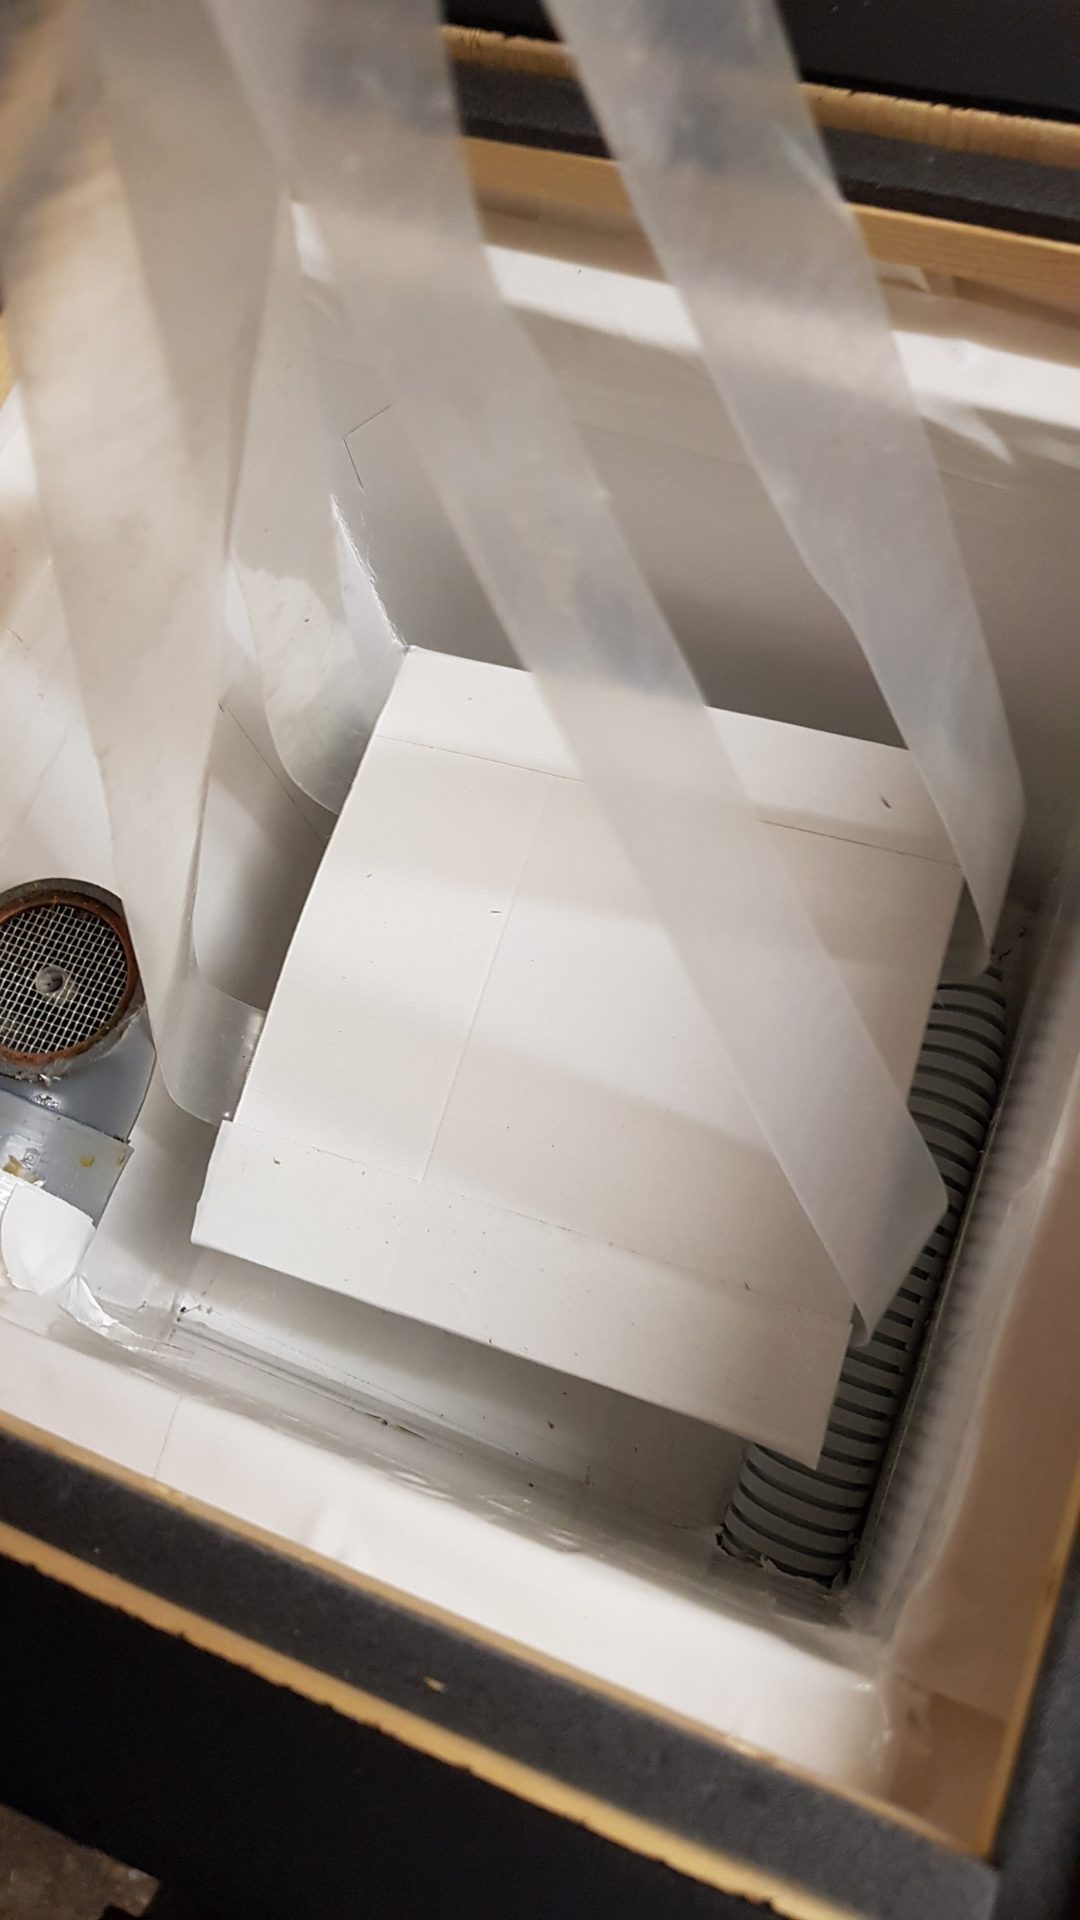
1. First, place the entrance tunnel into the hive, then create the second floor for the bumblebee lift.
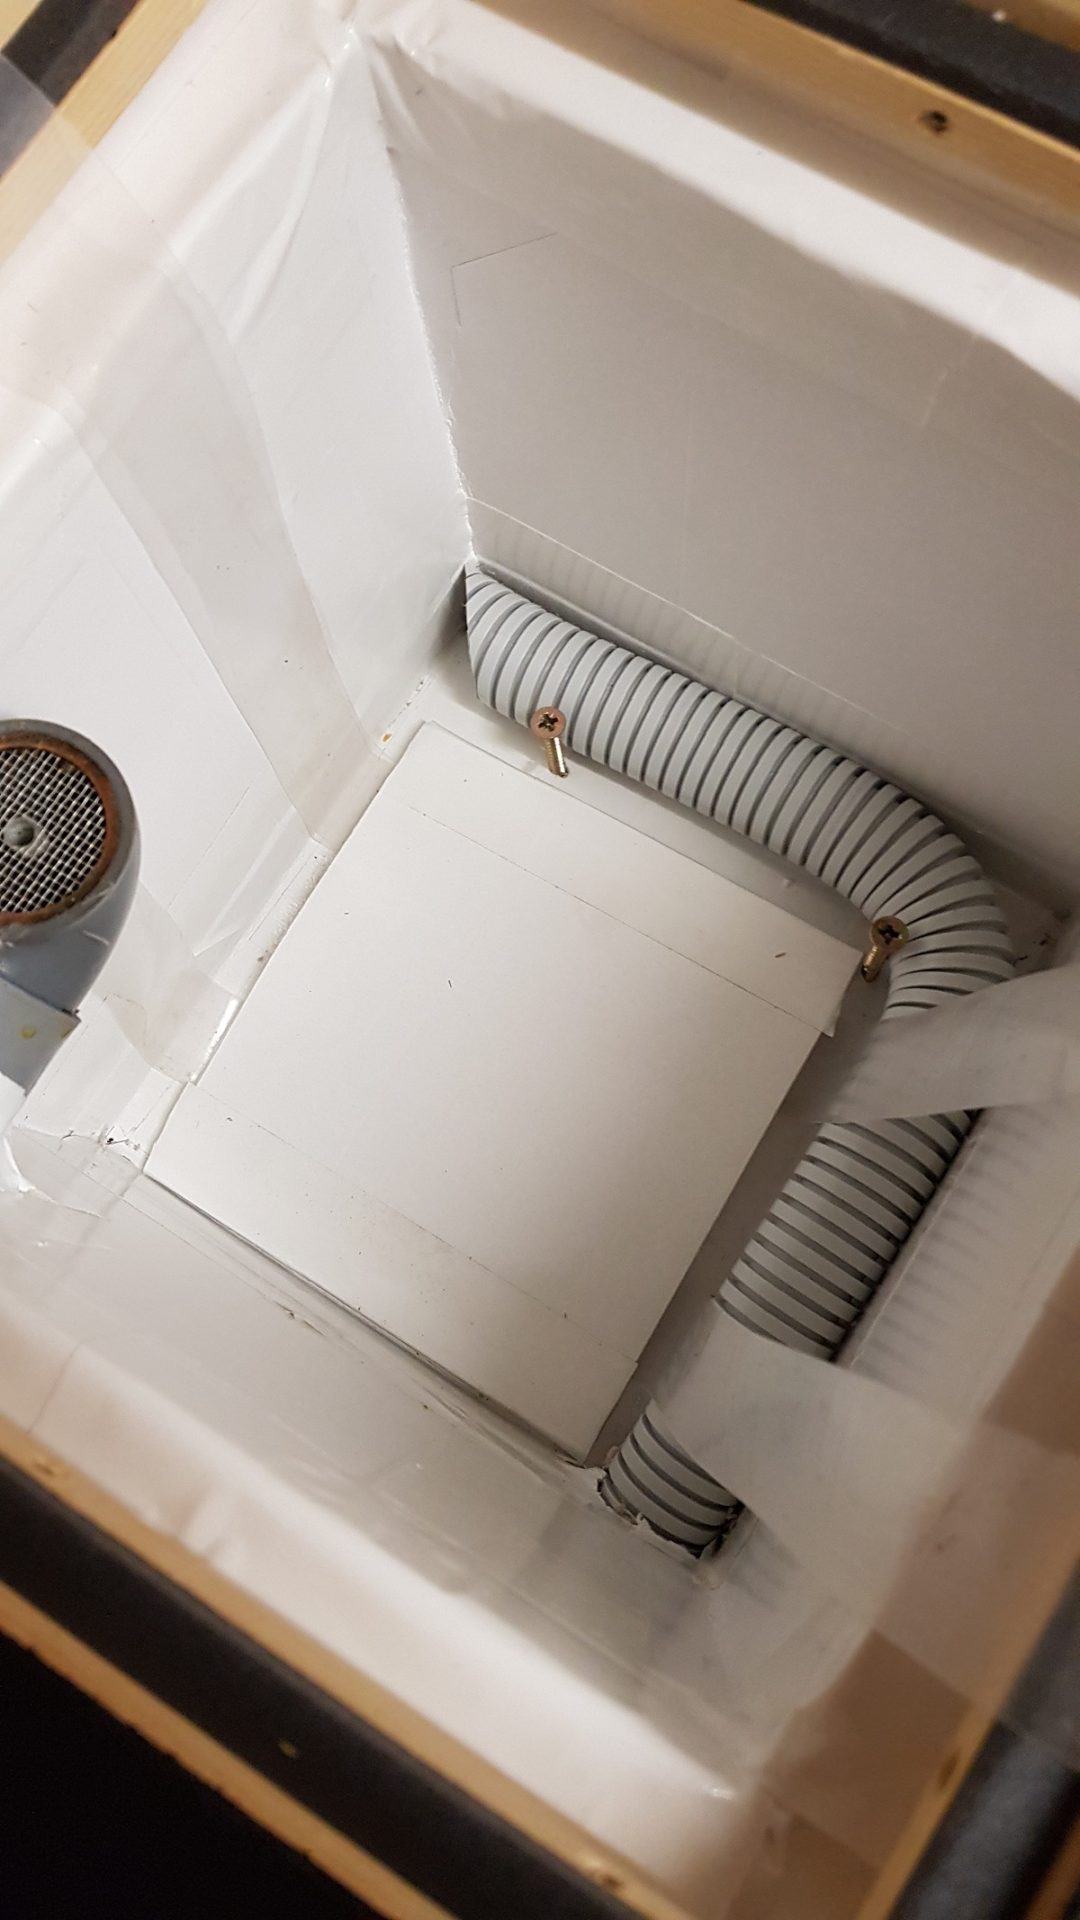
2. Adjust the shape of the second bottom so that it can be inserted and removed.
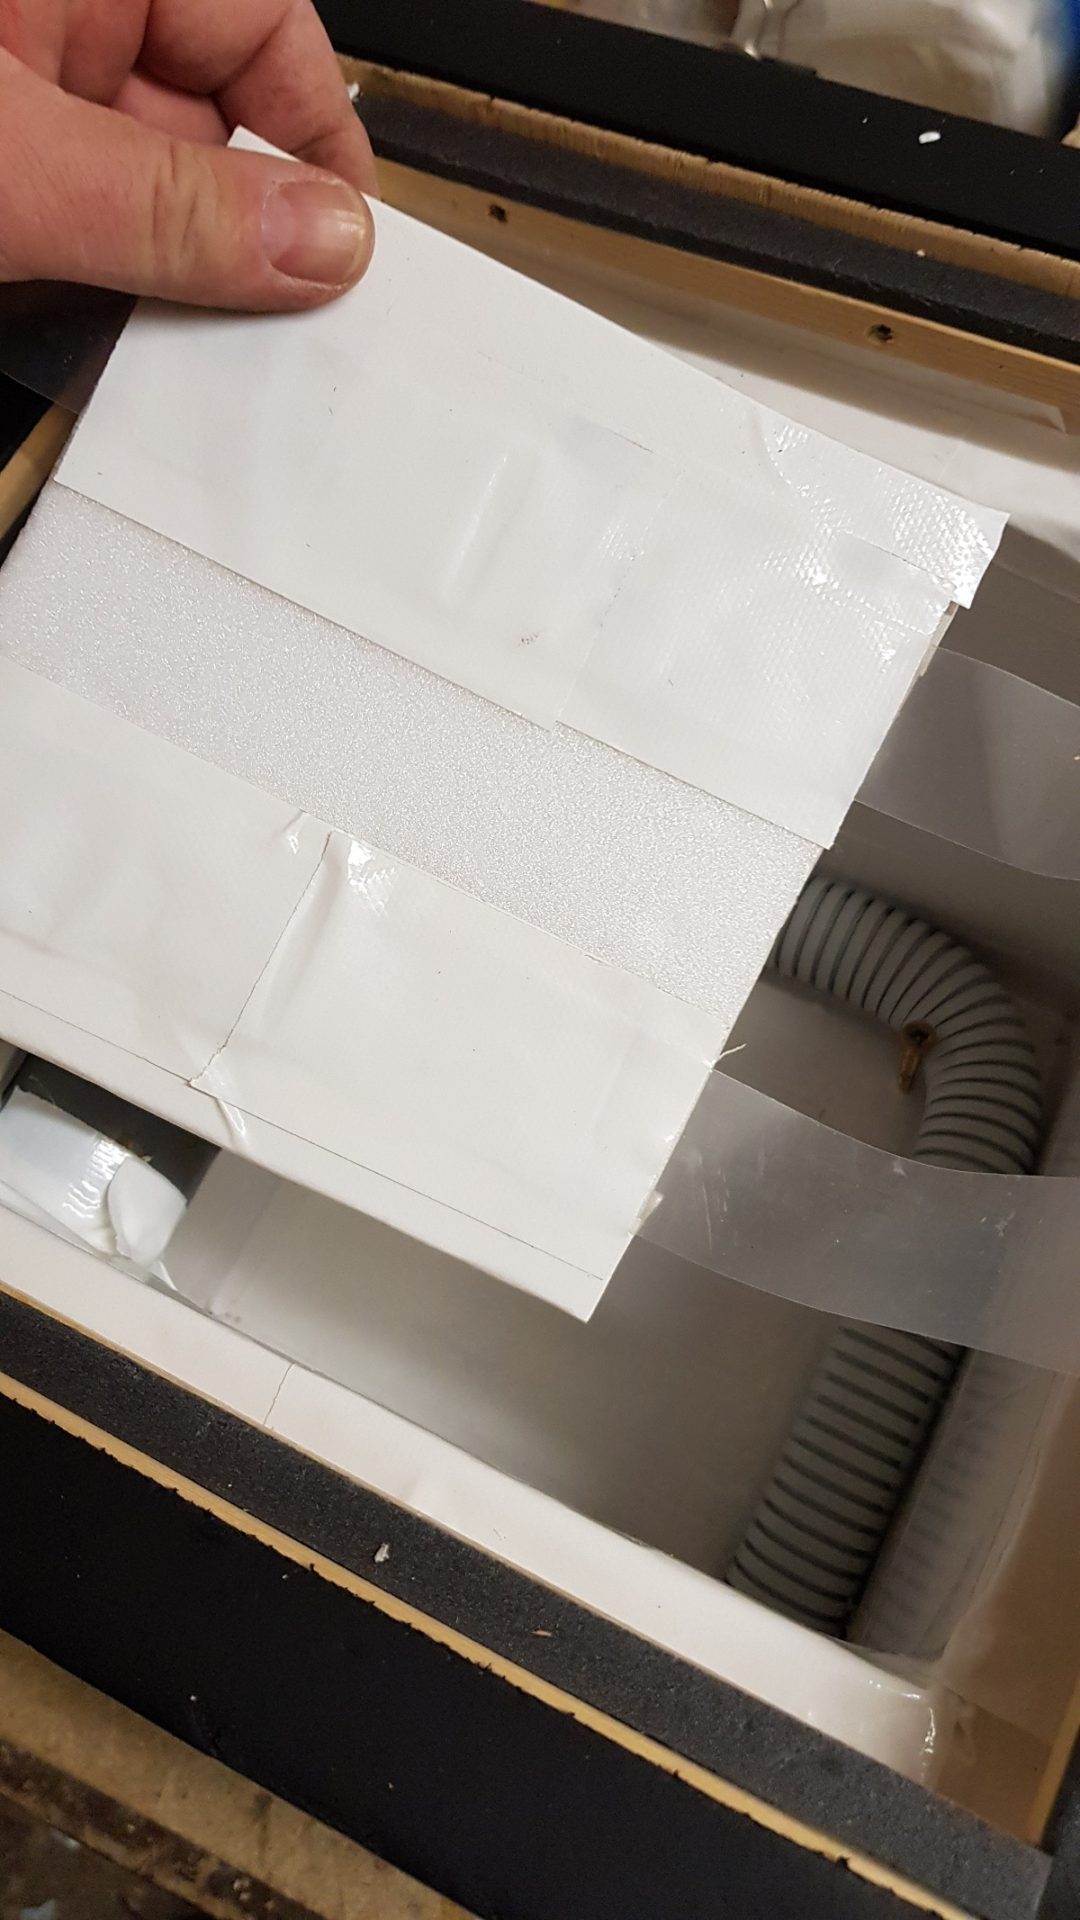
3. Attach hinges to the underside of this false bottom
4. Try lifting the second bottom out from behind the curtains.

5. Adjust the hinges so they run along the sides of the hive.
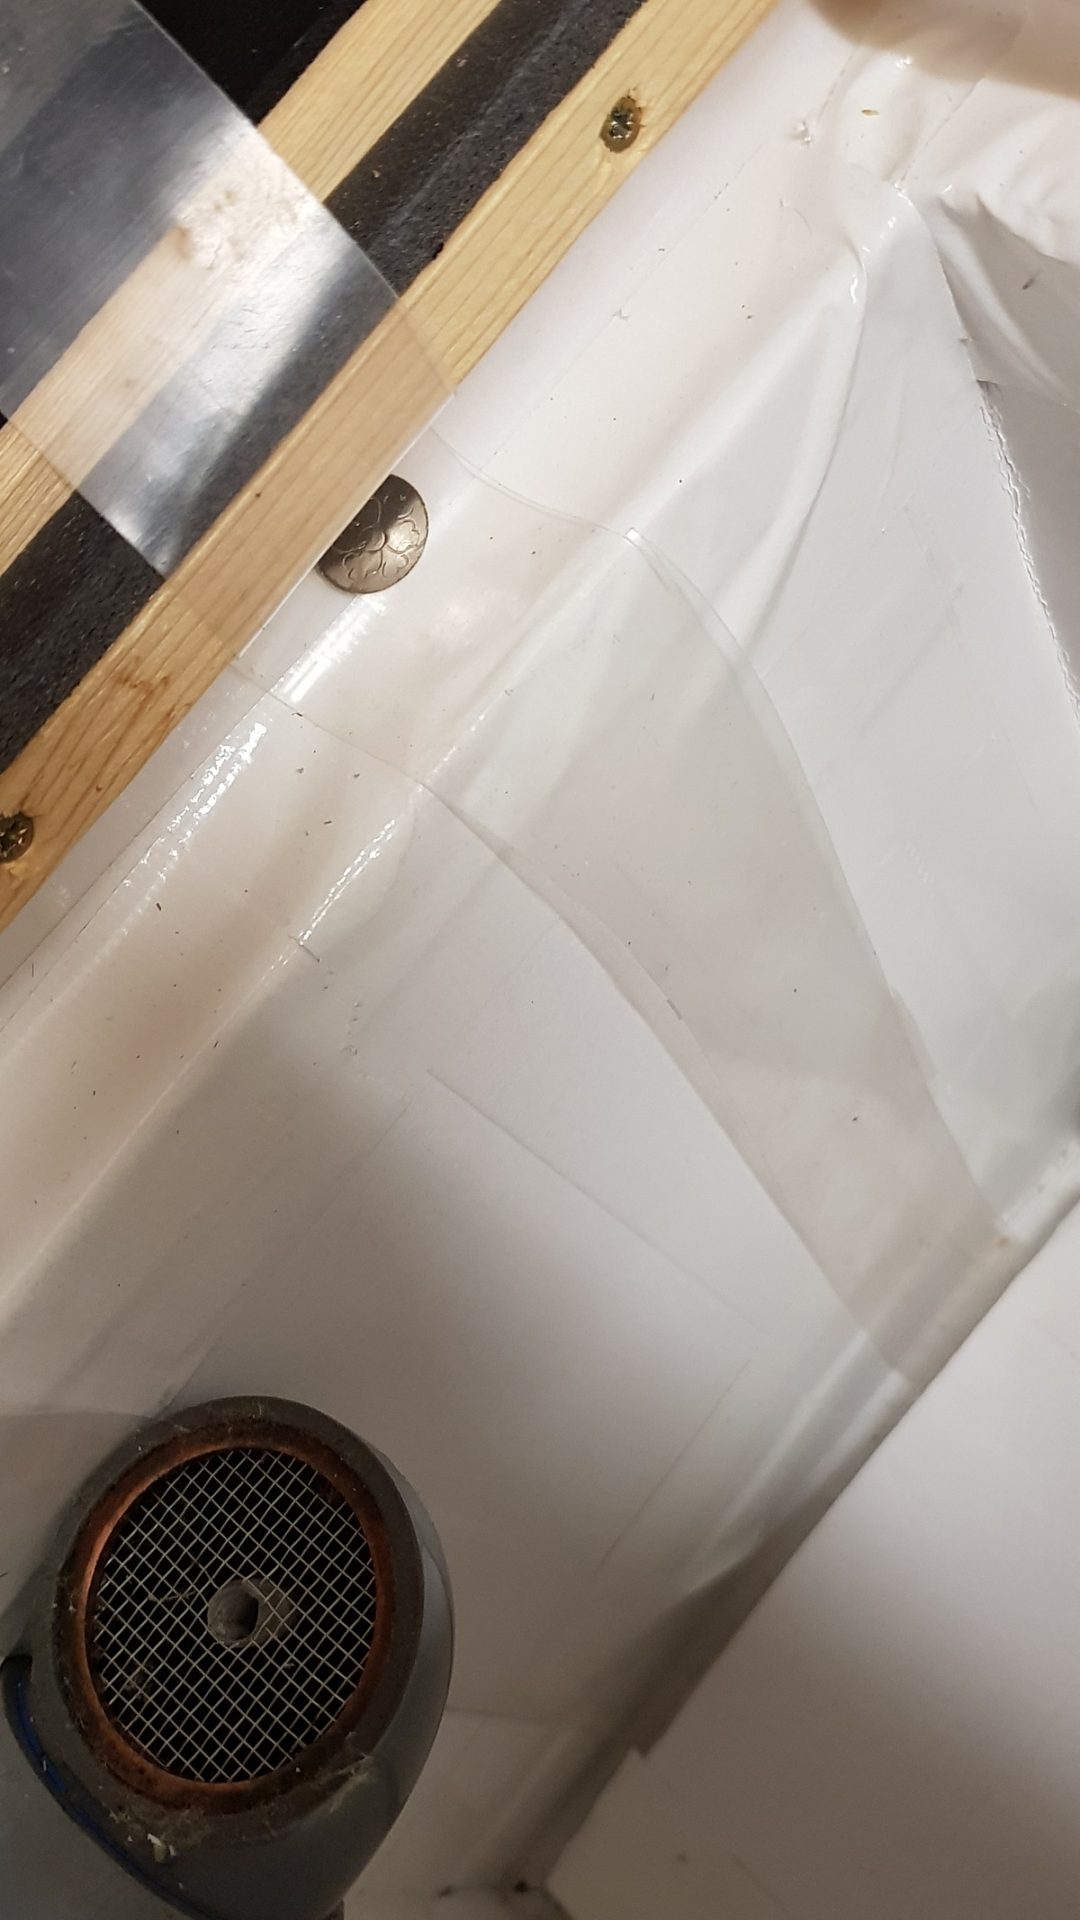
6. Attach the curtains at the top with drawing pins and cut off any excess fabric.