Here you can see how a bumblebee lifts the flap – it inserts its head underneath it, then its body, lifts the flap, and slips underneath it,
But they have to get used to it. You have to close the flap to slowly close/start, in it gets used to the touch of the latch and learns to go through it.
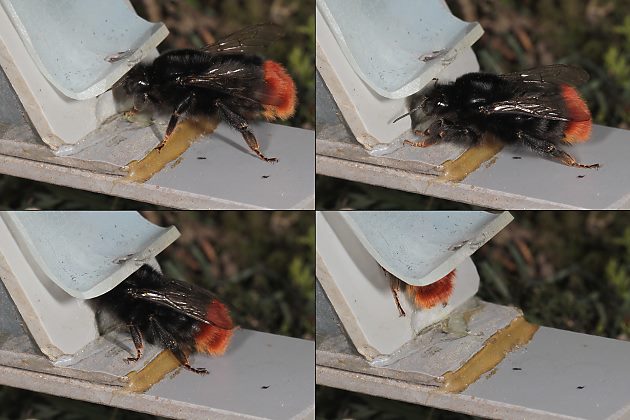
Guard flap – entering red-tailed bumblebee (Bombus lapidarius) Photo http://www.wildbienen.de
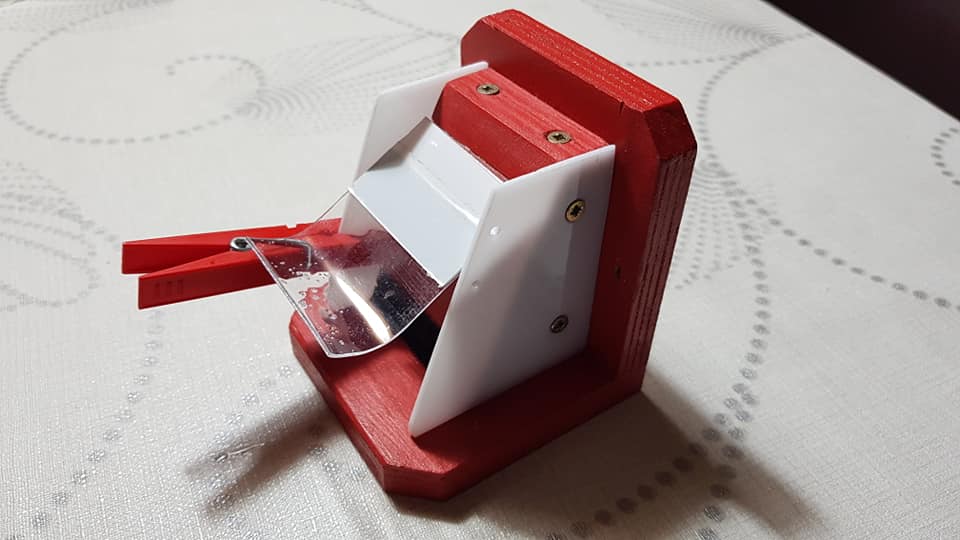
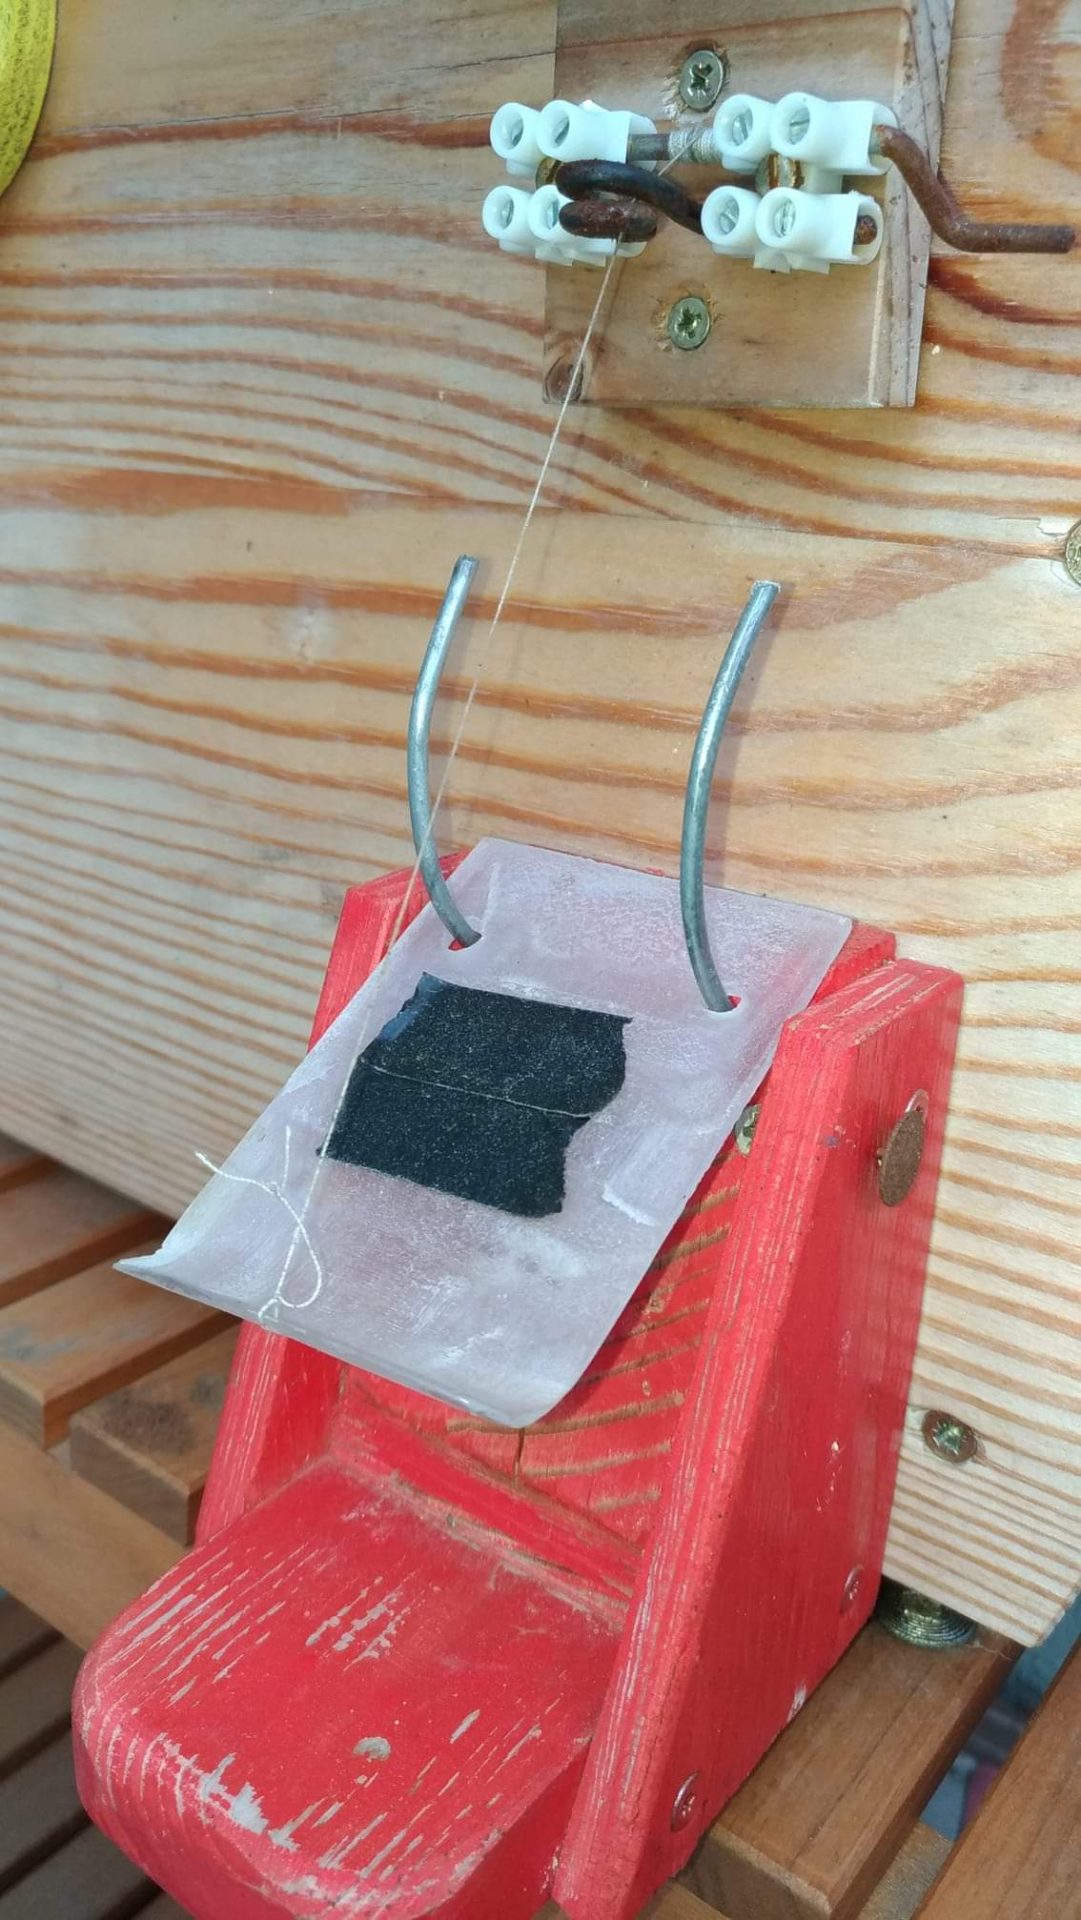
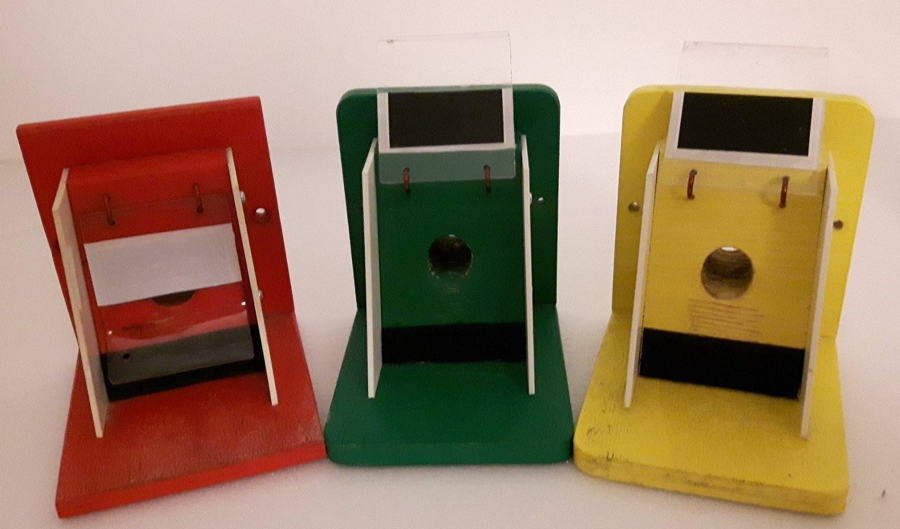
Latch closure solution - peg
Flap raised
Photo O. Hercog (2019)
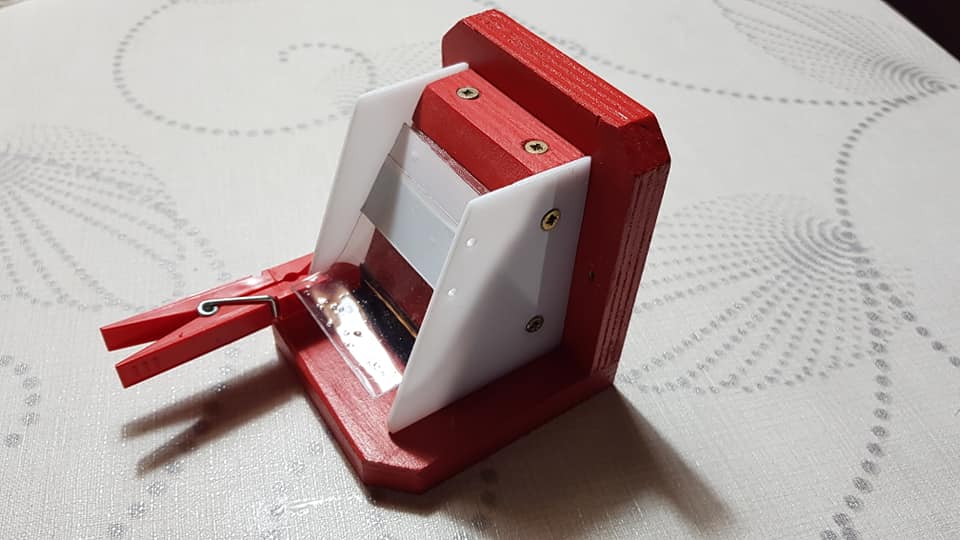
Latch closure solution - peg
Lid lifted
Photo O. Hercog (2019)
Lid for flap closure
Photo O. Hercog (2019)
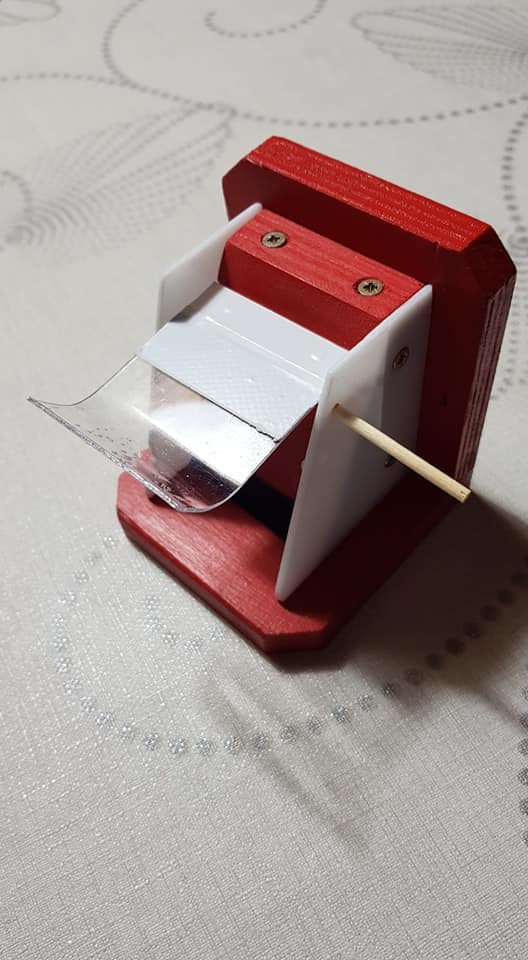
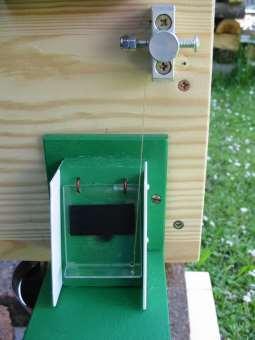
Solution for closing the flap – skewer
Clapboard raised
Photo O. Hercog (2019)
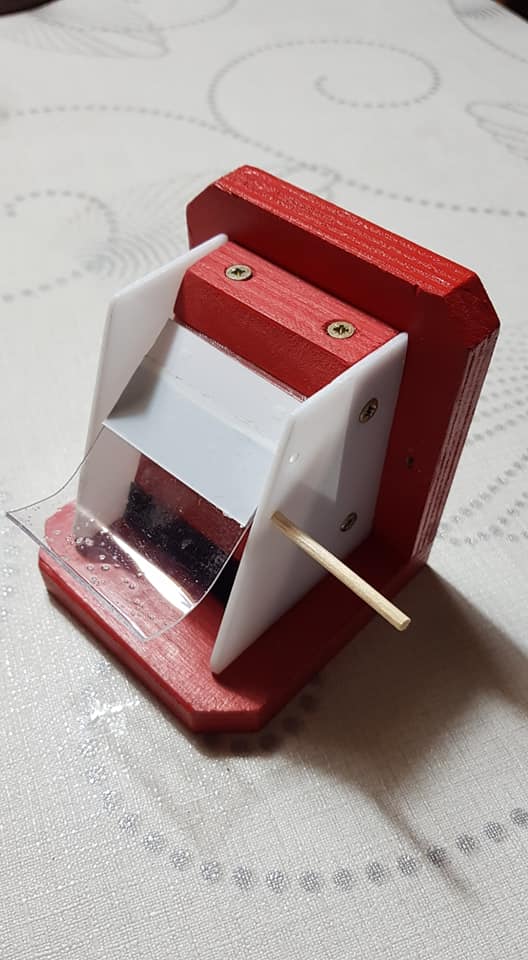
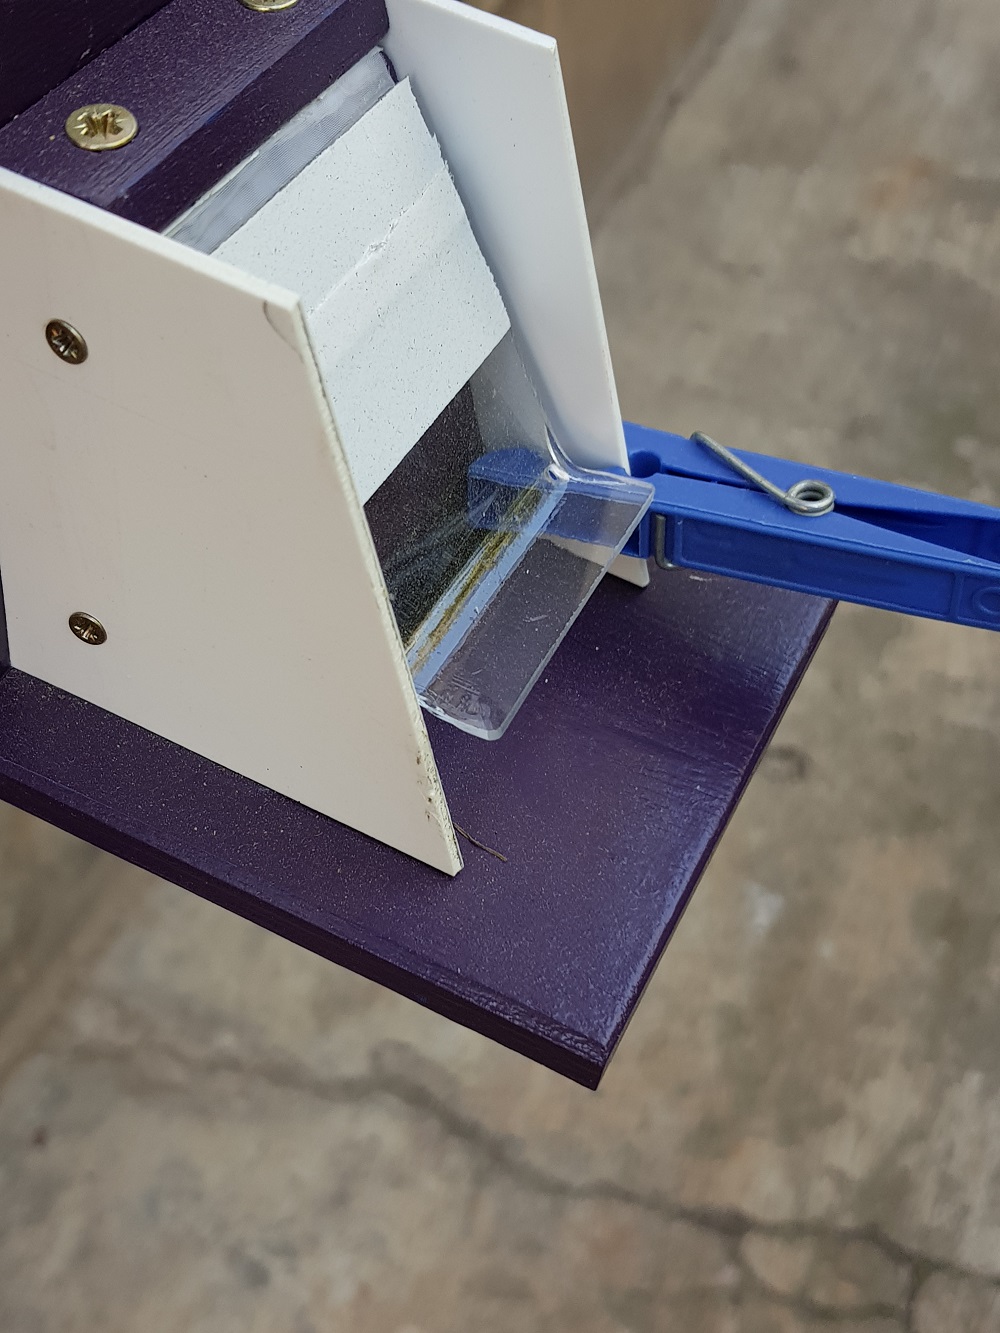
Solution for closing the flap – skewer
Latch ajar
Photo O. Hercog (2019)
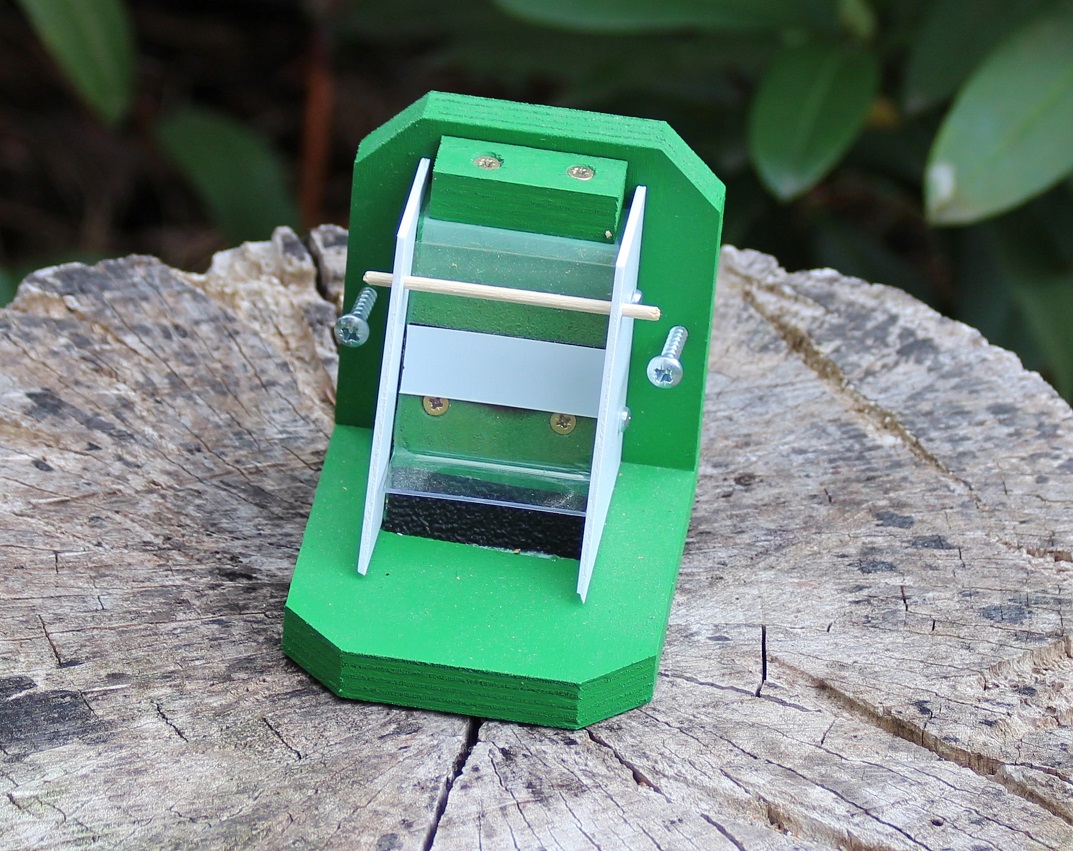
Solution for closing the flap – skewer
Photo by J. Černý (2019)

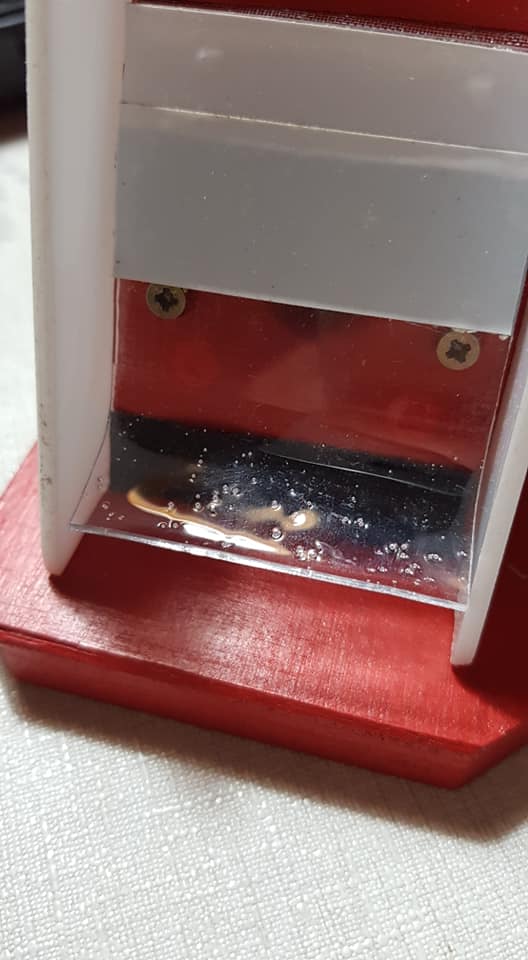
Solution for closing the flap with a screw under the inlet opening
We recommend replacing with two screws at the level of the inlet opening/its axis
Manufacturer's web photo
Screw solutions for closing a flap
retaining screws in the butterfly valve body
Photo O. Hercog (2019)
Screw solutions for closing a flap
Latch ajar
Photo O. Hercog (2019)
Lorem ipsum dolor sit amet, consectetur adipiscing elit. Ut elit tellus, luctus nec ullamcorper mattis, pulvinar dapibus leo.
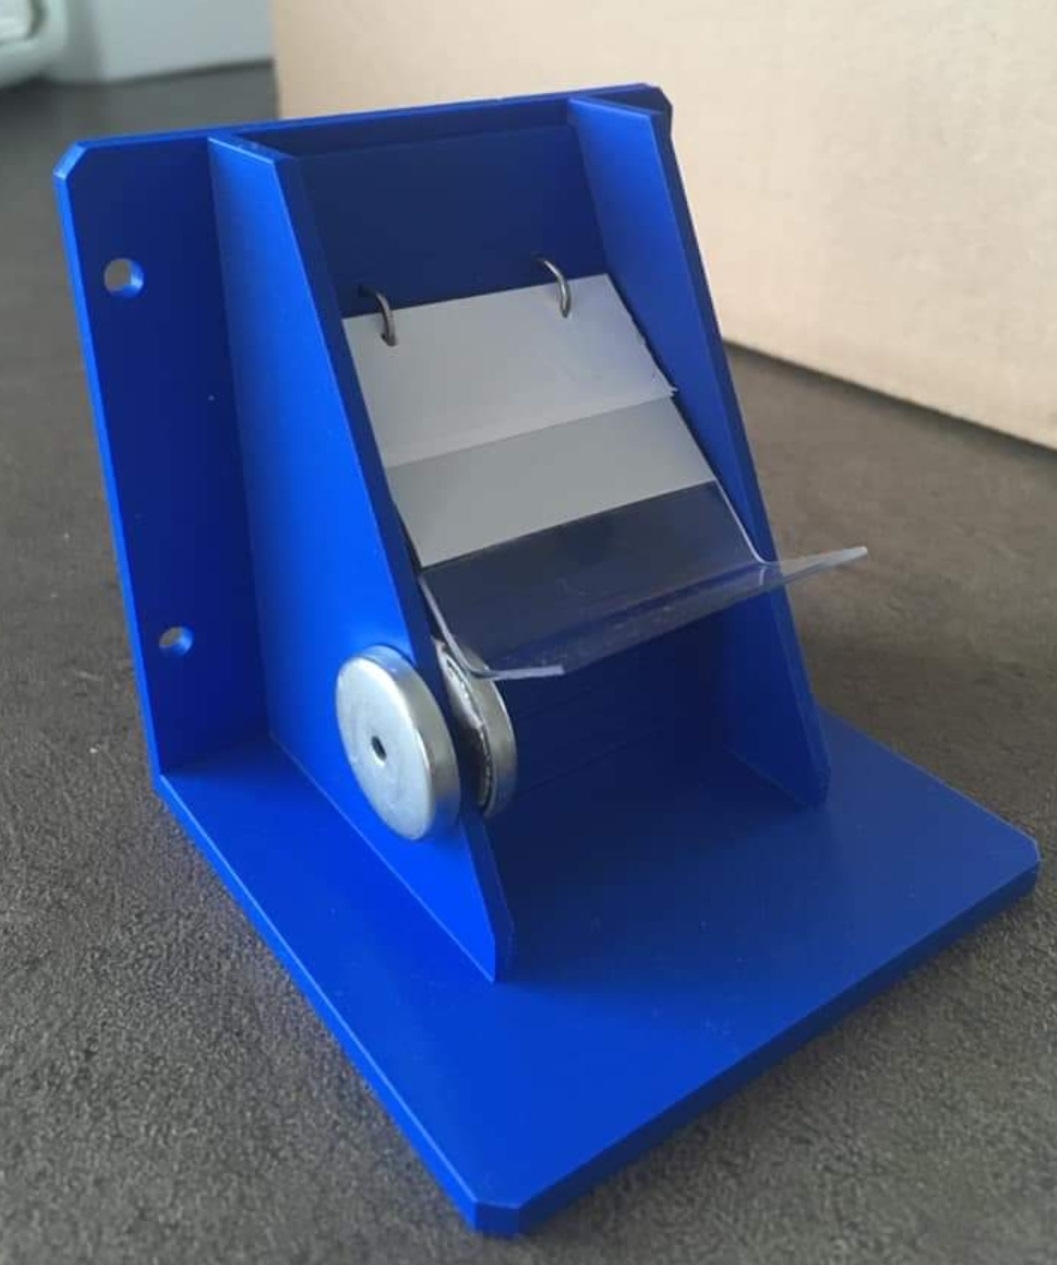
Flap closing solution – thread
Photo P Fereš
Bumblebees PLUS – Flap closure solution – Thread
Photograph by M. Andrlík
Further solutions
Roman Ševčík proposed an interesting solution. He used two strong magnets on the flap's base.
Is it good to use magnets Strong (to prevent the flap from closing by itself) and at the same time small (so that it doesn't obstruct traffic on the garlic and the flap can be gradually lowered).
Solution for closing a flap using magnets
Photo R. Ševčík (2020)
There are many other solutions, including connecting electronics to sense the flap's position, electronic control (we don't know how the electronics distinguish a bumblebee from a buff-tailed bumblebee), etc.
If you have a solution that has worked for you, we'd be happy to add it here.
Please remember to adjust the louvres with tape as per J. Čížek's recommendation, see HERE
Adjustment of the flap. Covering the black strip with white tape. Only the lower viewport to be left.
Photo O. Hercog (2018)