Top check.
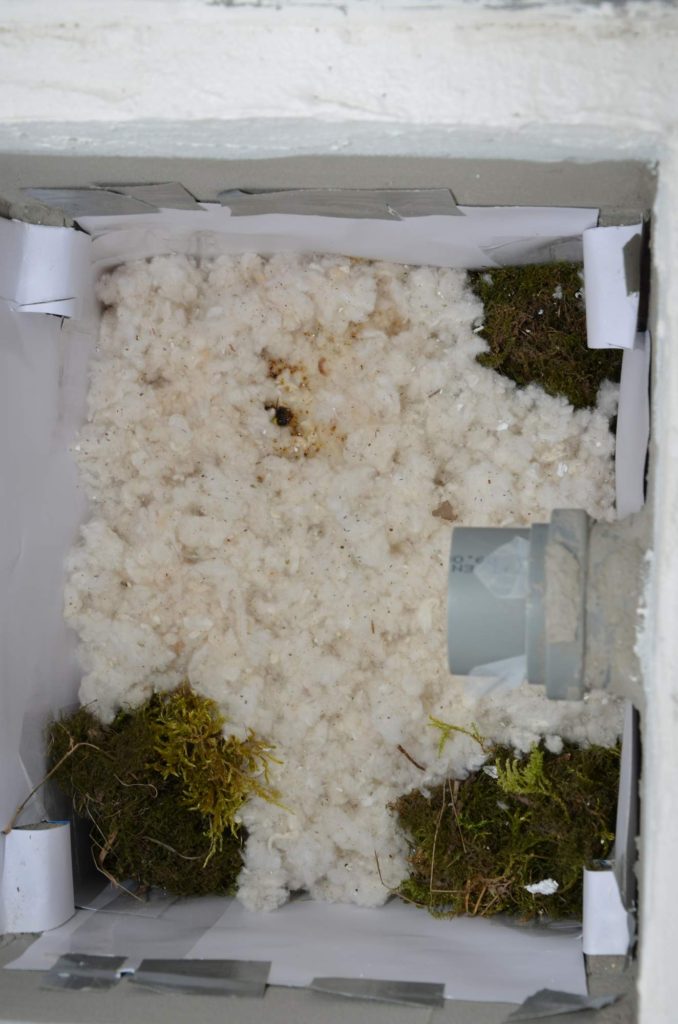
Image as before settling in spring. Minimum fouling, only one access point visible. No parasites, however, in this state of preservation, a weak nest can be expected.
Upper part of lining – optimal condition.
Contamination only at the corners, paper without mould, lining processed by bees without mould, only the top layer settled, only adult flies from parasites
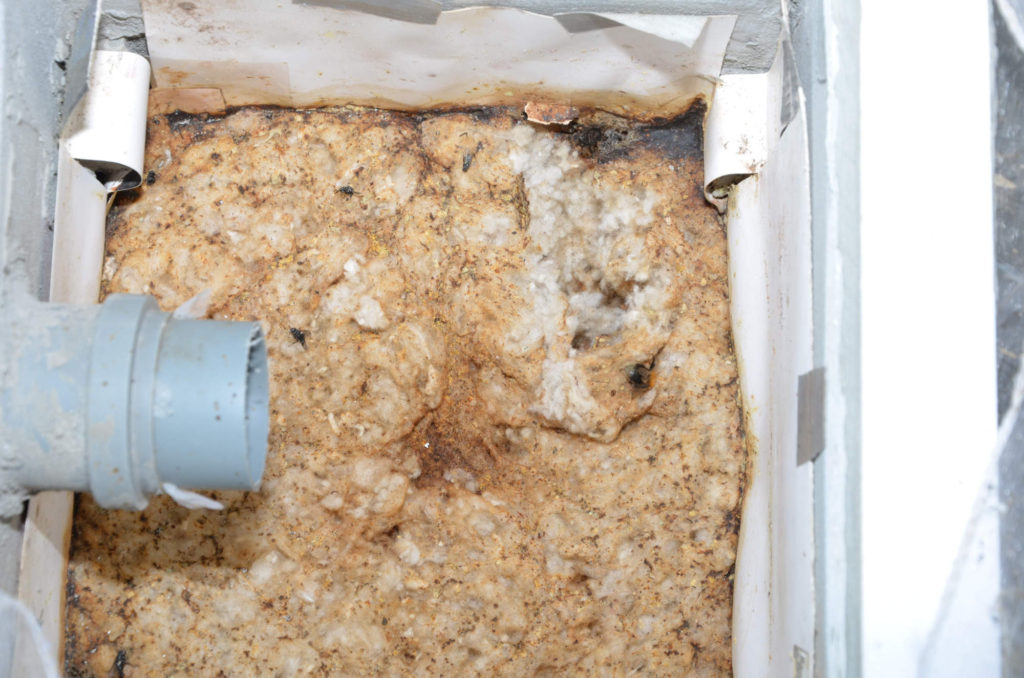
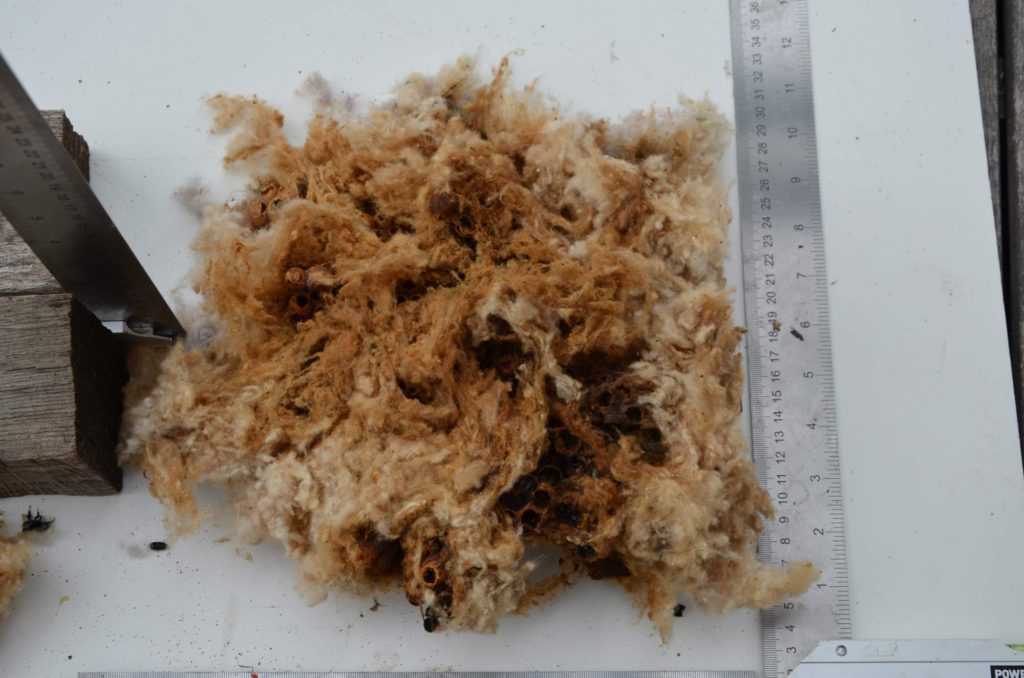
A sample top-down view of the lining in a ground hive. Clear signs of excessive moisture, the paper walls are wet, mouldy, and the lining is disintegrating. The lining is mouldy, wet, and has collapsed. No parasites, but a rather large number of dead bees already on the surface. This was the problem...

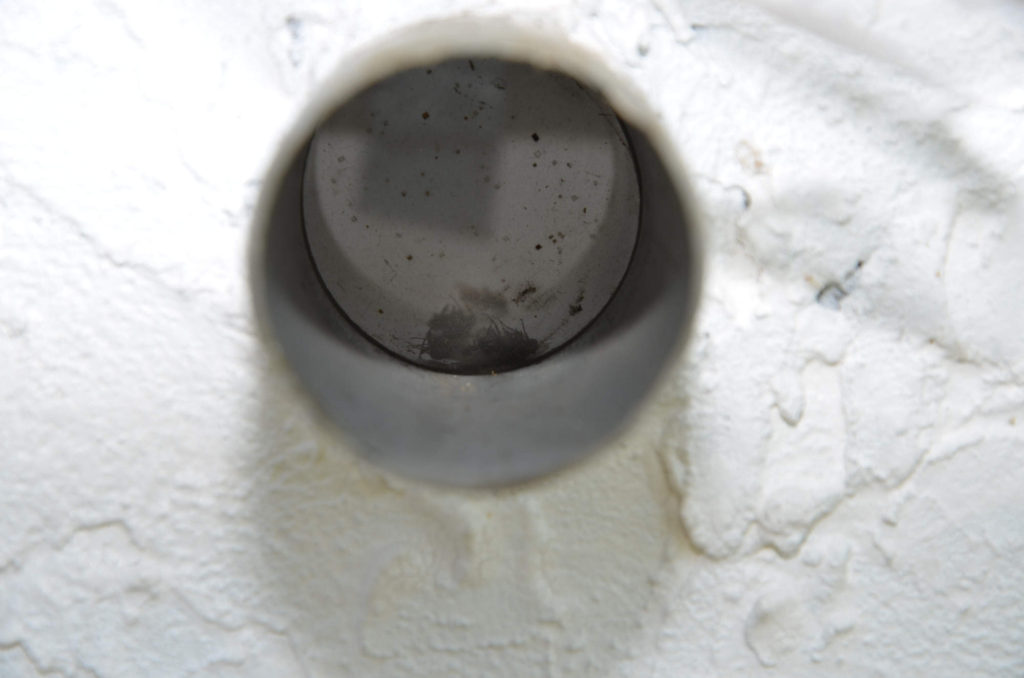
Detective work of inspecting hive roof edges in situ. We see a deposit of dust in one spot, here there was a leak in the hive roof seal and it was a potential risk area for parasite entry. The result of the inspections was therefore the adjustment of the roof edge and seal before the next season.

Moss from the lining of the bottom
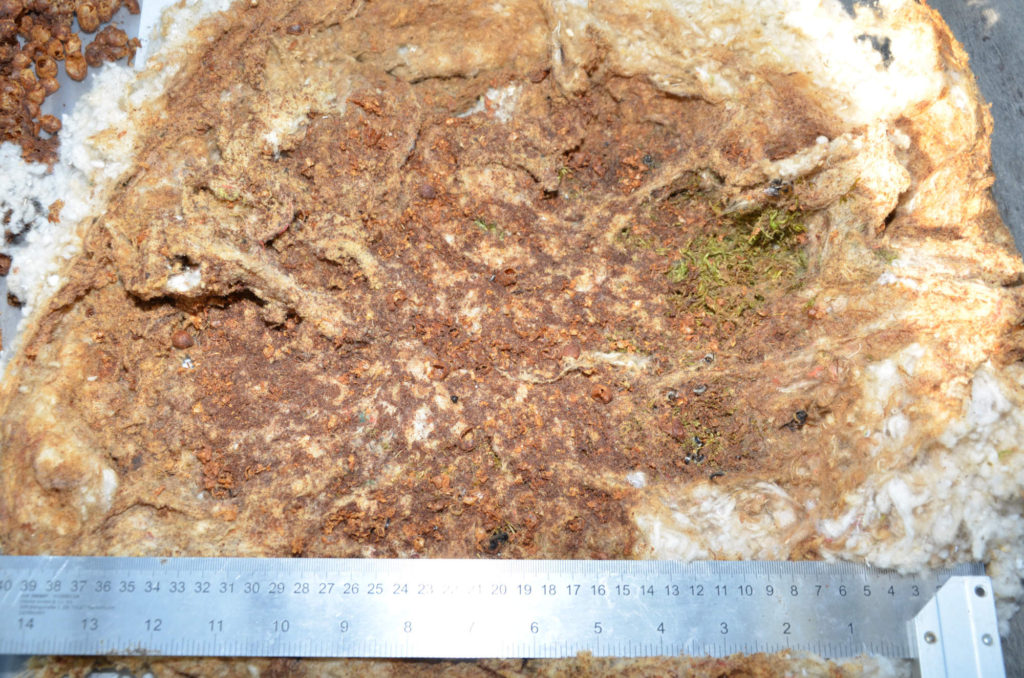
We can see that it is free from parasites such as the European corn borer, however, it is damp with signs of mould.
Lesser wax moth (Aphomia sociella) – nest infested by moth
Photo O. Hercog (2016)
A sample of a nest of its size. It can be seen that it is not mouldy, the ceiling shows no signs of parasite infestation, and the surrounding lining is clean. In the bottom left, a pupa was found, most likely *Brachycoma devia*.
Inspection of a bumblebee nest from a ground hive.
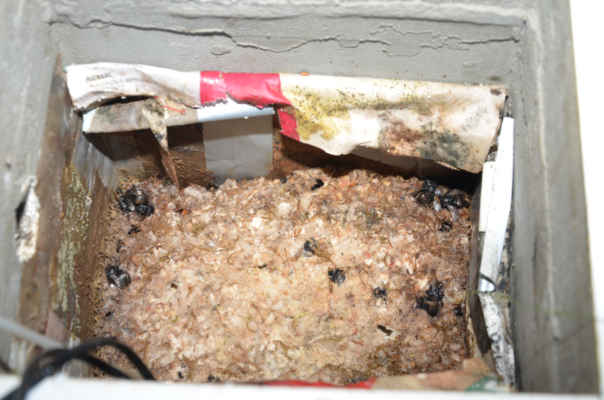
Visible mould covers the entire nest and surrounding lining. Keeping bees in such a hive will need to be adjusted or it cannot be recommended for further settlement.
Checking the lower part under the cocoons, with parasites only mites and *Antherophagus nigricornis*, ideal condition without signs of mould
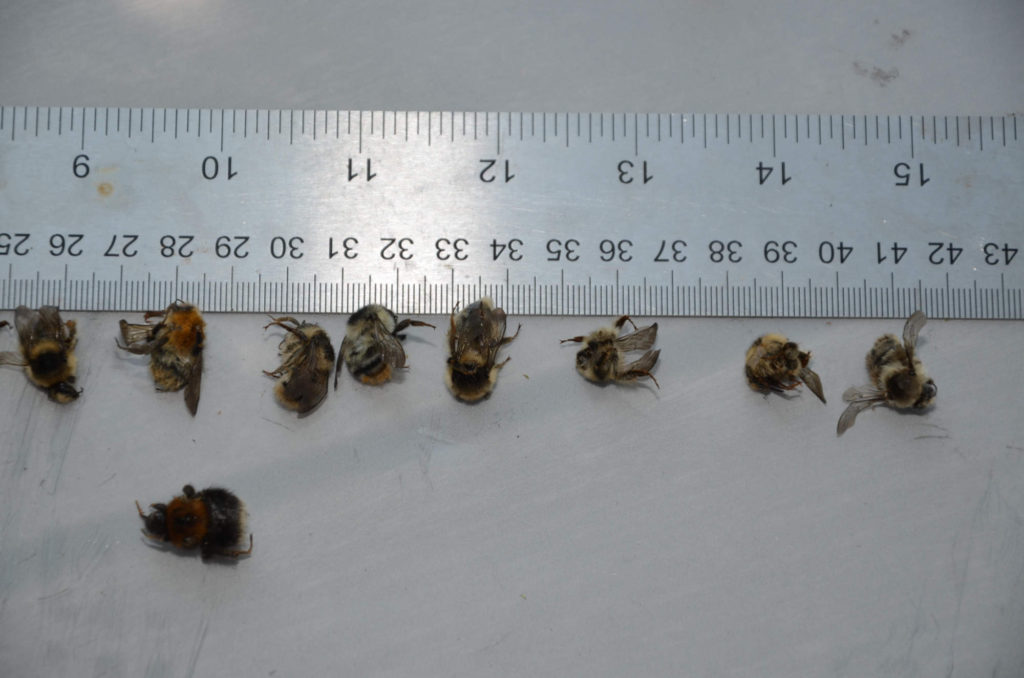
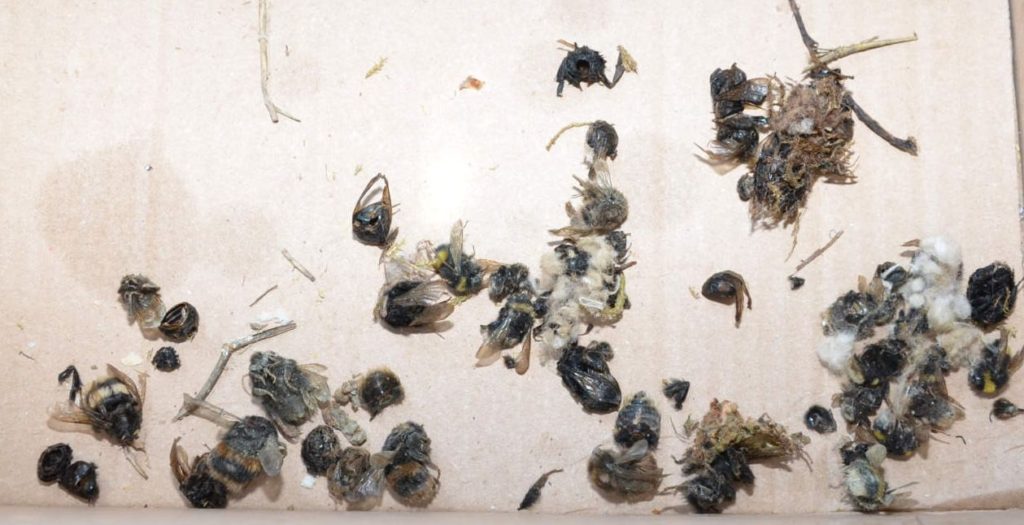
Checking for dead bumblebees from the buff-tailed bumblebee nest.
Our inspection revealed a common state, carcasses without signs of viral infection or infestation. In the foreground, however, a dead buff-tailed bumblebee mother without wings and parts of her legs – it is likely that a battle occurred in the nest between a garden bumblebee worker and the buff-tailed intruder, who lost its way.
[
A sample showing the difference between a small and a large cocoon. In both cases, the bumblebees have completed their development, the cocoons are open and, apart from mould, show no signs of parasitic infestation. With mould, it is necessary to assess the time between inspection and the end of the nest – whether it occurred rather late or already during the colony's lifetime.
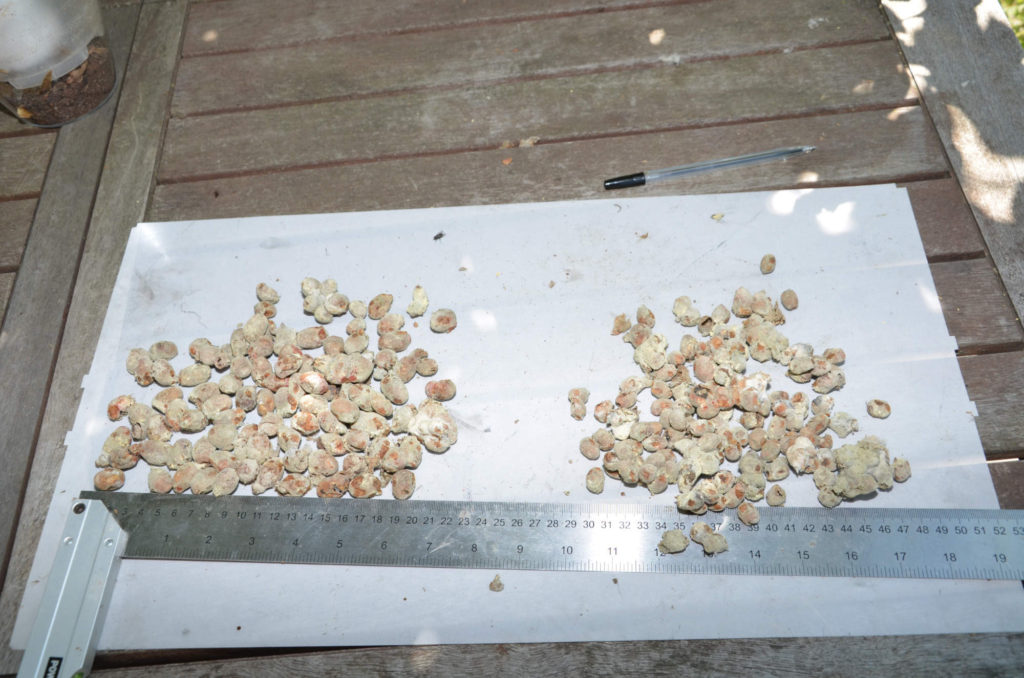
Cocoon sorting.
Above, small worker cocoons and honey cups, below, all open queen cocoons. In the top left corner, dead bees in the nest. A sample of a beautiful, strong and healthy nest. Free from mould, parasites, a huge number of queen cocoons. A minimal number of dead bees.
A detailed inspection, we do not see parasites, finding some dead bumblebees when leaving their cocoons is common.
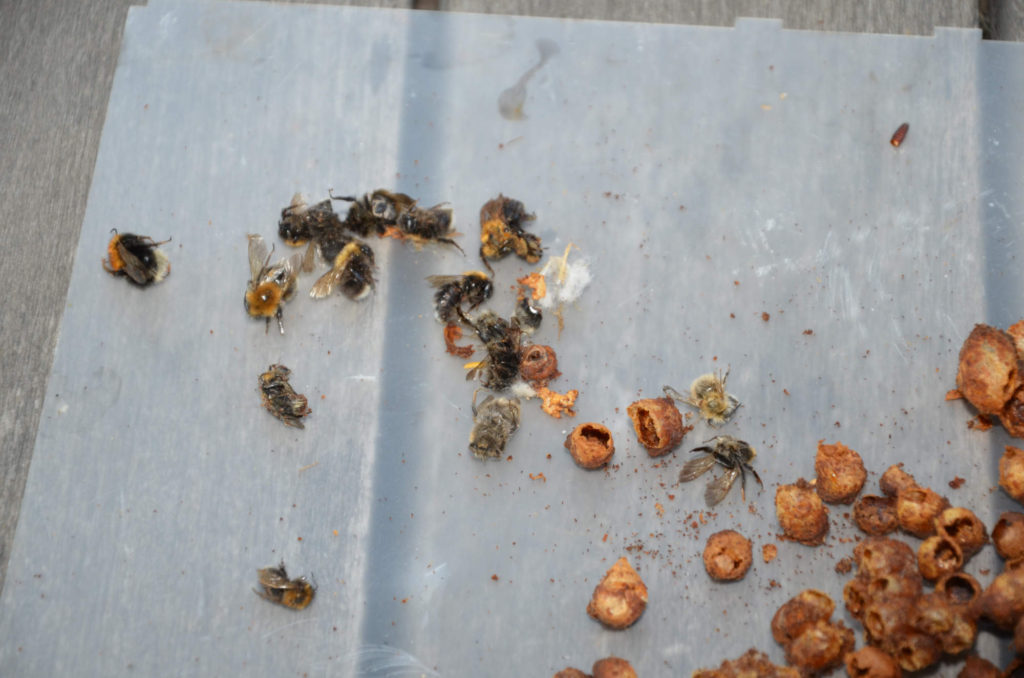
A common finding of dead bumblebees in a nest.
Finding body parts with the head separated is normal after a turning point.
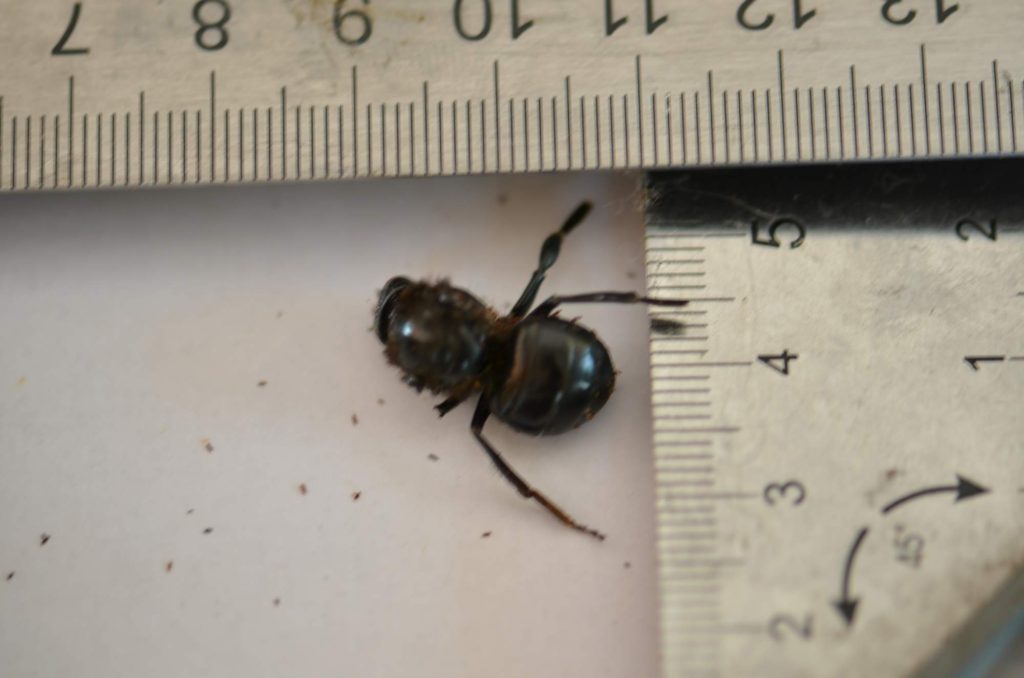
A surprising find in a rock bee nest. Detective work has its rewards.
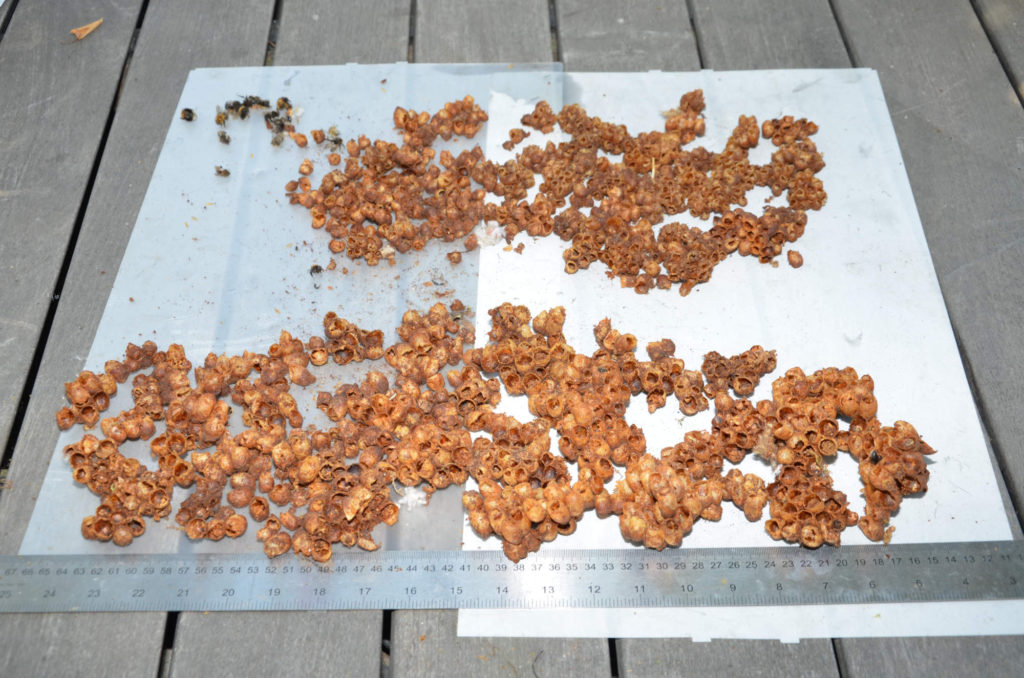
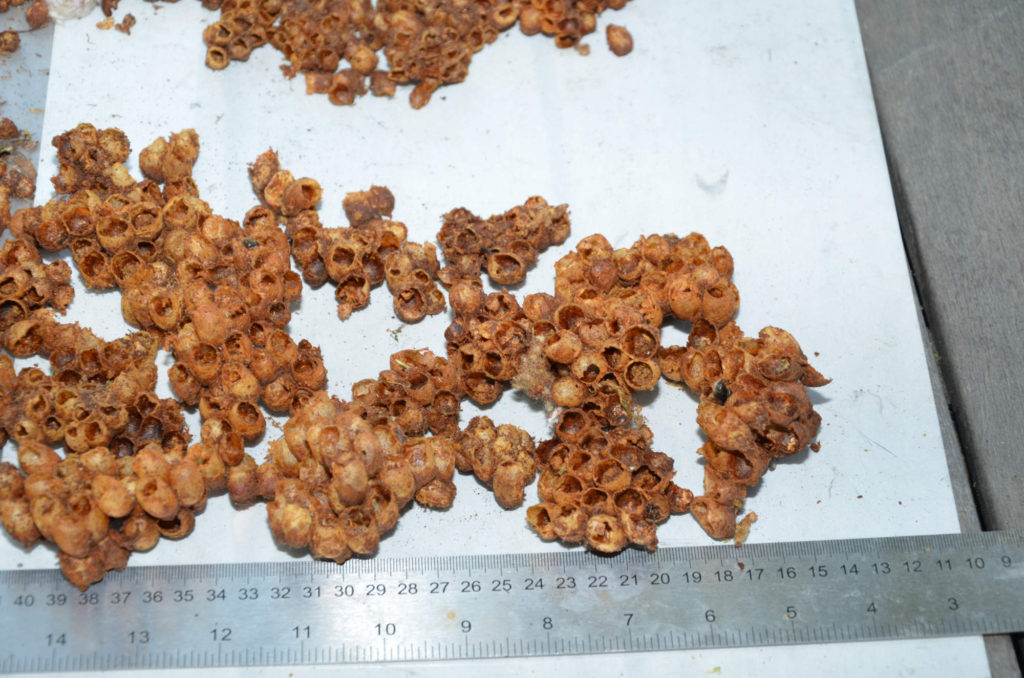
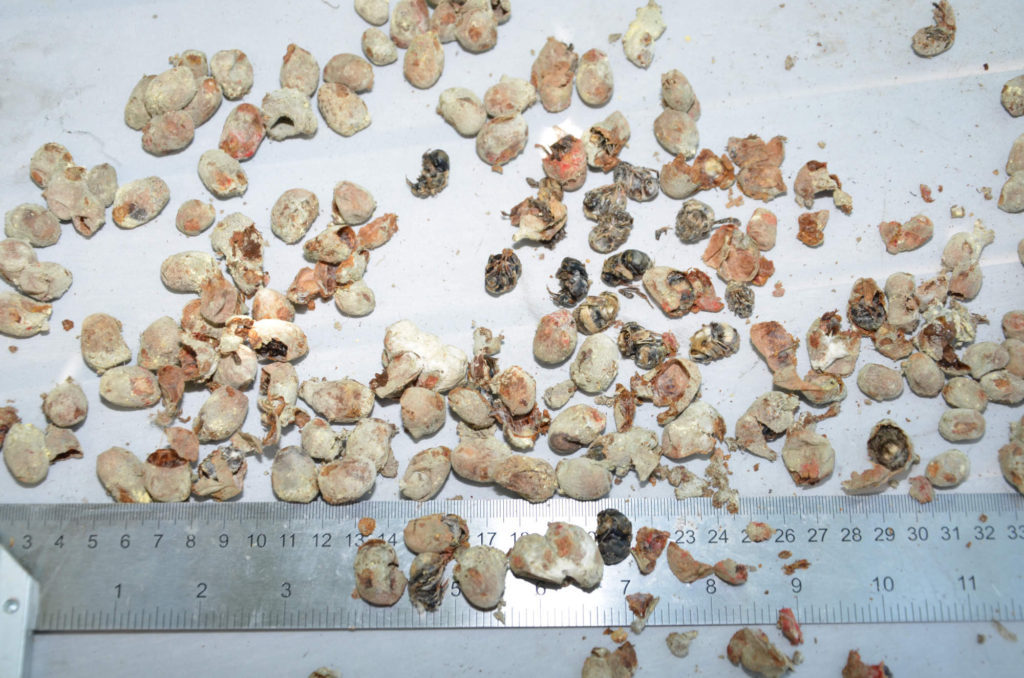
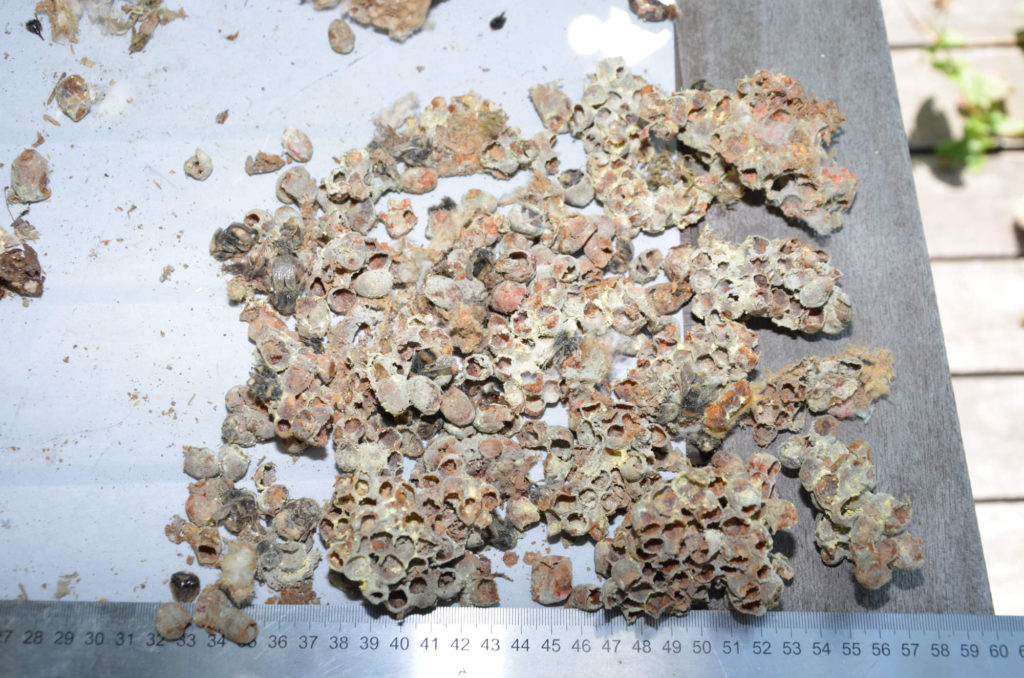
Sample of cocoon sorting.
To the right, small cocoons, closed; to the left, large cocoons, closed. There are already many of them, all are mouldy. This indicates a problem in the nest towards the end of the colony's life. Possible causes: excessive humidity, poor ventilation.
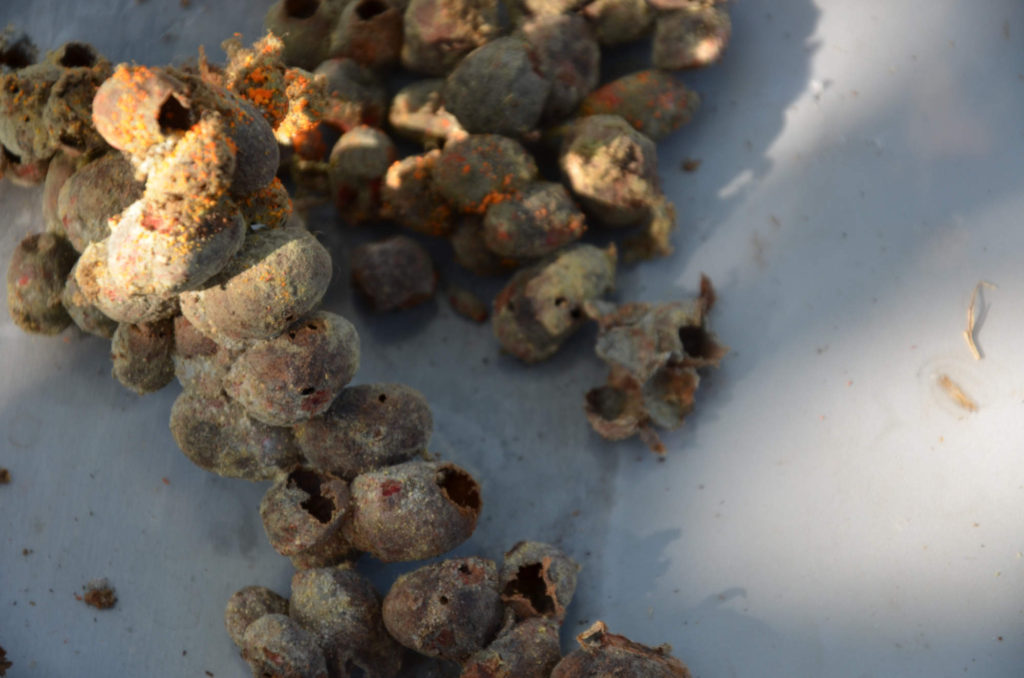
Detective work – dissection of large, sealed cocoons. We are finding only dead bumblebees with unfinished development and omnipresent mould. This suggests that the nest did not prematurely collapse due to a parasite infestation, but rather due to poor ventilation or a decrease in food supply. Indeed, there were no full honey pots in the nest.
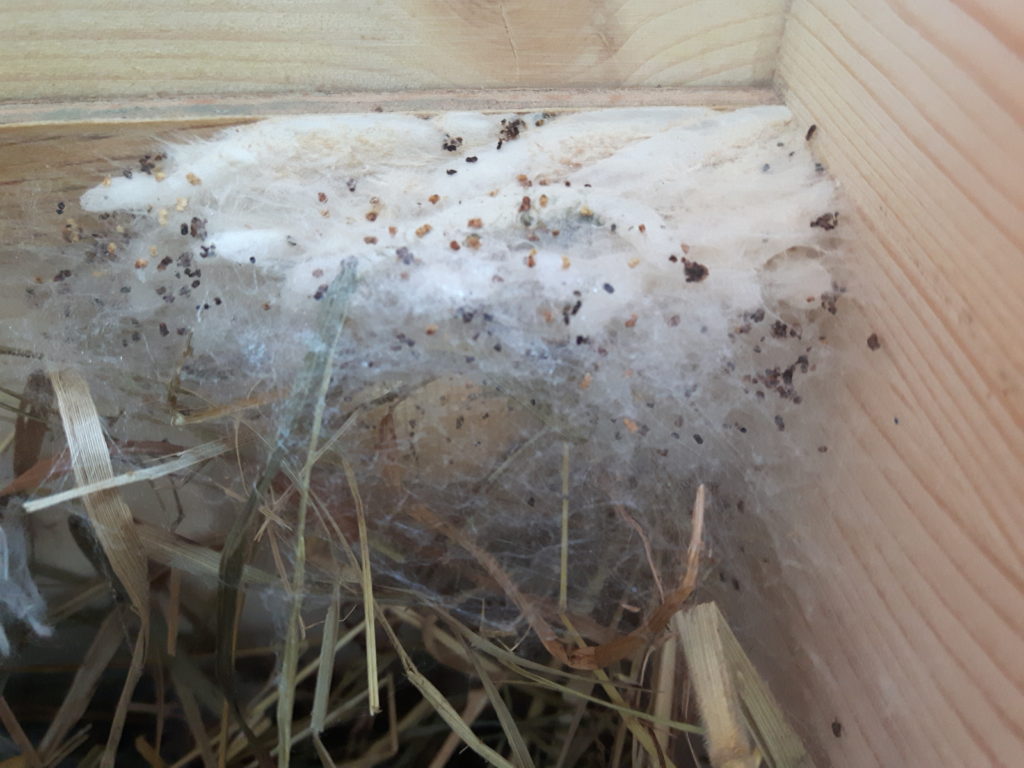
Closed mother cocoons with holes from parasite infestation. Examination later of cocoons with signs of mould, as it cannot be determined whether the infestation occurred while the colony was still alive or at a later stage.
Sample dissection of closed common cutworm cocoons.
On the left is a dead, undeveloped specimen in the cocoon (a common finding), but in the centre is a sign of cocoon infestation by Melittobia acasta. The bumblebee larva has been eaten by thousands of tiny larvae. There were only two cocoons, so the infestation occurred only at the very end of the colony's life; no adults were found in the hive. Therefore, the parasite did not spread, and the hive completed its development, perhaps with an earlier end. Further investigative work found a hole in the udine material at 53S as a possible entry point.
Ventilation check. Intact 53S urethane, minimal dust and mould, flycatcher inside the nest
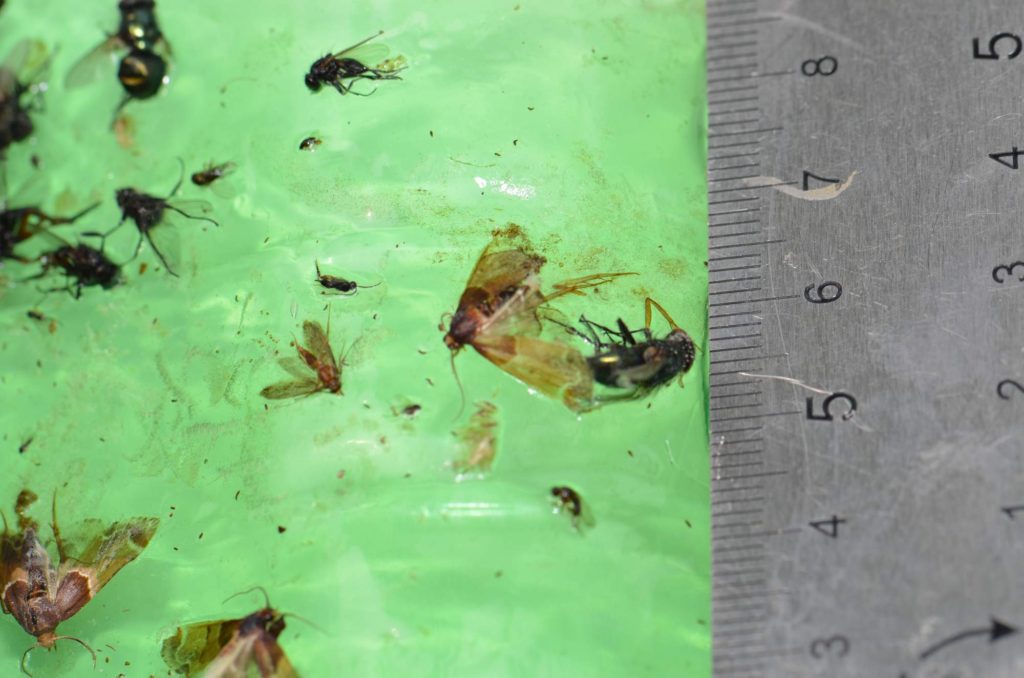
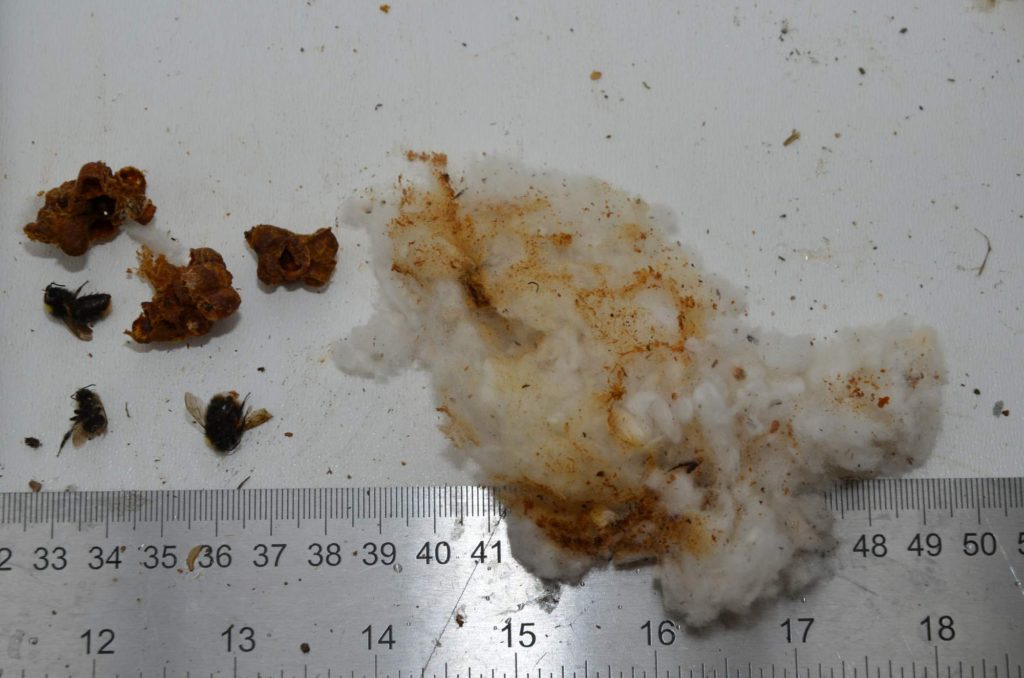
Sticky trap catch. Flies and moths.
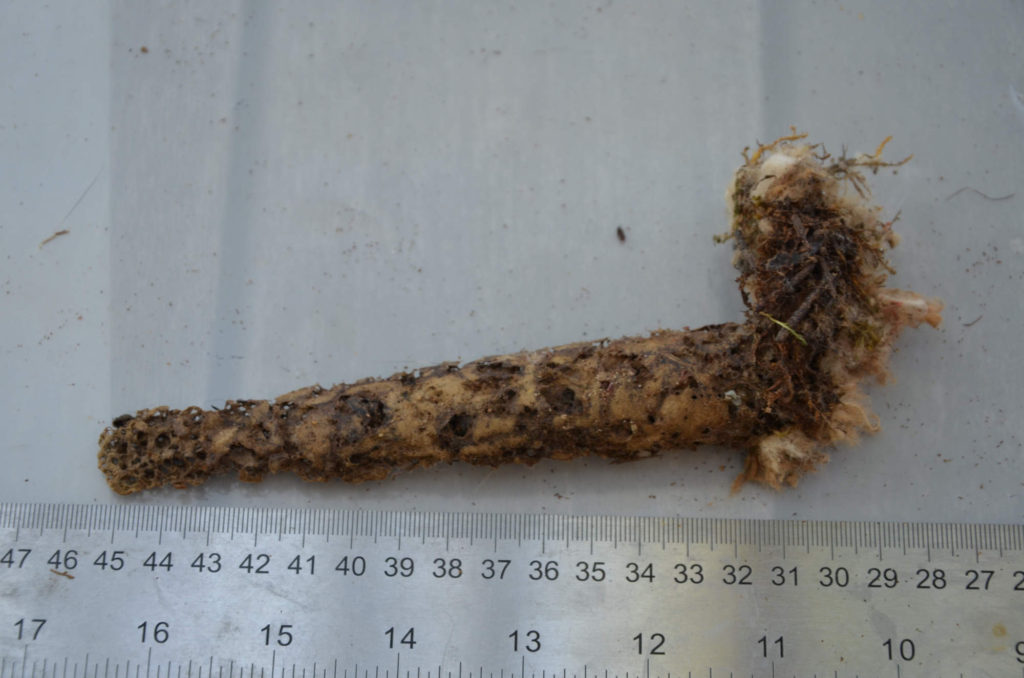
It is also worthwhile to check the hive's landing board, where *Antherophagus nigricornis* pupae were collected here.
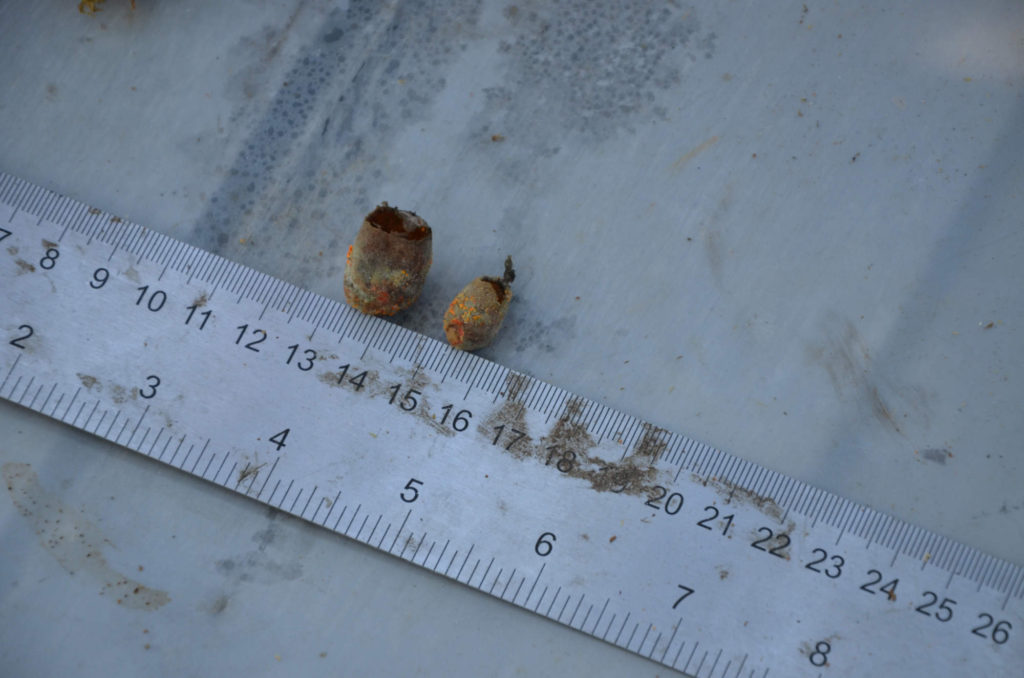
Common parasite during ulcer inspection after the season.
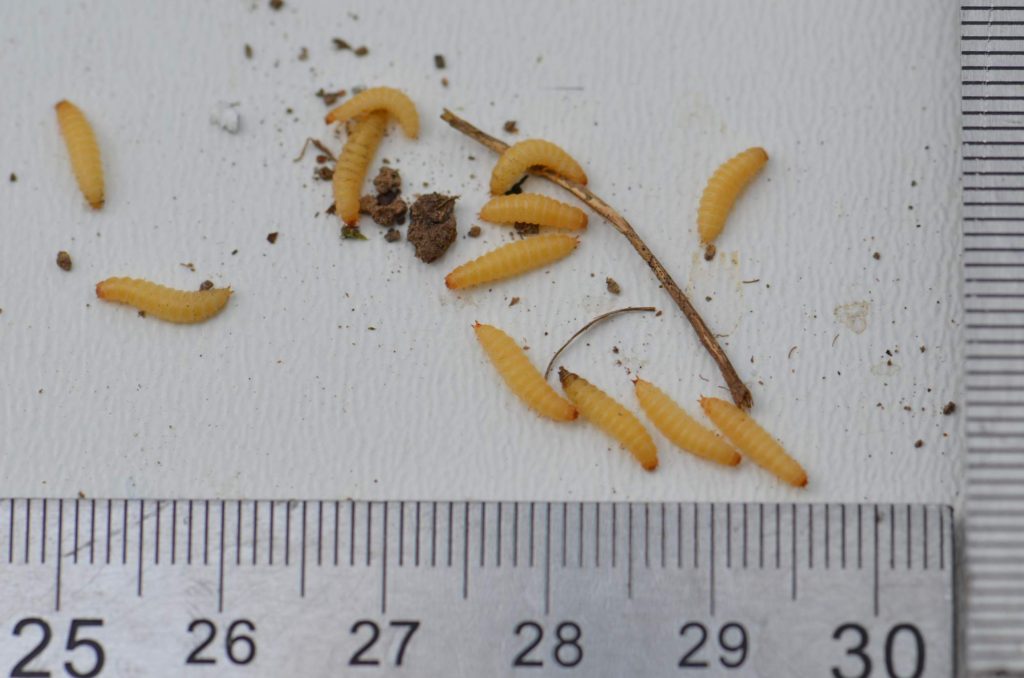
If you don't know the species, a photo like this, with a scale and sufficient sharpness, will help us identify the parasite – this is larvae of Antherophagus nigricornis.
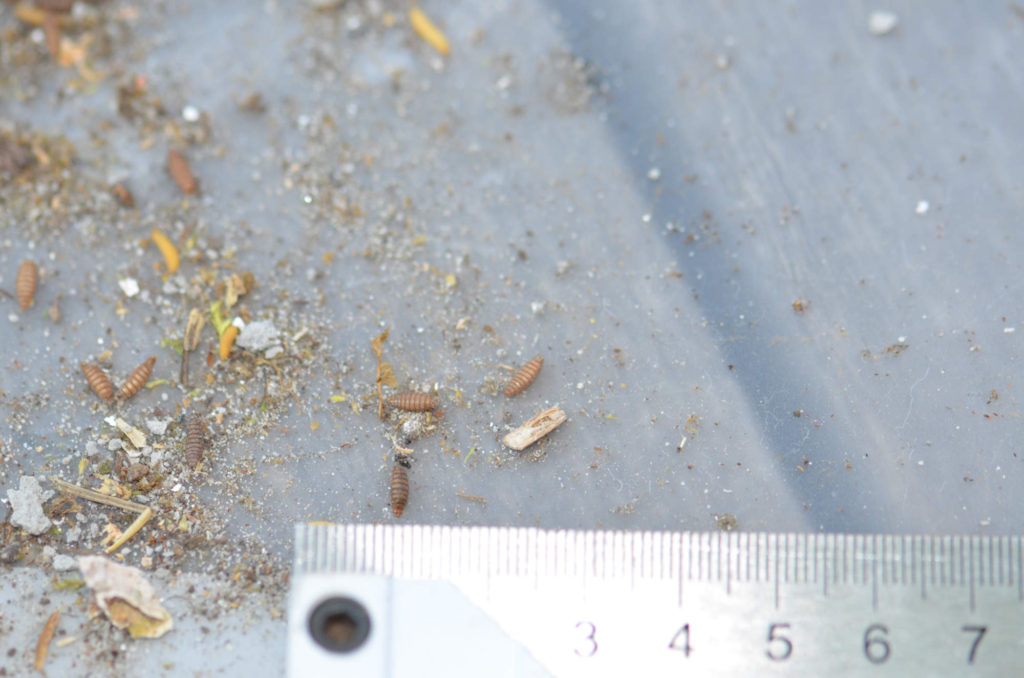
The droppings and the corridor. Upon inspection, we can see it was dry, which is good. Its size did not cause a blockage of the corridor, and from the infestation, only traces of droppings being consumed by fly larvae were observed.
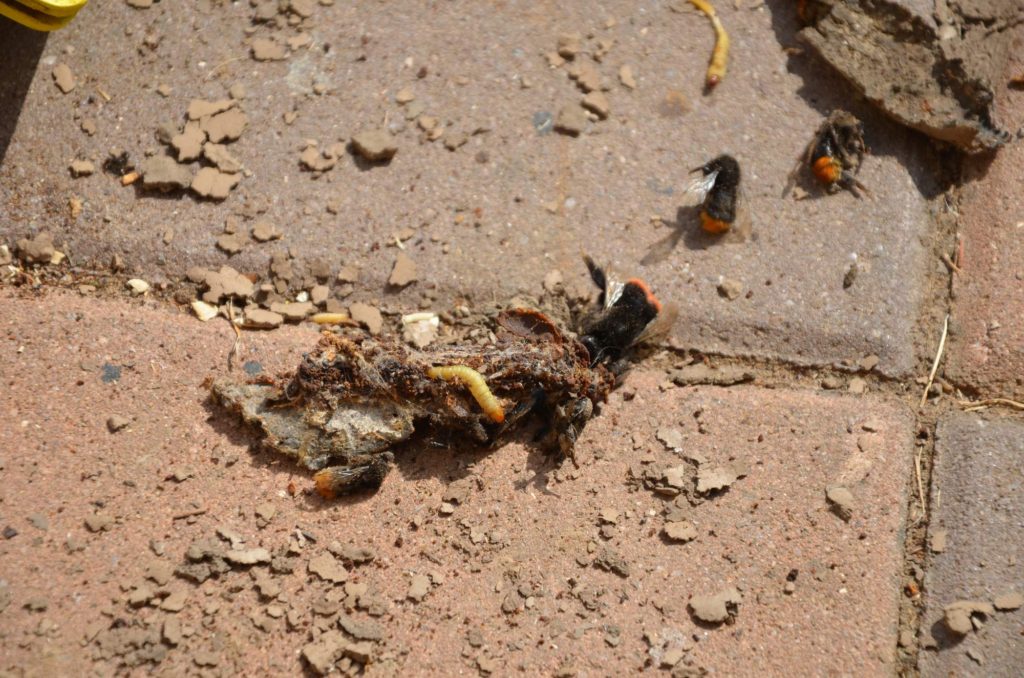
Discovery during the hallway waste check, just behind the flap.
Dead worker bees, number of stone and in waste, were fed upon by _L. aphomia sociella_, three specimens. Only one caterpillar was found in the nest near the entrance. This only suggests that eggs were laid near the entrance flap without the adult moth entering the hive. Therefore, the conclusion is that the hive was well secured, and the protective elements fulfilled their purpose.
Result of a check of a defunct second-generation bumblebee nest.
We see a queen, two workers. A pair of cocoons, including the laying, a full honey cup. The cocoons and lining are free of mould. Poisoning would be possible, further examination is needed to rule out parasite infestation, but this is more likely about the cessation of reproduction in the second-generation queen or another cause, but one that the beekeeper cannot influence. These too are valuable insights.
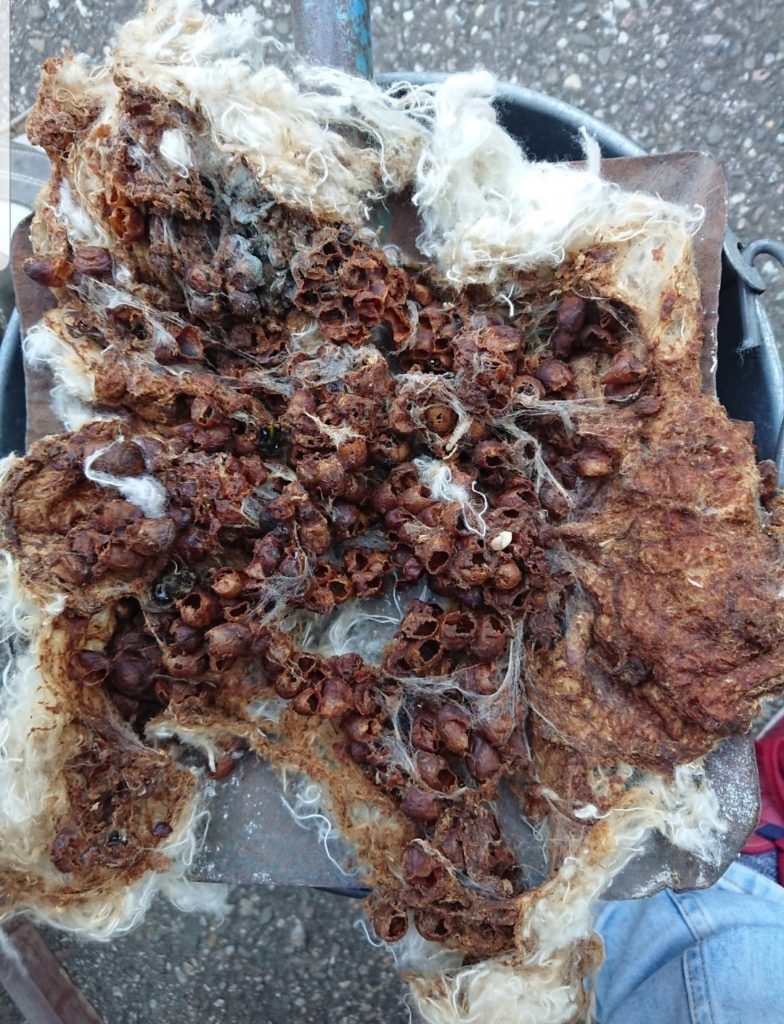
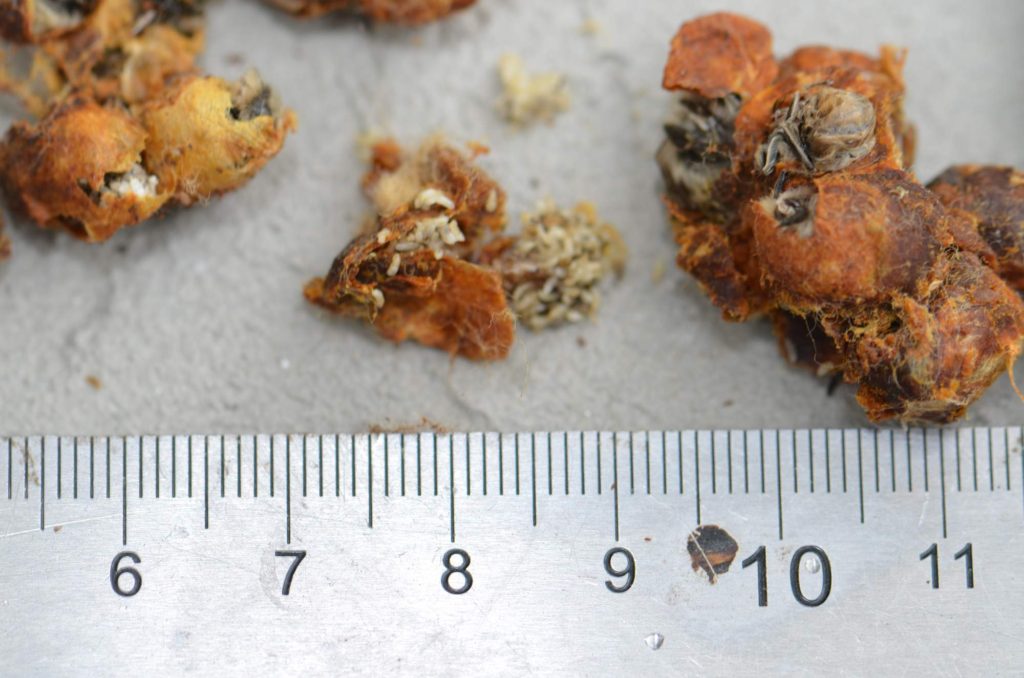
Lesser wax moth (Aphomia sociella) – nest infested by moth
Photo P. Menšík (2019) Our commentary: Were it not for that, it would be a beautiful nest with minimal mould. Even so, open large cocoons are evident, which indicates breeding success. The nest thus prematurely ended its life solely due to aphomia infestation, which is a fairly common occurrence in natural nests. The live bumblebees left it prematurely. Investigation outcome – consider the possible cause of aphomia infestation, thorough eradication and cleaning of the hive. The nest, including its lining, is best burnt to prevent aphomia from multiplying.
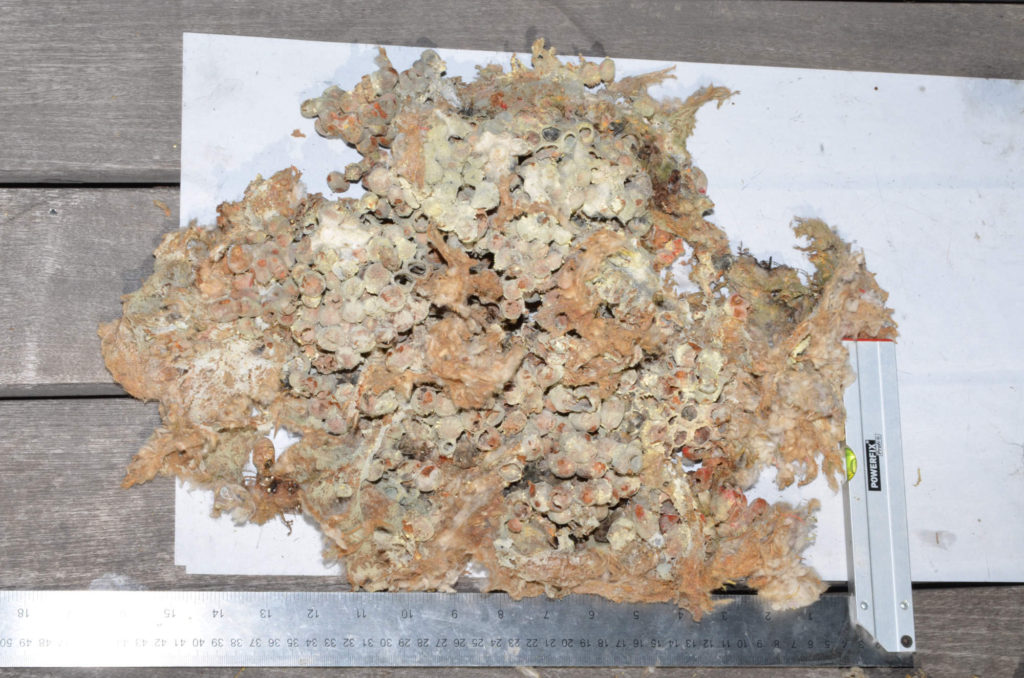
At first glance, the bumblebee nest looked enormous, but the extent of the mould was also considerable.
A large find of dead individuals was also present at the site.
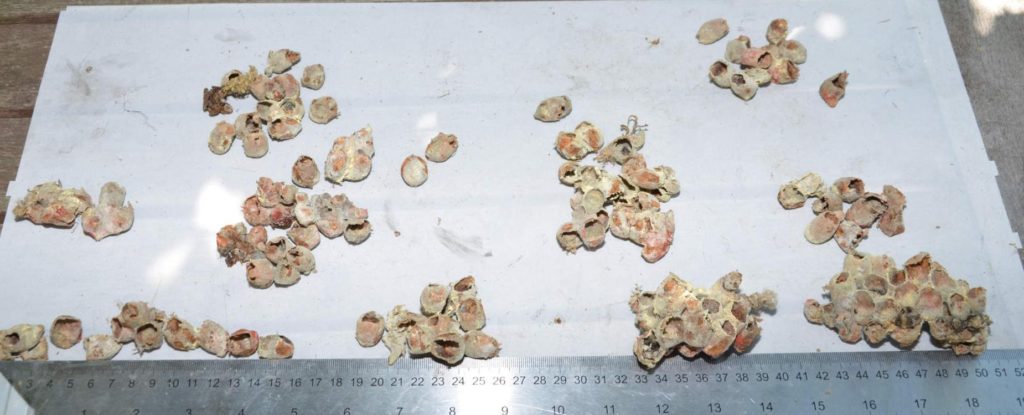
after sorting, a summary of large mother open cocoons