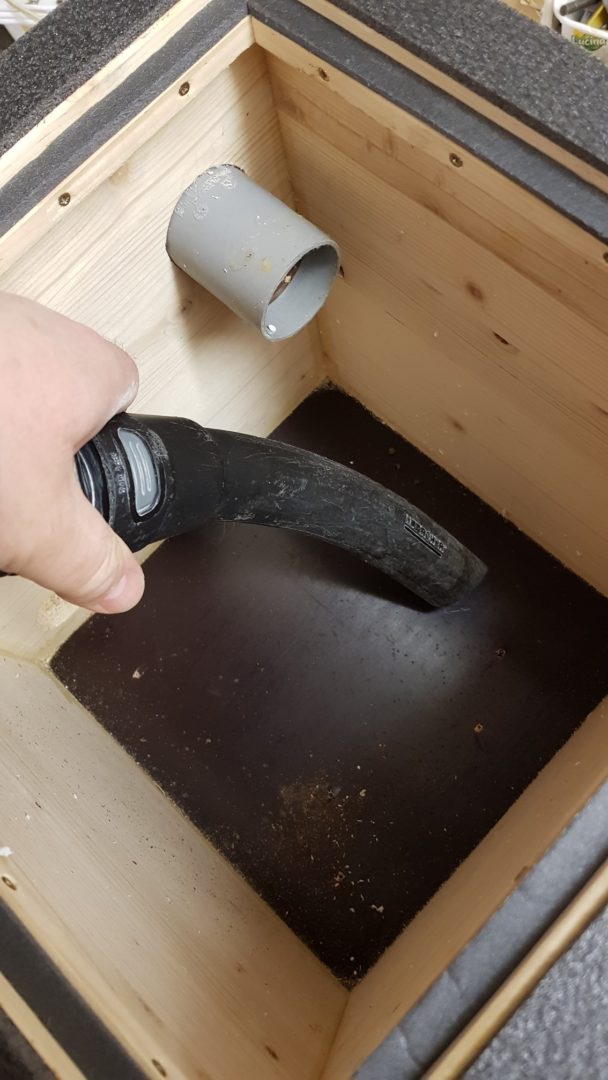
Thoroughly clean the pike of winter storage debris
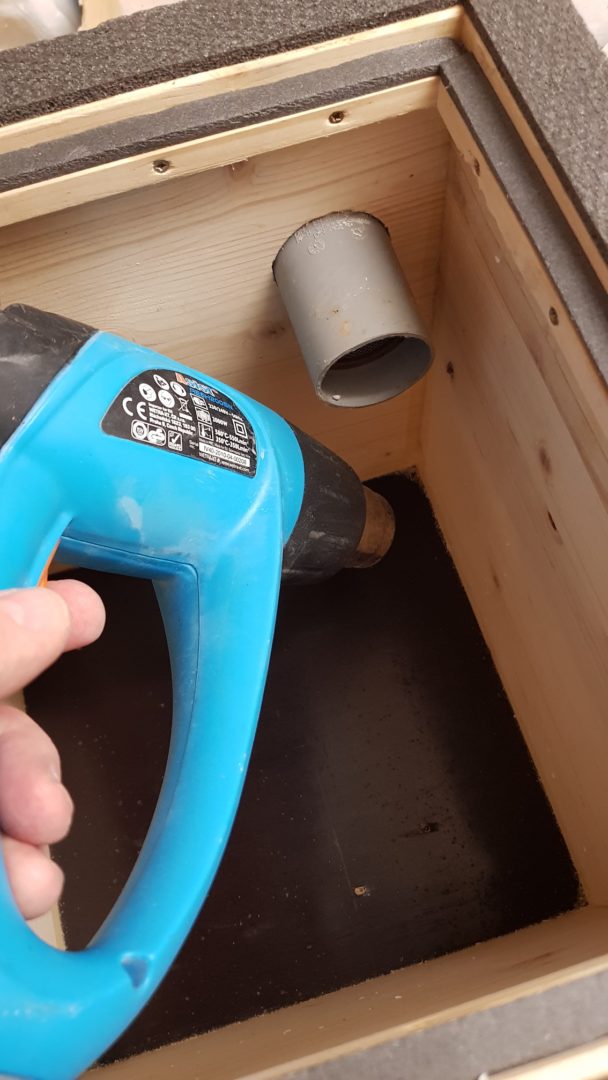
Treat all corners with a hot air gun (overwintering parasites may be hiding there)
A fright on the ground.
Photo D. Mesko

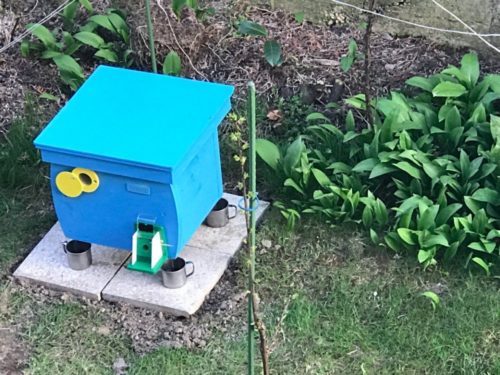
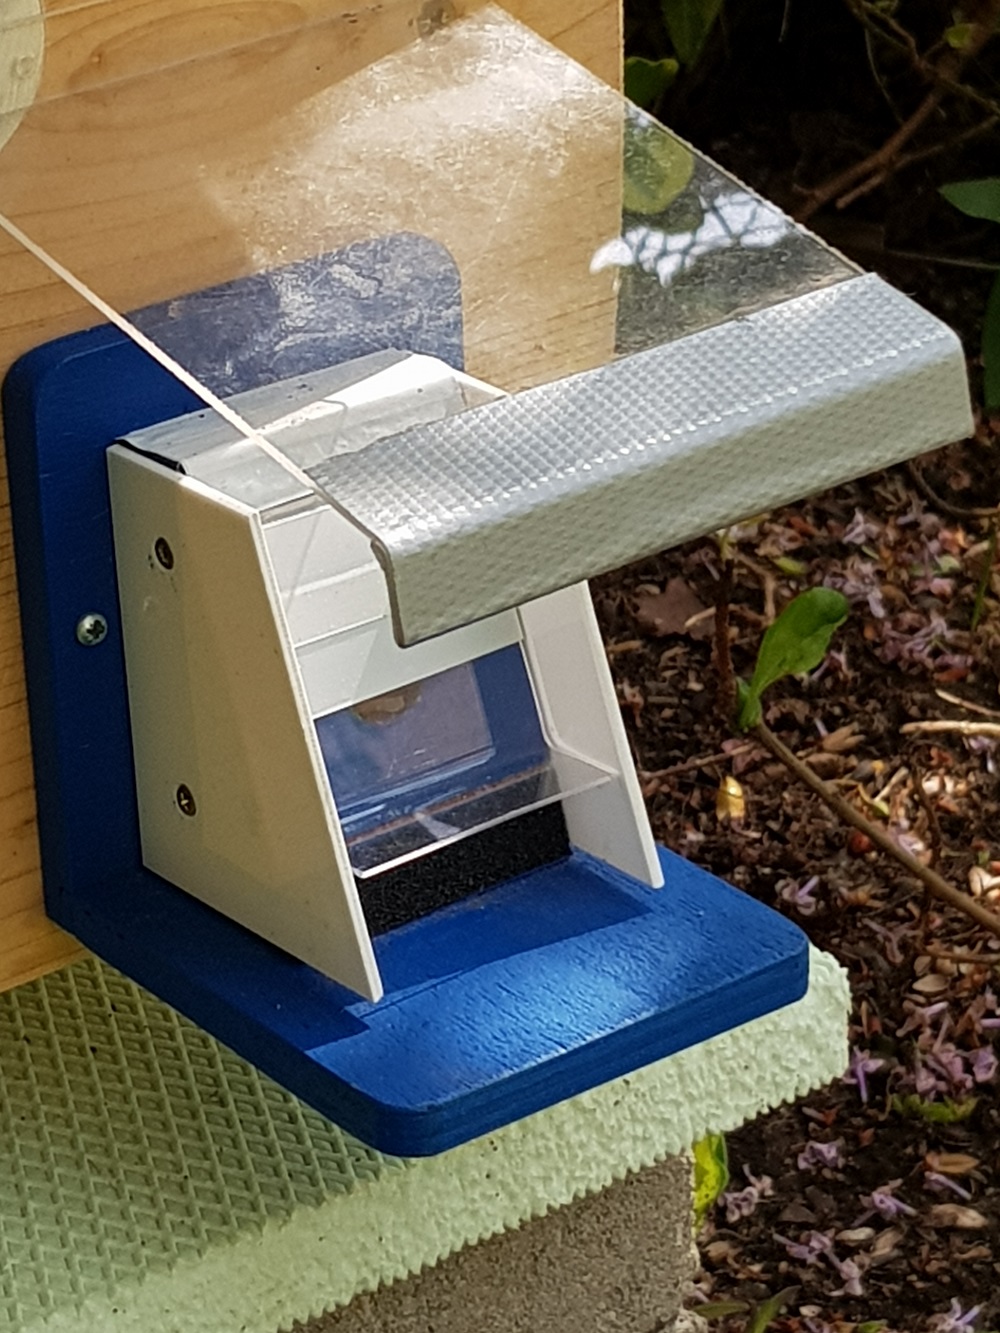
Startle on a raised platform / stand
Internet source
Fright on the rack
Photo R. Cyrus
A fright on the curtains on the wall.
Photo O.Hercog
Placement of the flue inside the property with a damper leading onto the balcony
Photo Š.Vácha
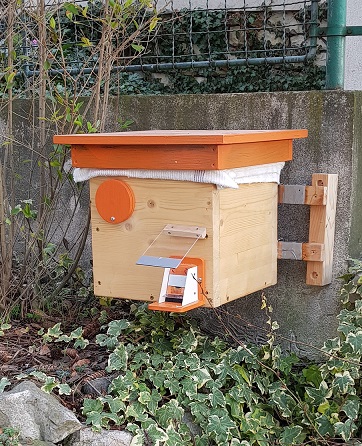
The placement of a beehive on a balcony of a tower block
Photo Š.Vácha
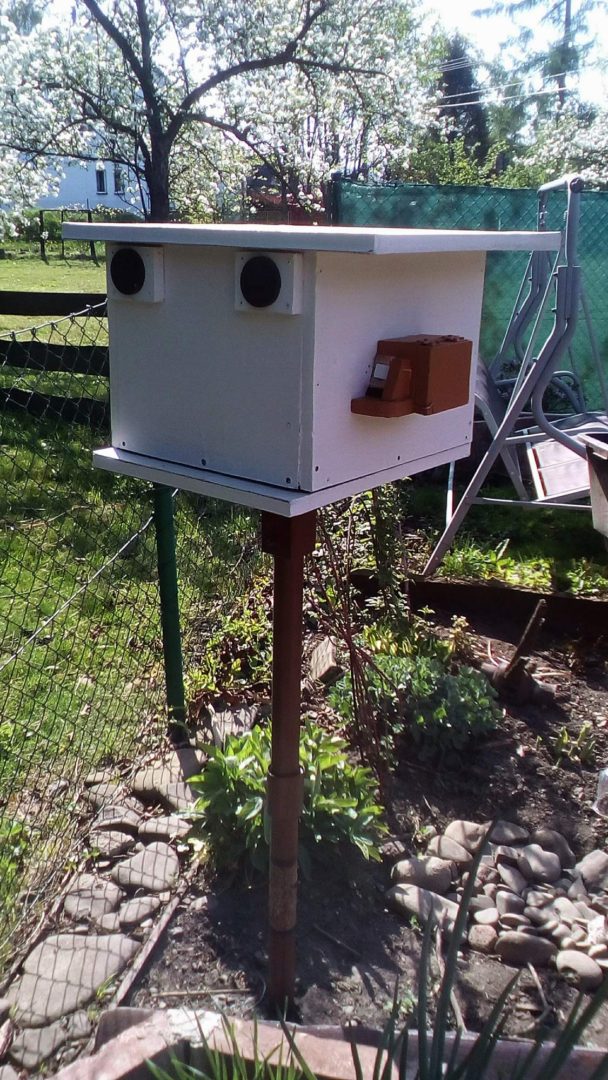
Startle with ventilation attachment fitted
(Photo O. Hercog)
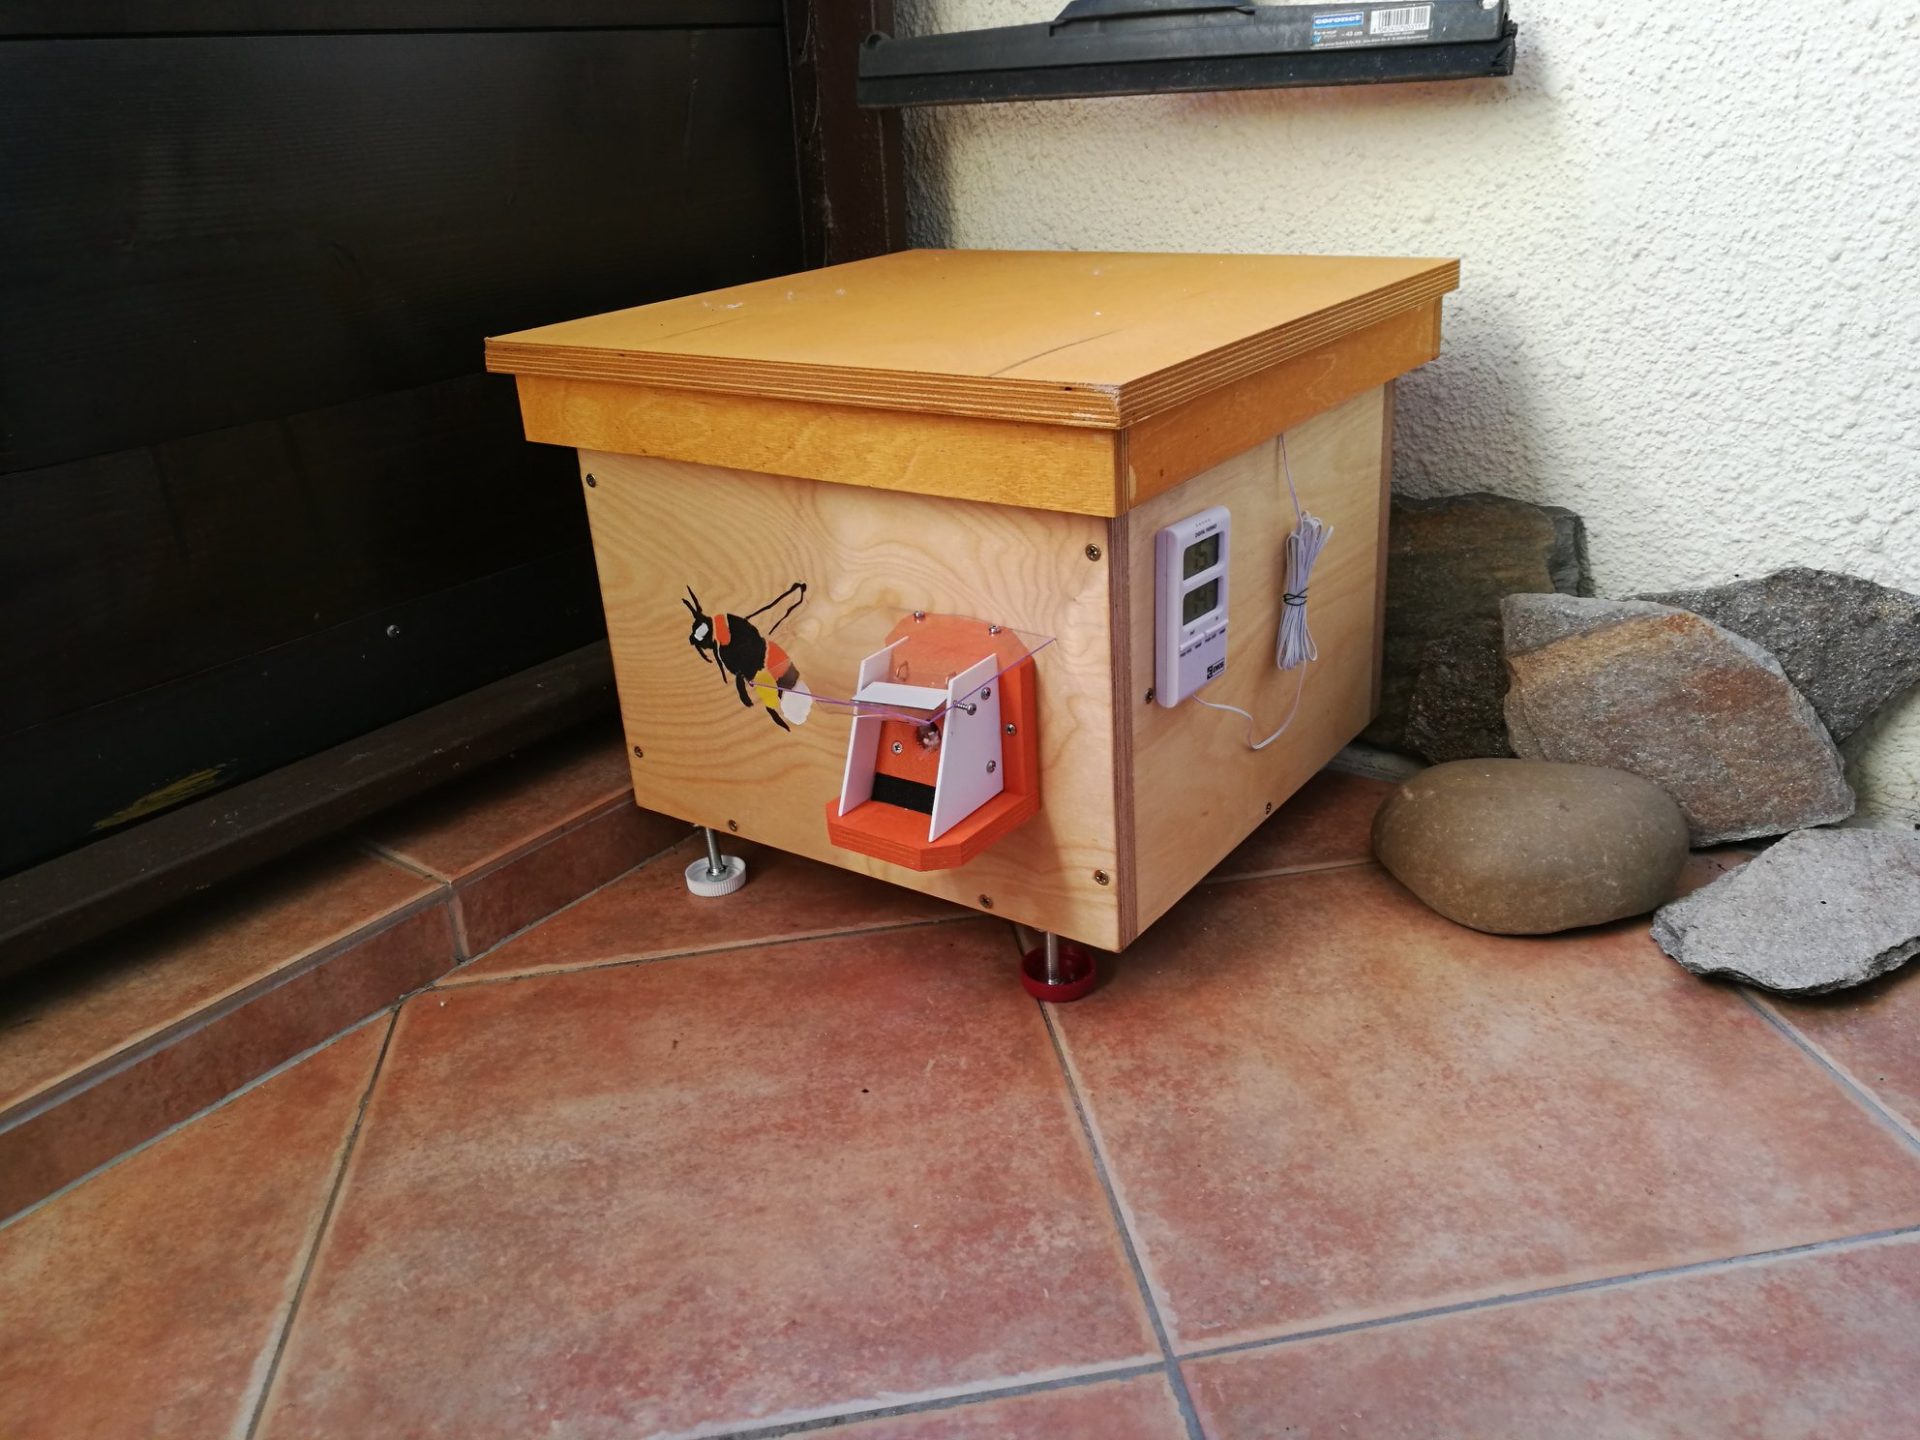
Observation window
- You can read about the observation window HERE.
- If you are using a pane laid on a scare, prepare a viewing window made of glass/plexiglass according to our instructions.
- If you want to use observation window set into guides in the hive, work according to the manufacturer's instructions, but read our instructions on how to use the window
Our recommendation:
- The window should only be on the hive for the observation period, because otherwise moisture will condense on it, making it easy for mould to form in the hive.
If you are afraid of bumblebees and will not open your hive, do not install a viewing window. - Use the window only for as long as absolutely necessary and Don't leave him in the corner.
- If you decide to use a protective mesh, keep it fitted in the hive at all times.
- One The manufacturer uses a sight glass as a standard construction component., in such a case, follow his instructions
Procedure for the 'leap of faith' window:
- You will find the steps on how to create and use such a window HERE.
Method for a recessed window into a hive
- Fix the strips to the hive
- Make a simple loop to lift the window.
Control
- Ensure it fits correctly and can be removed.
- Test the use of the window (how to deploy and retract it)
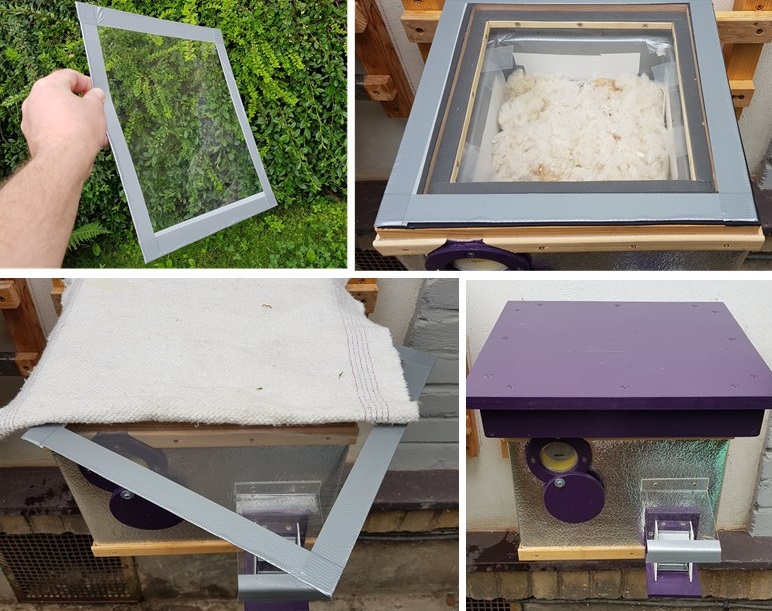
Observation window of a hive (bumblebee hive)
Photo: O Hercog
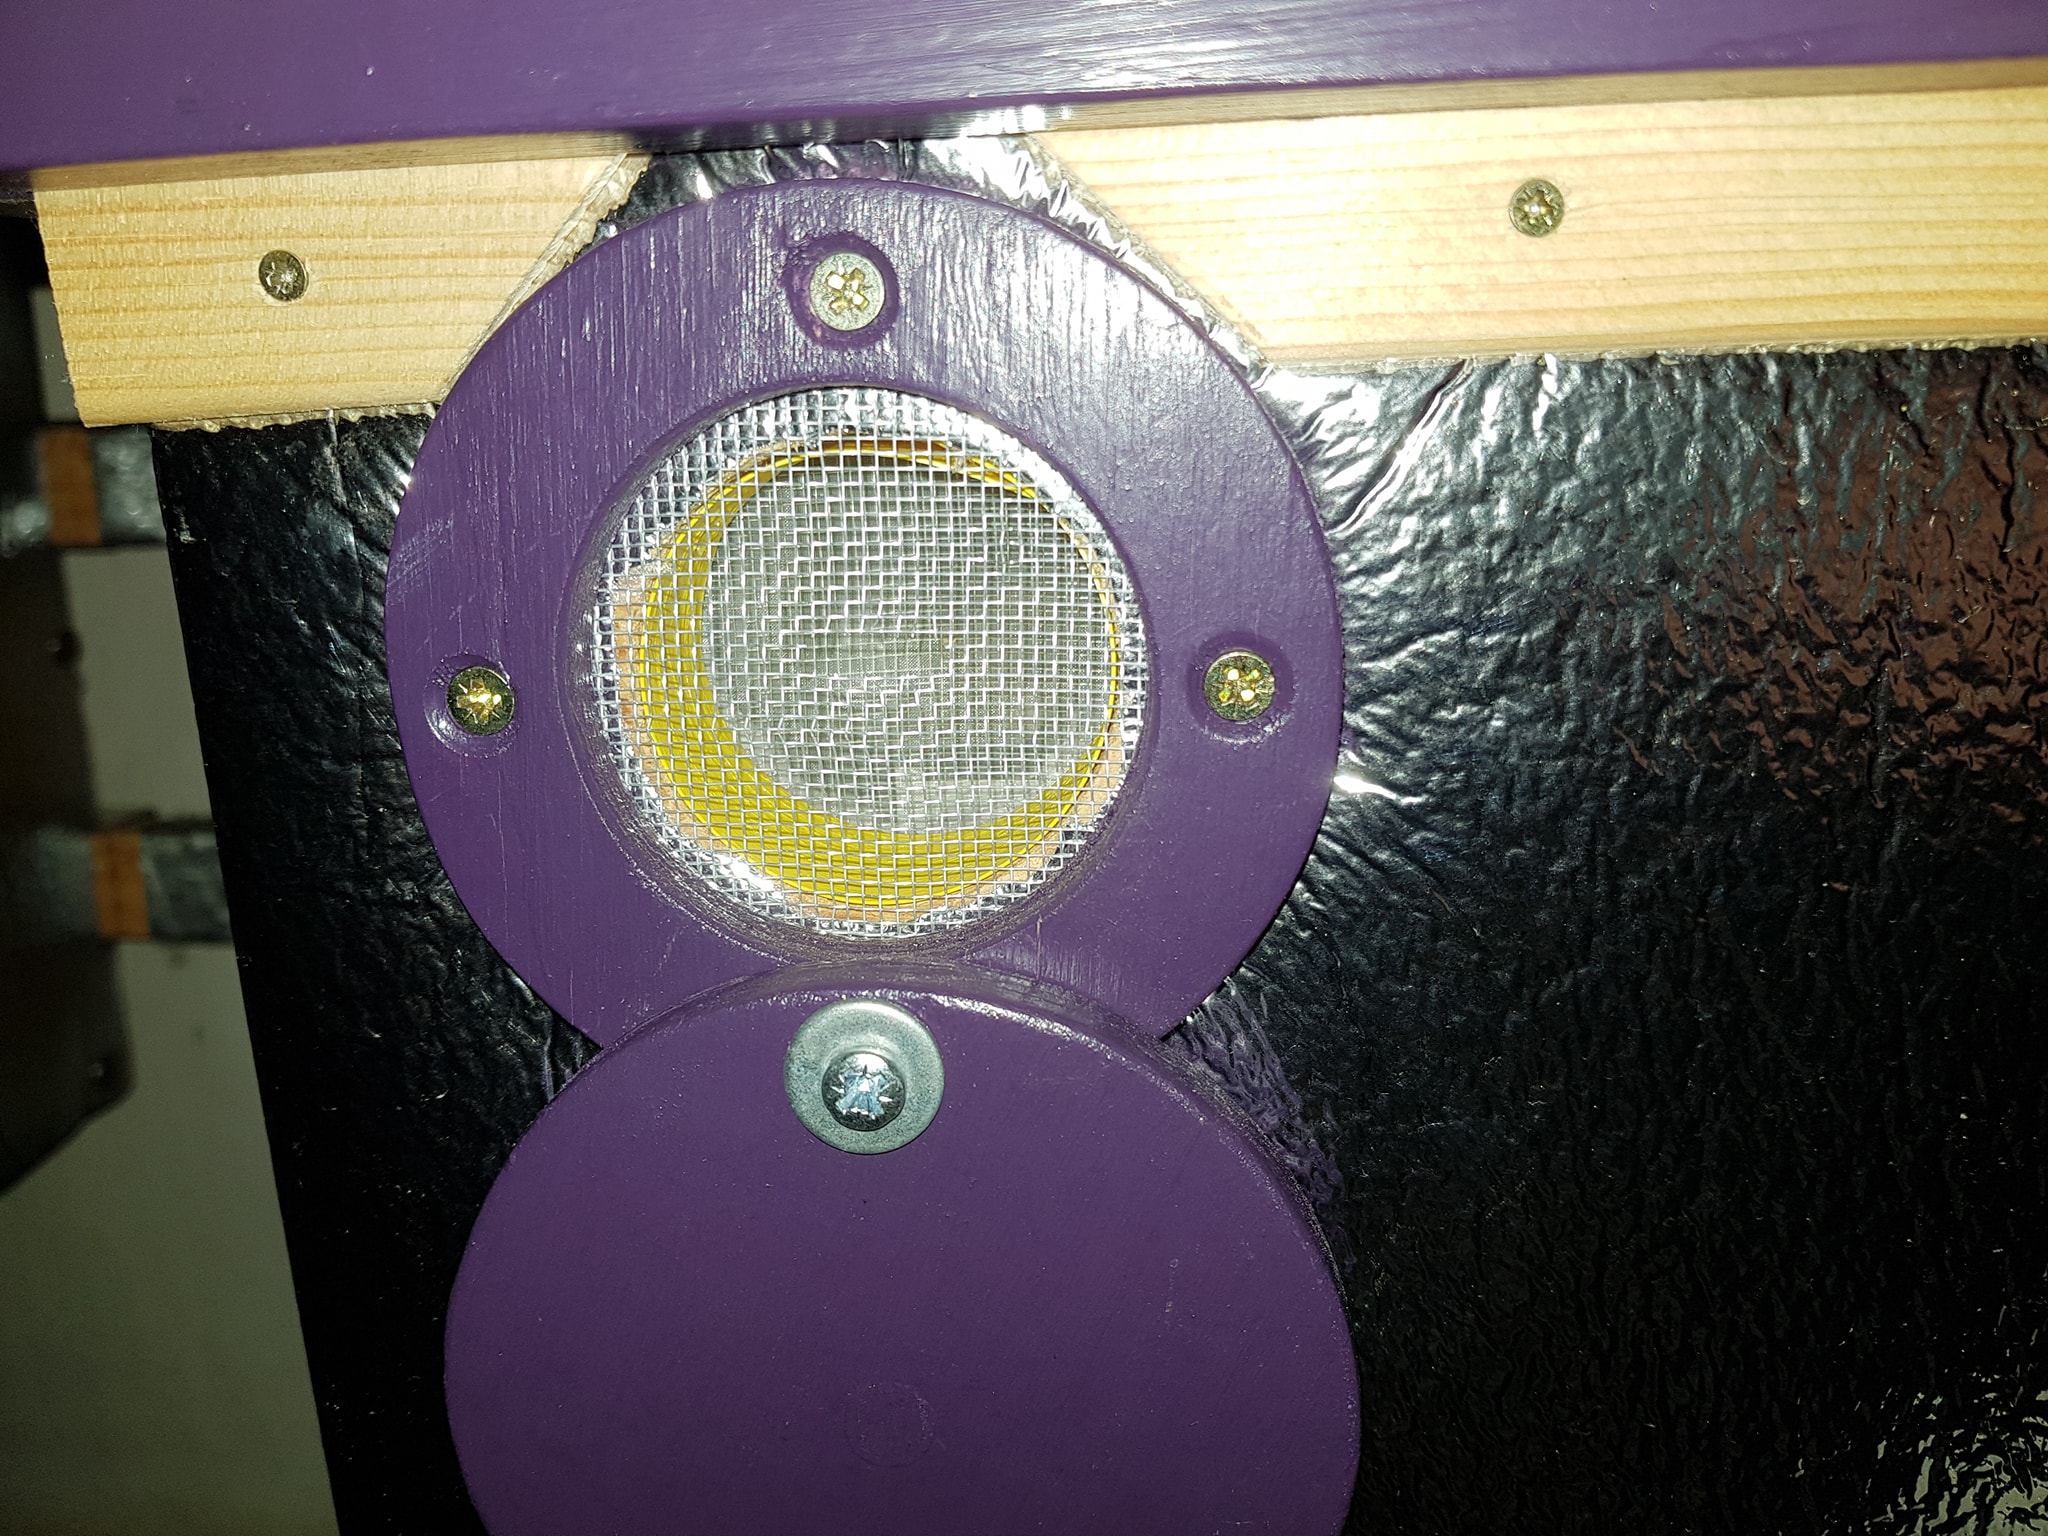
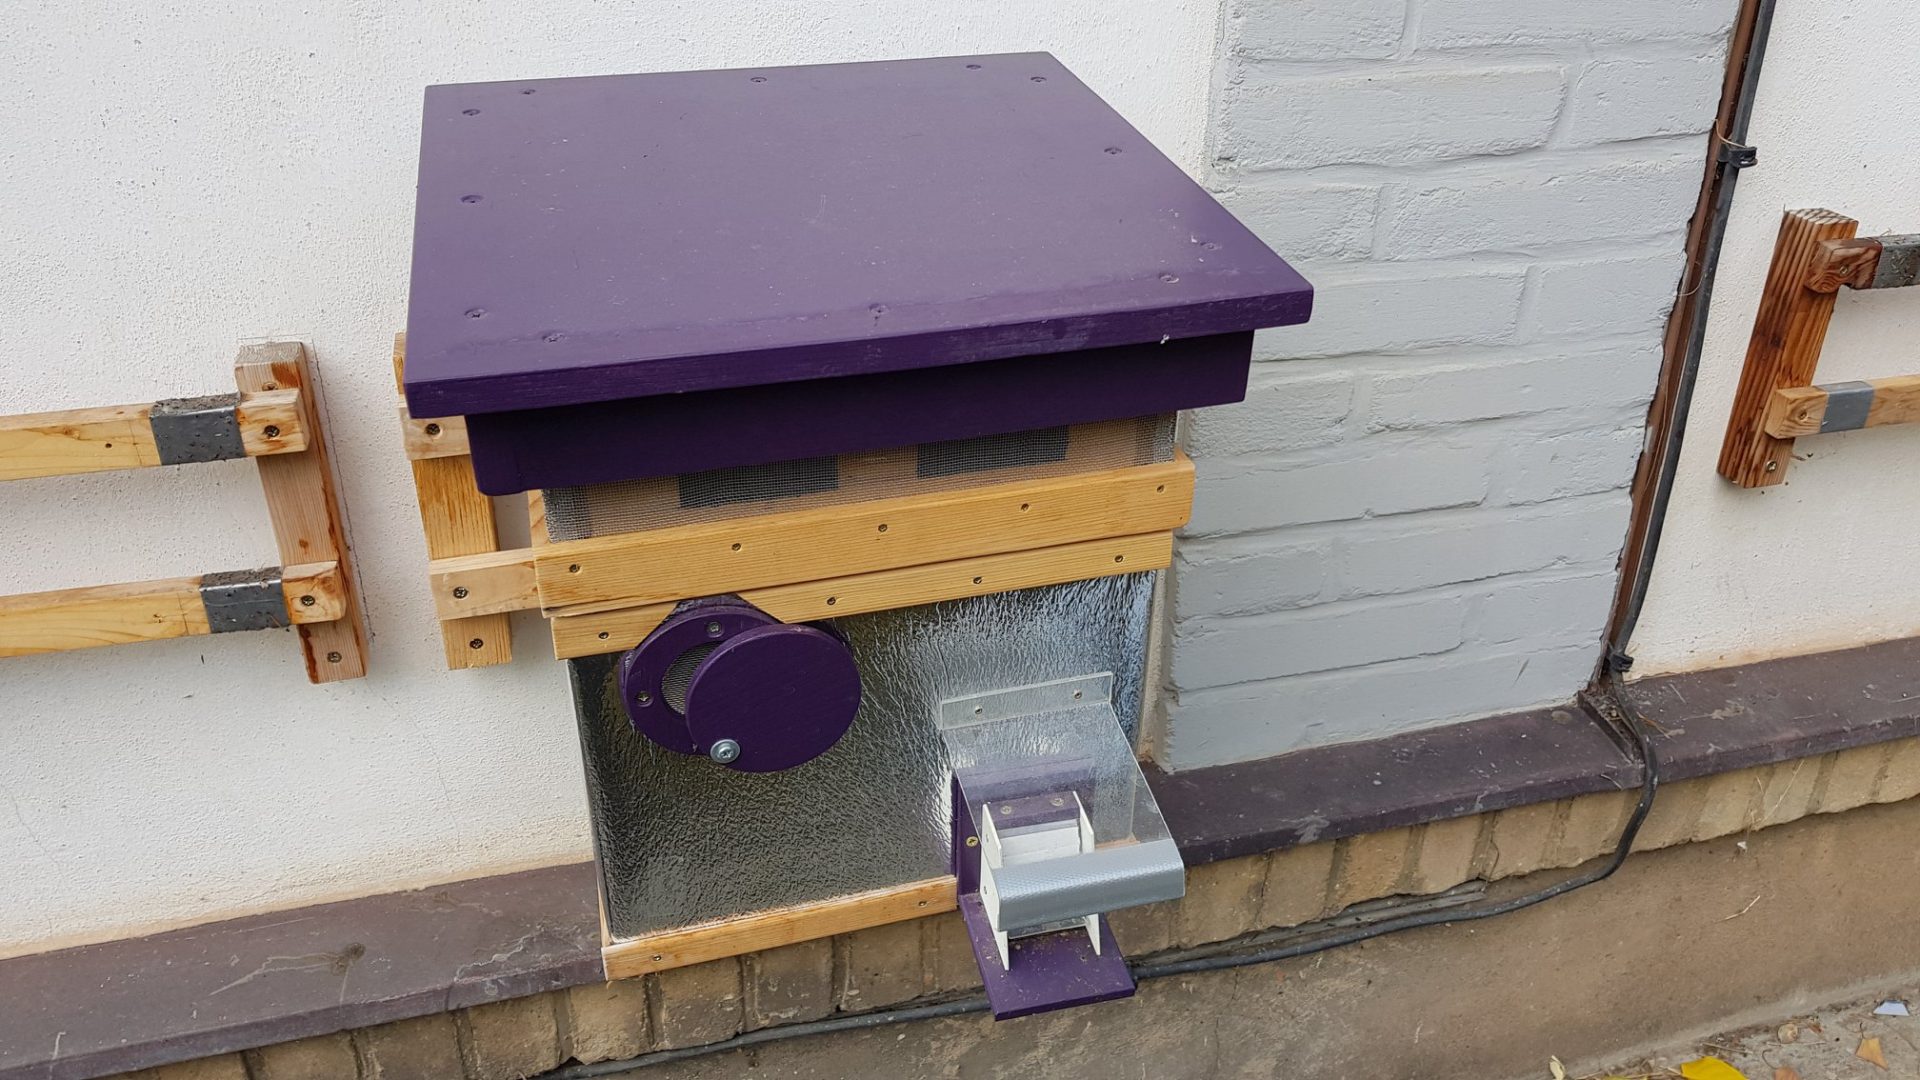
Hive ventilation – external mesh with an opening for parasite trapping and ventilation closure
Photo O.Hercog
Ulcer seal
Photo O. Hercog
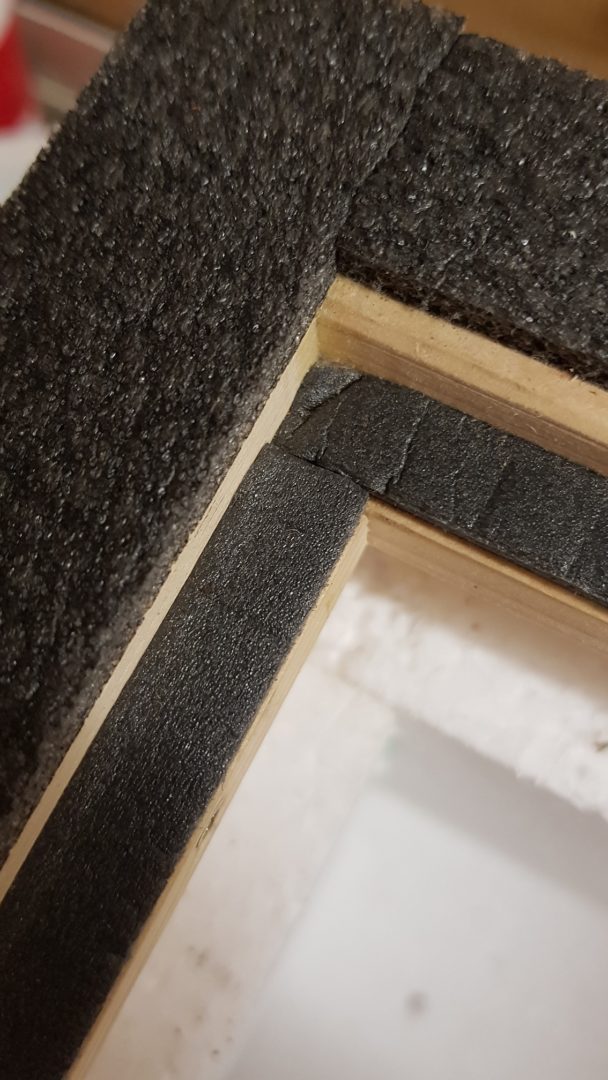
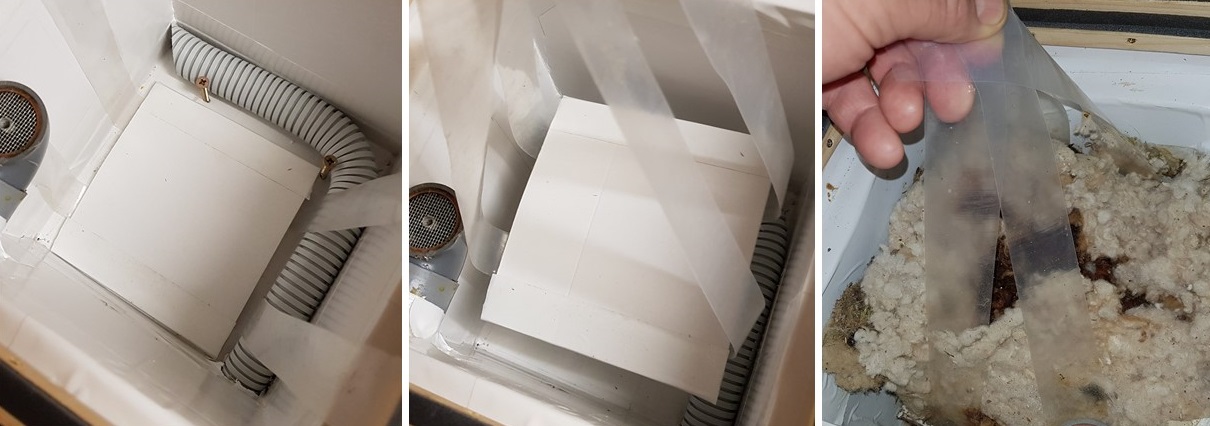
Line the bottom of the hive with a polystyrene board 10–20 mm thick
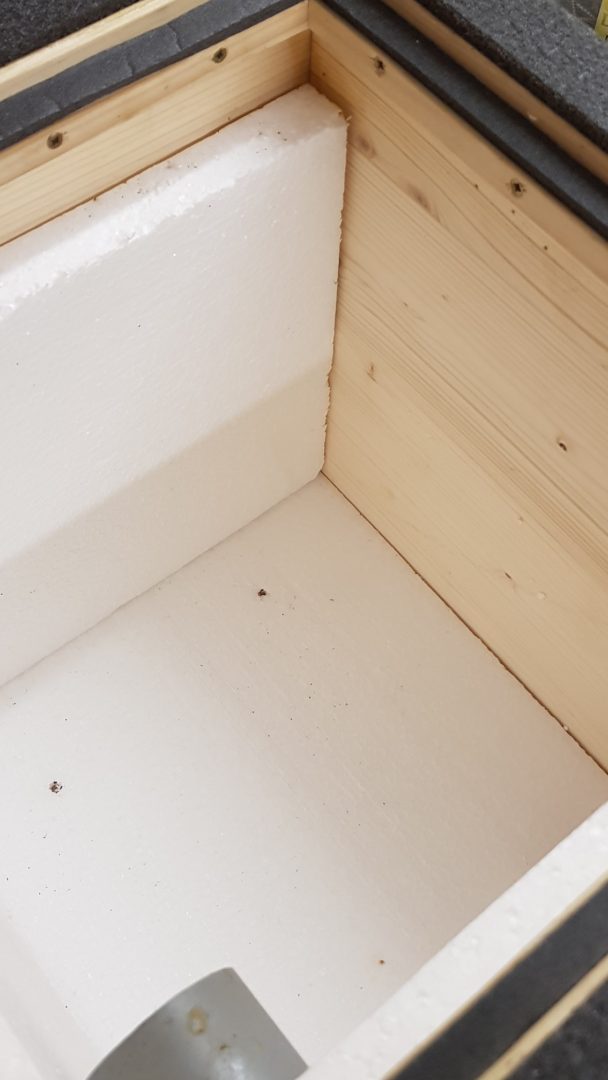
2. Line the walls of the hive with polystyrene boards 10 – 20 mm thick,
.
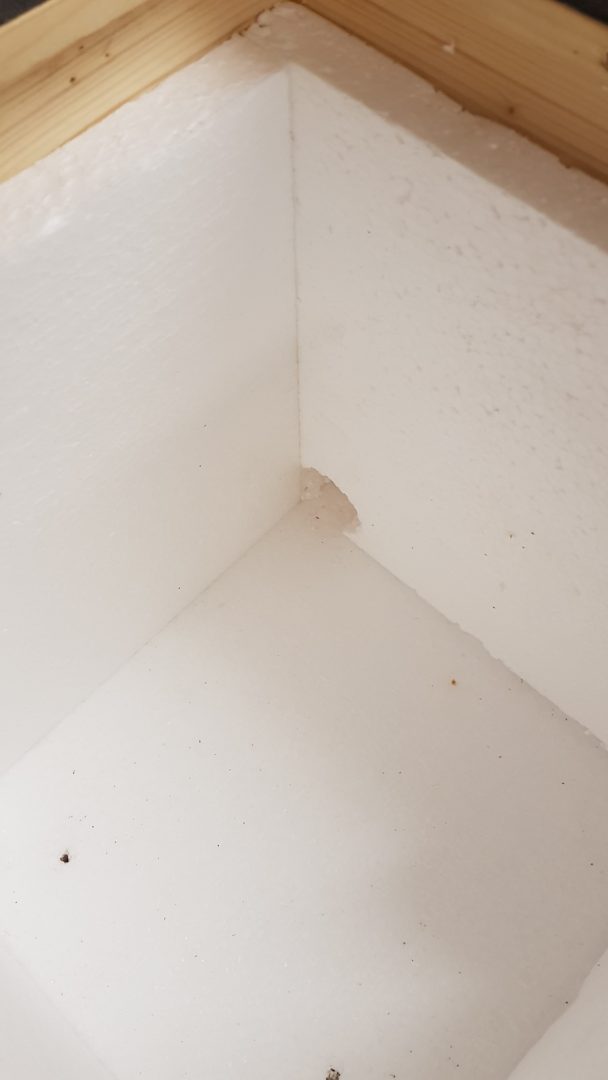
3. Supplementary thermal insulation – polystyrene on the bottom and sides of the hive. Create a passage in the insulation for the intake pipe.
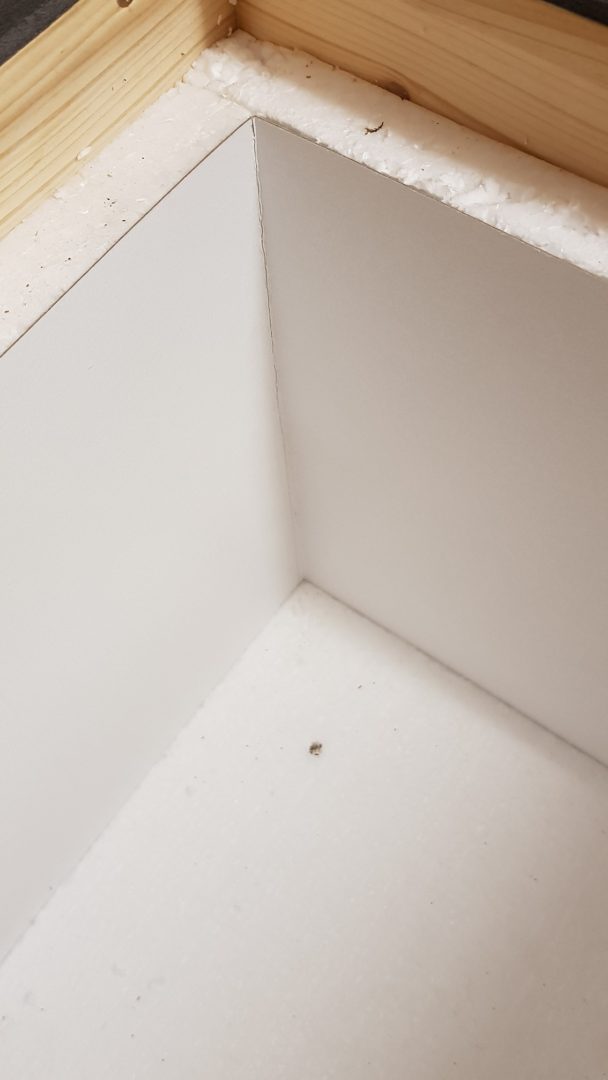
Line the walls of the hive with cardboard. Leave 10 – 20 mm of free space at the top of the hive.
2. Try to arrange the lining so that there are no unnecessary gaps between the pieces of cardboard. Workers could get in and get stuck in them.
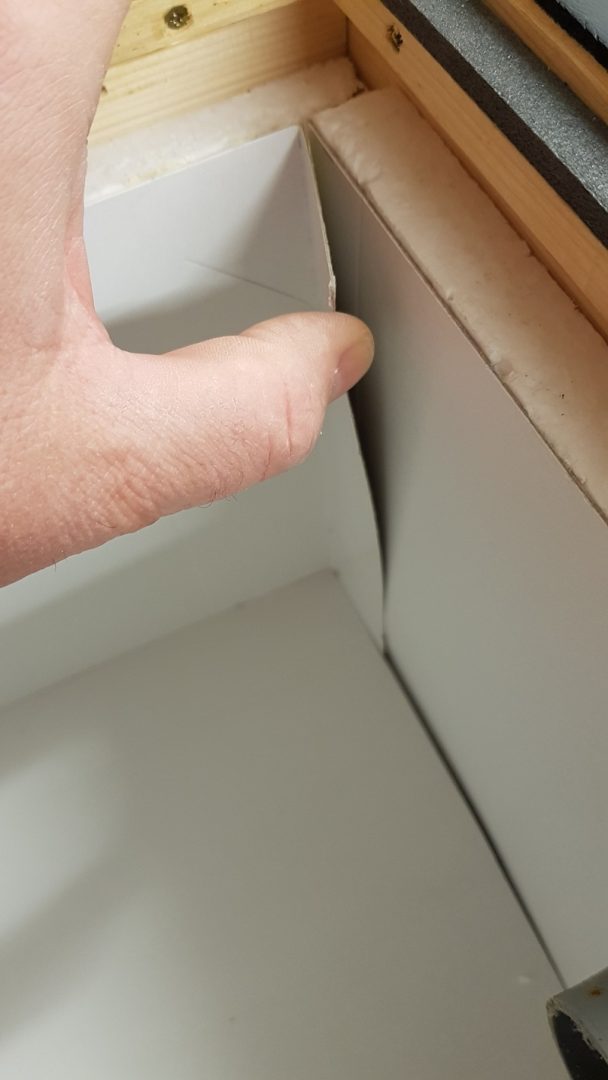
3. If you want to get creative with it, cut out the cardboard pieces so that they overlap, covering the gaps between the parts,
L

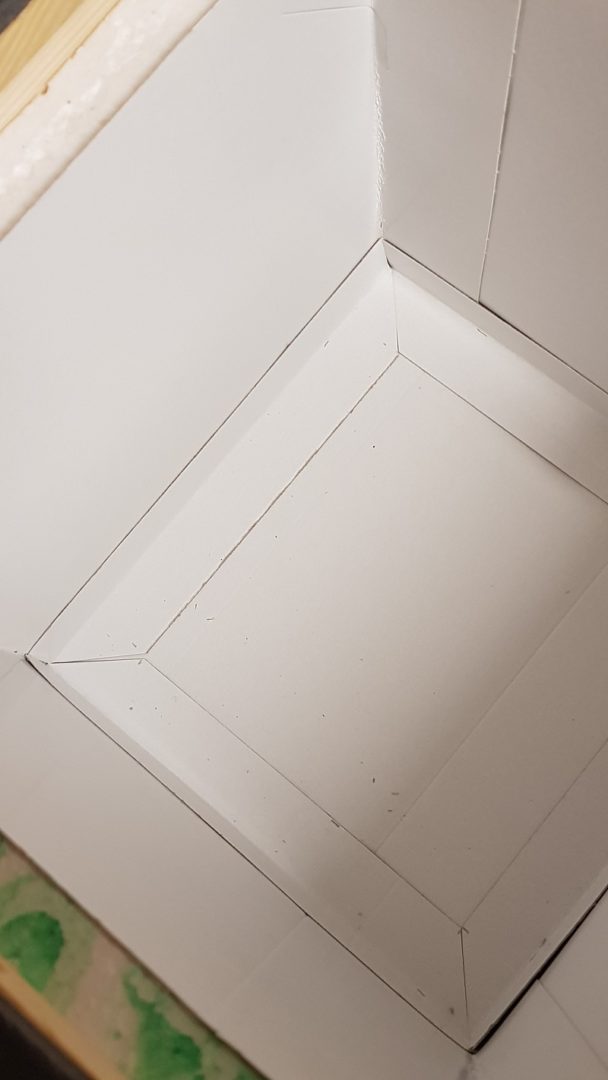
4. Line the bottom of the hive body with cardboard, here too it is advisable to create an overlap of parts in the corners. You can help yourself with cut-out paper corner tabs.
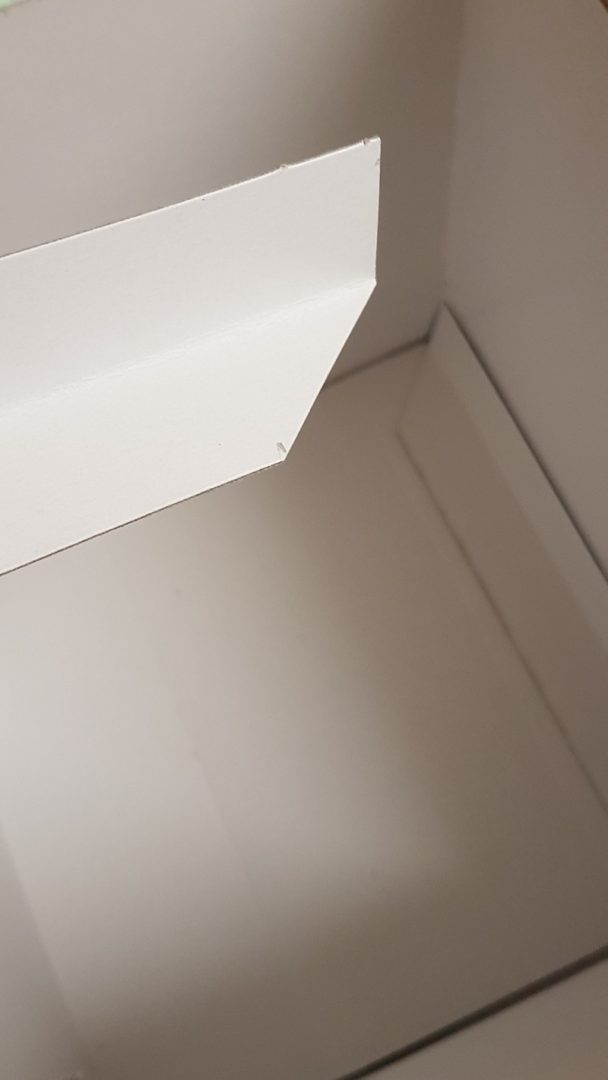
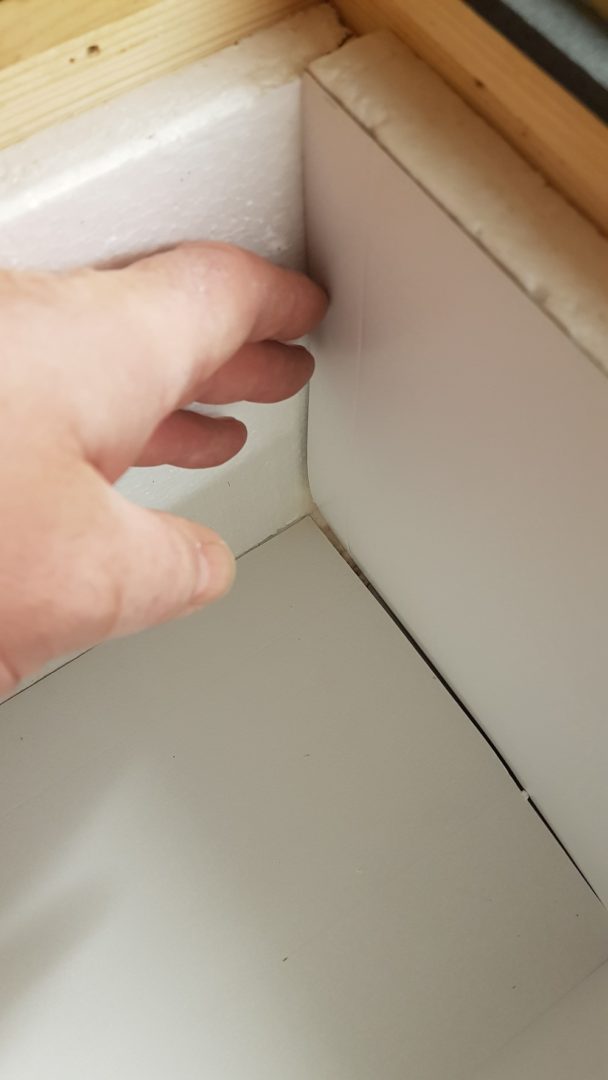
5. Lining the ulcer with cardboard – cardboard bracket
6. Lining the ulcer with cardboard - adhesive tape on top of the insulation. This is where bumblebees tend to get behind the lining frequently, and it needs to be carefully lined.
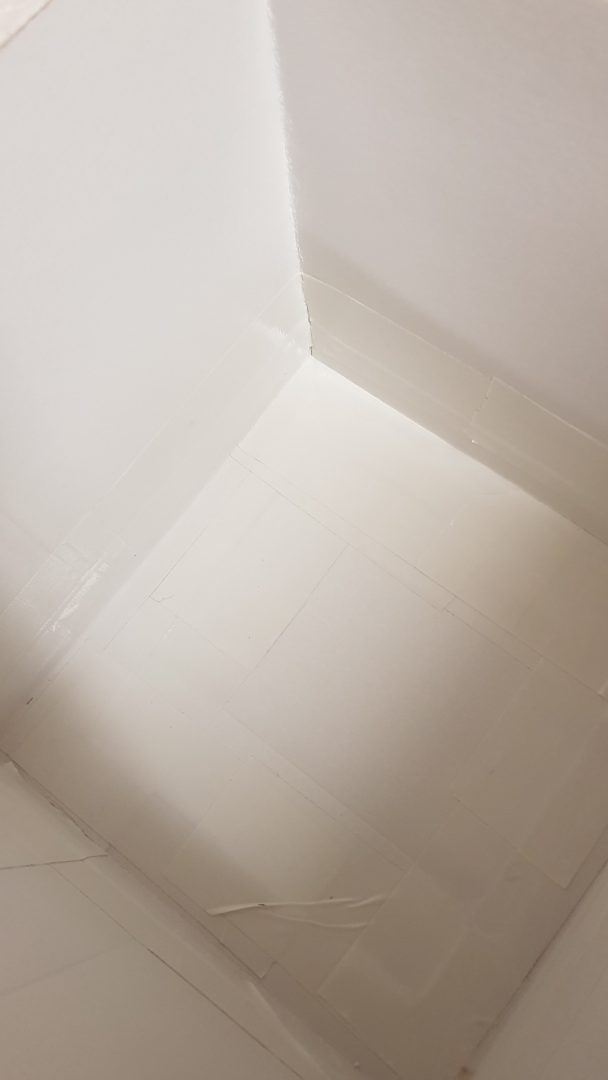
7. Seal all corners of the hive including the bottom,

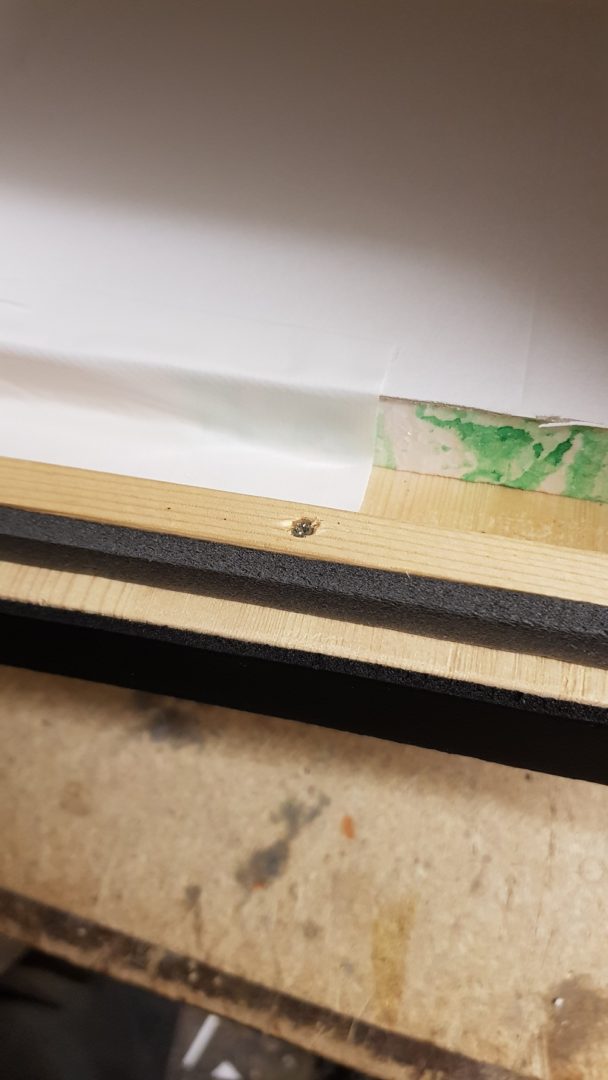
8. Carefully tape all parts and the ventilation opening area so that bumblebees cannot get into the space between the cardboard and the hive body.
If you decide to wall off the ulcer It is also possible not to line it with cardboard, of course.. But be prepared that cleaning the hive after the season will be more demanding. If you used cardboard as part of your seasonal preparations, you can simply discard it after the season and essentially be done.
For a new scare, it is recommended walls not to be clad, his walls will be scented with the smell of bumblebees

This guide will describe how to thermally insulate a large hive by adding internal insulation.
Internet Photo
Wall cladding of the ulcer We do not generally recommend cartons made of corrugated cardboard..
This is recycled paper, which will soak through when damp and can be easily chewed by bumblebees. Furthermore, it is prone to mould.
Parasites – their larvae and pupae – can easily hide in cardboard compartments.
Proto Preferably use stiff, good quality paper, which will last and you won't have problems with it.
Honeycomb cardboard hive lining
Photo M. Bradová
You can read more about parasites and their effects in the gut in the chapter we are preparing for you.

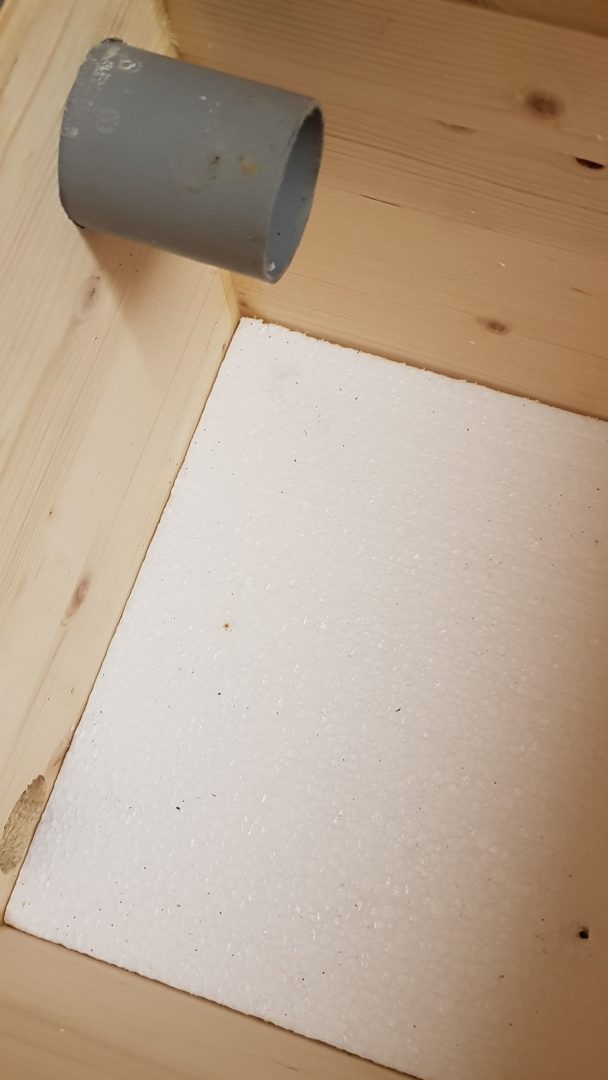
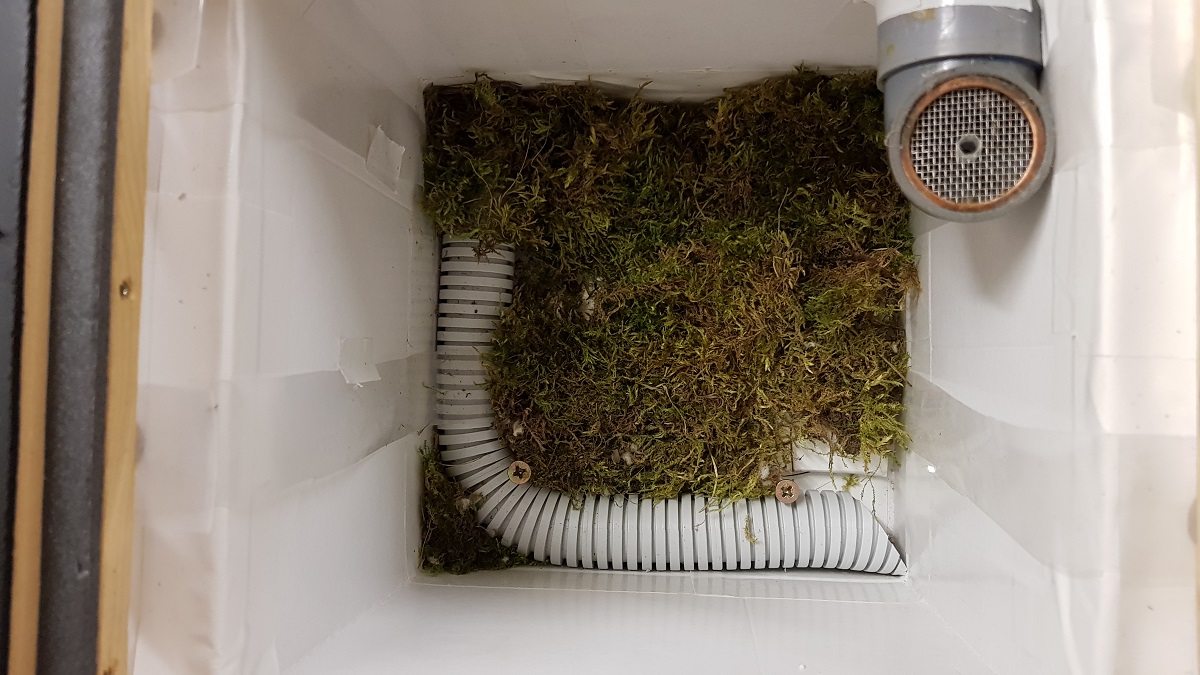
1. Cut the end of the tube used for the inlet passage at an angle (this will increase the inlet area)

2. Insert the inlet tube into the hive. The angled end of the tube will be in the corner of the hive. Guide the tube along the walls at the bottom to the opening in the hive body. Secure the tube with screws.,
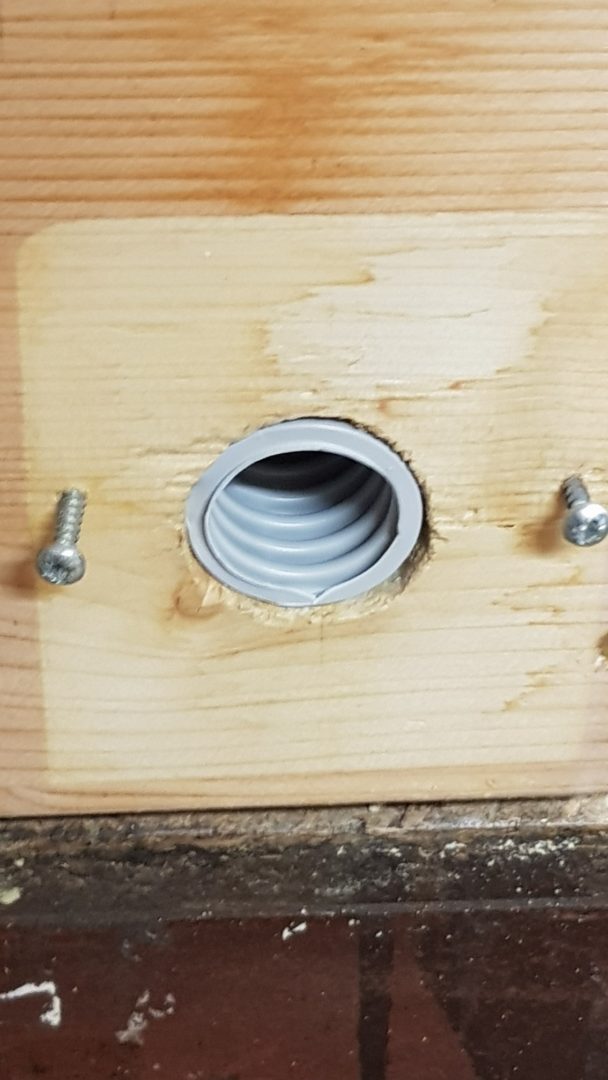
3. Trim the projecting inlet tube so that once the flap is fitted, it rests against its rear side
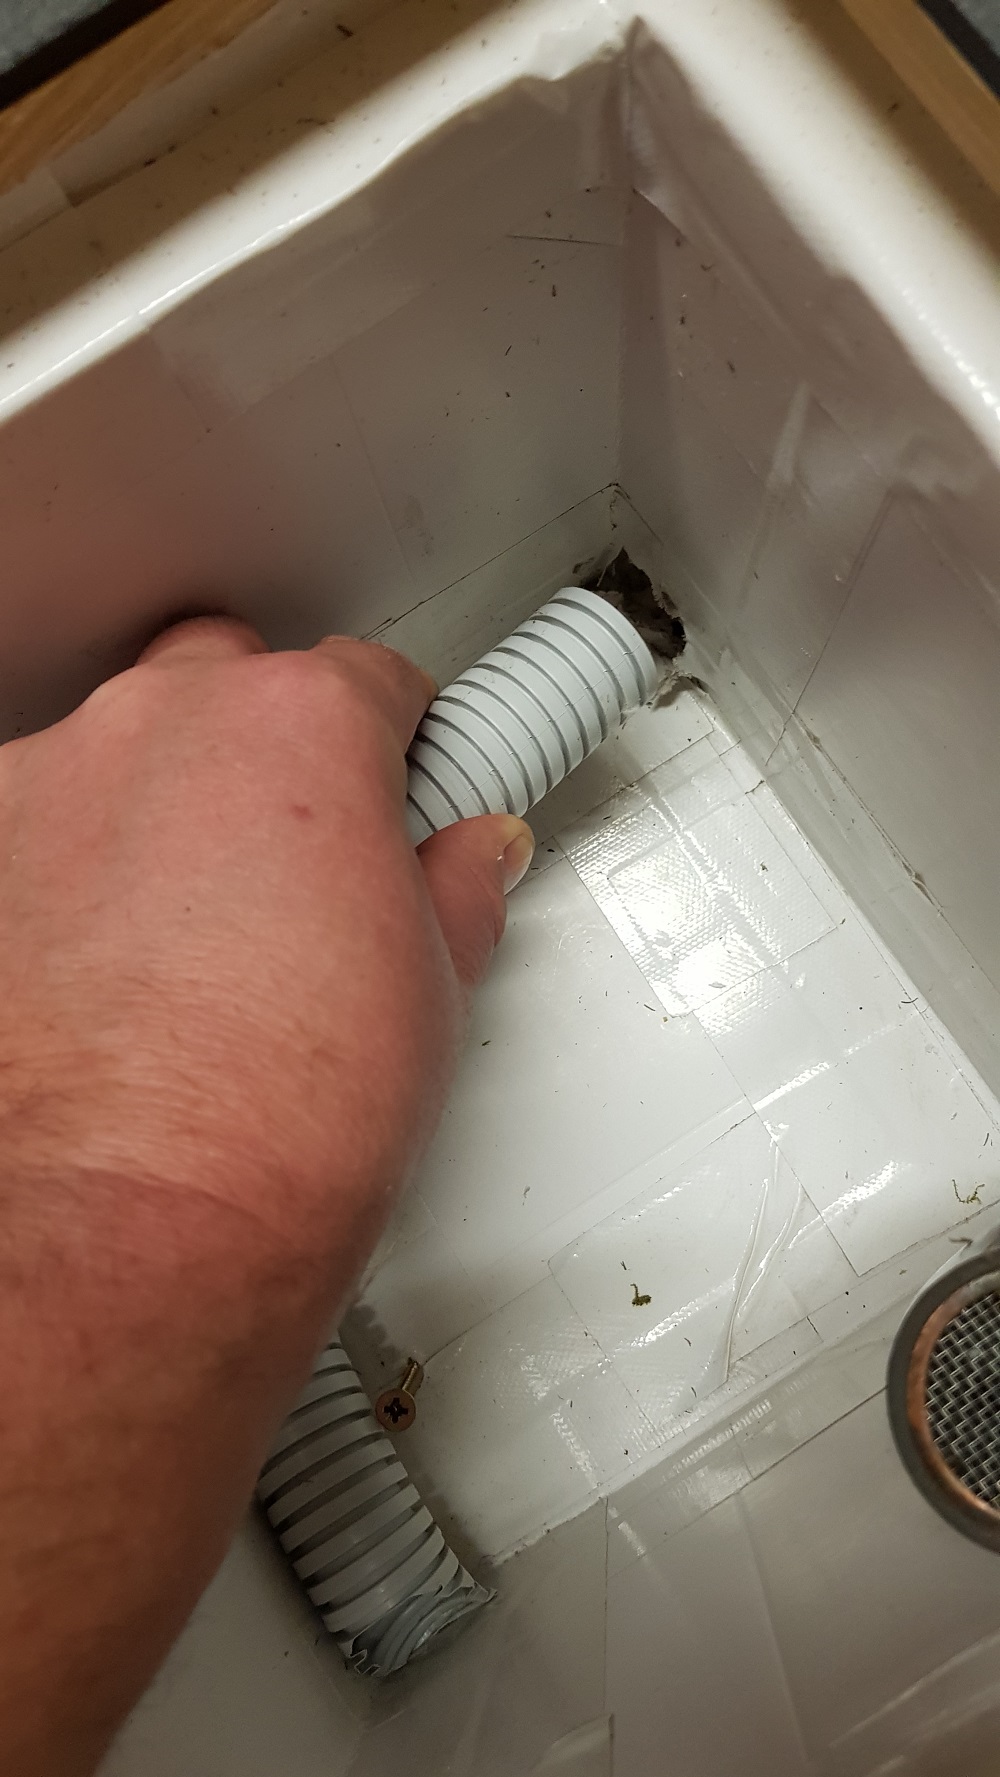
4. Practise how you would pull out the tube in case of an emergency (blockage),
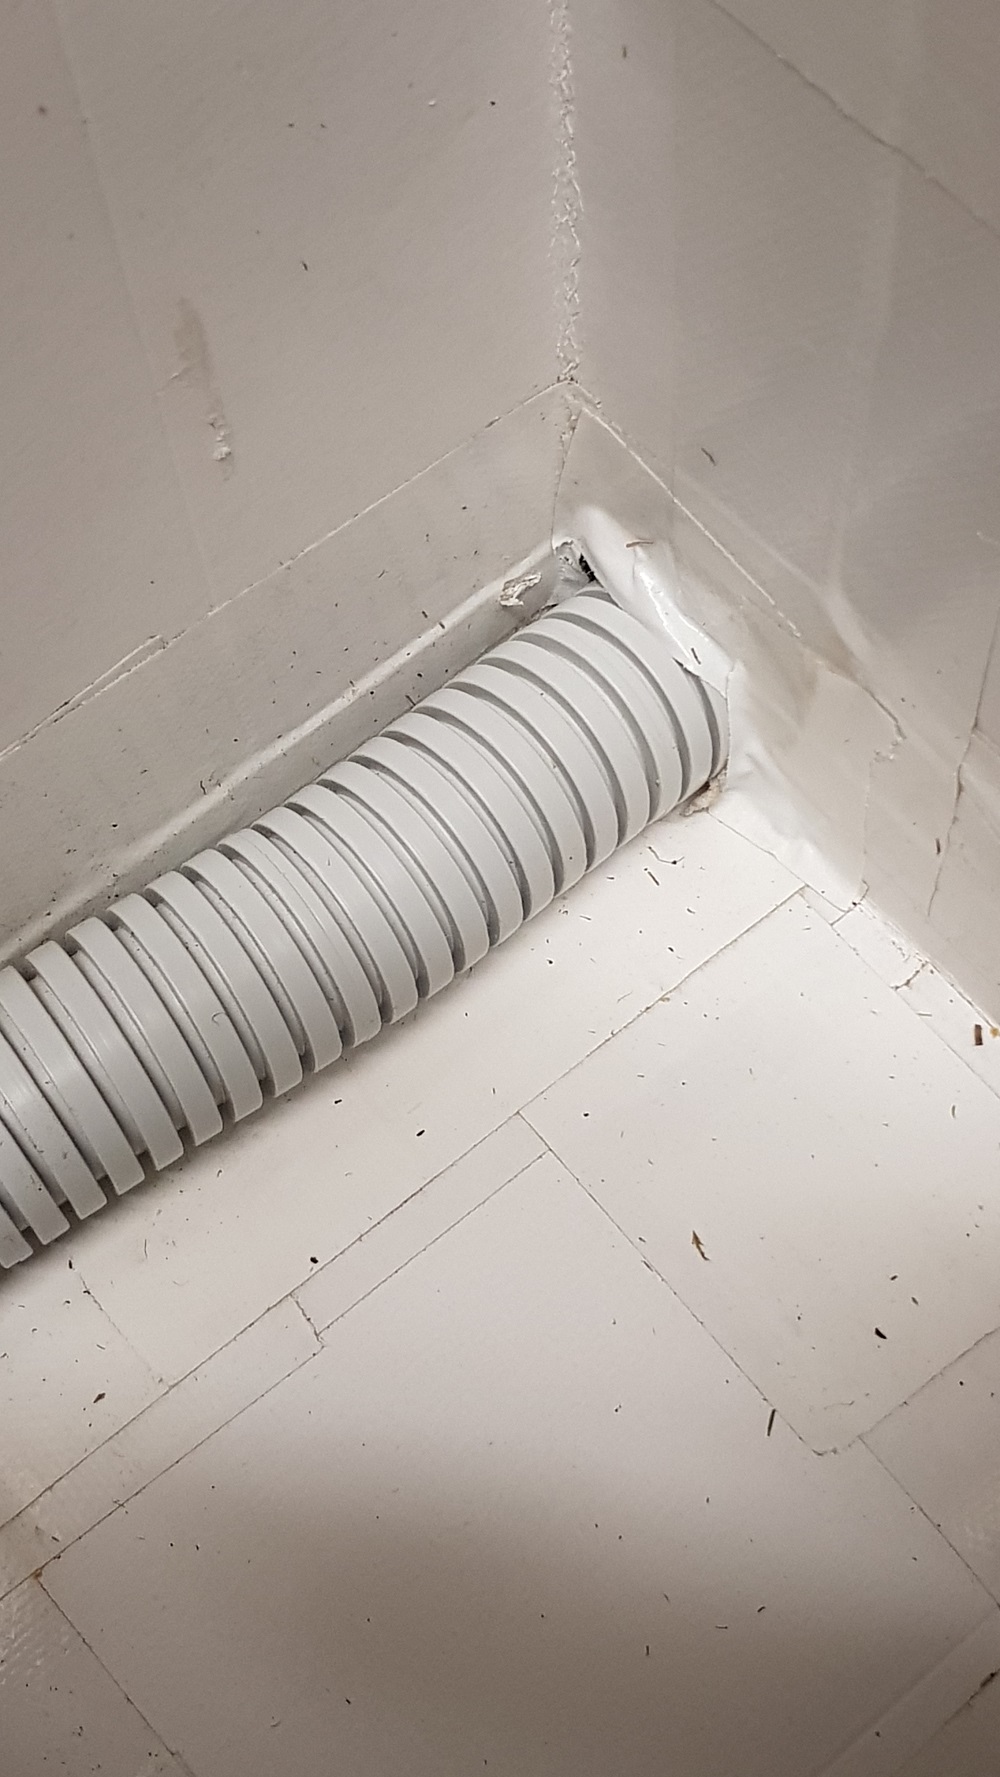
5. Tape the tube fitting (entrance tunnel) so that bumblebees cannot get behind the wall cladding.
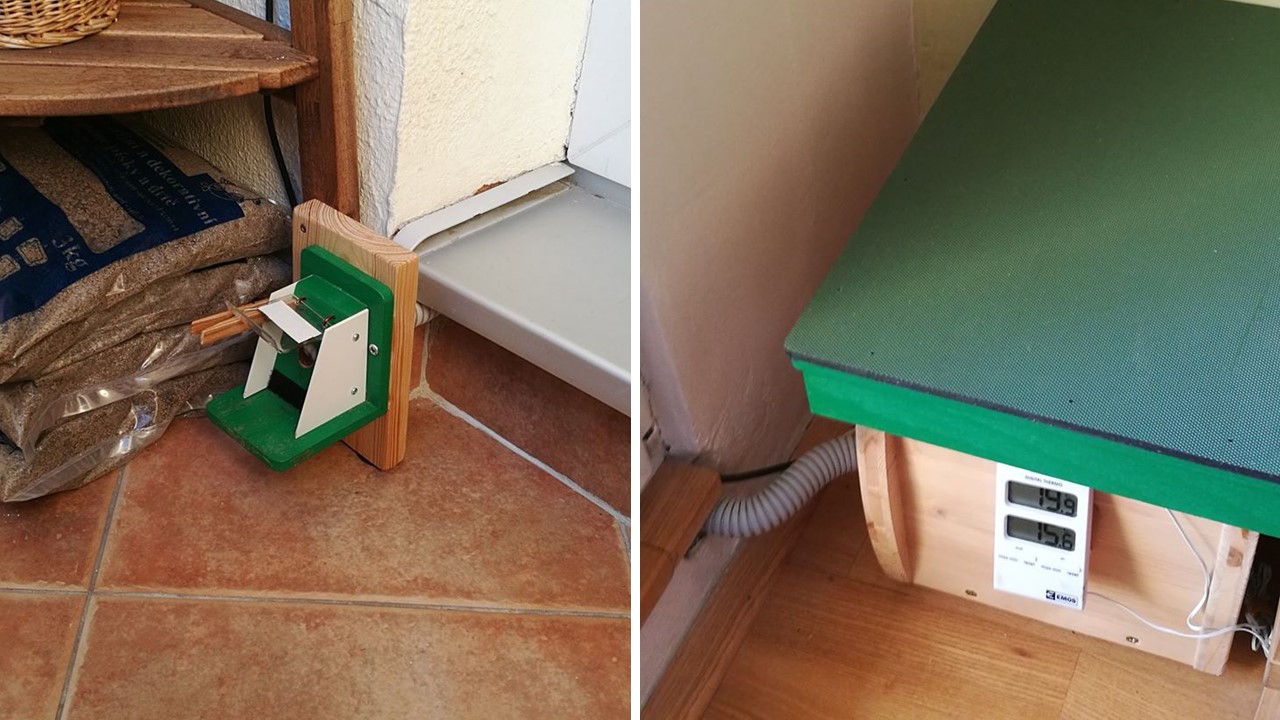
Bumblebee lift
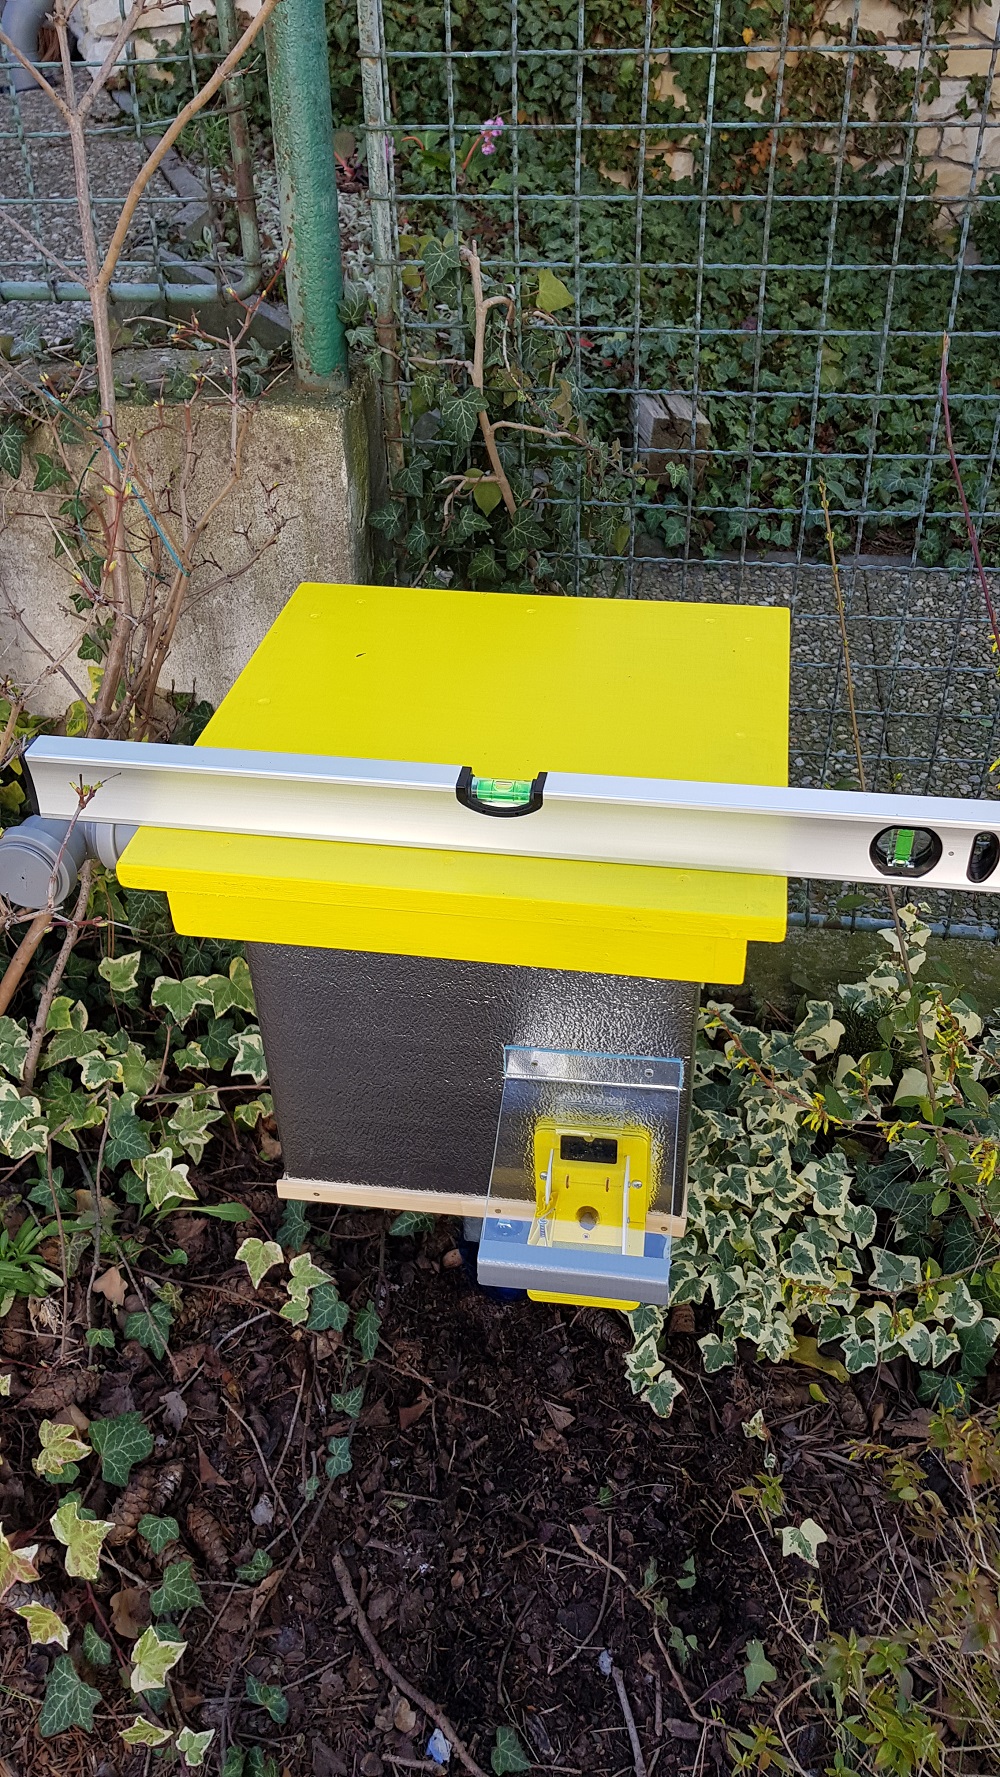
Aligning the alveolus to the plane
Bumblebees PLUS – A roof over the drop
Photo O, Hercog 6/2020
.
Bumblebee lift and the first layer of the hive floor lining
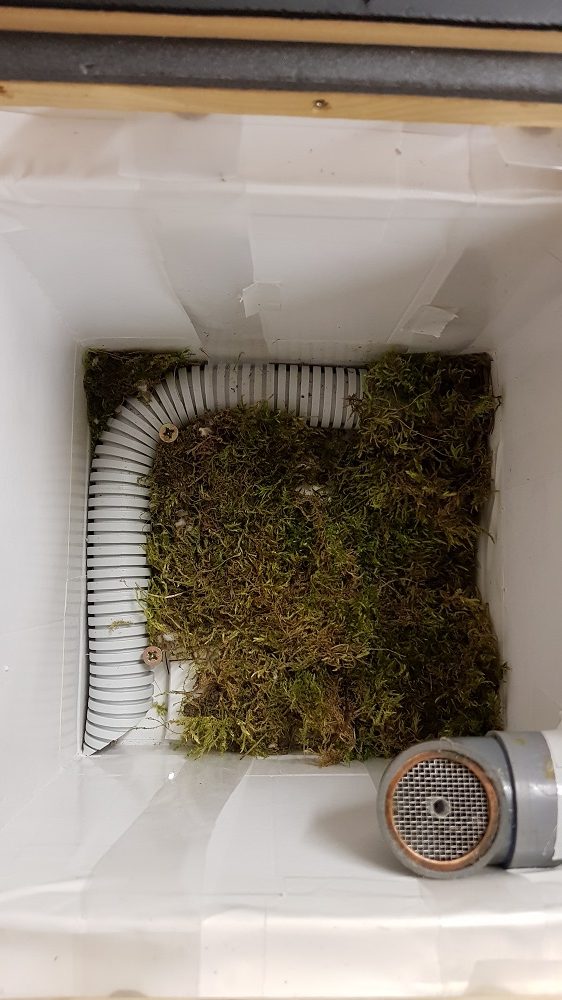
1. The first layer of lining covers the bottom of the hive (or the moss laid here). The layer is just high enough for its upper side to be level with the upper side of the entrance tunnel. MOSS IS NOT HIGHLY RECOMMENDED BASED ON EXPERIENCE FROM THE LAST SEASON
2. Ulcer lining – the first layer of lining

3. Now, in this layer at the mouth of the entrance tunnel in the alcove, we will create a small free space with our fingers, max. 5x5 cm for the future entrance pocket.
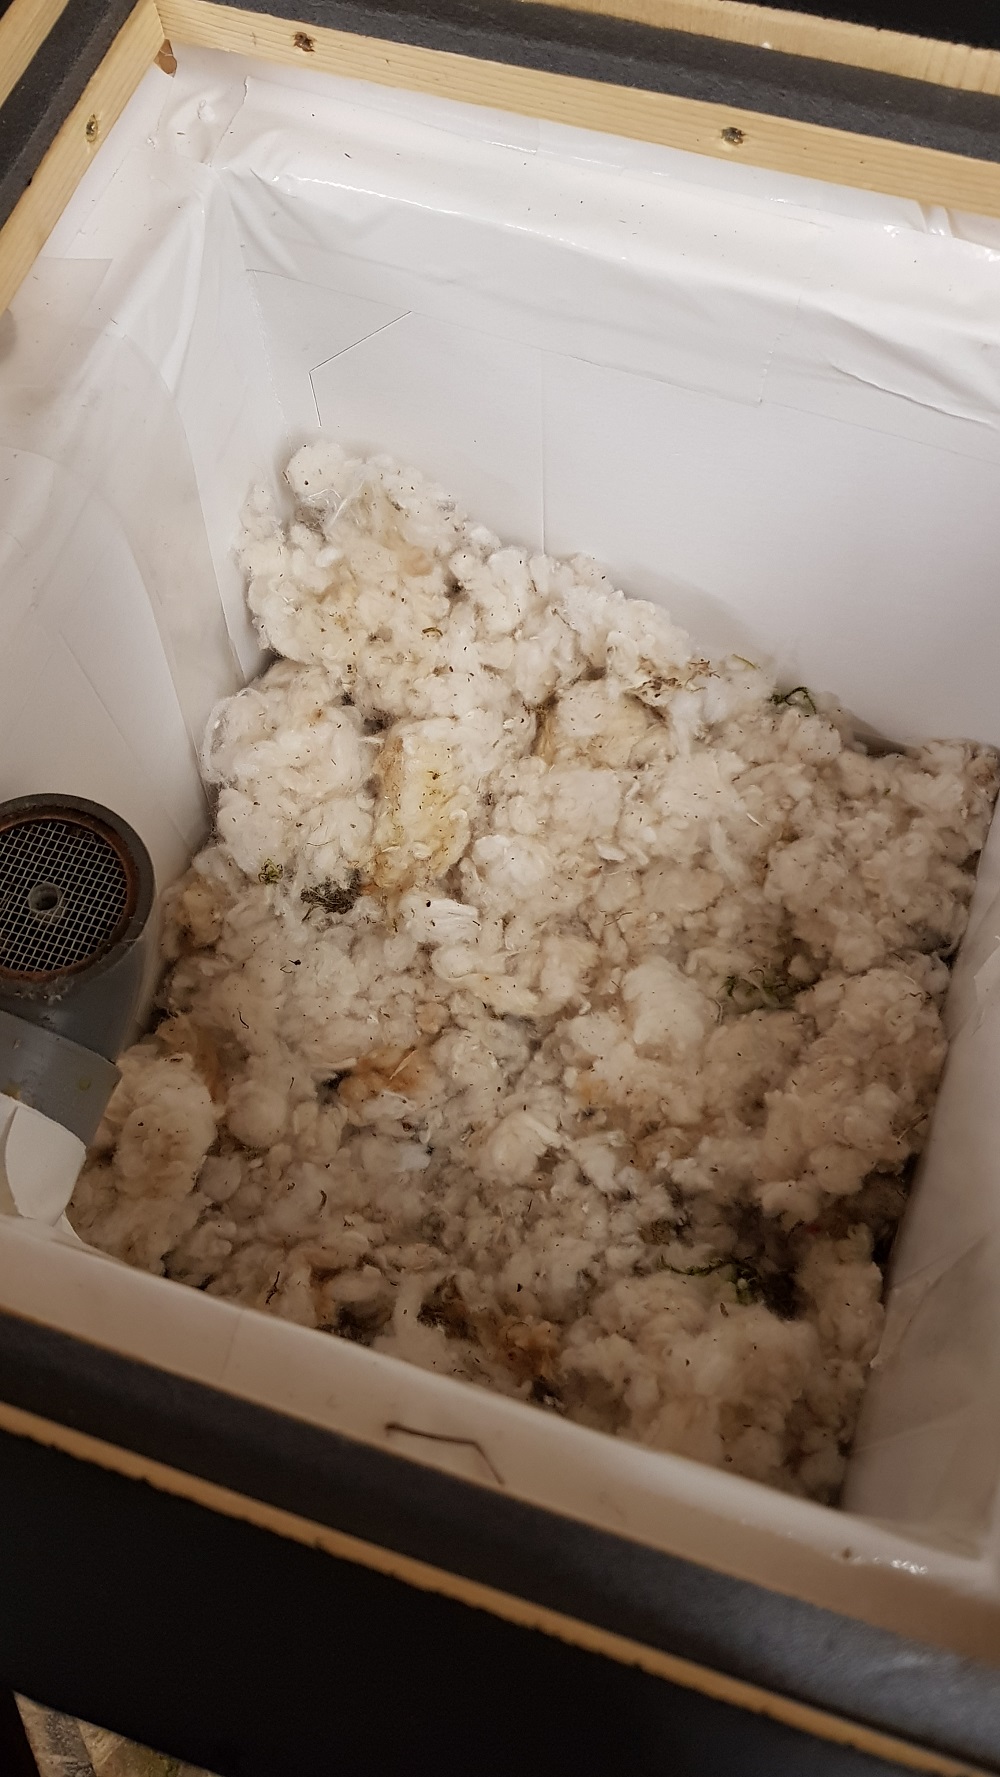
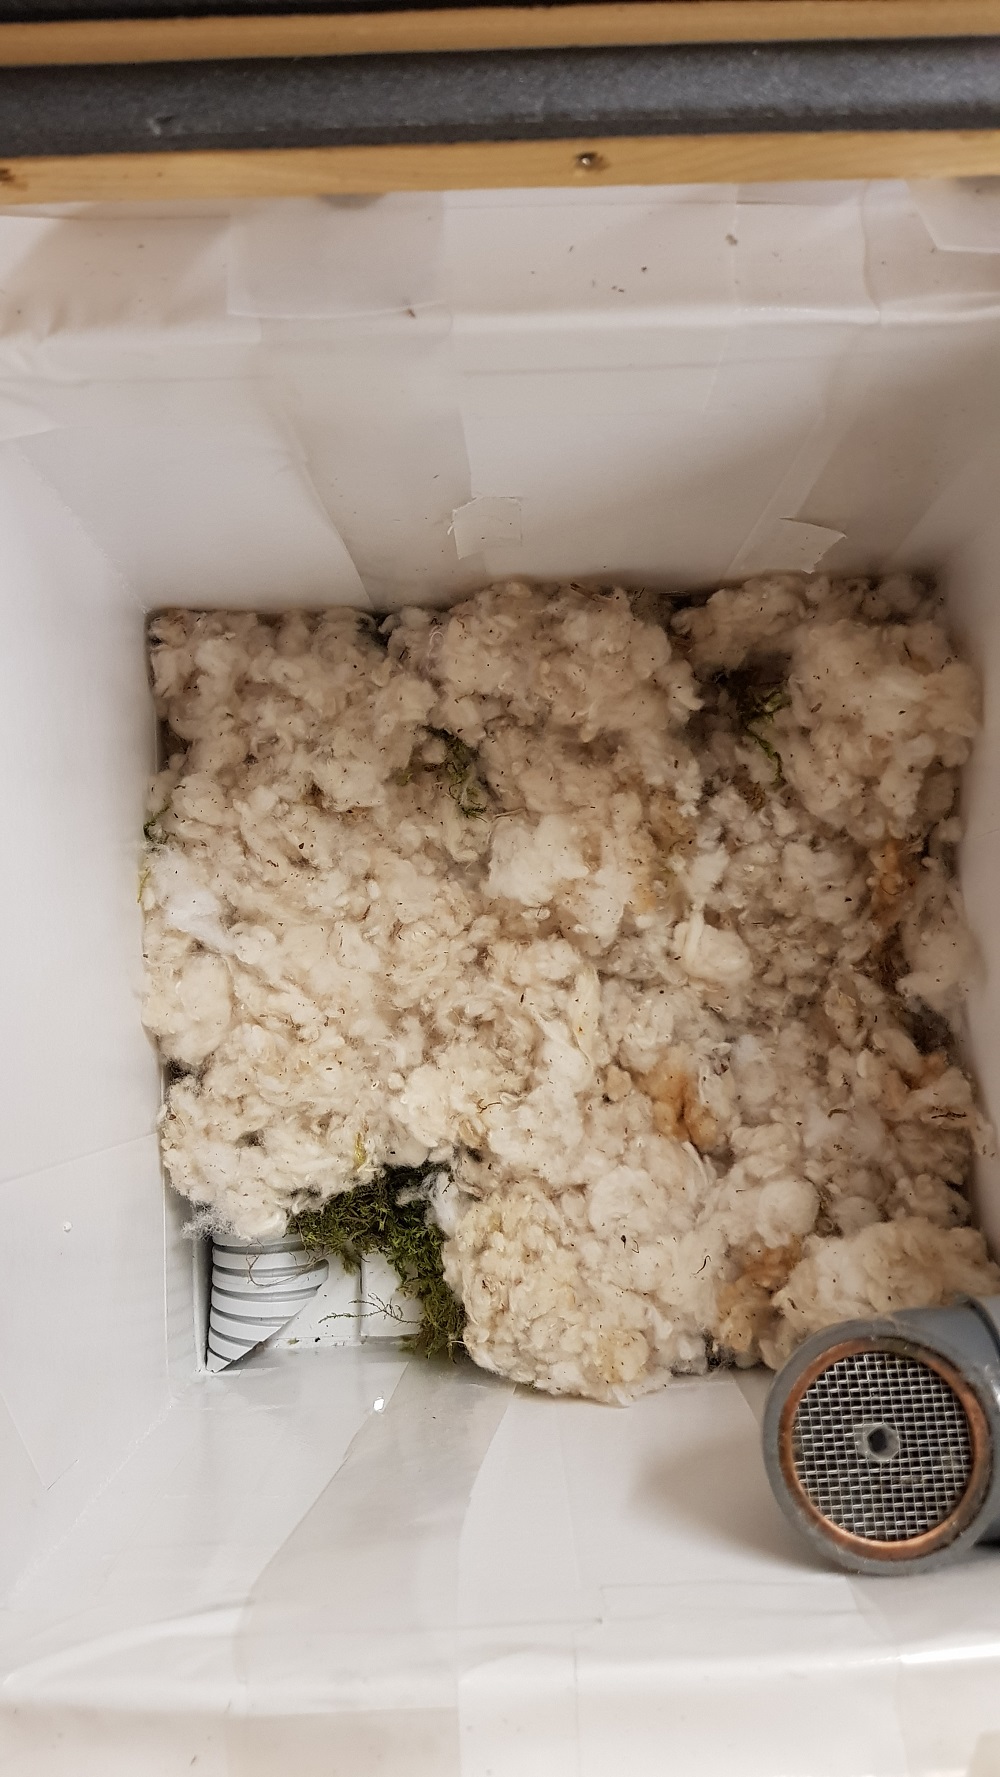
4. Lay the next layer of bedding, approximately 3-5cm high. First, cover the space near the entrance corridor with it – this will create the pocket. Then, fill the entire area with bedding to the same height.
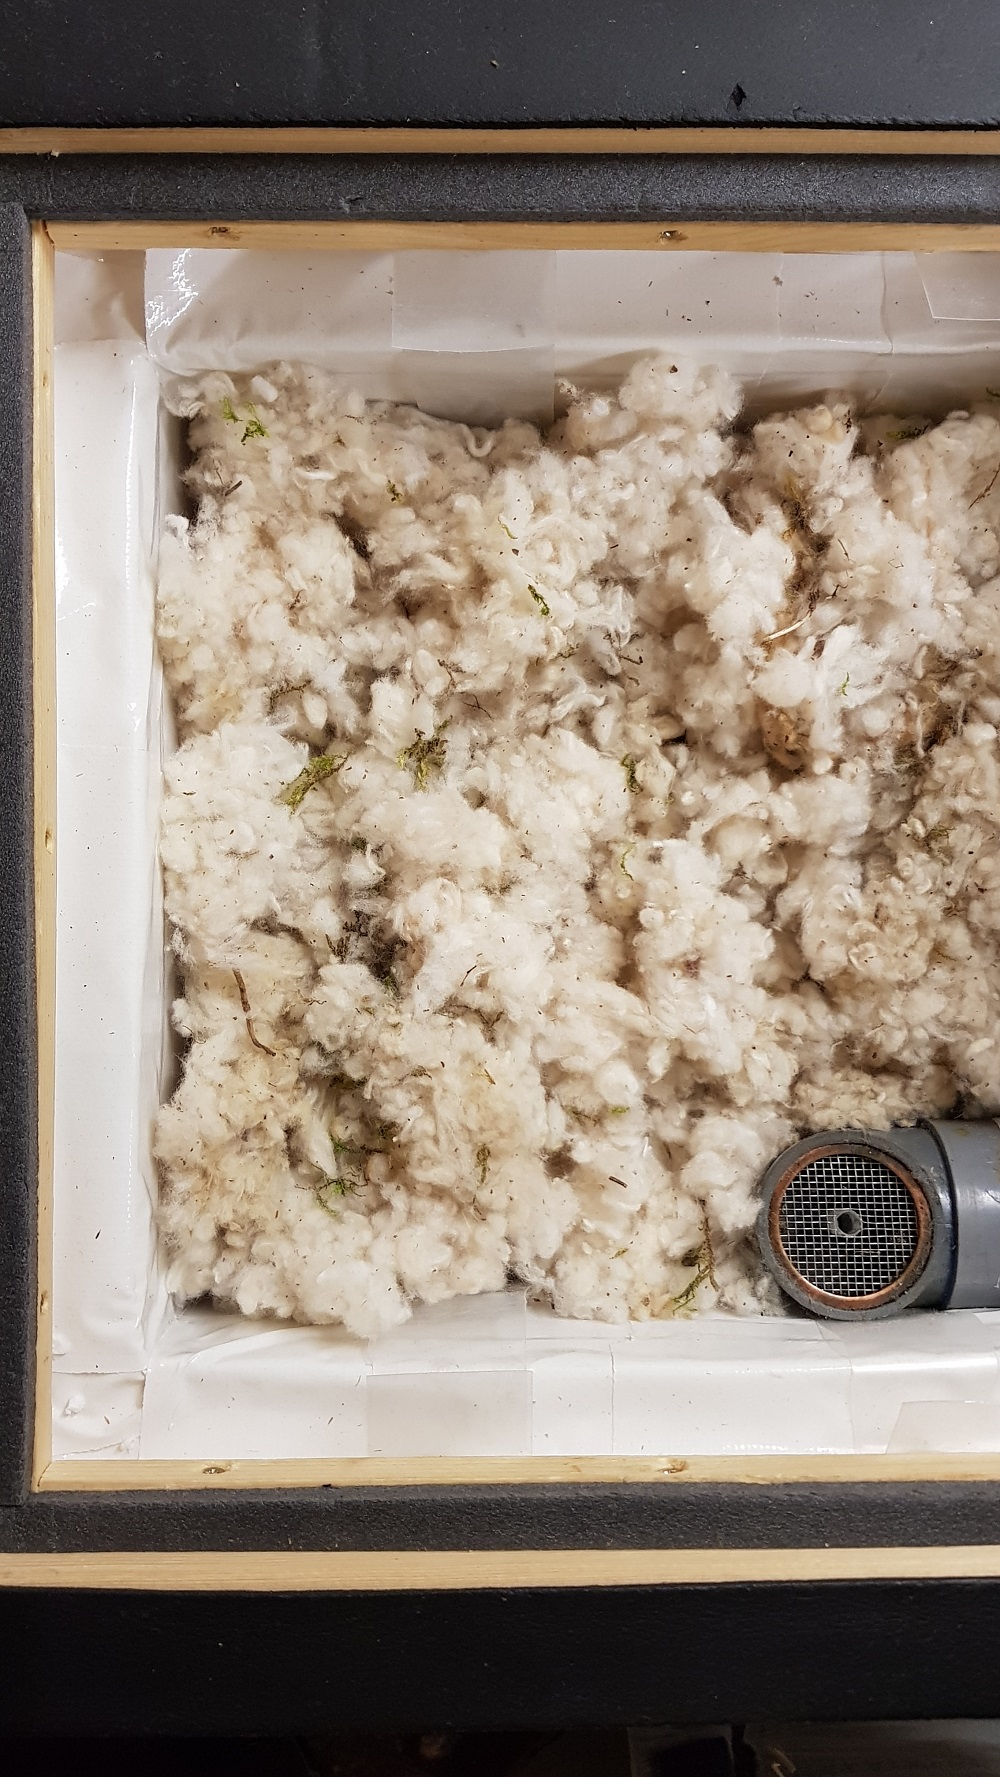
We recommend filling the reservoir at least 3/4 full, but in such a way that the ventilation opening is not covered.
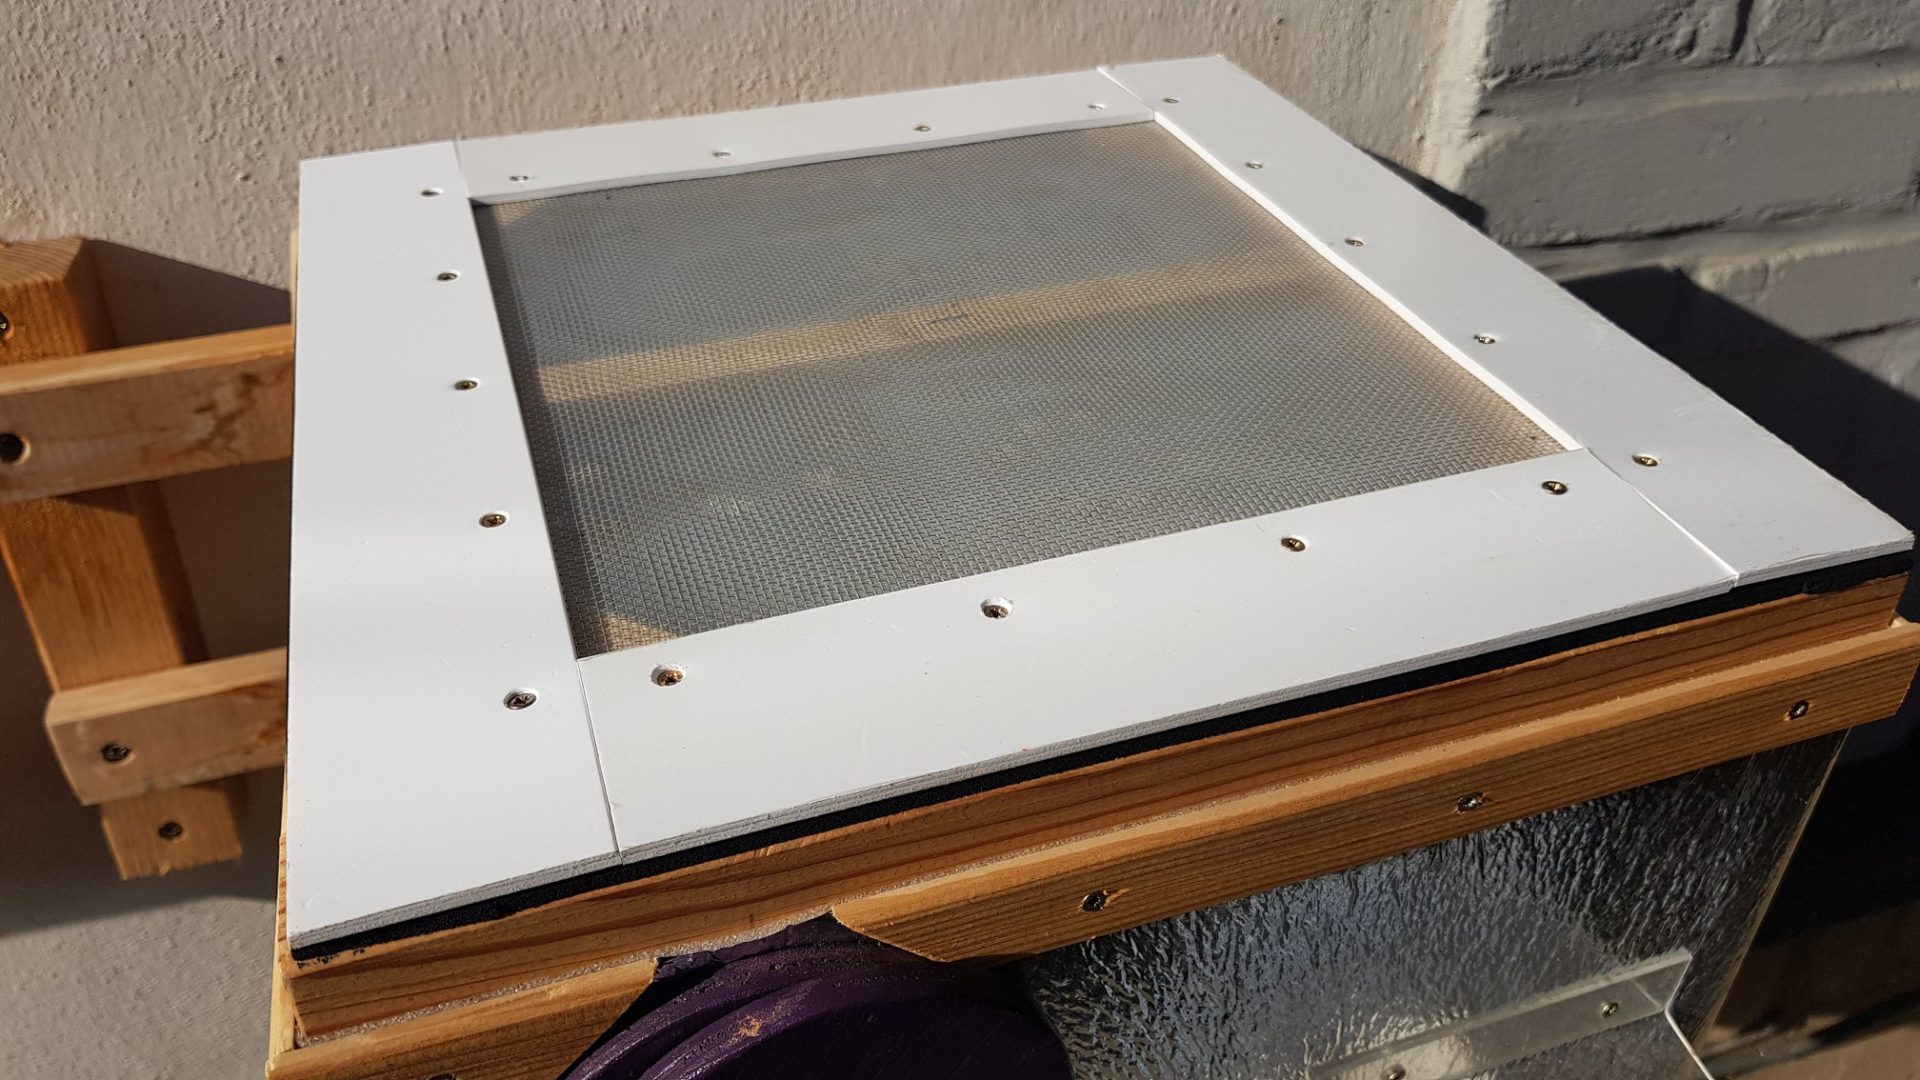
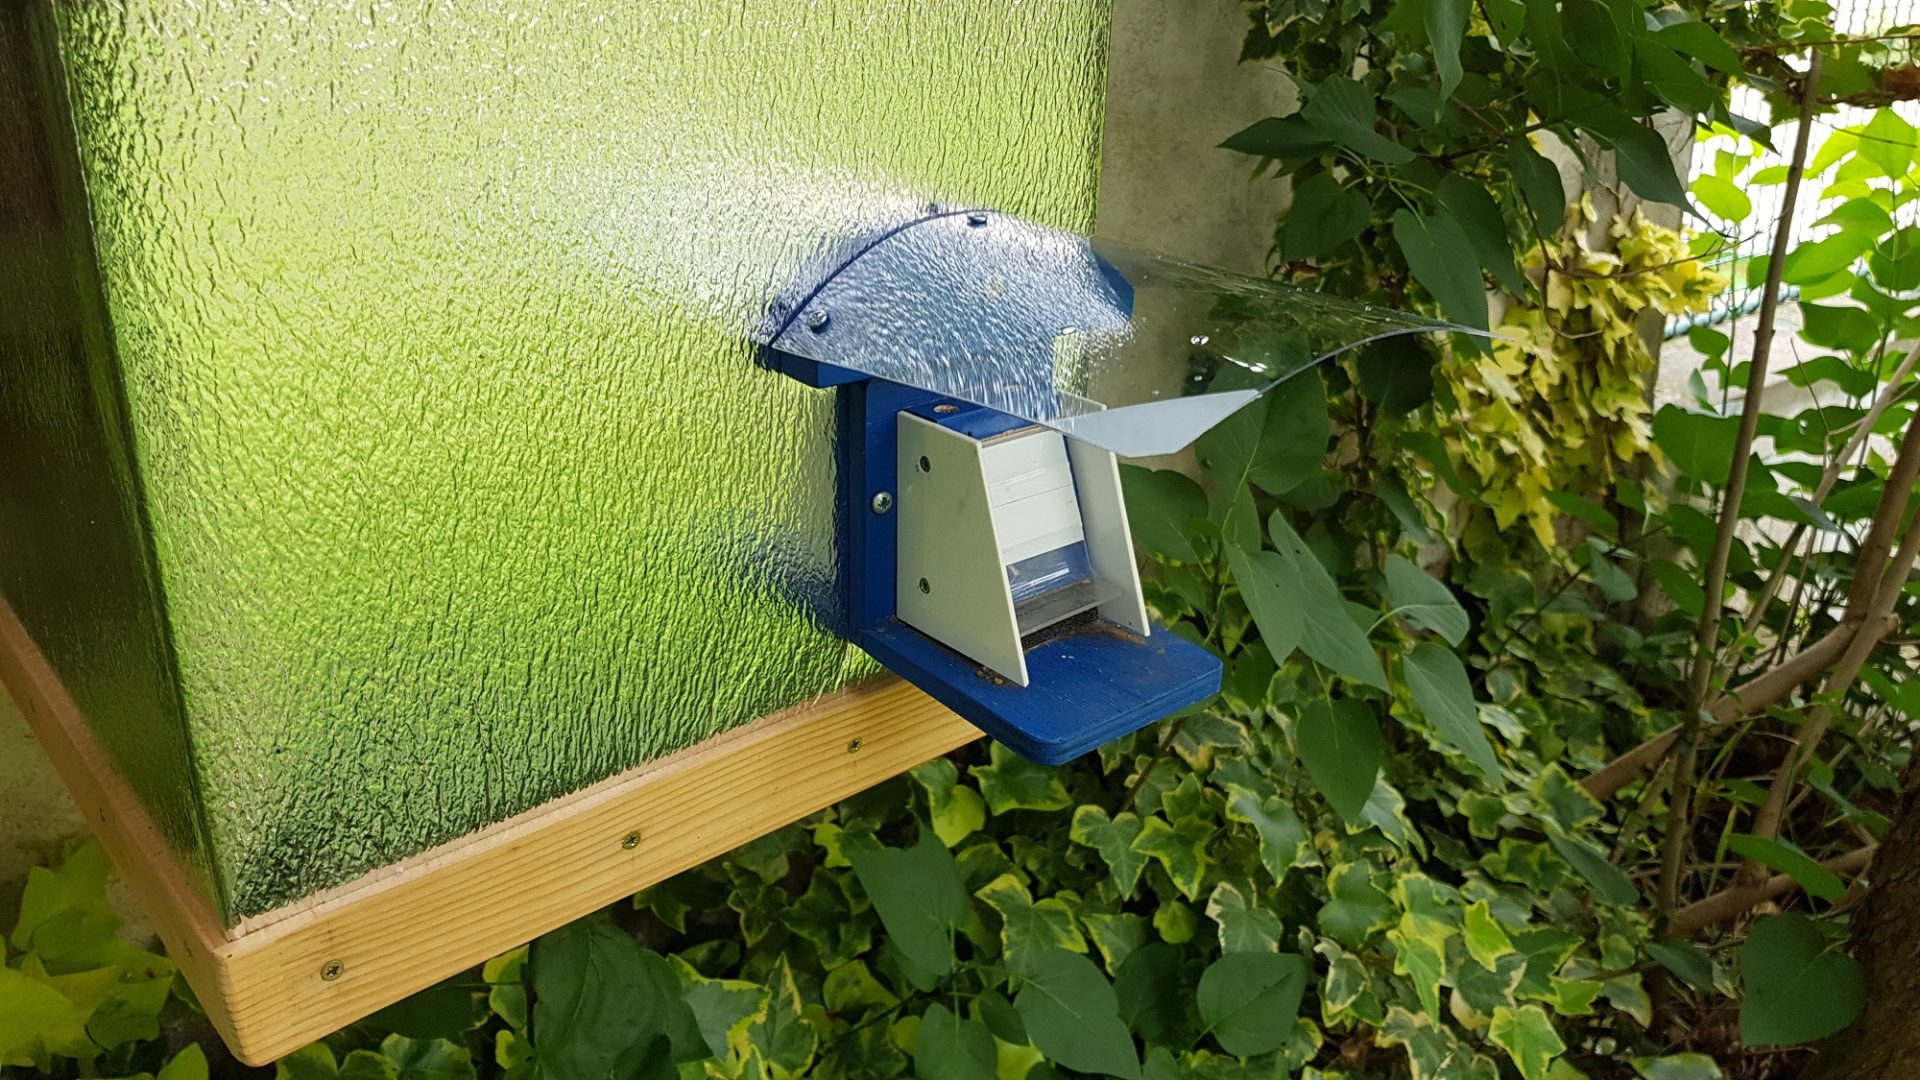
Protective netting fitted to the beehive – detail.

Startled after edits
Photo O. Hercog (2/2021)
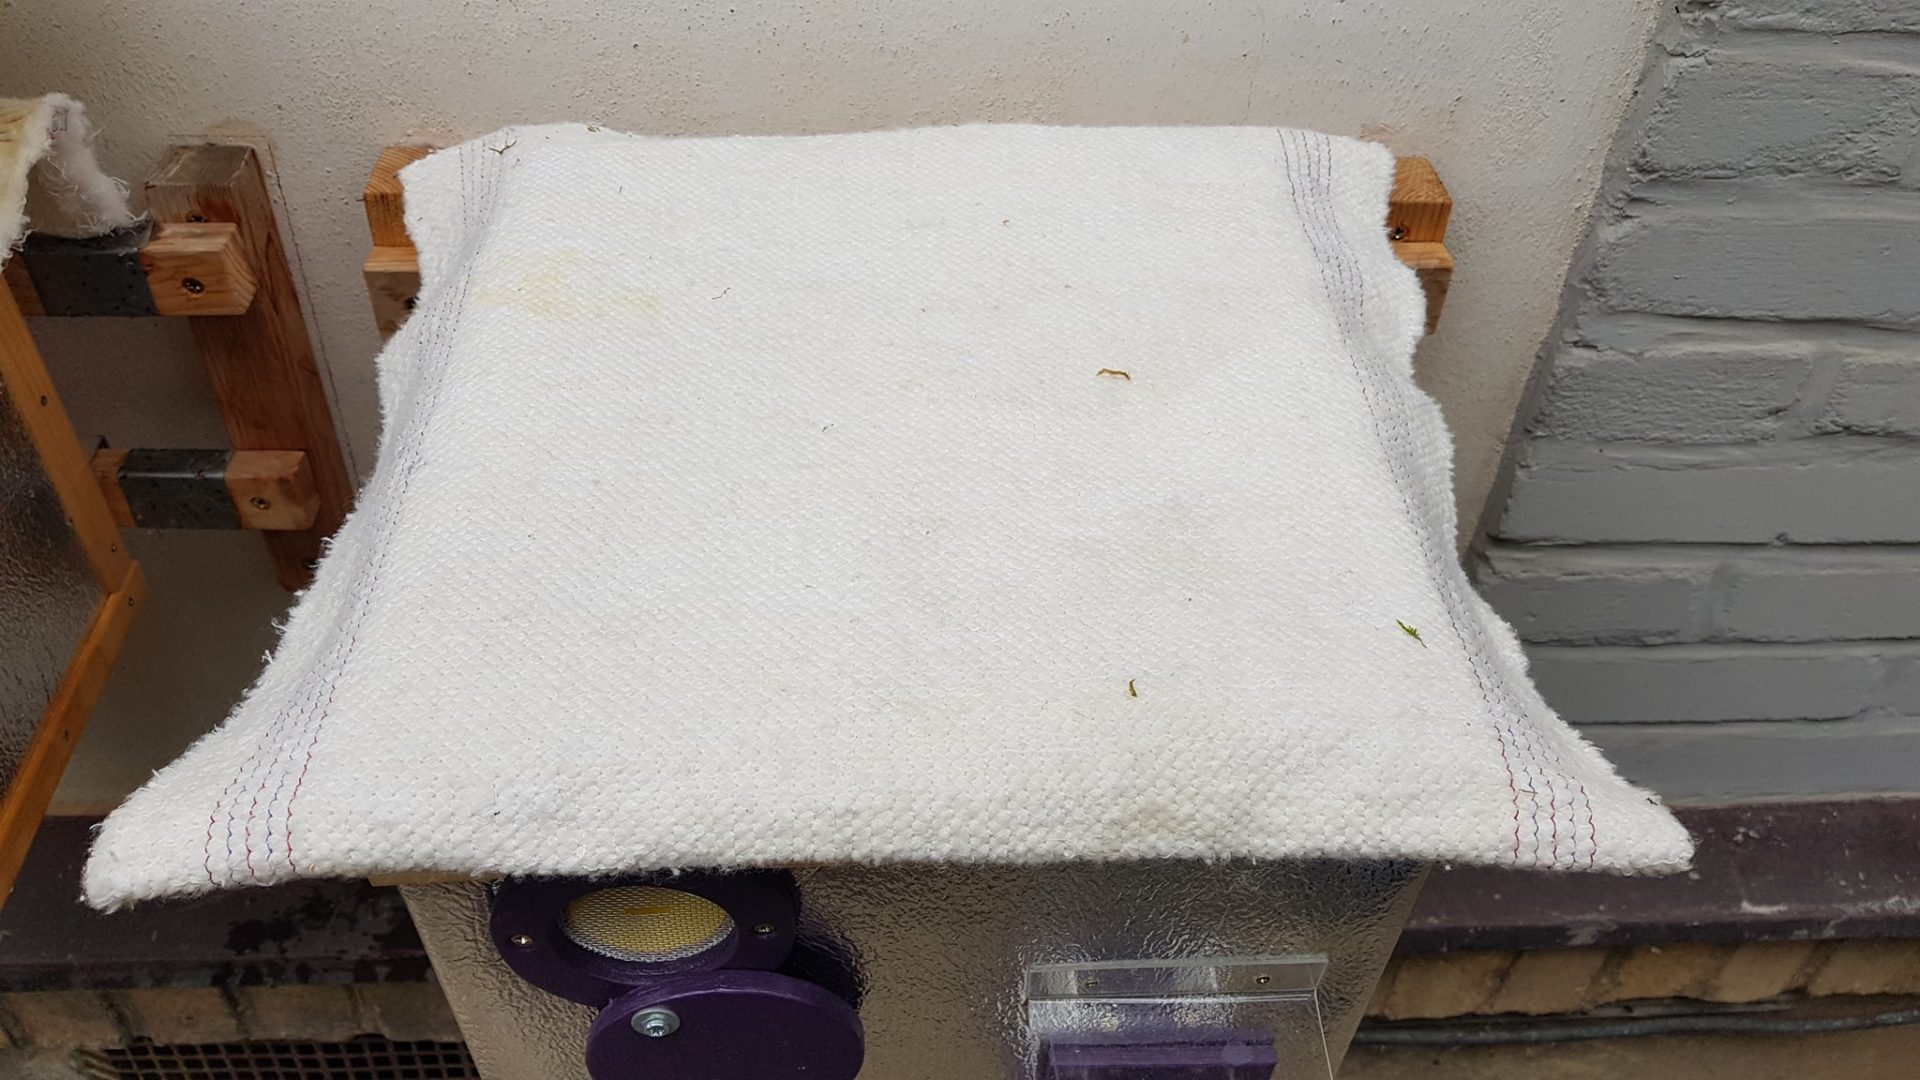
Wring out the highly absorbent cloth.
The roof of the ulcer
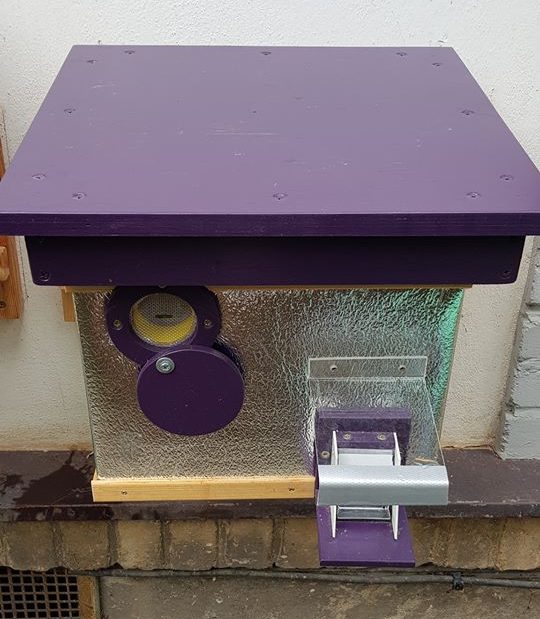
Protective flap cover
Photo O. Hercog