Author of the solution (idea): Ondřej Hercog
Tested in practice: YES since the 2018 season on a total of 8 hives
Testing results: verified, safe when following the production recommendations and usage methodology
Group of keepers for whom the tool is suitable: without restrictions
Justification: Easy to manufacture if the procedure is followed. Permanent use on the hive. An element that only increases the overall safety of the hive. If you use this net, it can also be used to improve ventilation after raising the roof.
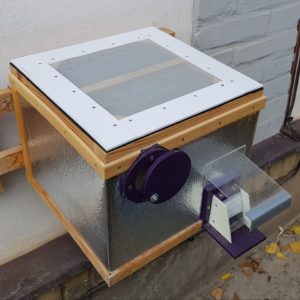
Protective net
The roof is removed, protective net is placed on the hive.
Photo O. Hercog (2019)
What is a safety net?
It is a lightweight frame on which the first mesh, which is impenetrable by bumblebees (fine aluminum mesh), and the second mesh made of Uhelon 53S, which is impenetrable by parasites, are attached.
Aluminum mesh does not corrode and bumblebees/parasites will not pierce it. However, small parasites, such as the parasitic wasp Melittobia acasta, can pass through this mesh. That is why Karel Kučera suggested using industrial mesh with guaranteed density – Uhelon 53S.
A removable frame is inserted into the hive body under the roof. The mesh is supplemented with a seal that ensures reliable sealing of places where parasites could pass.
How to make a safety net?
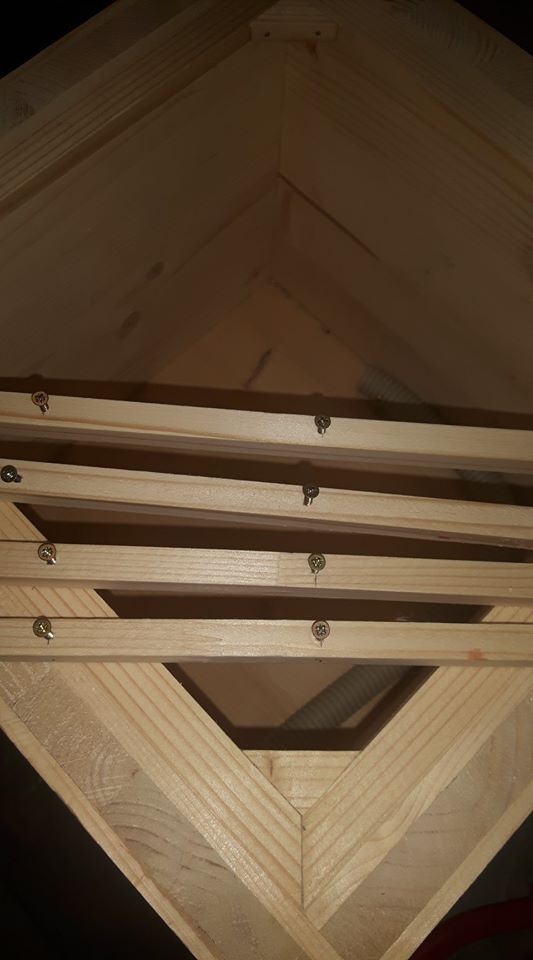
Create a frame that fits into the hive body with a clearance of about 1mm on the sides. The frame can be made from a wooden strip of about 10 x 25mm cross-section, using a model making method.
We recommend gluing with waterproof glue, adding corners for reinforcement. You can use dowels, small screws, steel needles, etc. for joints - according to your possibilities and abilities.
It is a good idea to add an internal crossbar to the frame. The result should be a light but strong frame that does not change its dimensions and fits well when loaded with a roof.
The frame clearance is necessary so that it can be removed even if the wood gets wet and expands.
Thin strips are used on the frame to prevent the frame from twisting due to moisture and subsequent leaks.
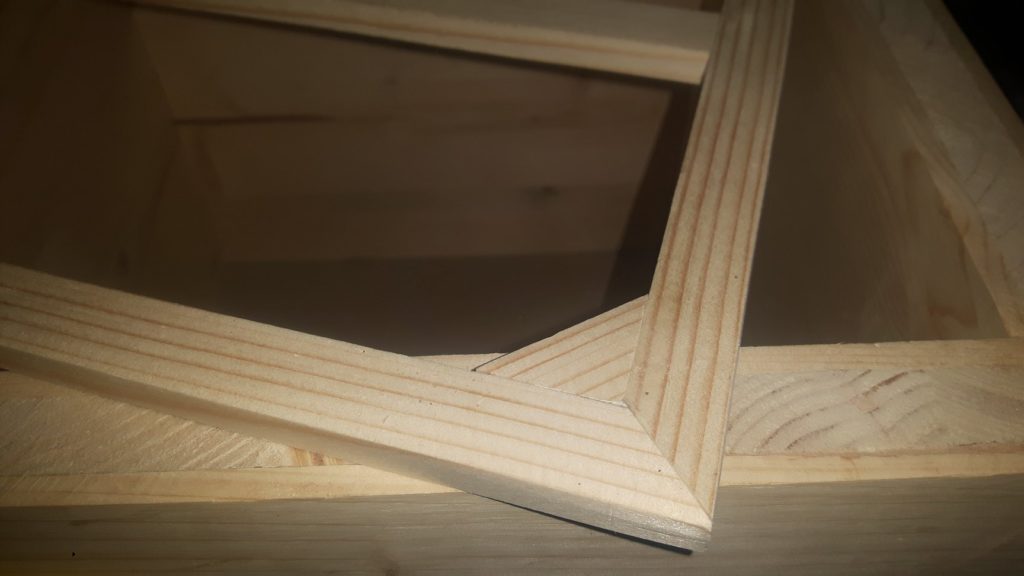
Detail of the frame – the corner is reinforced by gluing a piece of molding.
A crossbar is added to the frame. Everything is glued, attached with screws/steel needles.
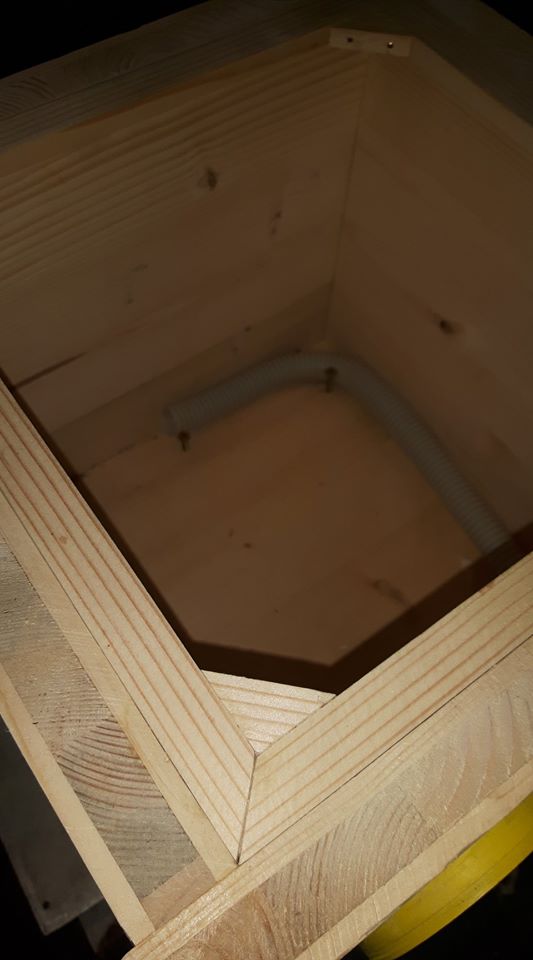
The frame in the hive body needs to be adjusted so that it has a clearance of approximately 1mm around the perimeter.
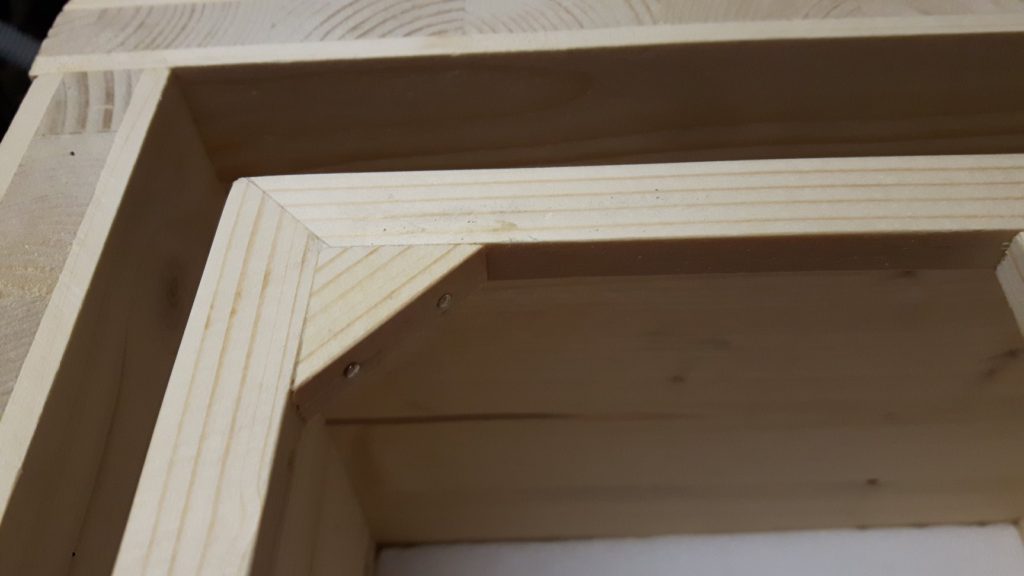
Detail of the frame – the corner is reinforced by gluing a piece of molding. A crossbar is added to the frame. Everything is glued, attached with screws/steel needles.
Beehive body rails.
Used to fit the frame.
Then attach a fine mesh of Uhelon 53S to the frame on both sides and cover it with a fine clay mesh.
Be careful – the Uhelon is always inside and the bumblebees cannot reach it with their jaws
. You can use a staple gun to attach the mesh, for example.
Then trim the mesh so that the burrs of the mesh do not protrude outside the frame.
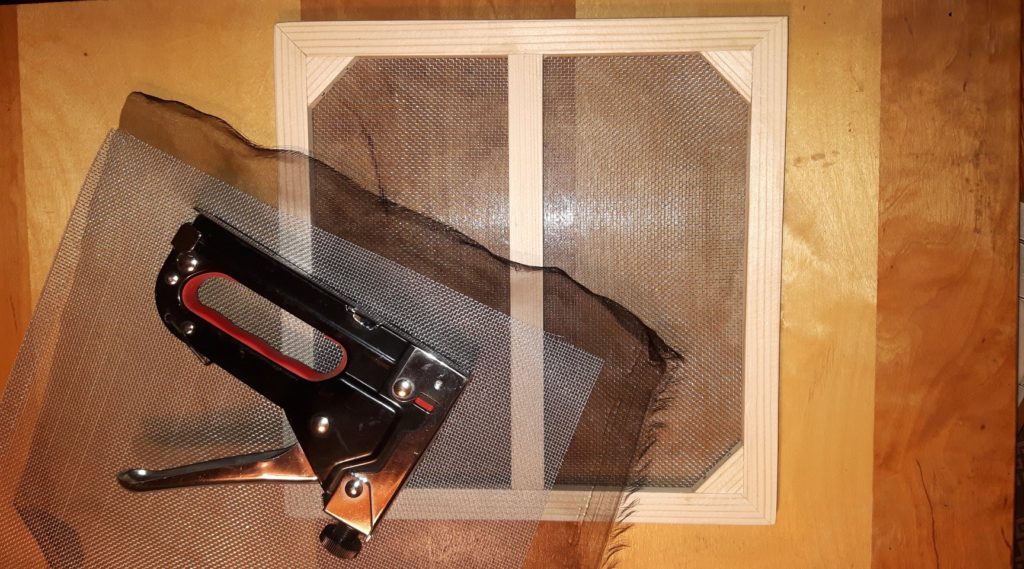
Attach a mesh of UHELON 53S to the frame and cover it with aluminum mesh. The UHELON 53S is always on the side where the bumblebees cannot reach.
Note: the black mesh is used to demonstrate the solution, the UHELON is white.

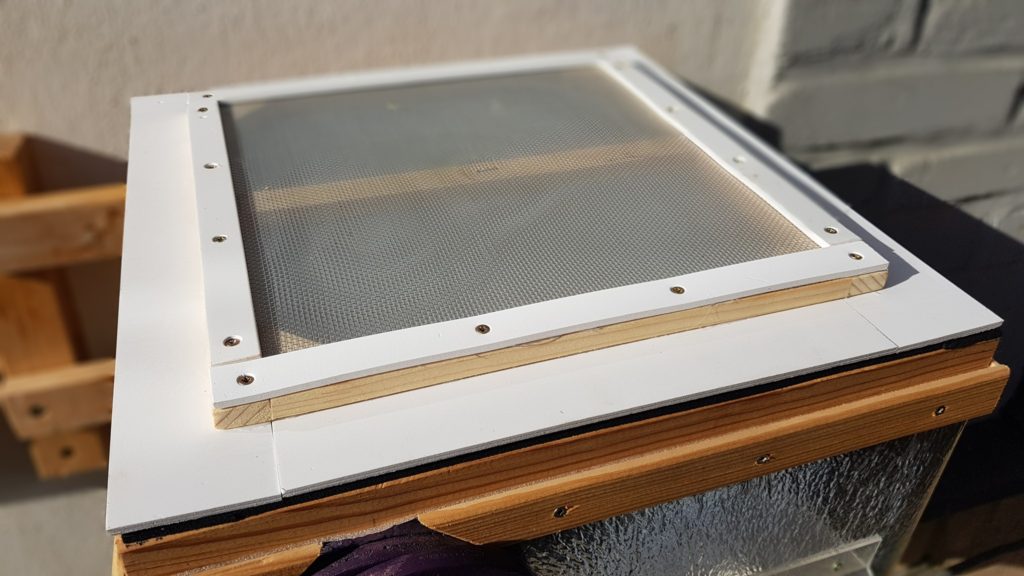
The frame is equipped with mesh.
Then, attach a collar made of a strip of plastic to the frame, for example with small countersunk screws. The collar will hold the frame flush with the hive body. Line the underside with a strip of the same plastic. Make sure the nets are pressed firmly together and there are no gaps.
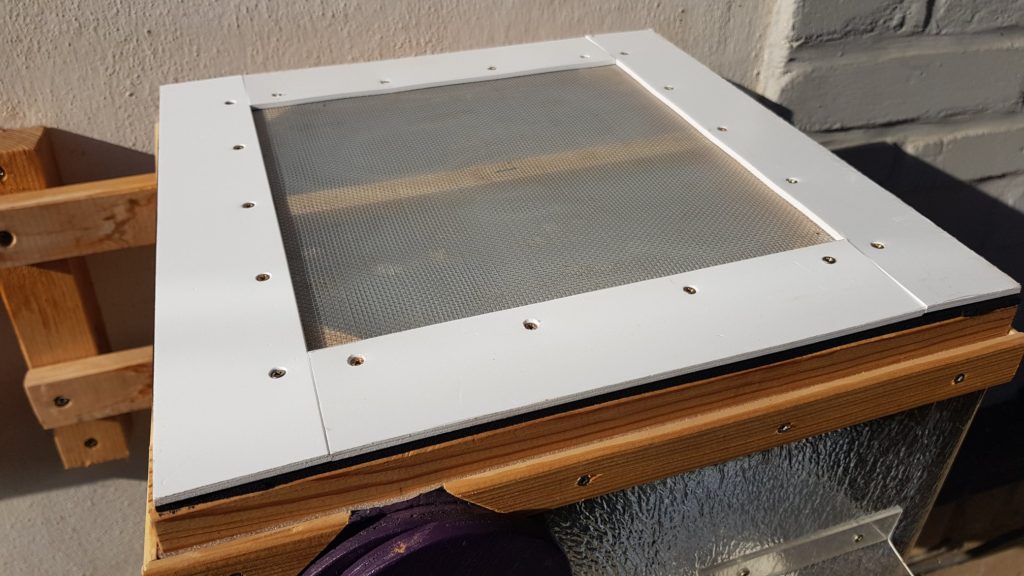
Protective netting placed on the hive – detail.
For the collar and edging, I found it helpful to use a thin board. For example, Hobbycolor (GuttaGliss) 3mm is suitable - a board made of this material can be easily cut with a cutter, it is flexible and if you drop the frame on the ground, it will not break like plexiglass. You can also use any other material you have available, the recommended thickness is 1.5 - 3mm.
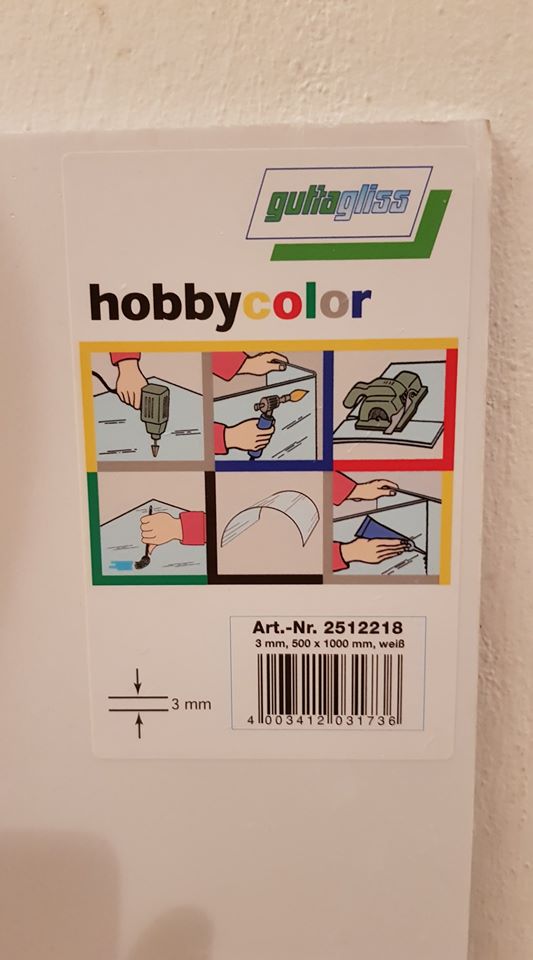
Plastic board – available in hobby stores
I also recommend adding strips to the hive body, on which the frame will rest with its bottom side.
Protective net – underside.
Test how the frame fits into the hive and remove any deficiencies.
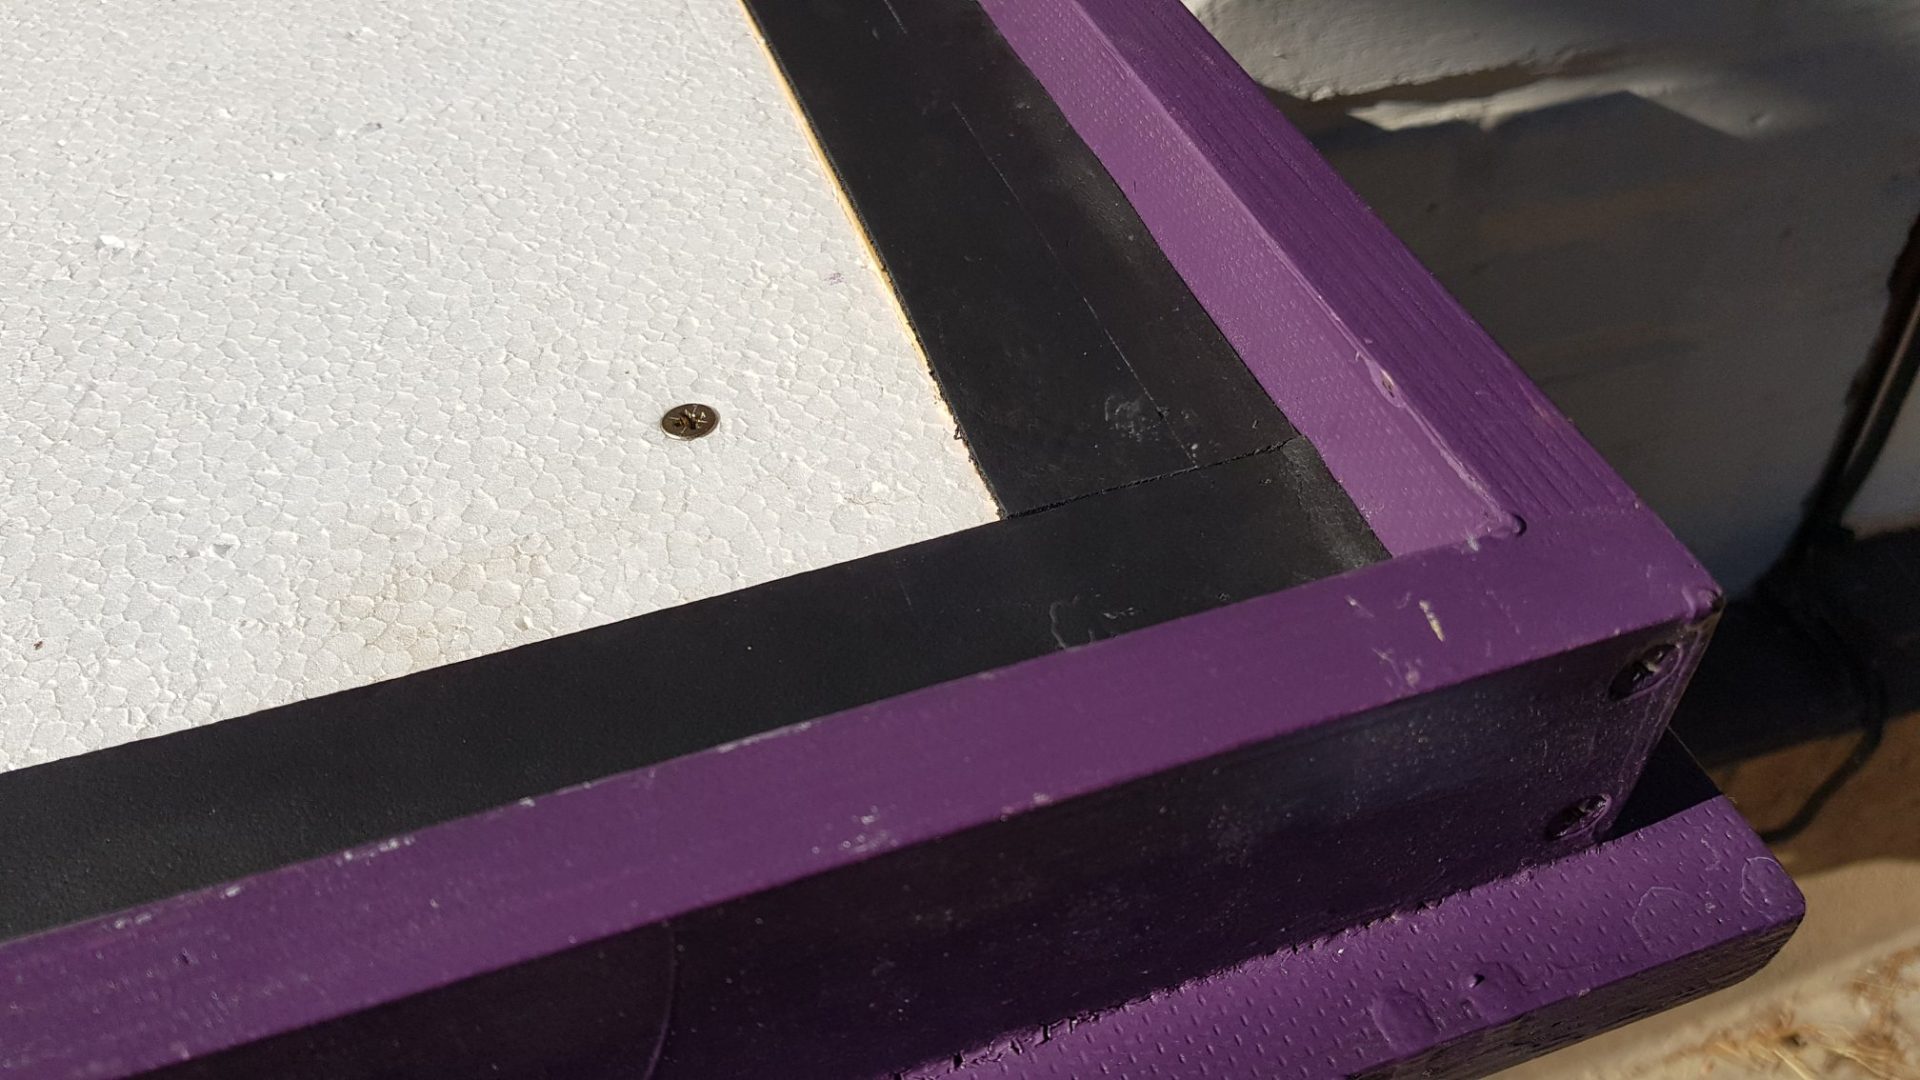
Finally, fill the contact surfaces with a seal = the same height as the hive body and the beehive strip. If you use the same seal height, the protective net will fit perfectly and seal.
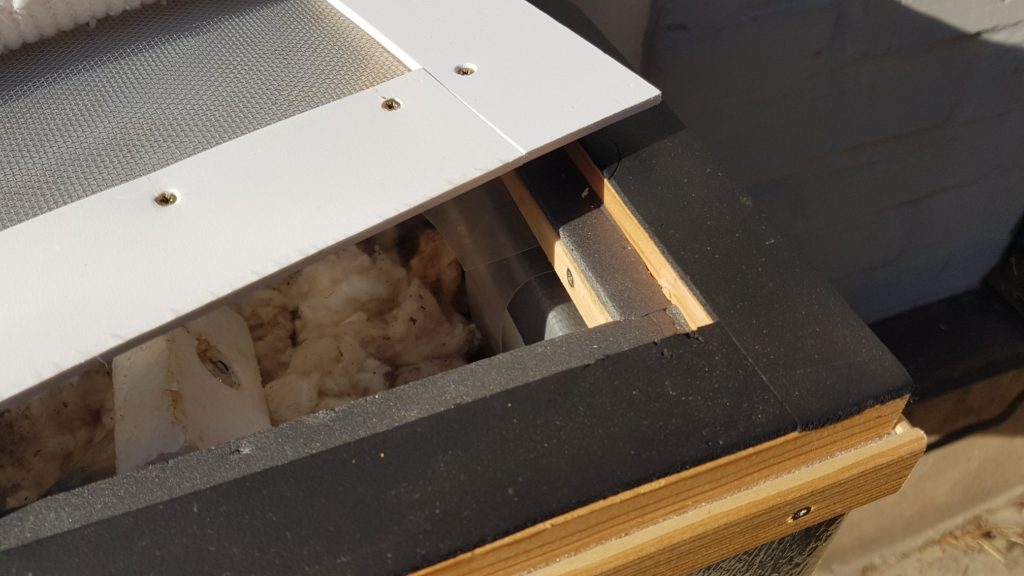
Detail of the protective net seal
1. contact surface on the hive body and 2. on the slats in the hive
Tesa gaskets or soft fan gaskets are good as gaskets. 5mm foam can also be used, but it degrades after a year and needs to be replaced
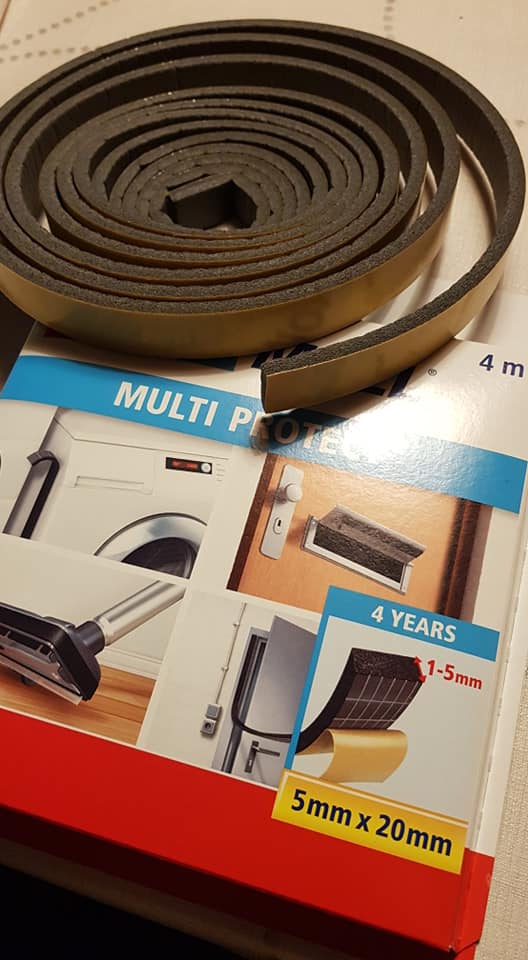
Example of a suitable soft seal.
Don't forget to add a seal under the roof so that the collar of the protective frame seals on both sides.
Make sure that there are no gaps in the frame joints, mesh fastenings and seals. Otherwise, the entire solution will lose its effectiveness.
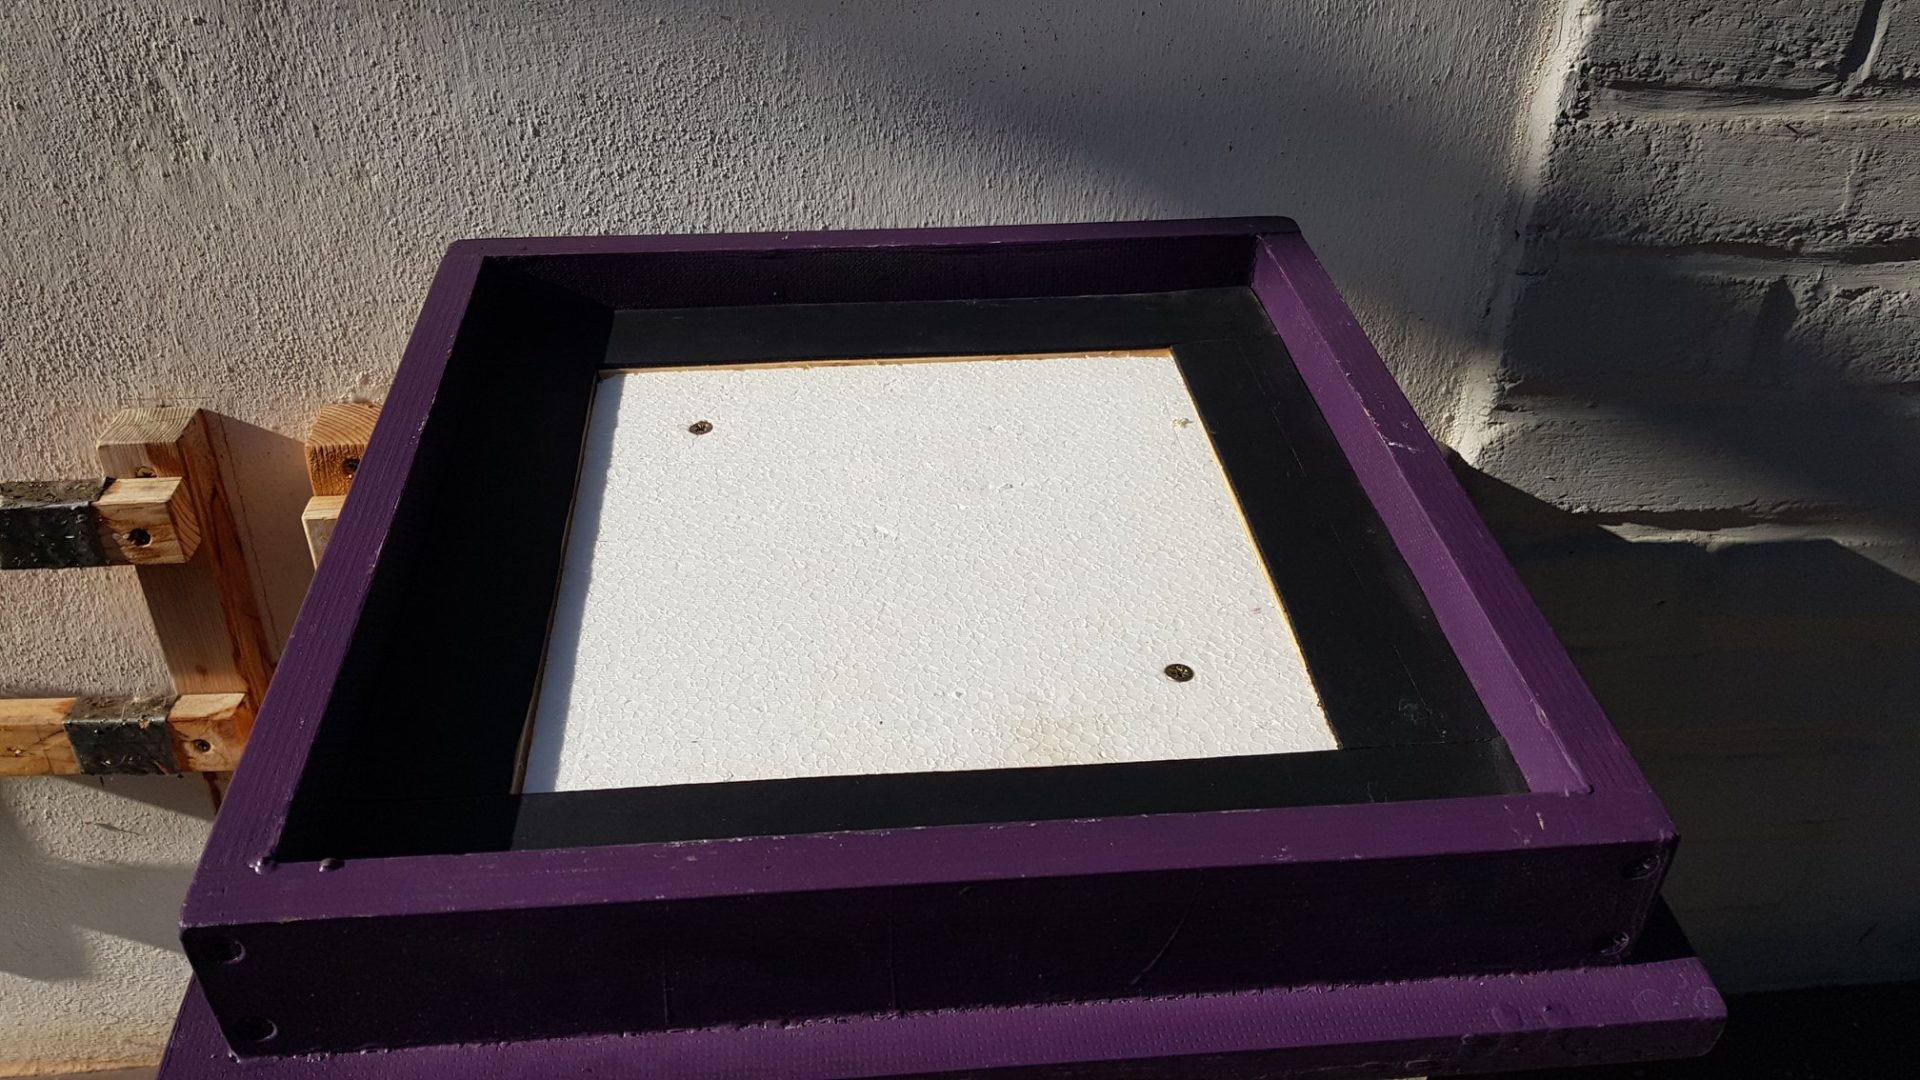
Sealing under the roof on the battens. Removable internal insulation under the roof.
Sealing under the roof on the battens and removable internal insulation under the roof - detail.
For details on the production of the protective net, see the attached photos and schematic diagram.
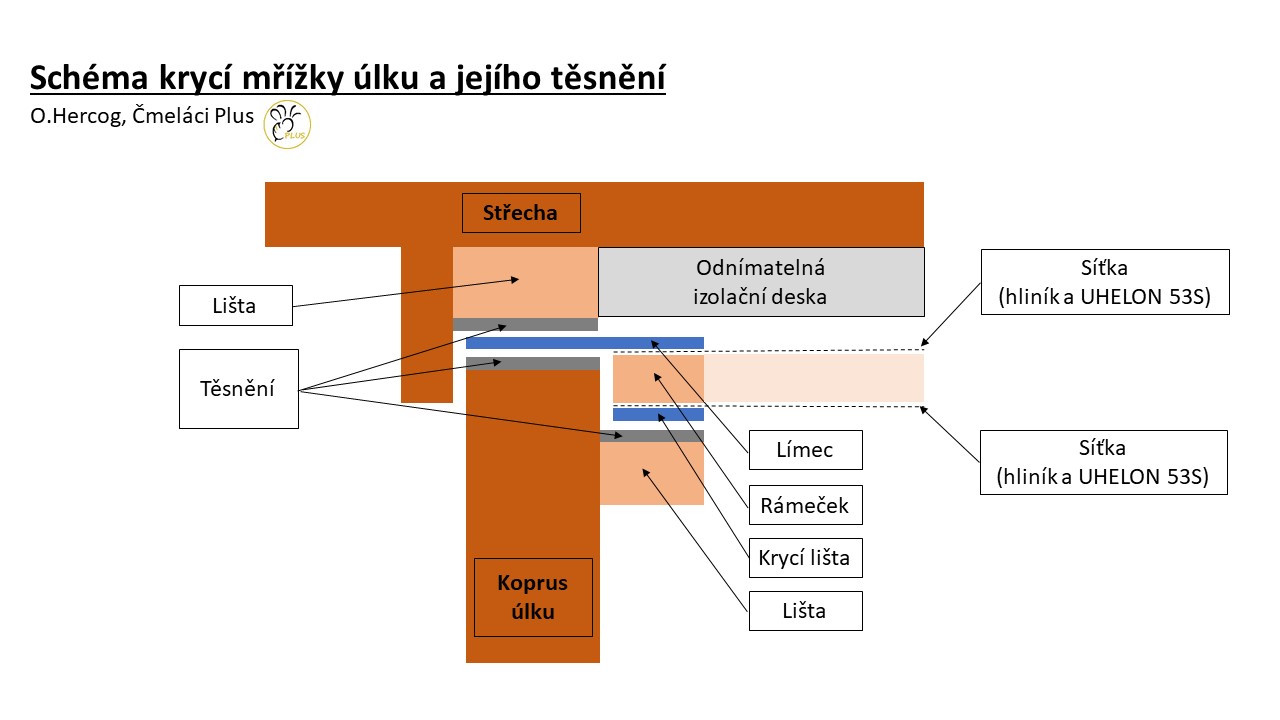
Diagram of the protective net and double seal of the hive.
How to use the Safety Net?
We recommend using the net all year round.
It can be left on at all times and only removed when checking/intervening in the nest. Occasionally check visually that the net is not damaged anywhere and that it still seals well around the entire perimeter.
If you use this net, it can also be used to improve ventilation after raising the roof.