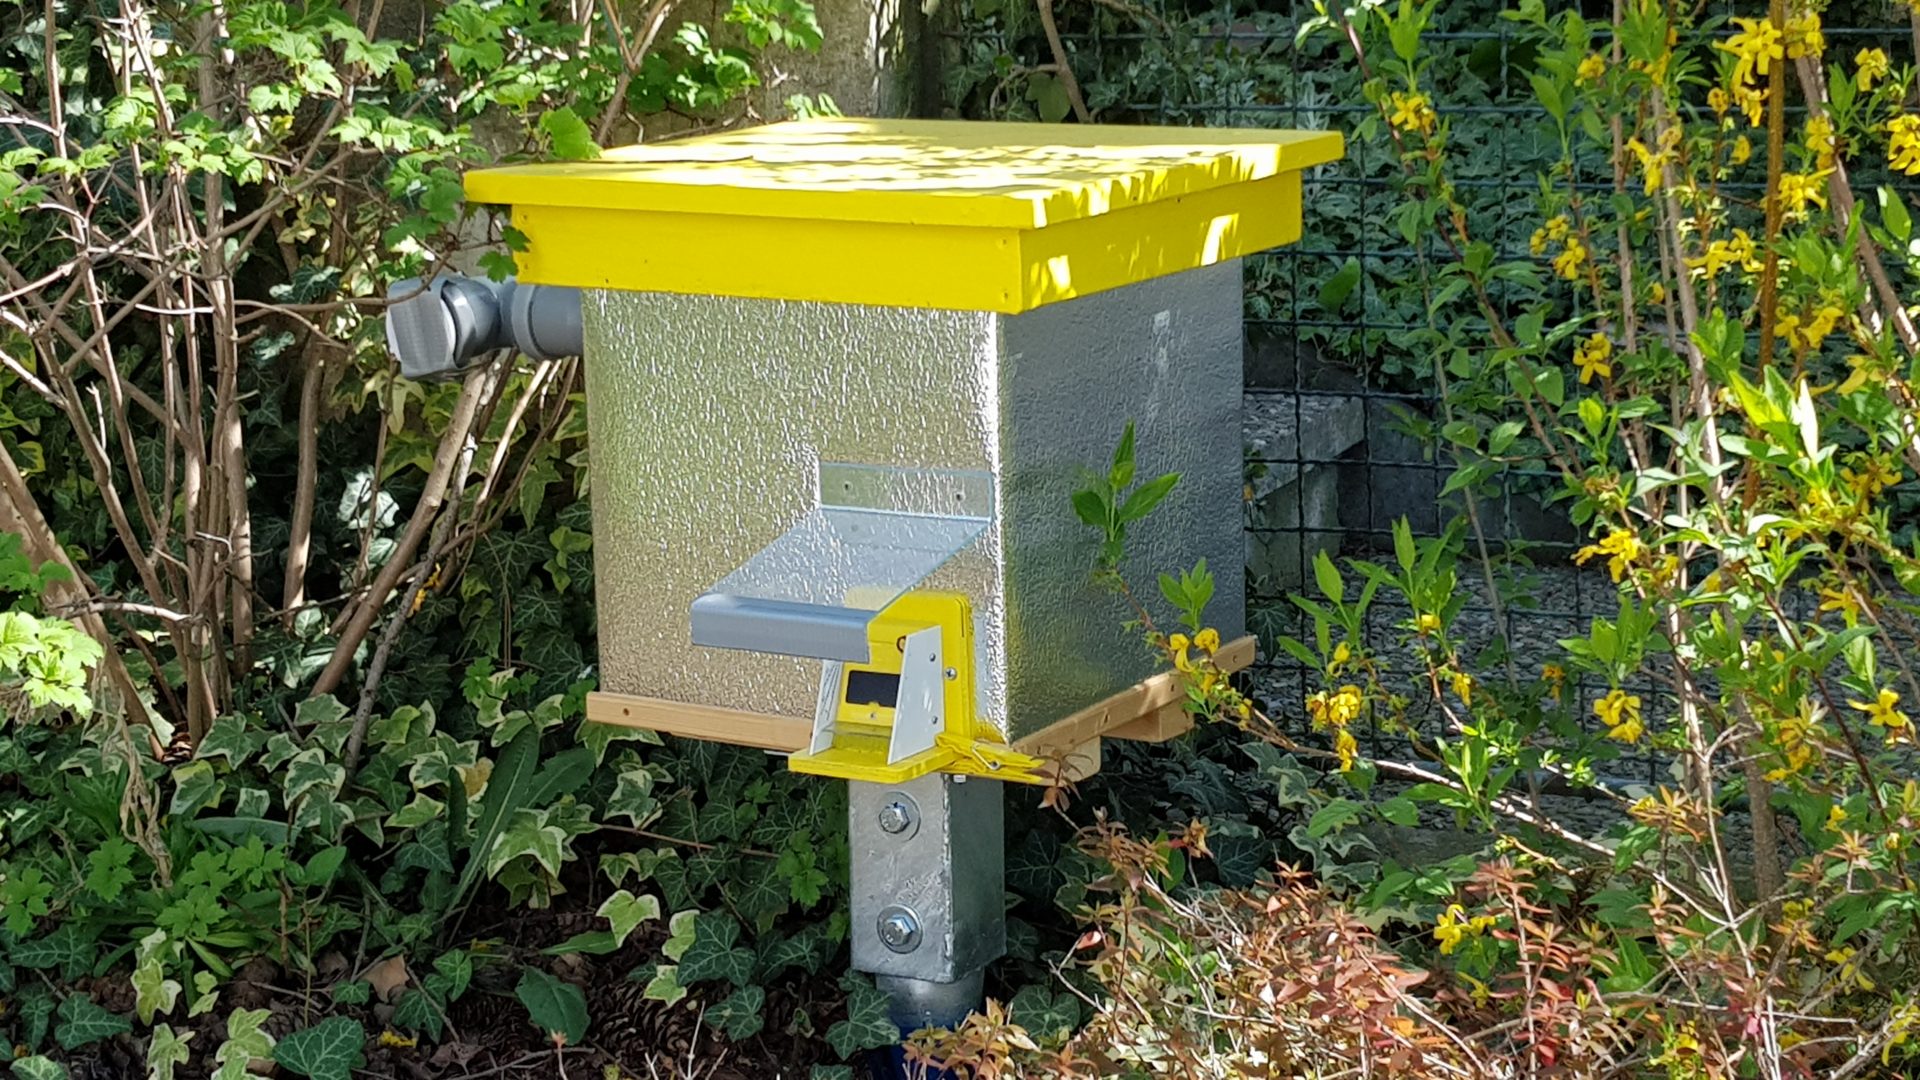
Hive (bumblebee) of classic design
Cube with a side of 30 cm
Homemade
Photo O, Hercog (5/2020¨)
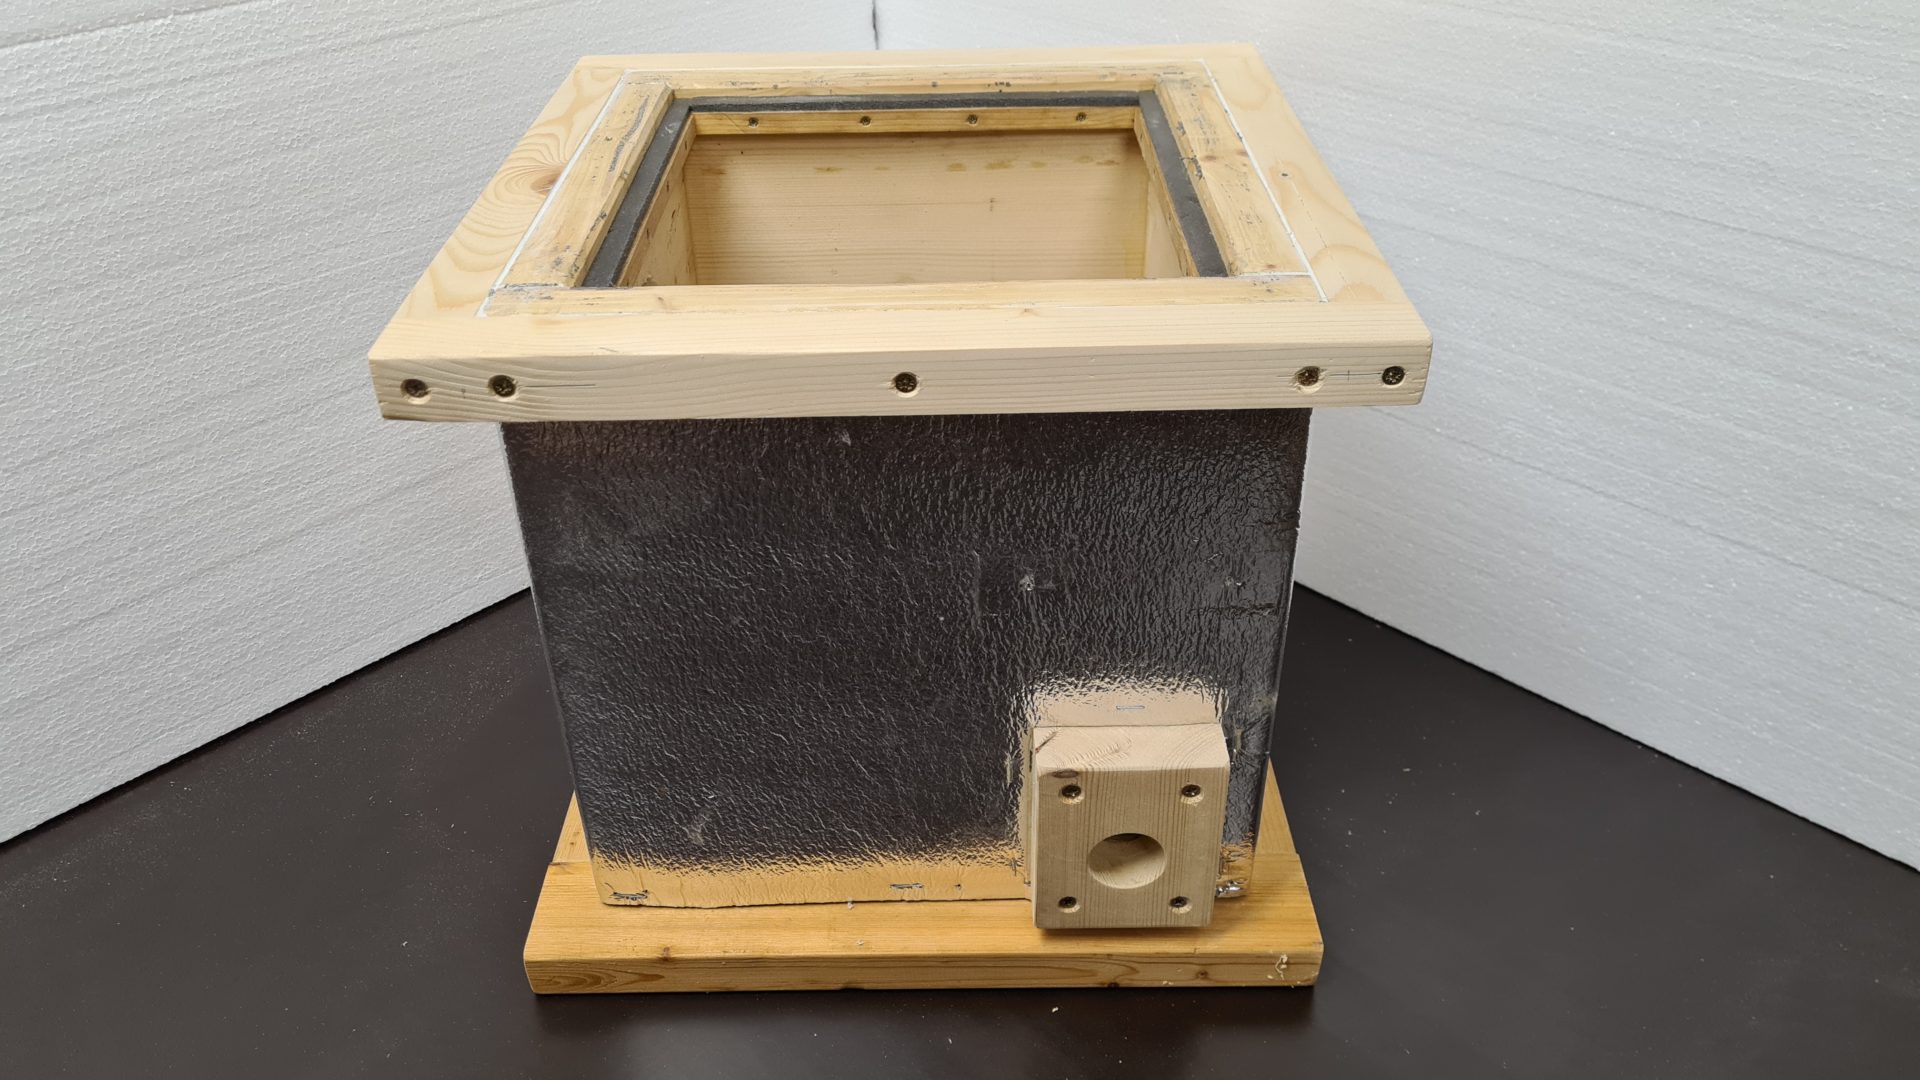
Modification of the street body - general view
Photo O. Hercog (2/2021)
Modification of the street body - general view
Photo O. Hercog (2/2021)
Modification of the body of the alley - detail of the lower part
Photo O. Hercog (2/2021)
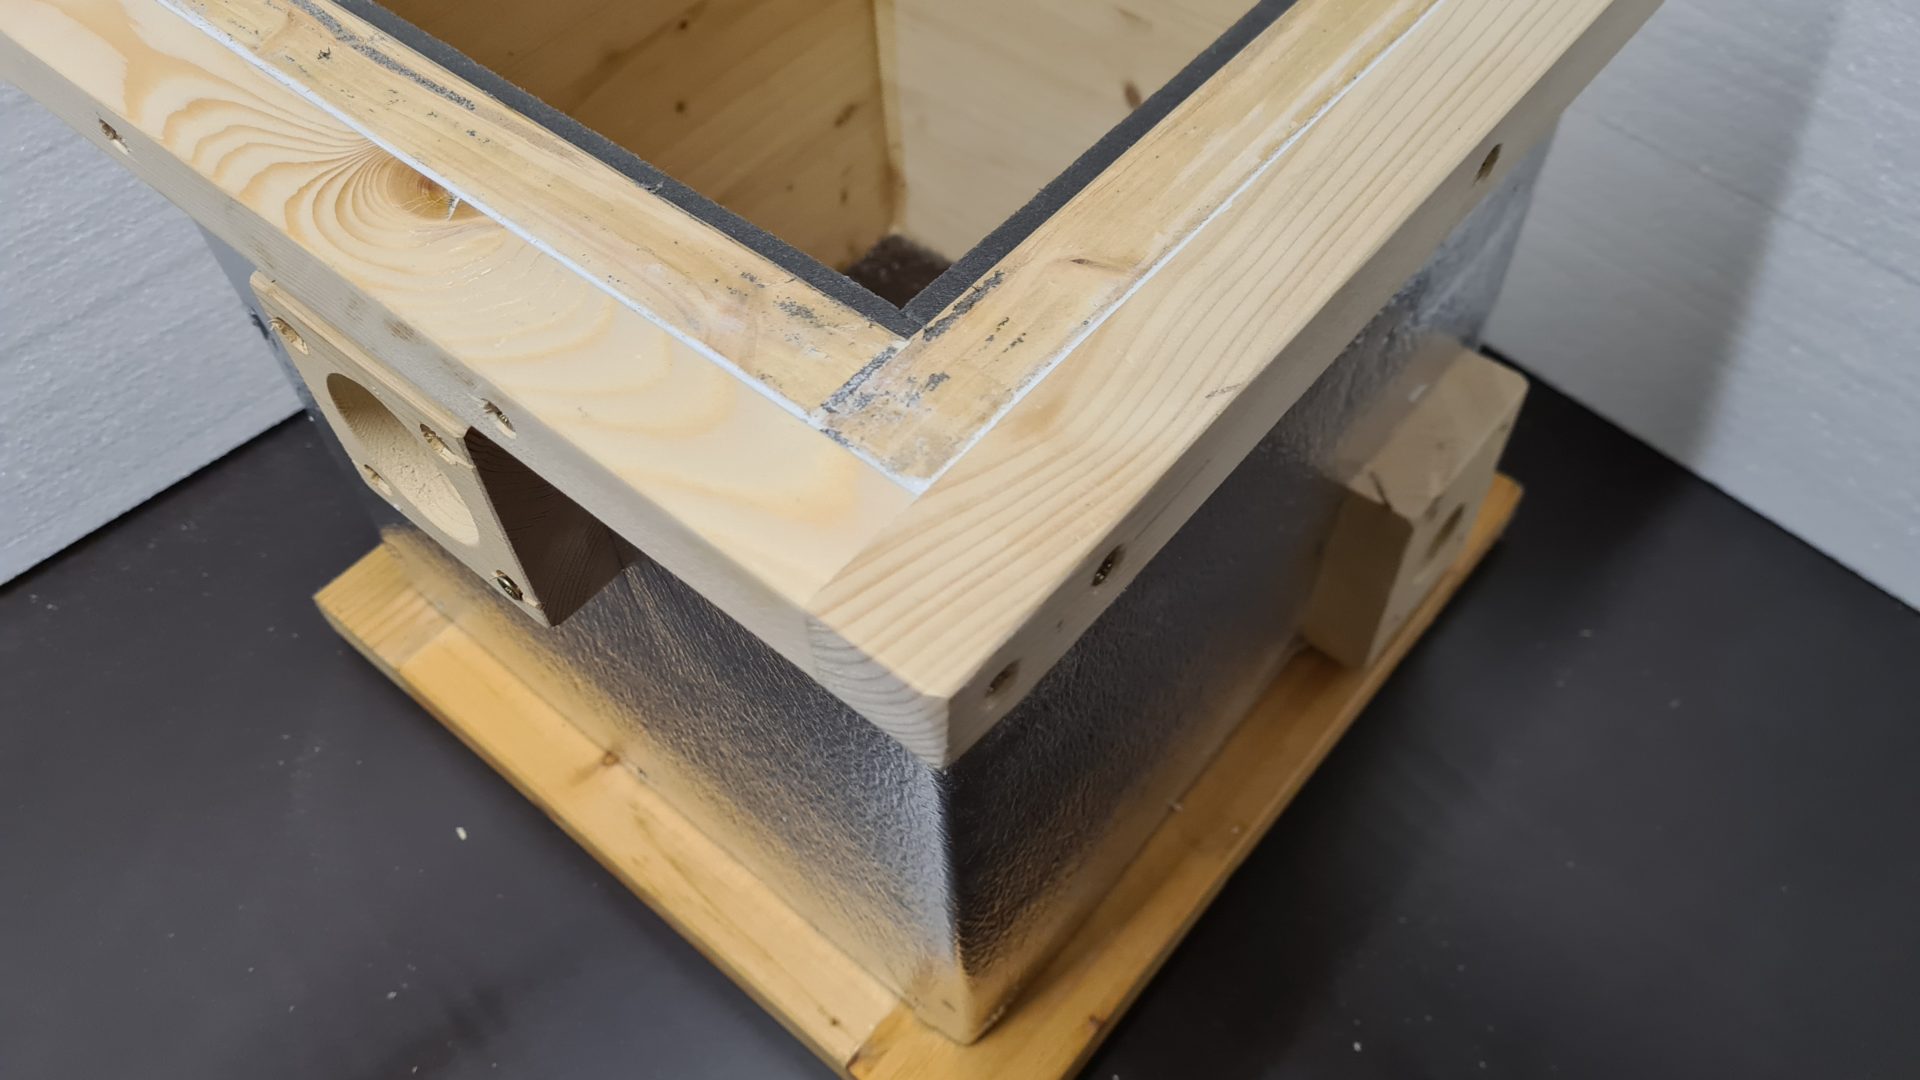
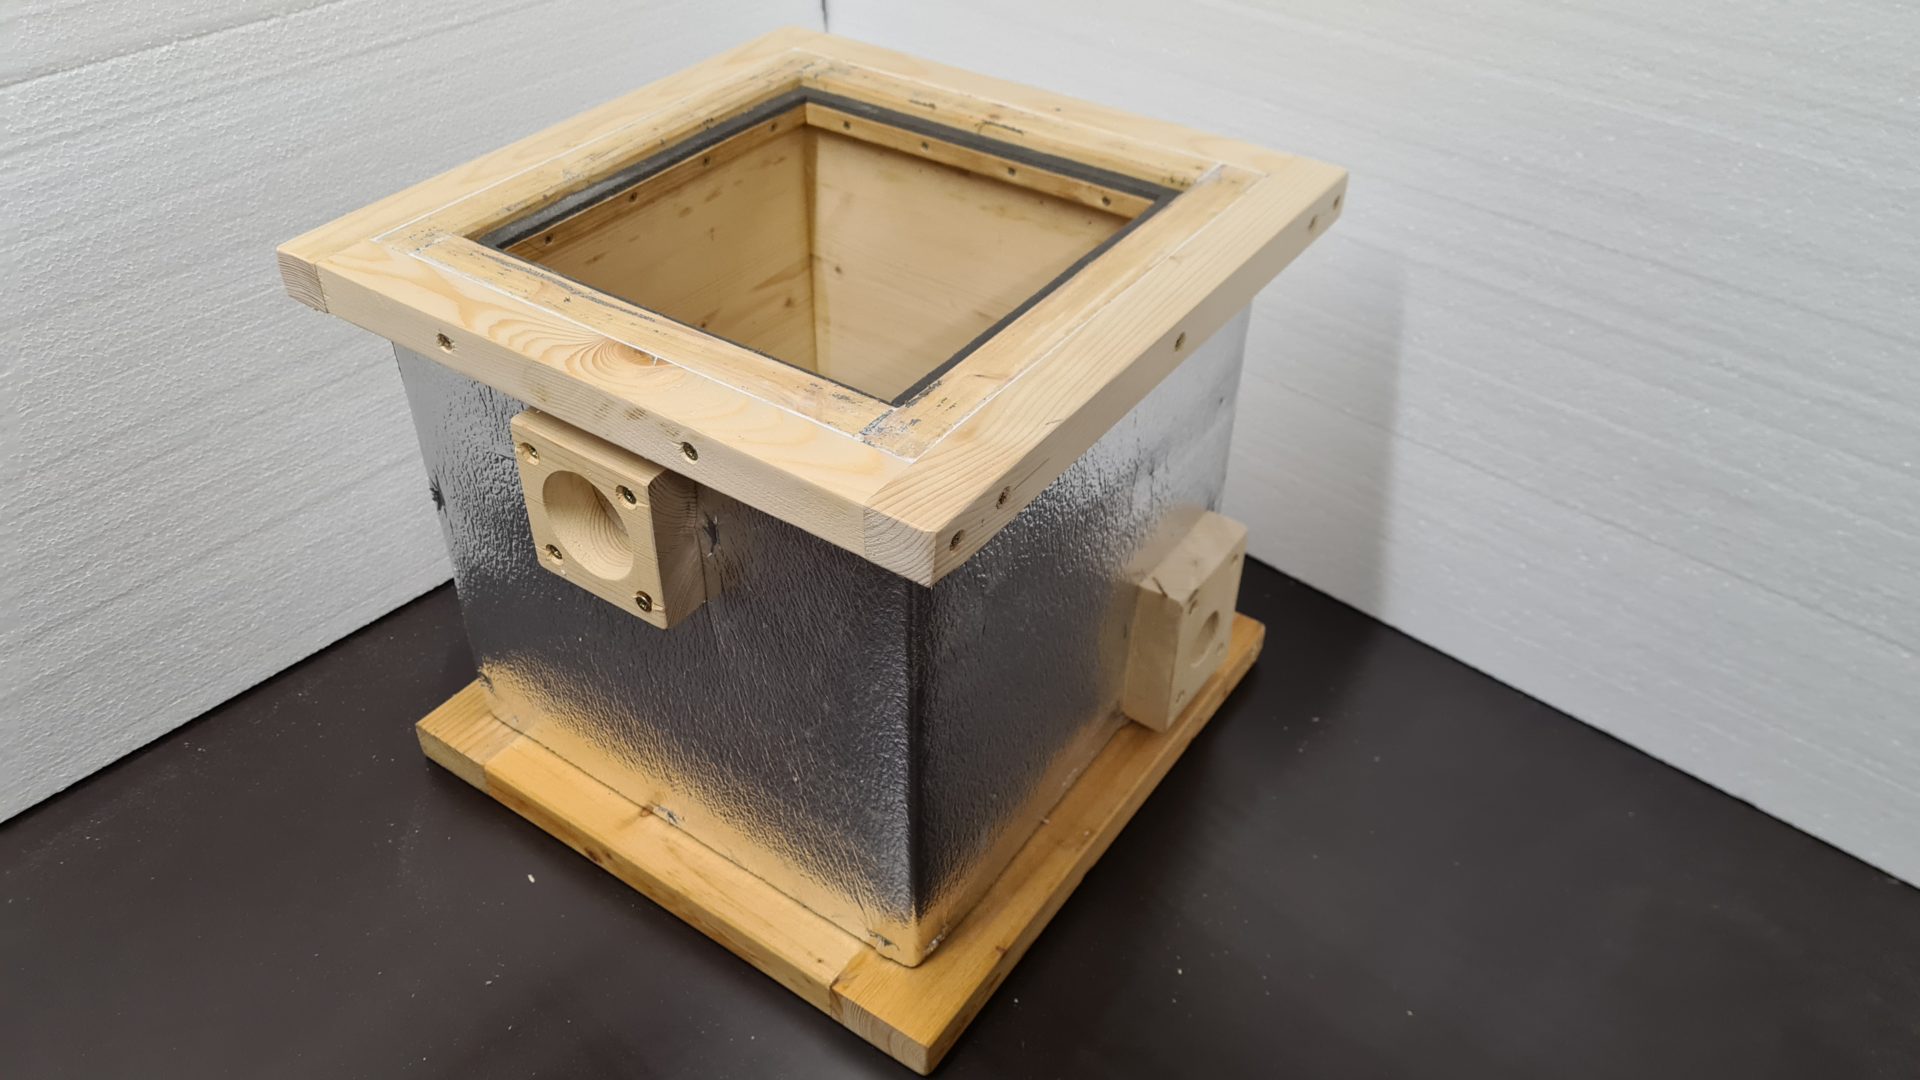
Modification of the hive body - detail of the upper part
Photo O. Hercog (2/2021)
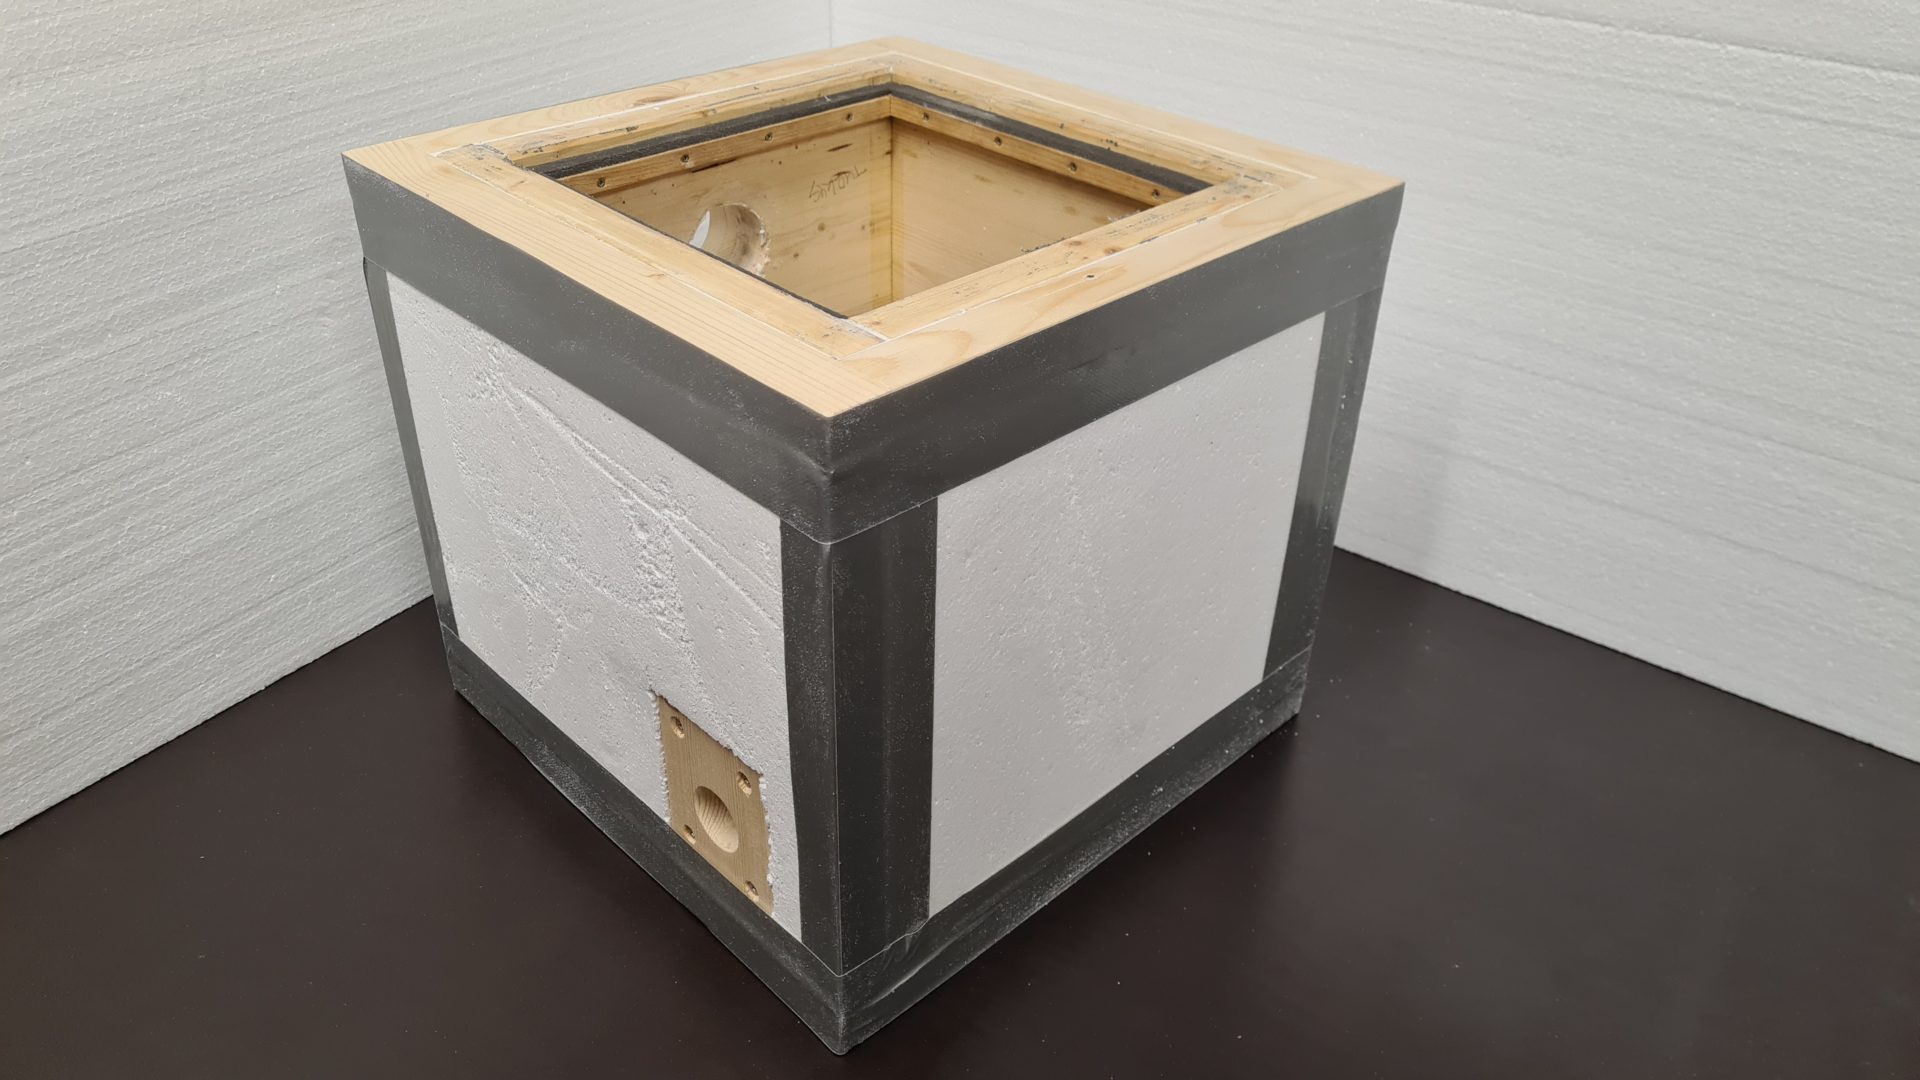
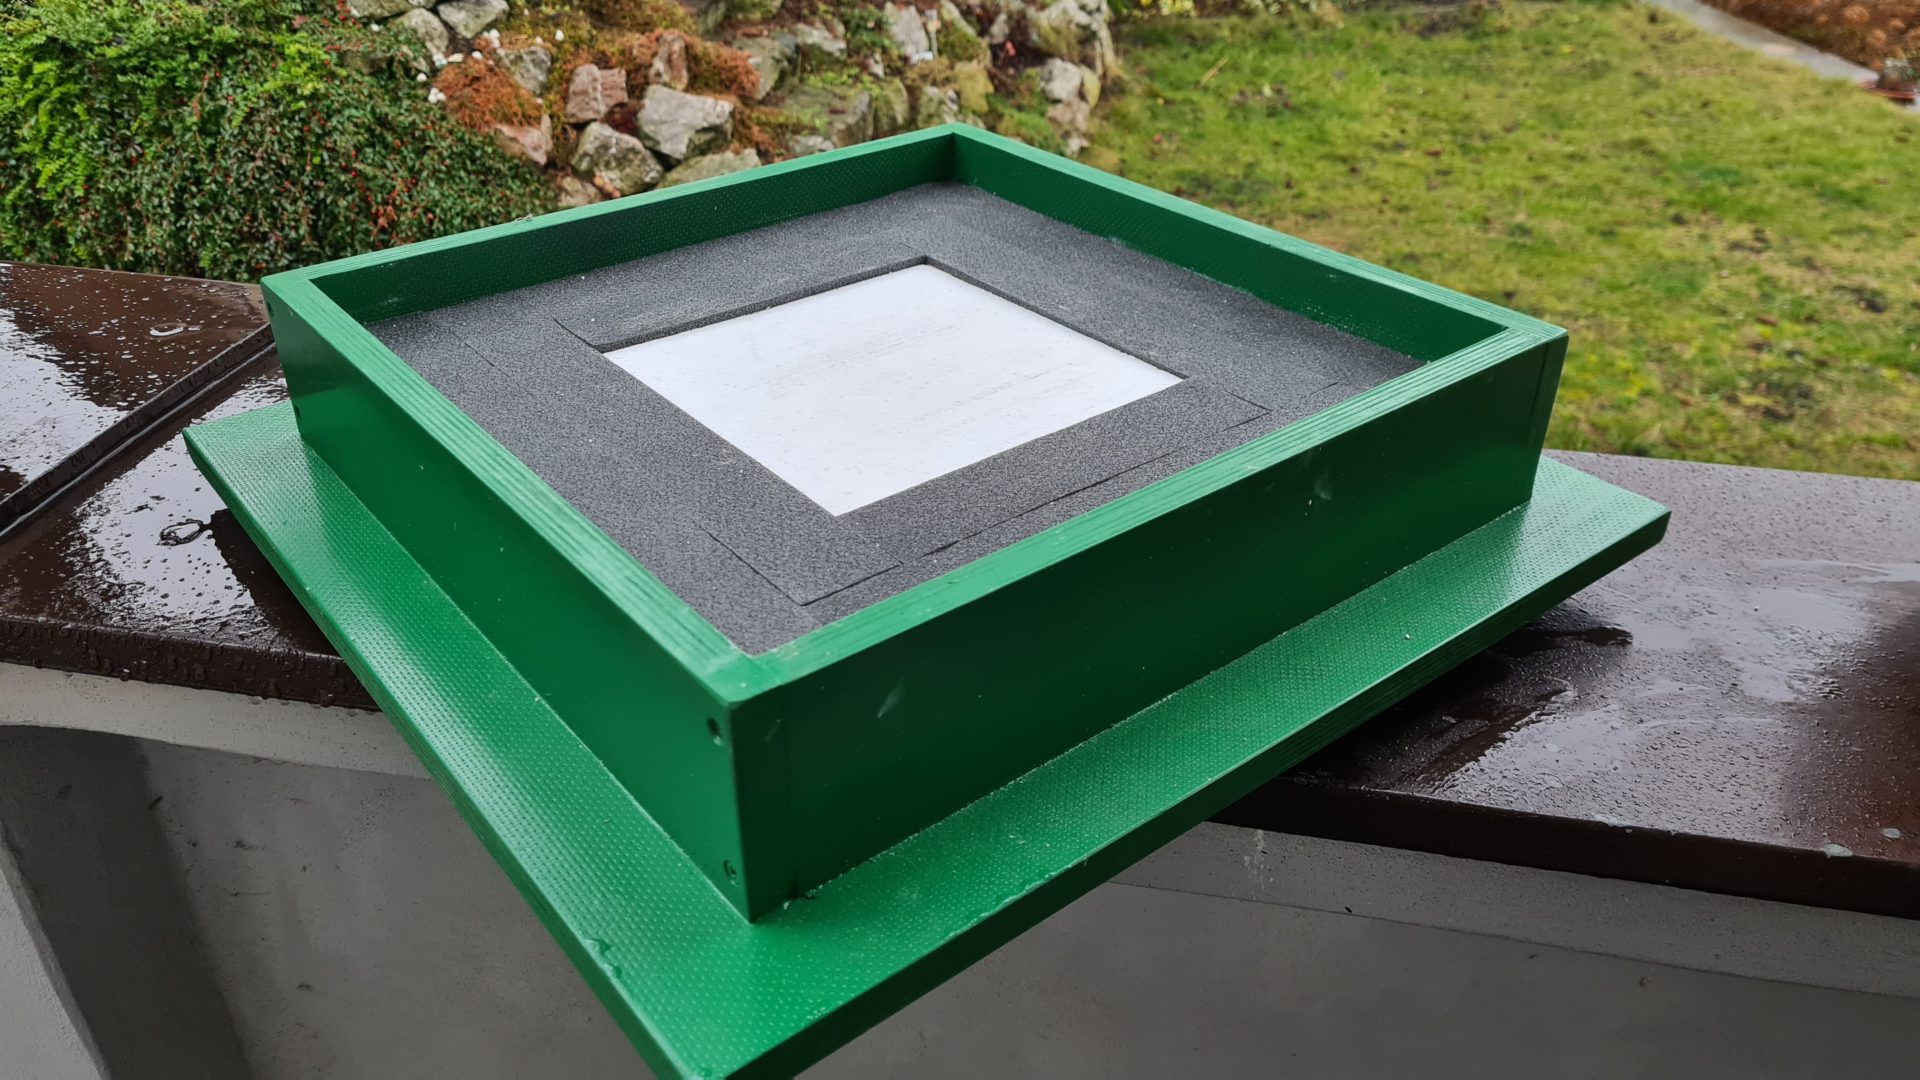
Modification of the body of the alley - Polystyrene inserted into the structure
Photo O. Hercog (2/2021)
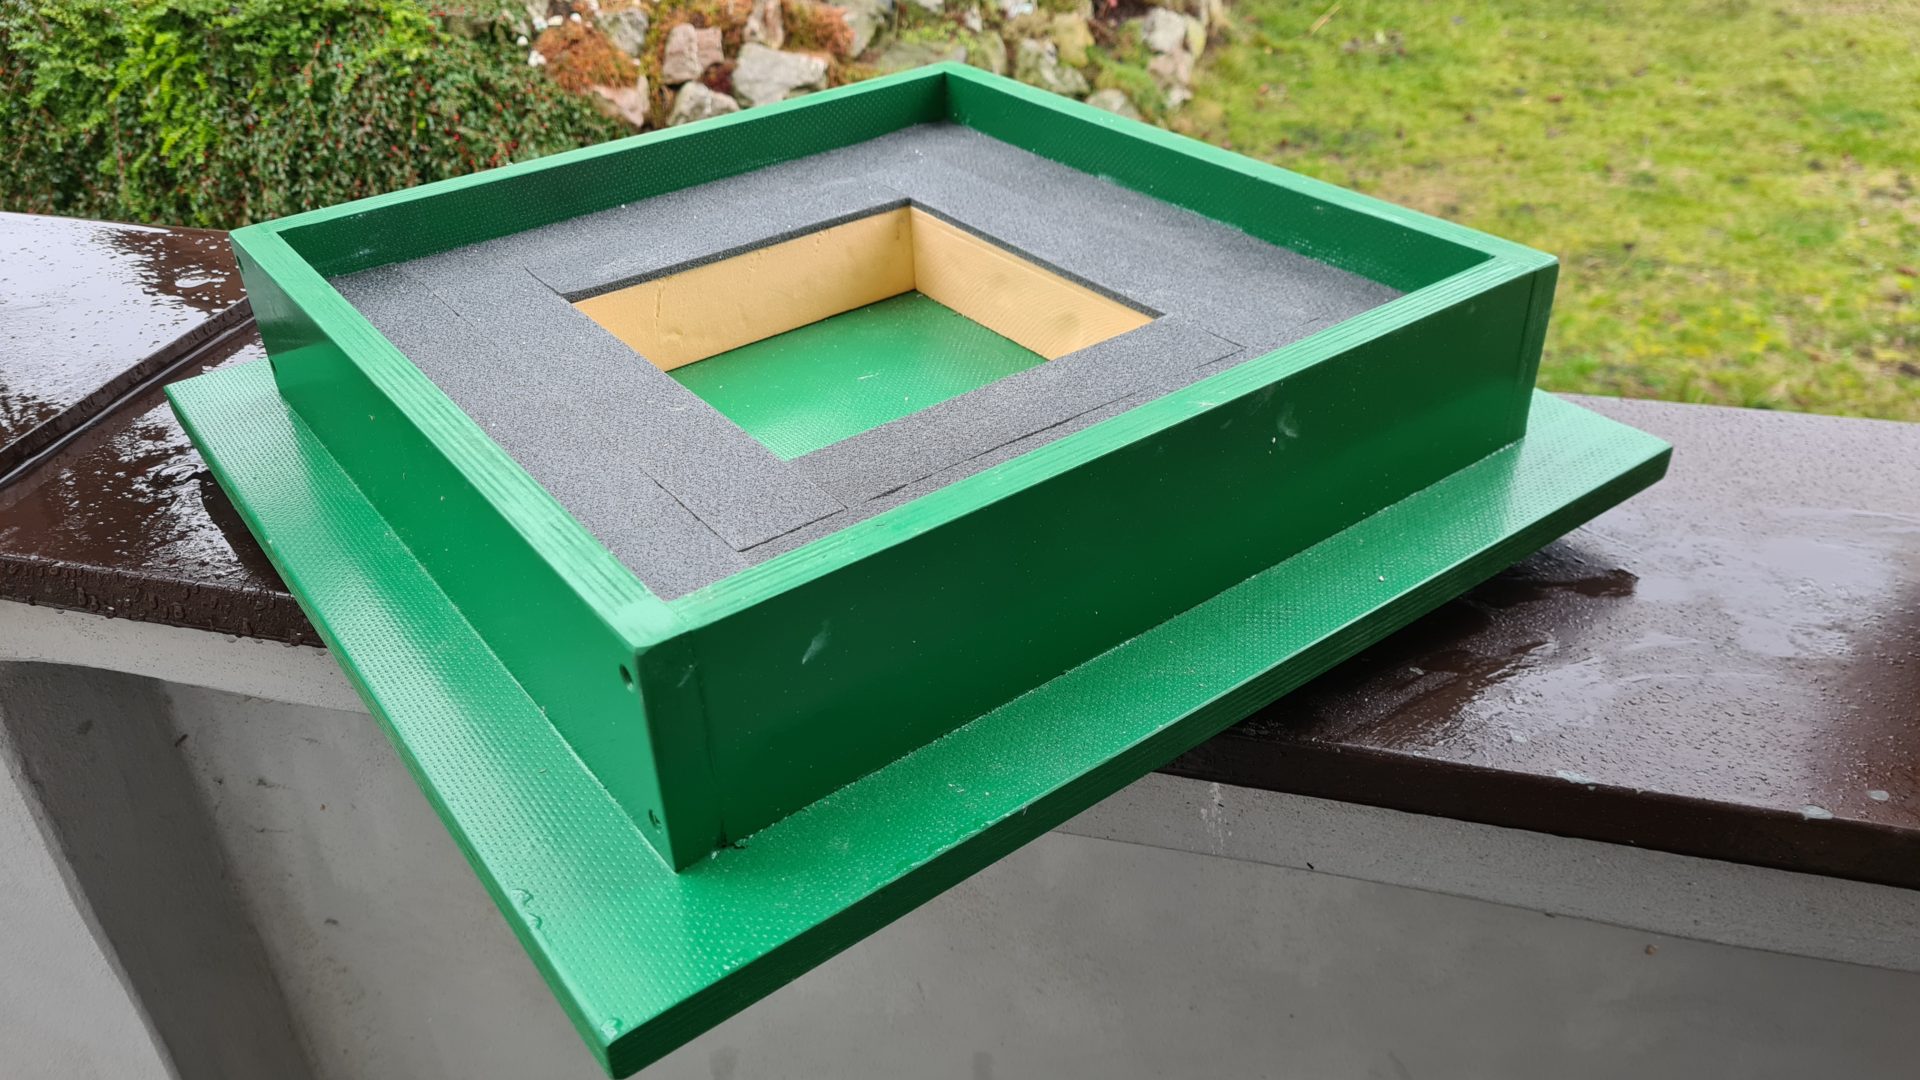
Modification of the body of the alley - Polystyrene inserted into the structure - view from the bottom
Photo O. Hercog (2/2021)
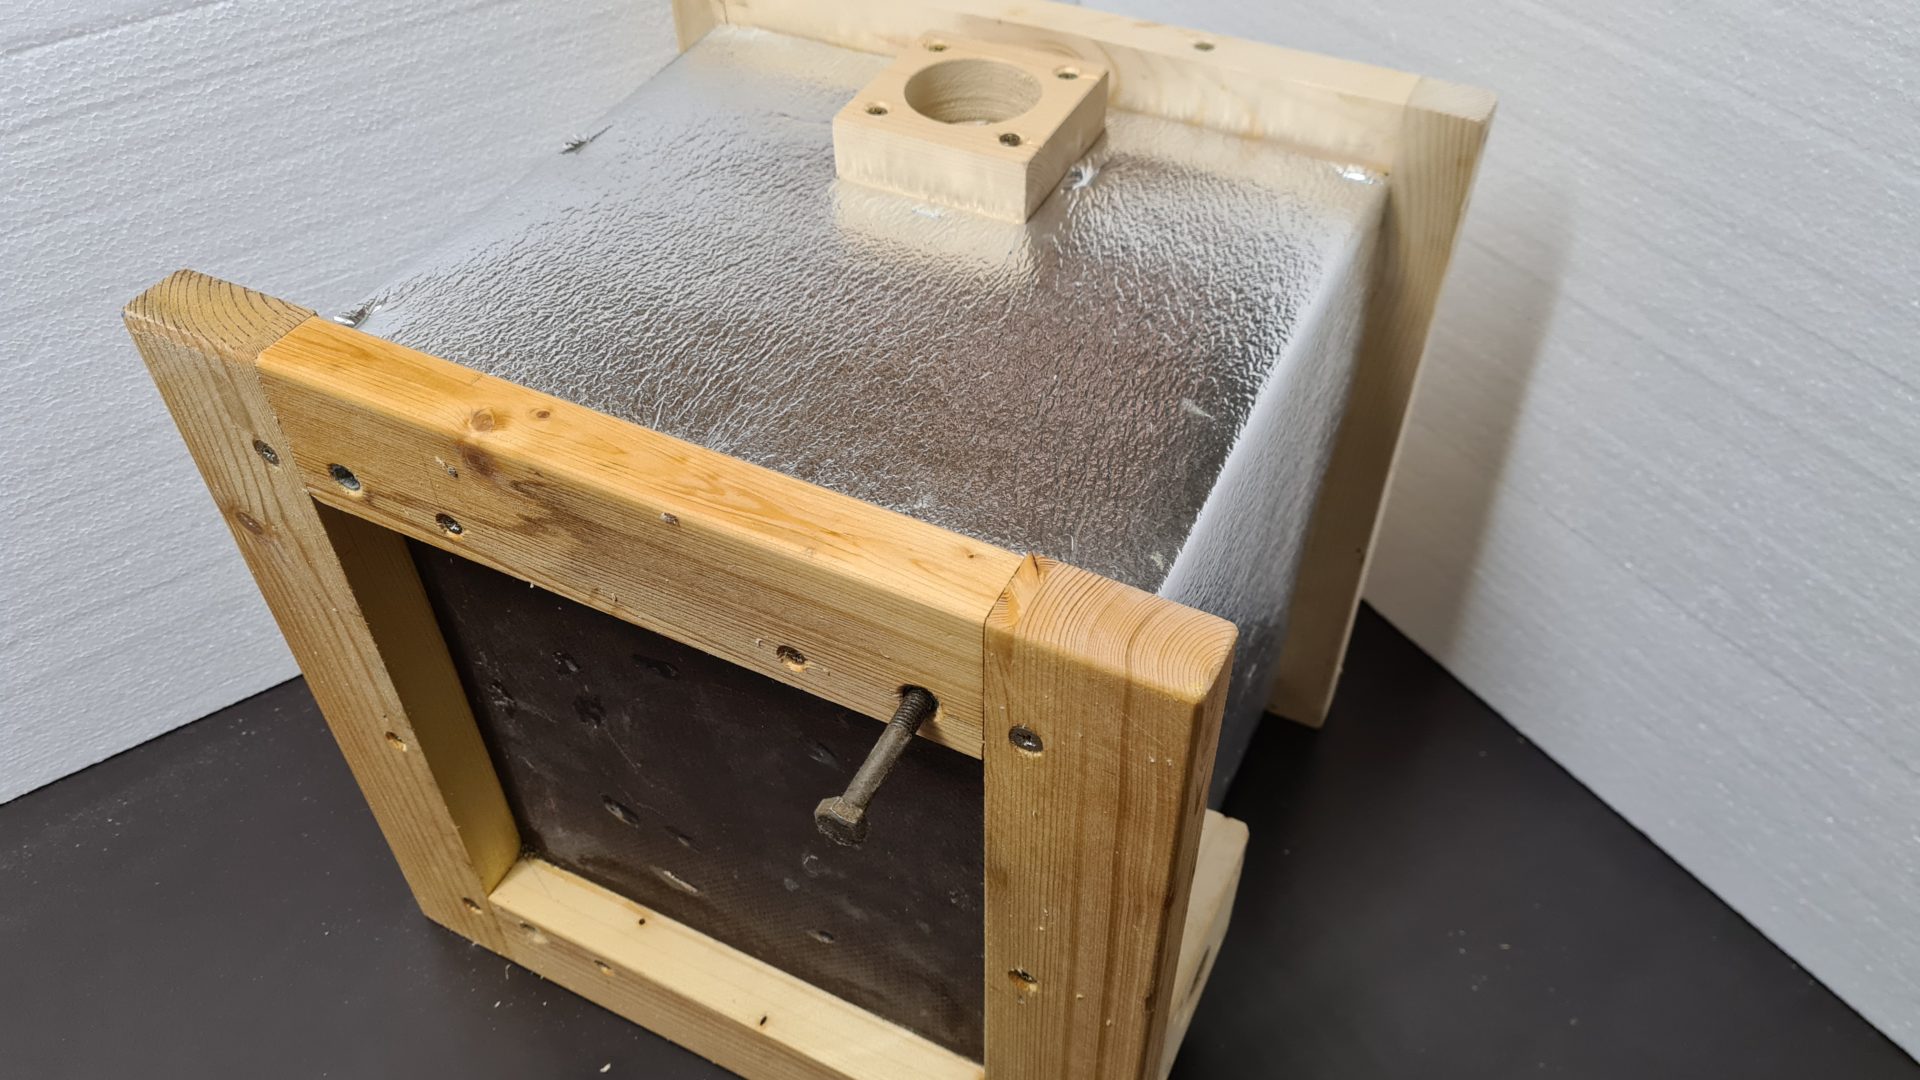
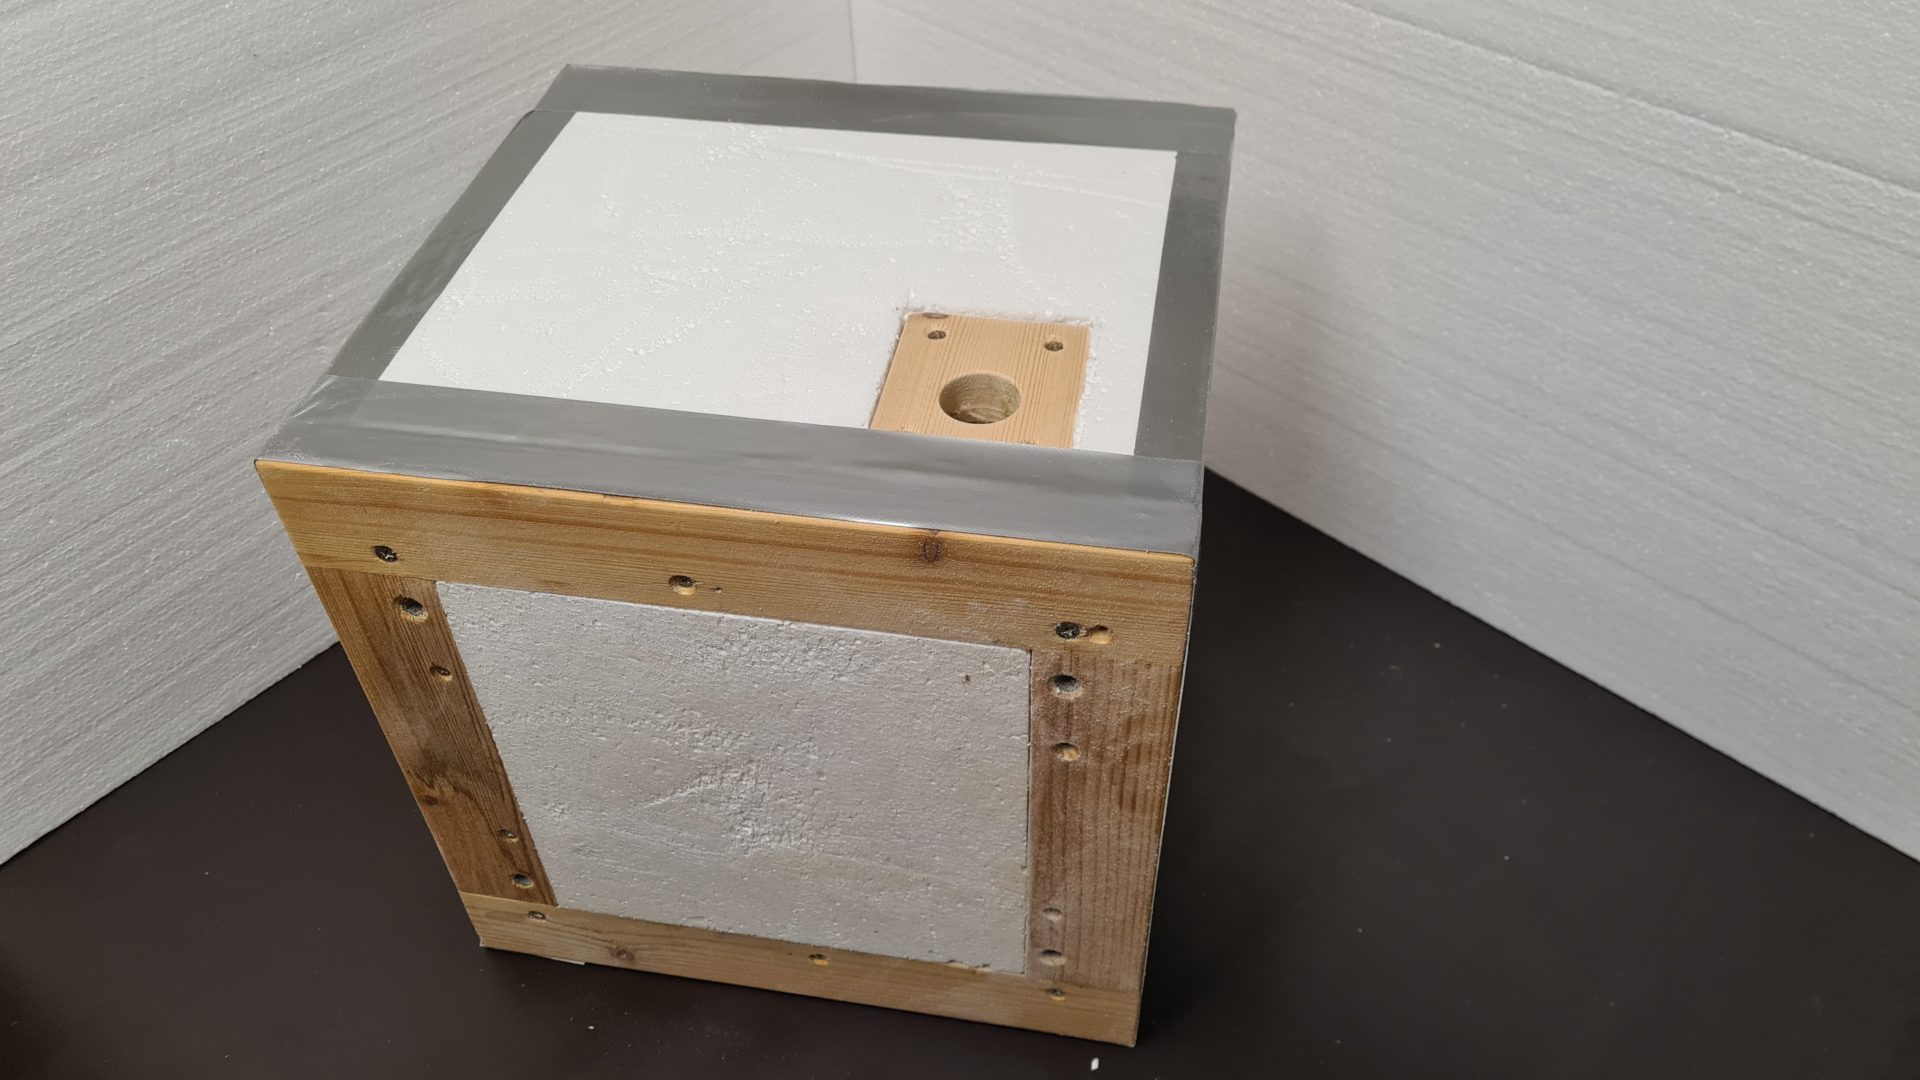
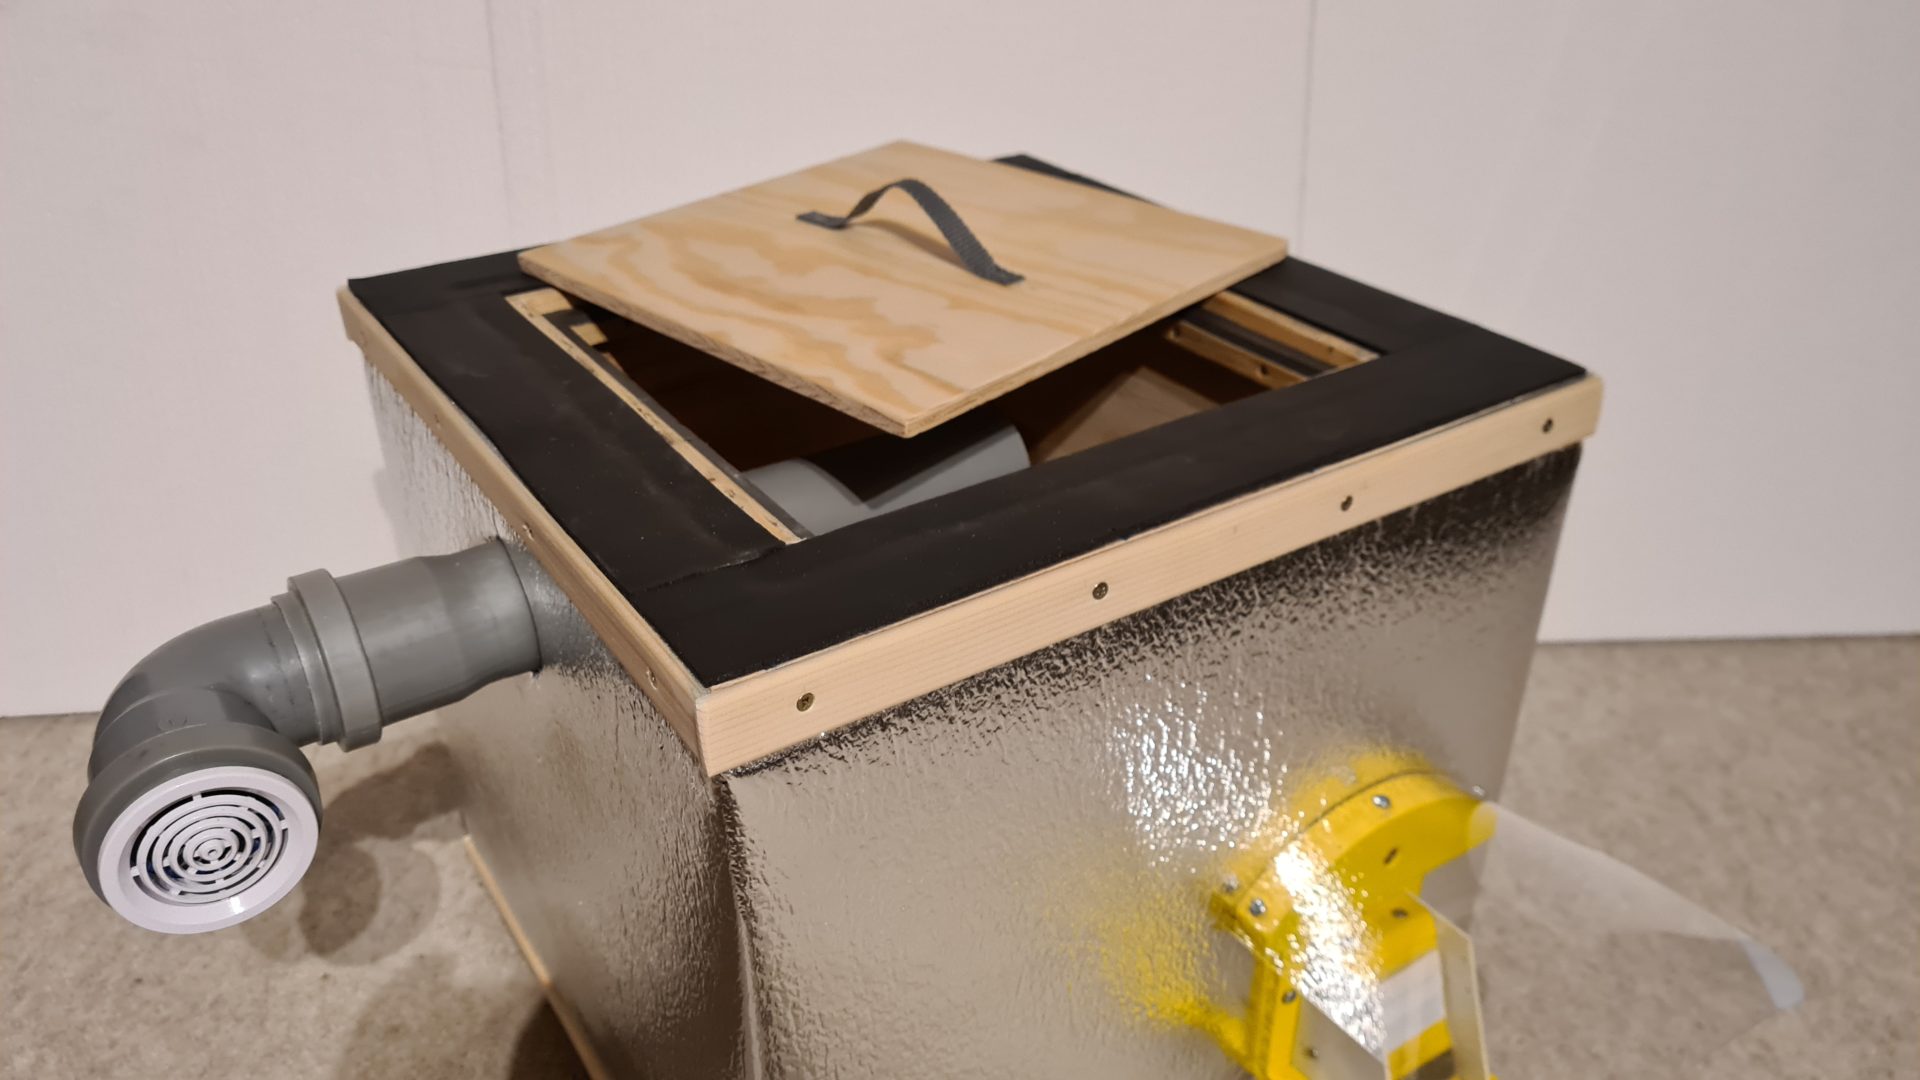
Modification of the body of the ulk – d9l to attach a protective flap and canopy
Photo O. Hercog (2/2021)

Modification of the body of the ulk – d9l to attach a protective flap and canopy
Photo O. Hercog (2/2021)
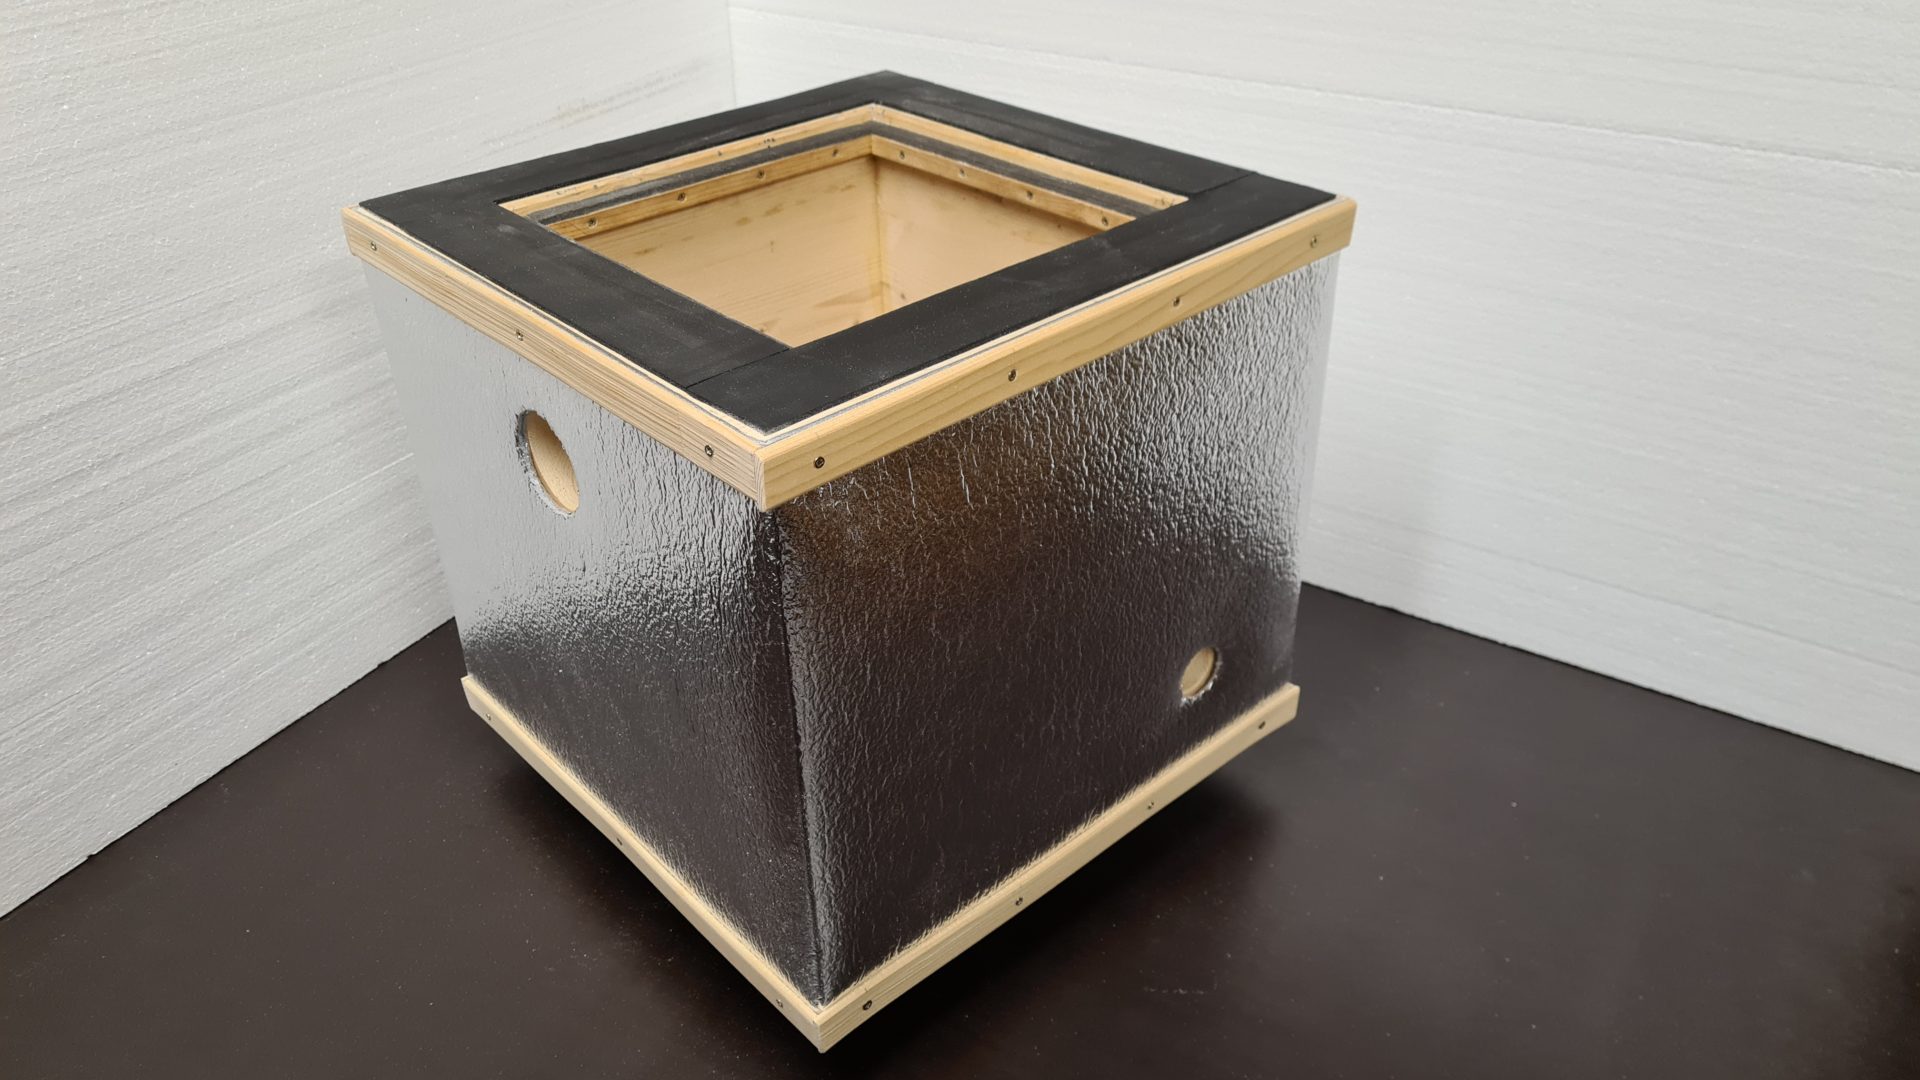
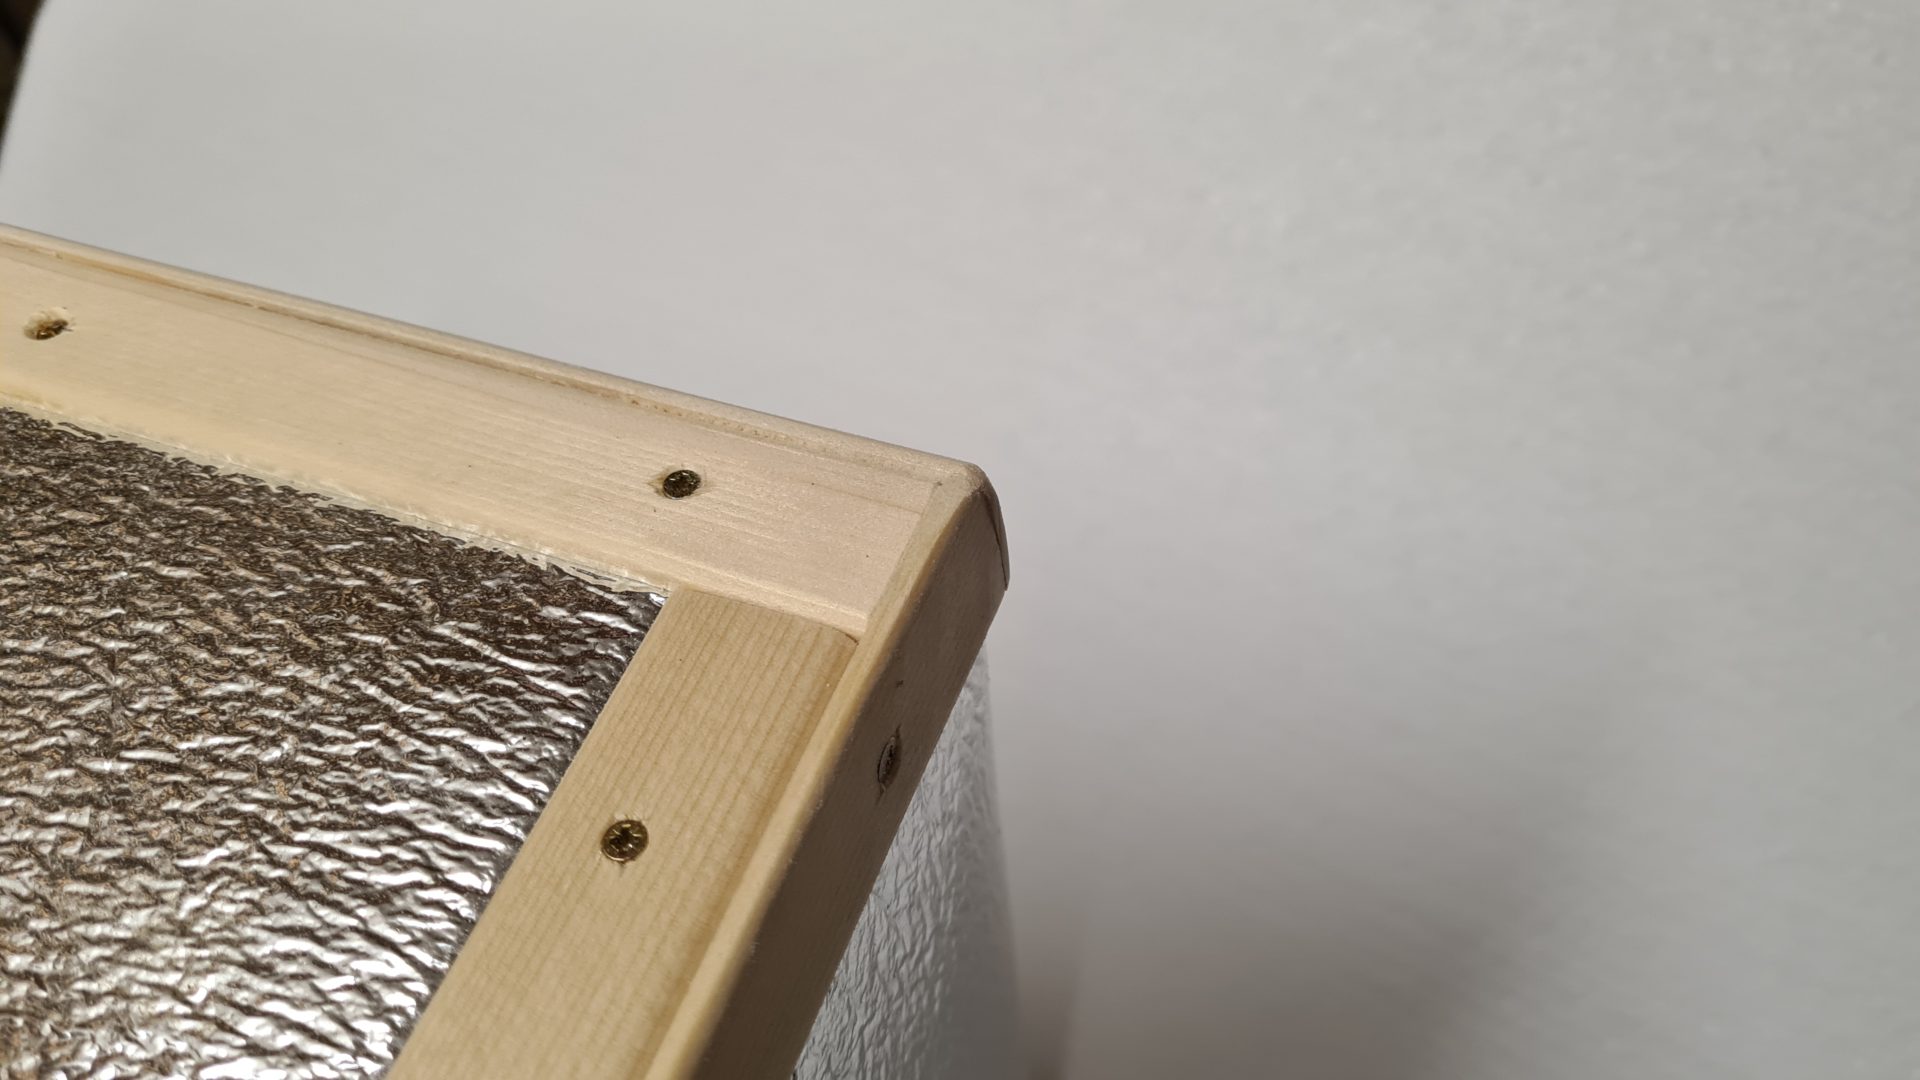
Hive modification - hive wrapped in foil and fitted with slats
Photo O. Hercog (2/2021)
Hive modification - hive wrapped in foil and fitted with slats - underside
Photo O. Hercog (2/2021)

Panic after editing
Photo by O. Hercog (2/2021)
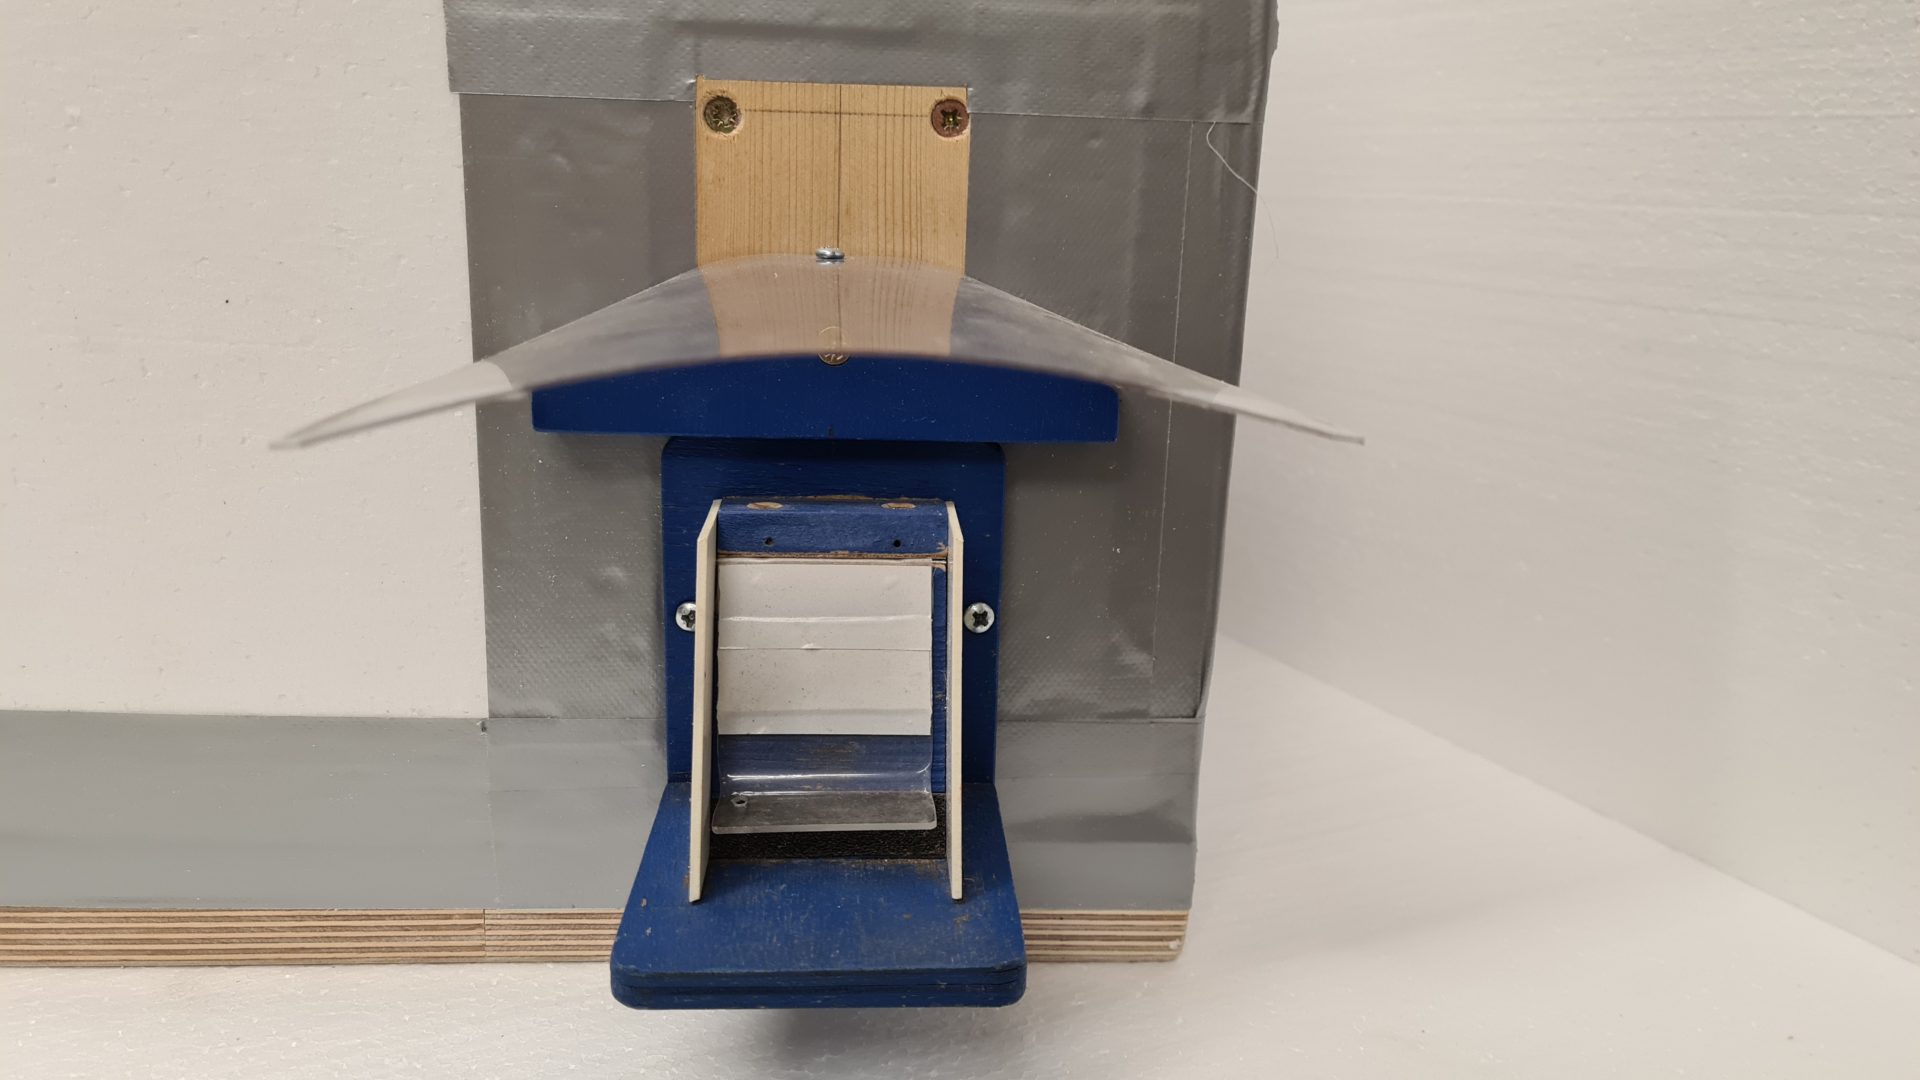
The hive after modifications – detail of vetch (will be used in the spring instead of a protective screen)
Photo O. Hercog
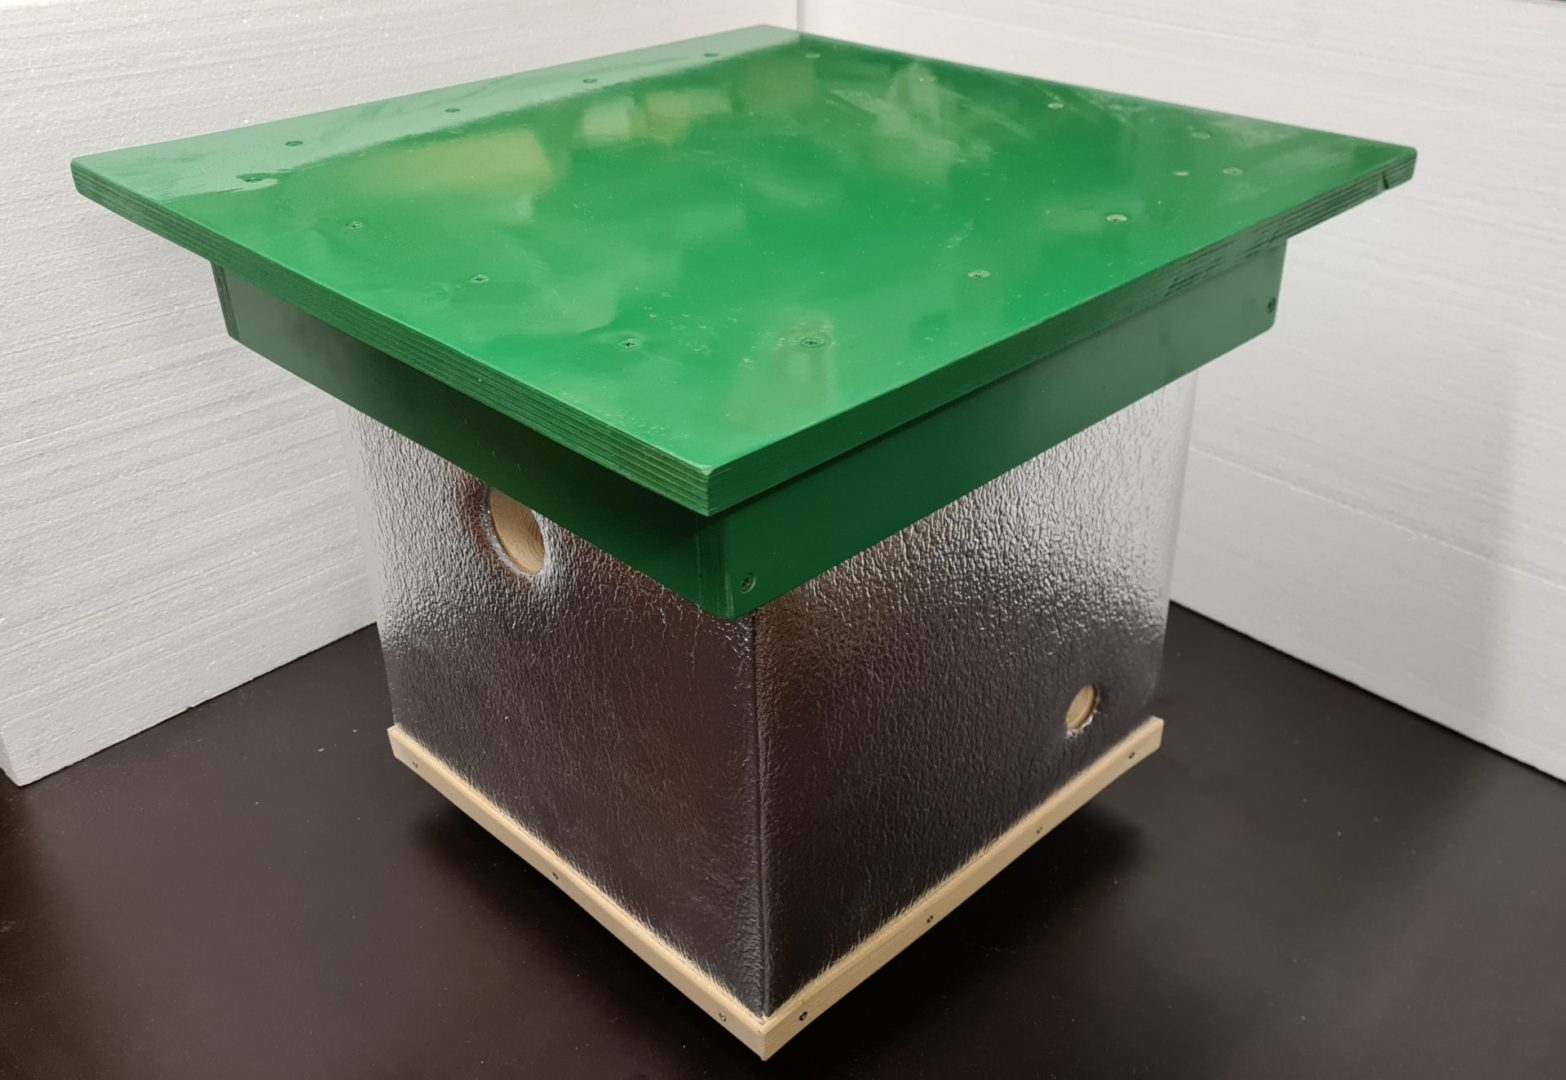
Hive modification - hive wrapped in foil with a new roof
Photo O. Hercog (2/2021
Hive modification - new roof with liner
Photo O. Hercog (1/2021)
Hive modification – new roof with removed liner
Photo O. Hercog
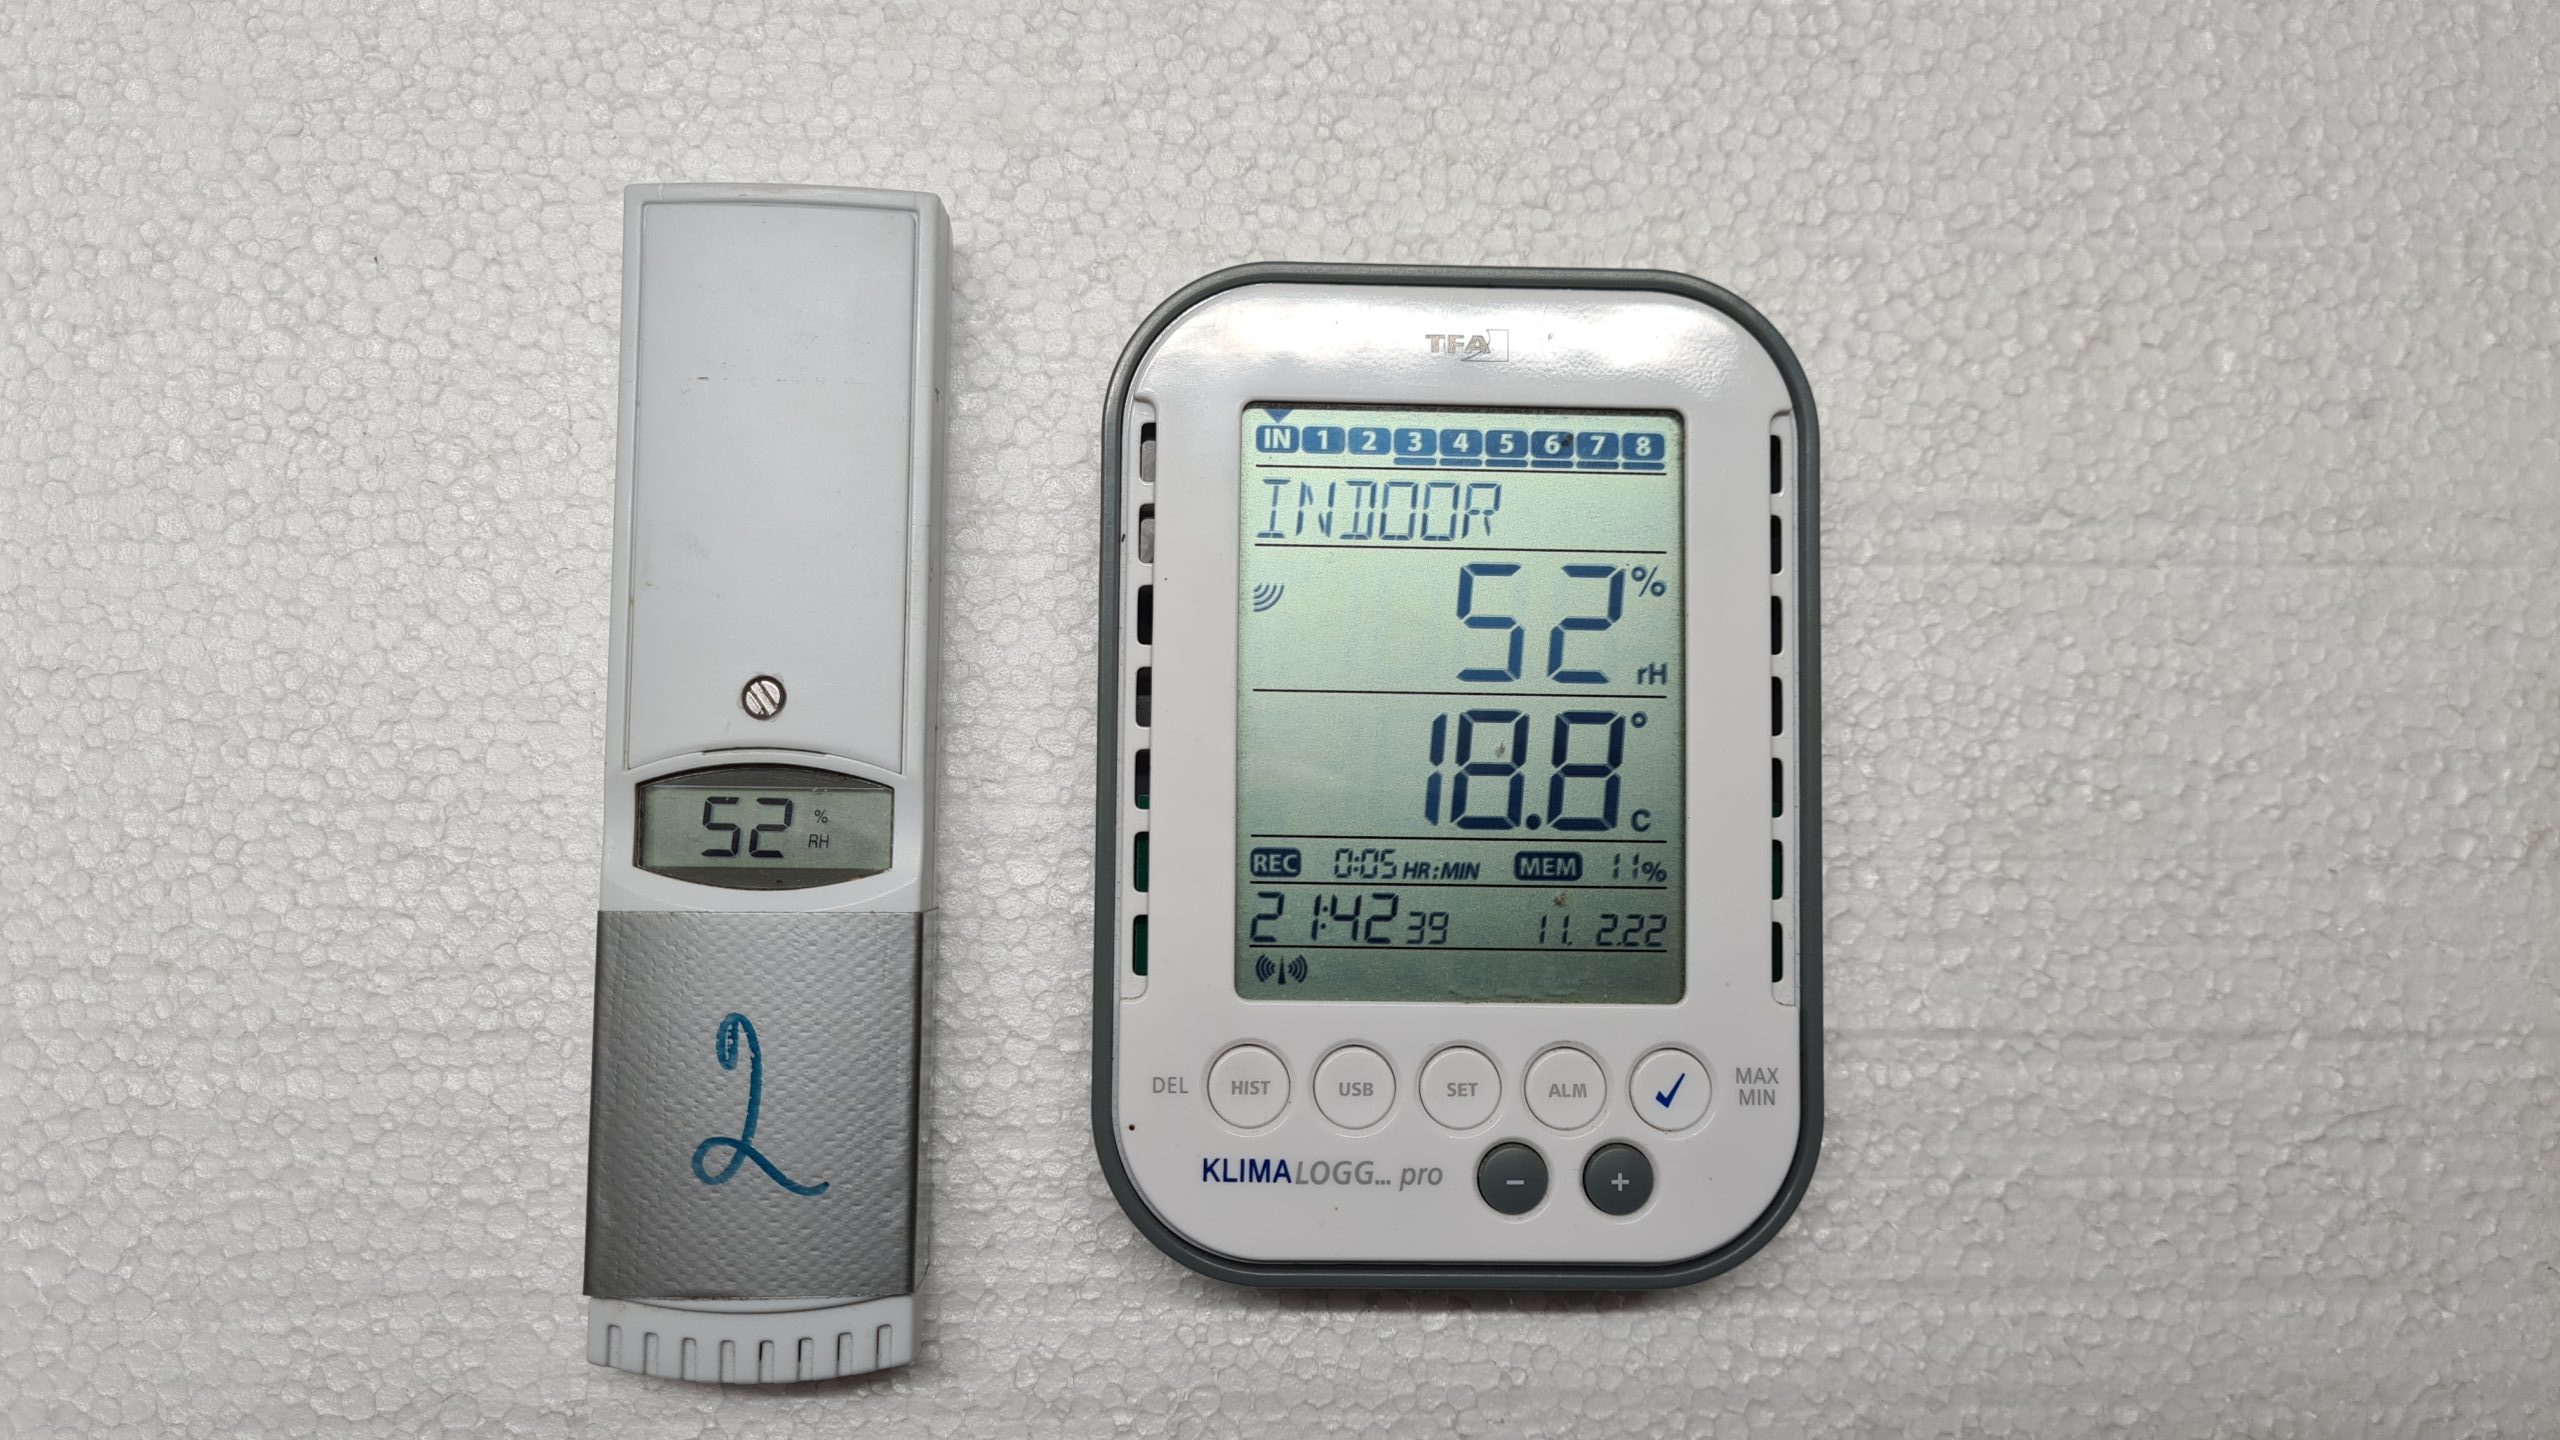
Temperature measurement kit
Photo: O. Hercog 2021


Graph 2 – Change in temperature in hives depending on external temperature – temperature drop
Measured by O. Hercog 2021