We have written about our solution on our website repeatedly, see for example HERE
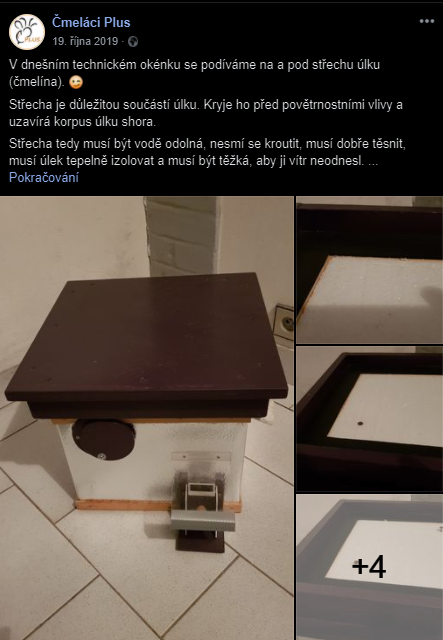
Roof with removable insulation insert
Source FB Čmeláci PLUS
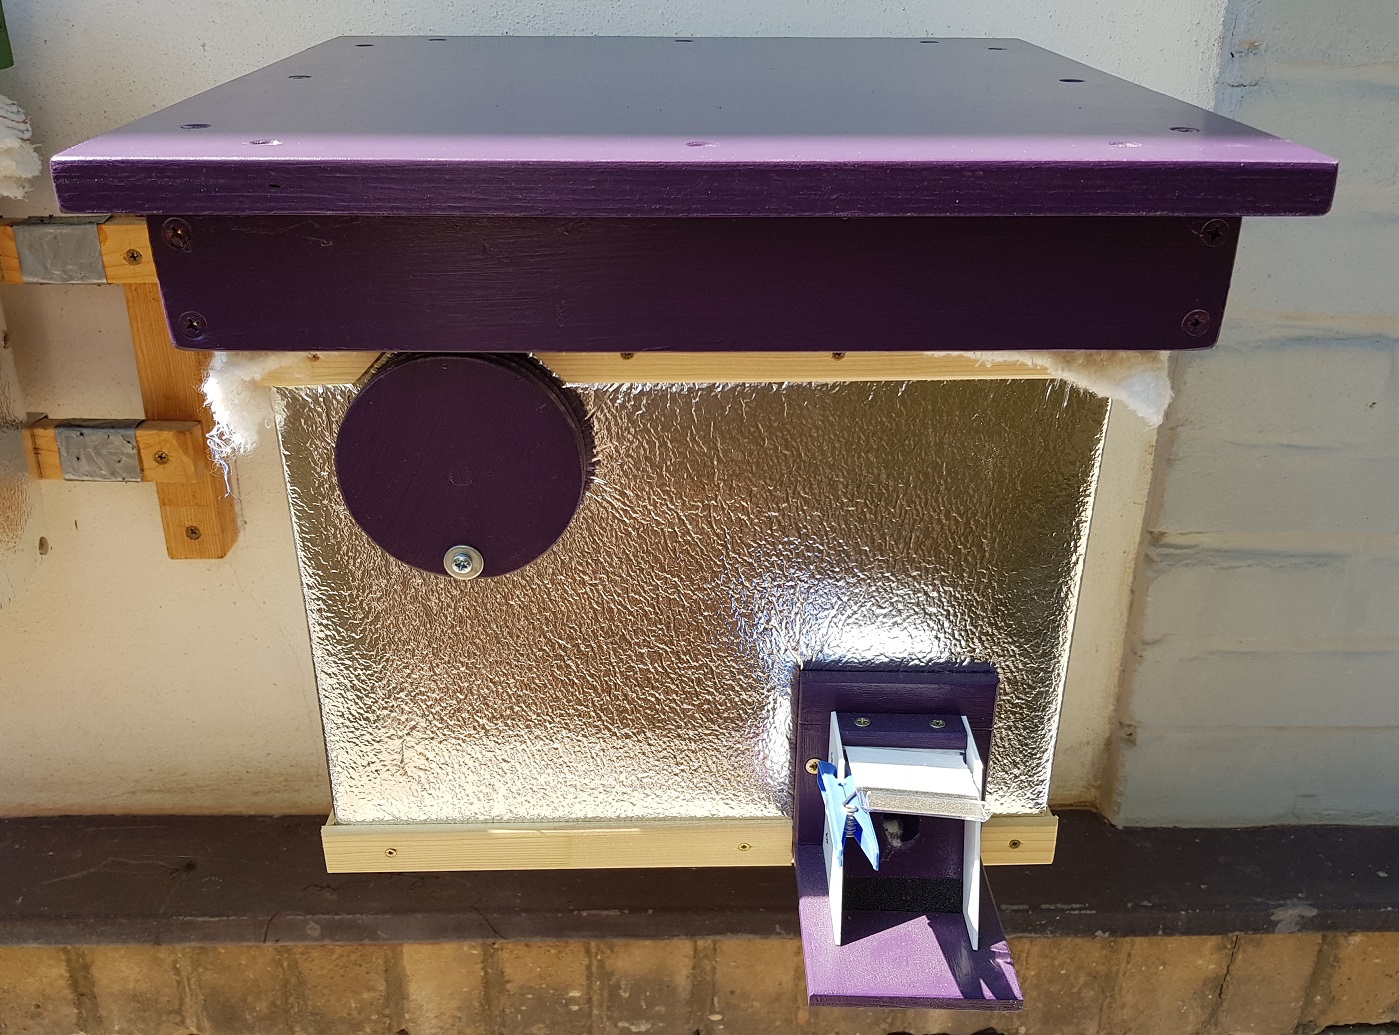
The roof of the hive is in place, with an absorbent cloth underneath to remove moisture.
Photo O. Hercog 6/2019
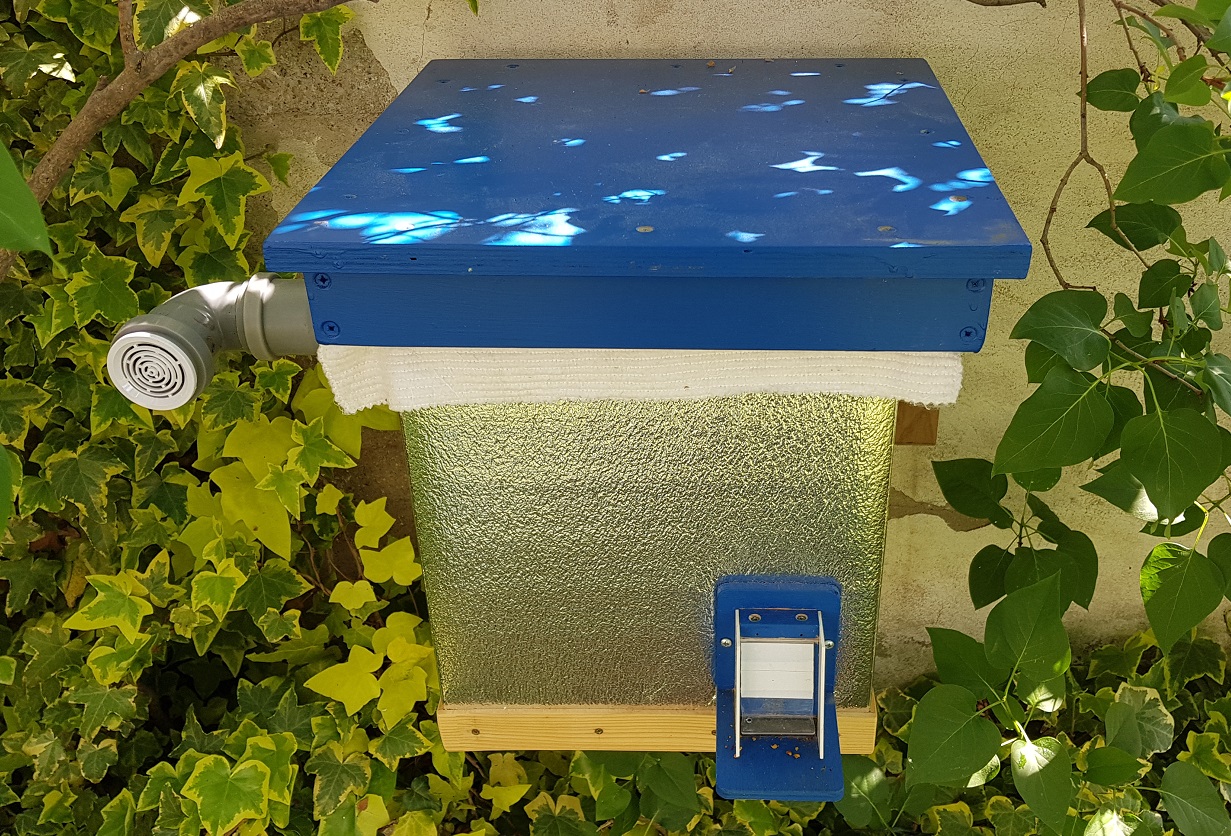
Awning with ventilation from a HT pipe
Photo O. Hercog 5/2020
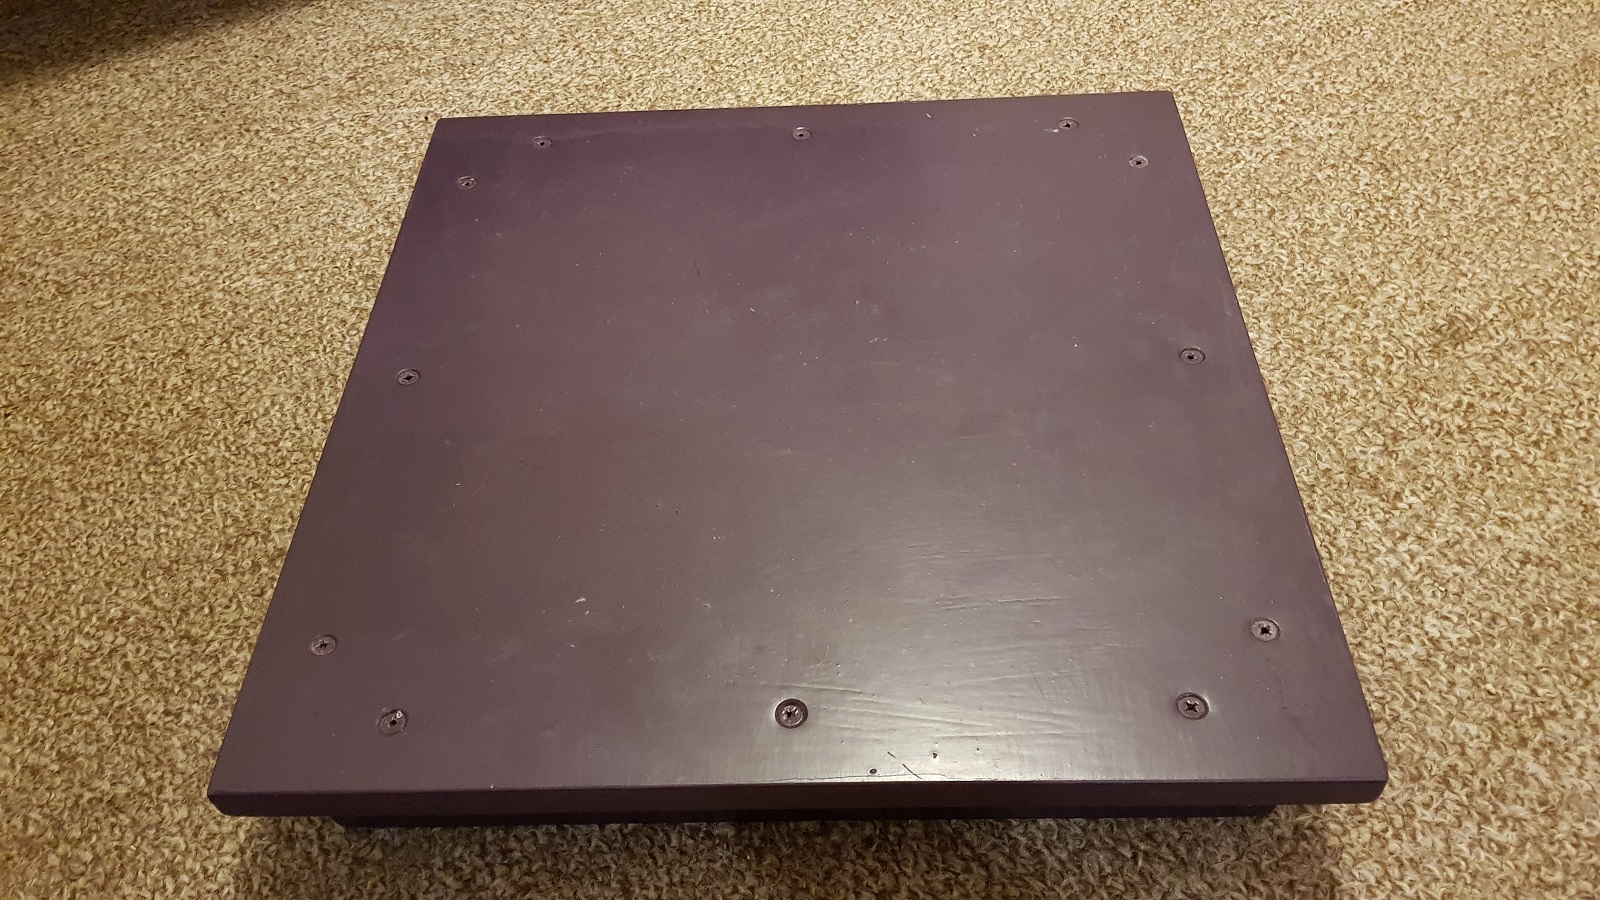
Bumblebees PLUS – Beehive roof without additional insulation against rainwater
Photo O. Hercog 6/2019
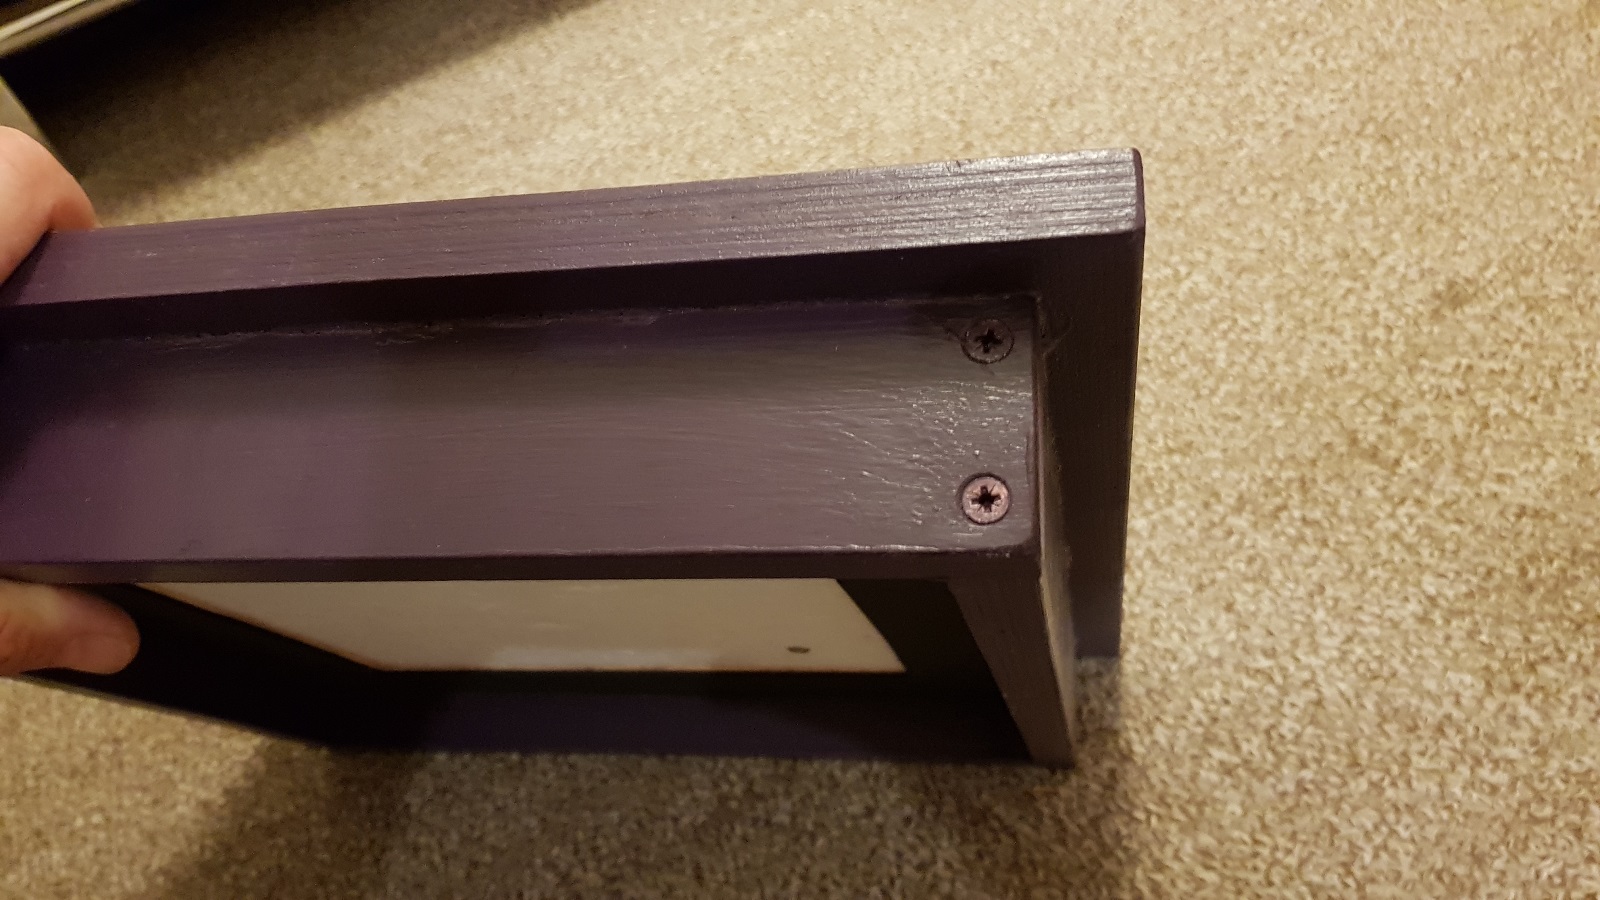
Beehive roof, detail of frame construction
Photo O. Hercog 6/2019
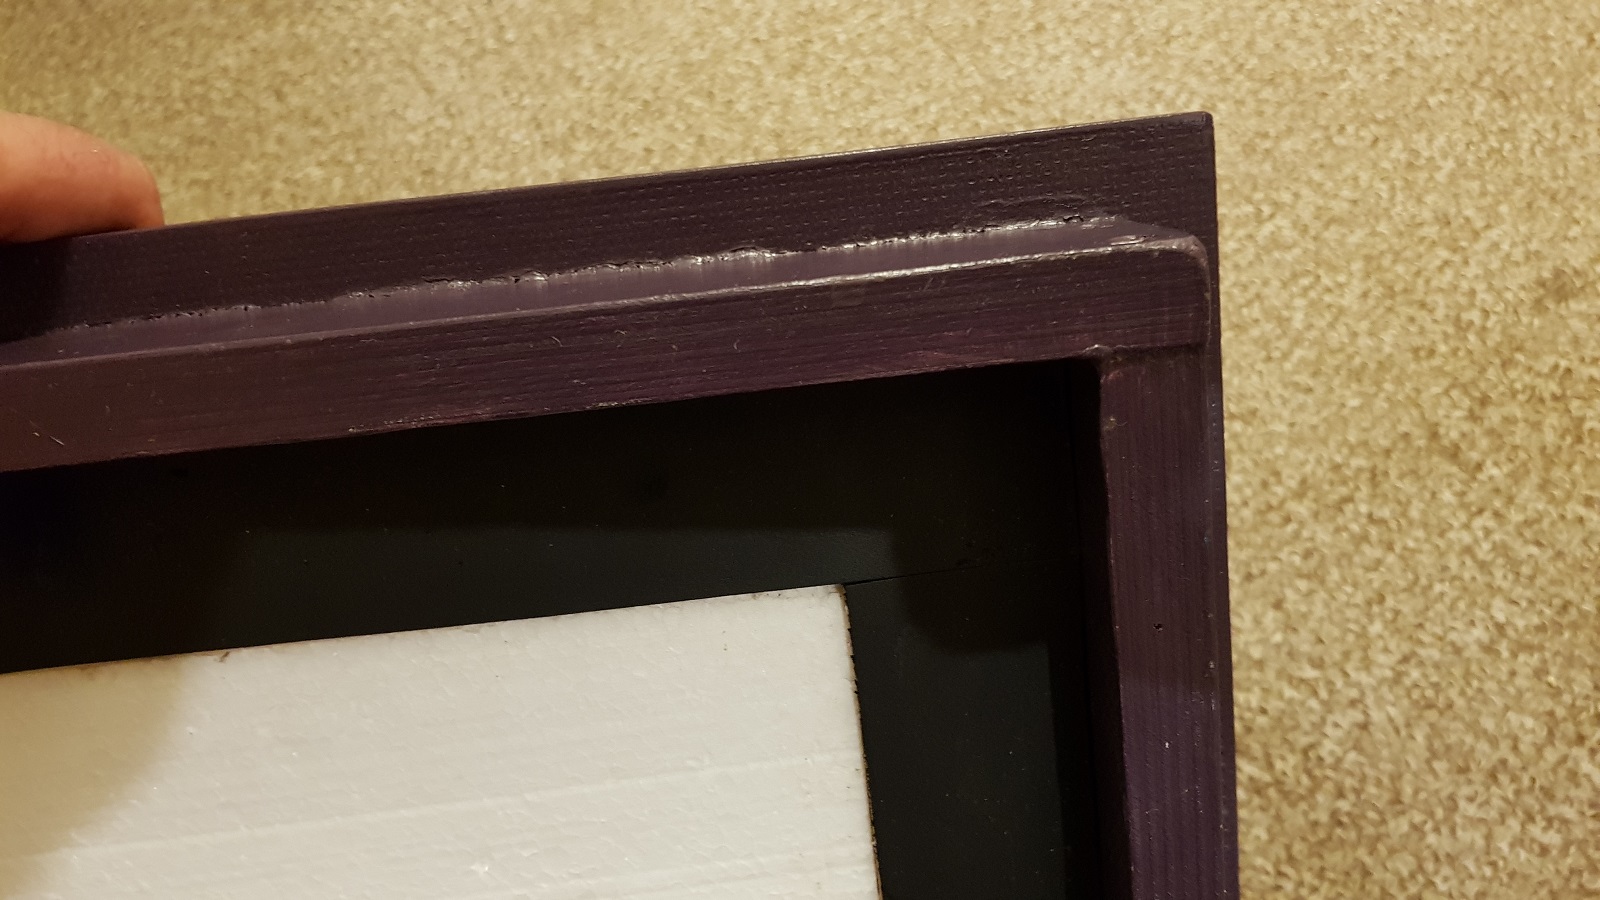
Beehive roof, detail of frame construction
Photo O. Hercog 6/2019
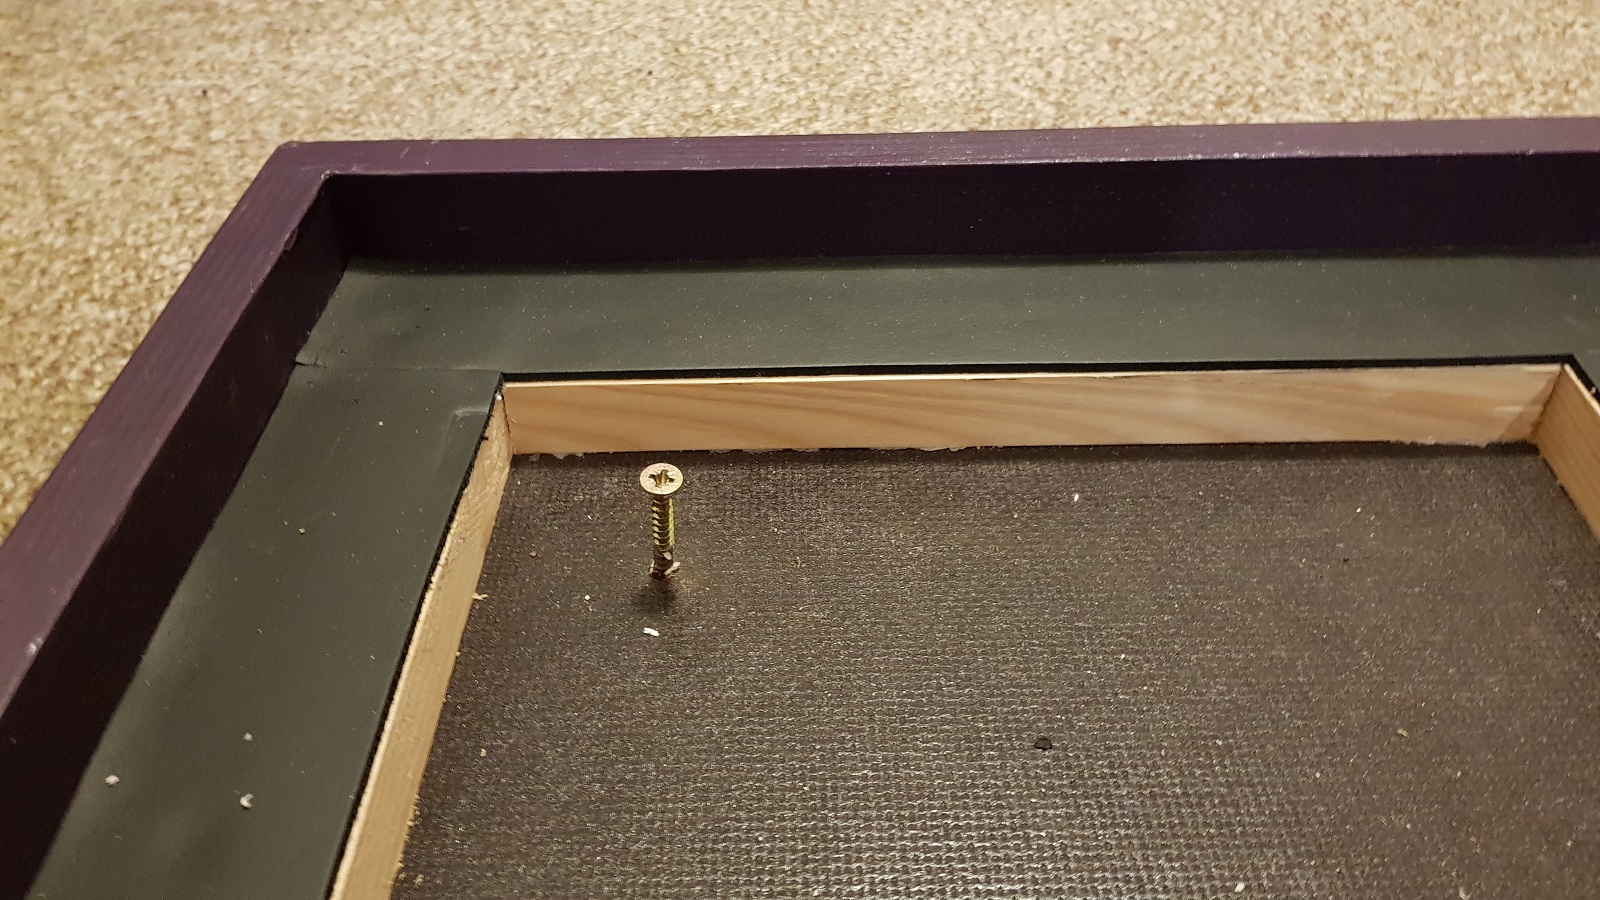
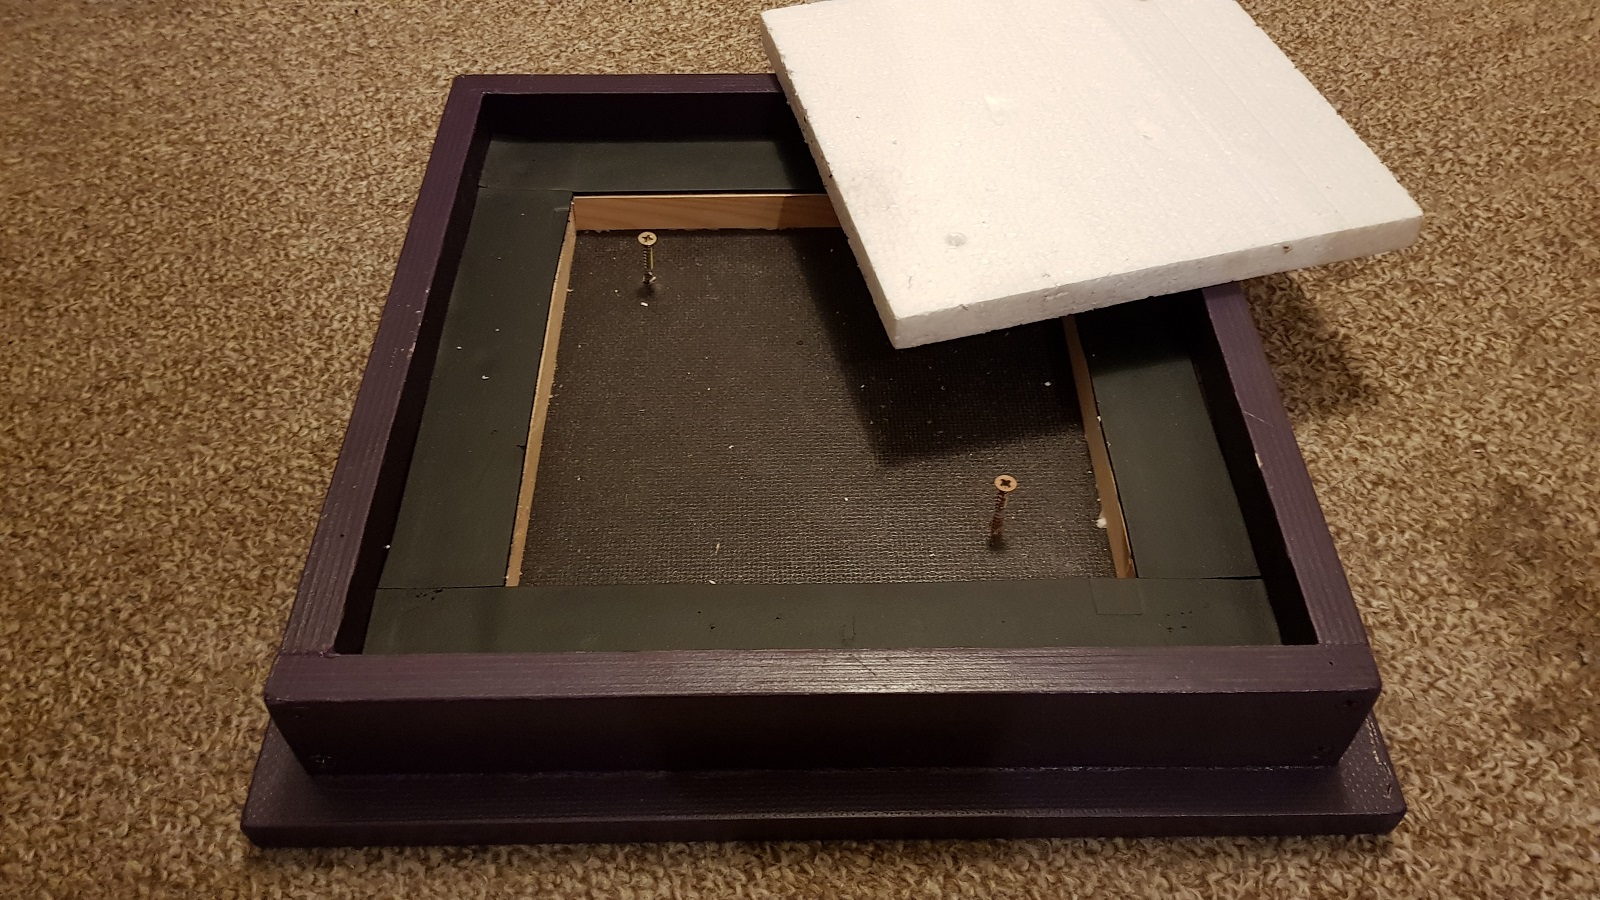
The roof of the hive with the thermal insulation removed - view of the inner frame and gasket
Photo O. Hercog 6/2019
Roof of the hive with thermal insulation
Photo O. Hercog 6/2019
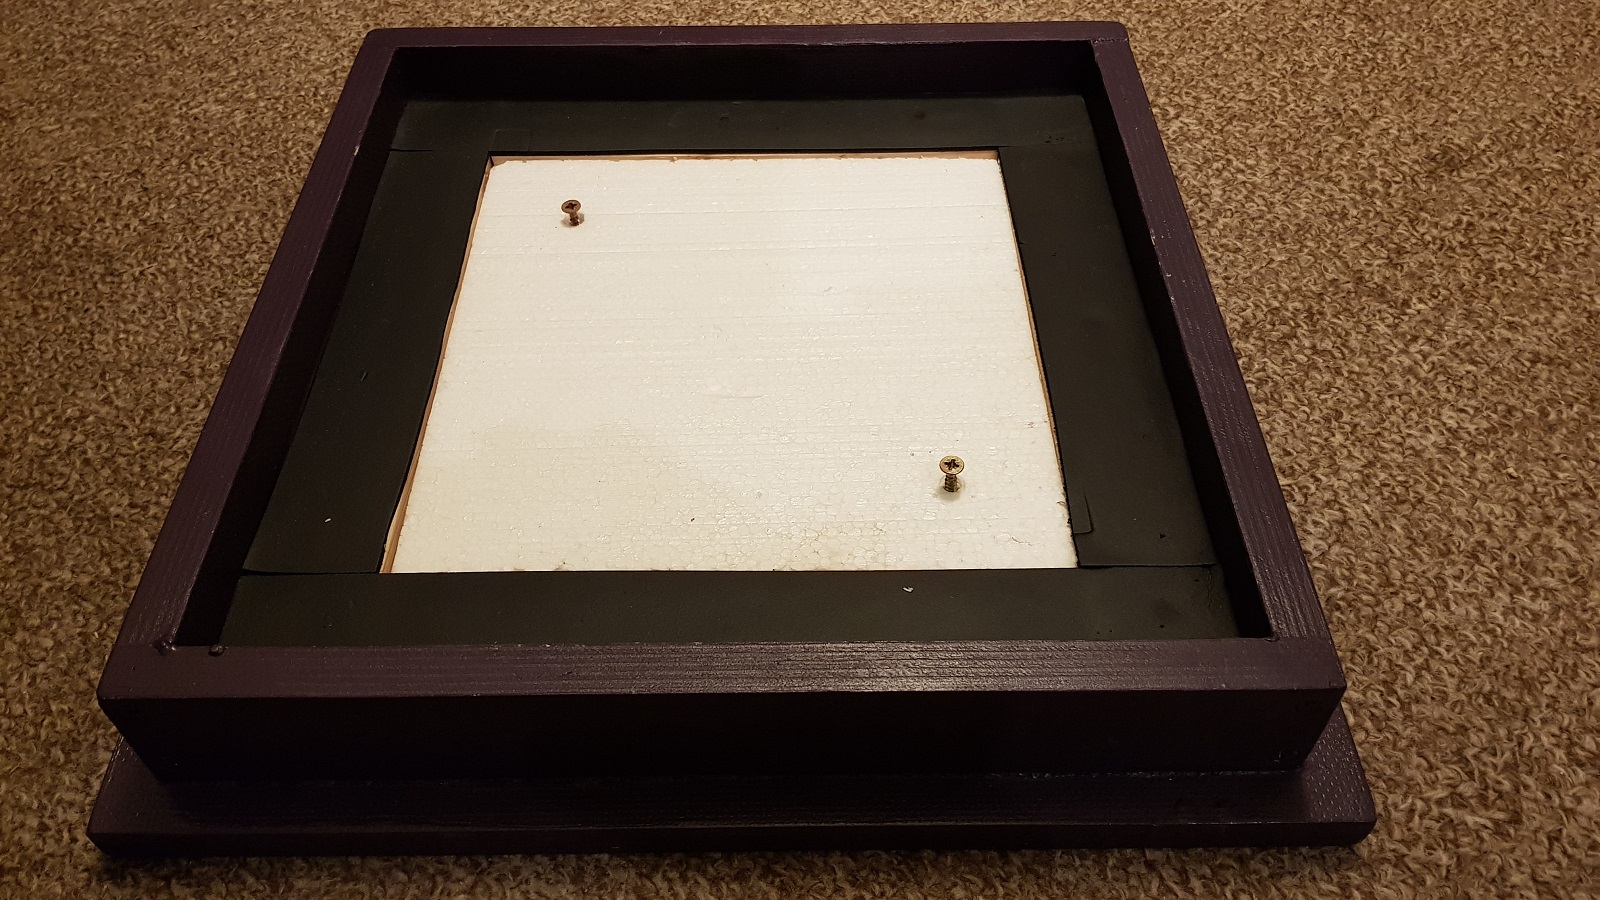
The roof of the hive with the thermal insulation removed
Photo O. Hercog 6/2019