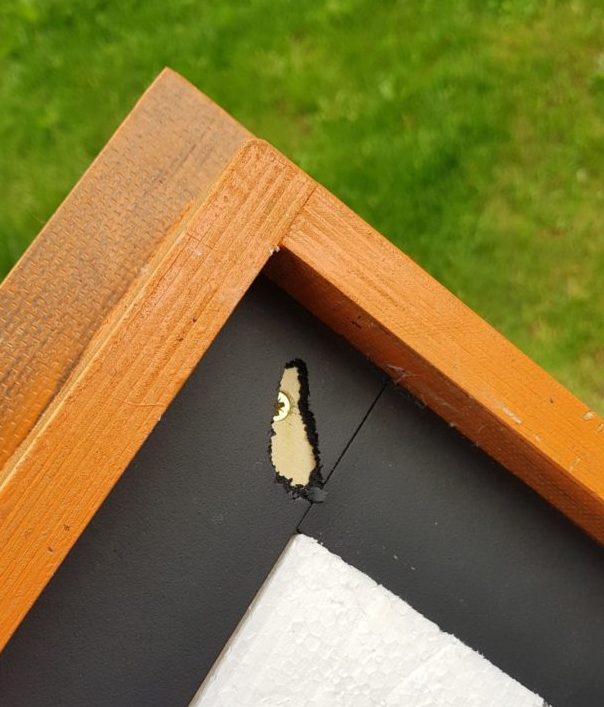
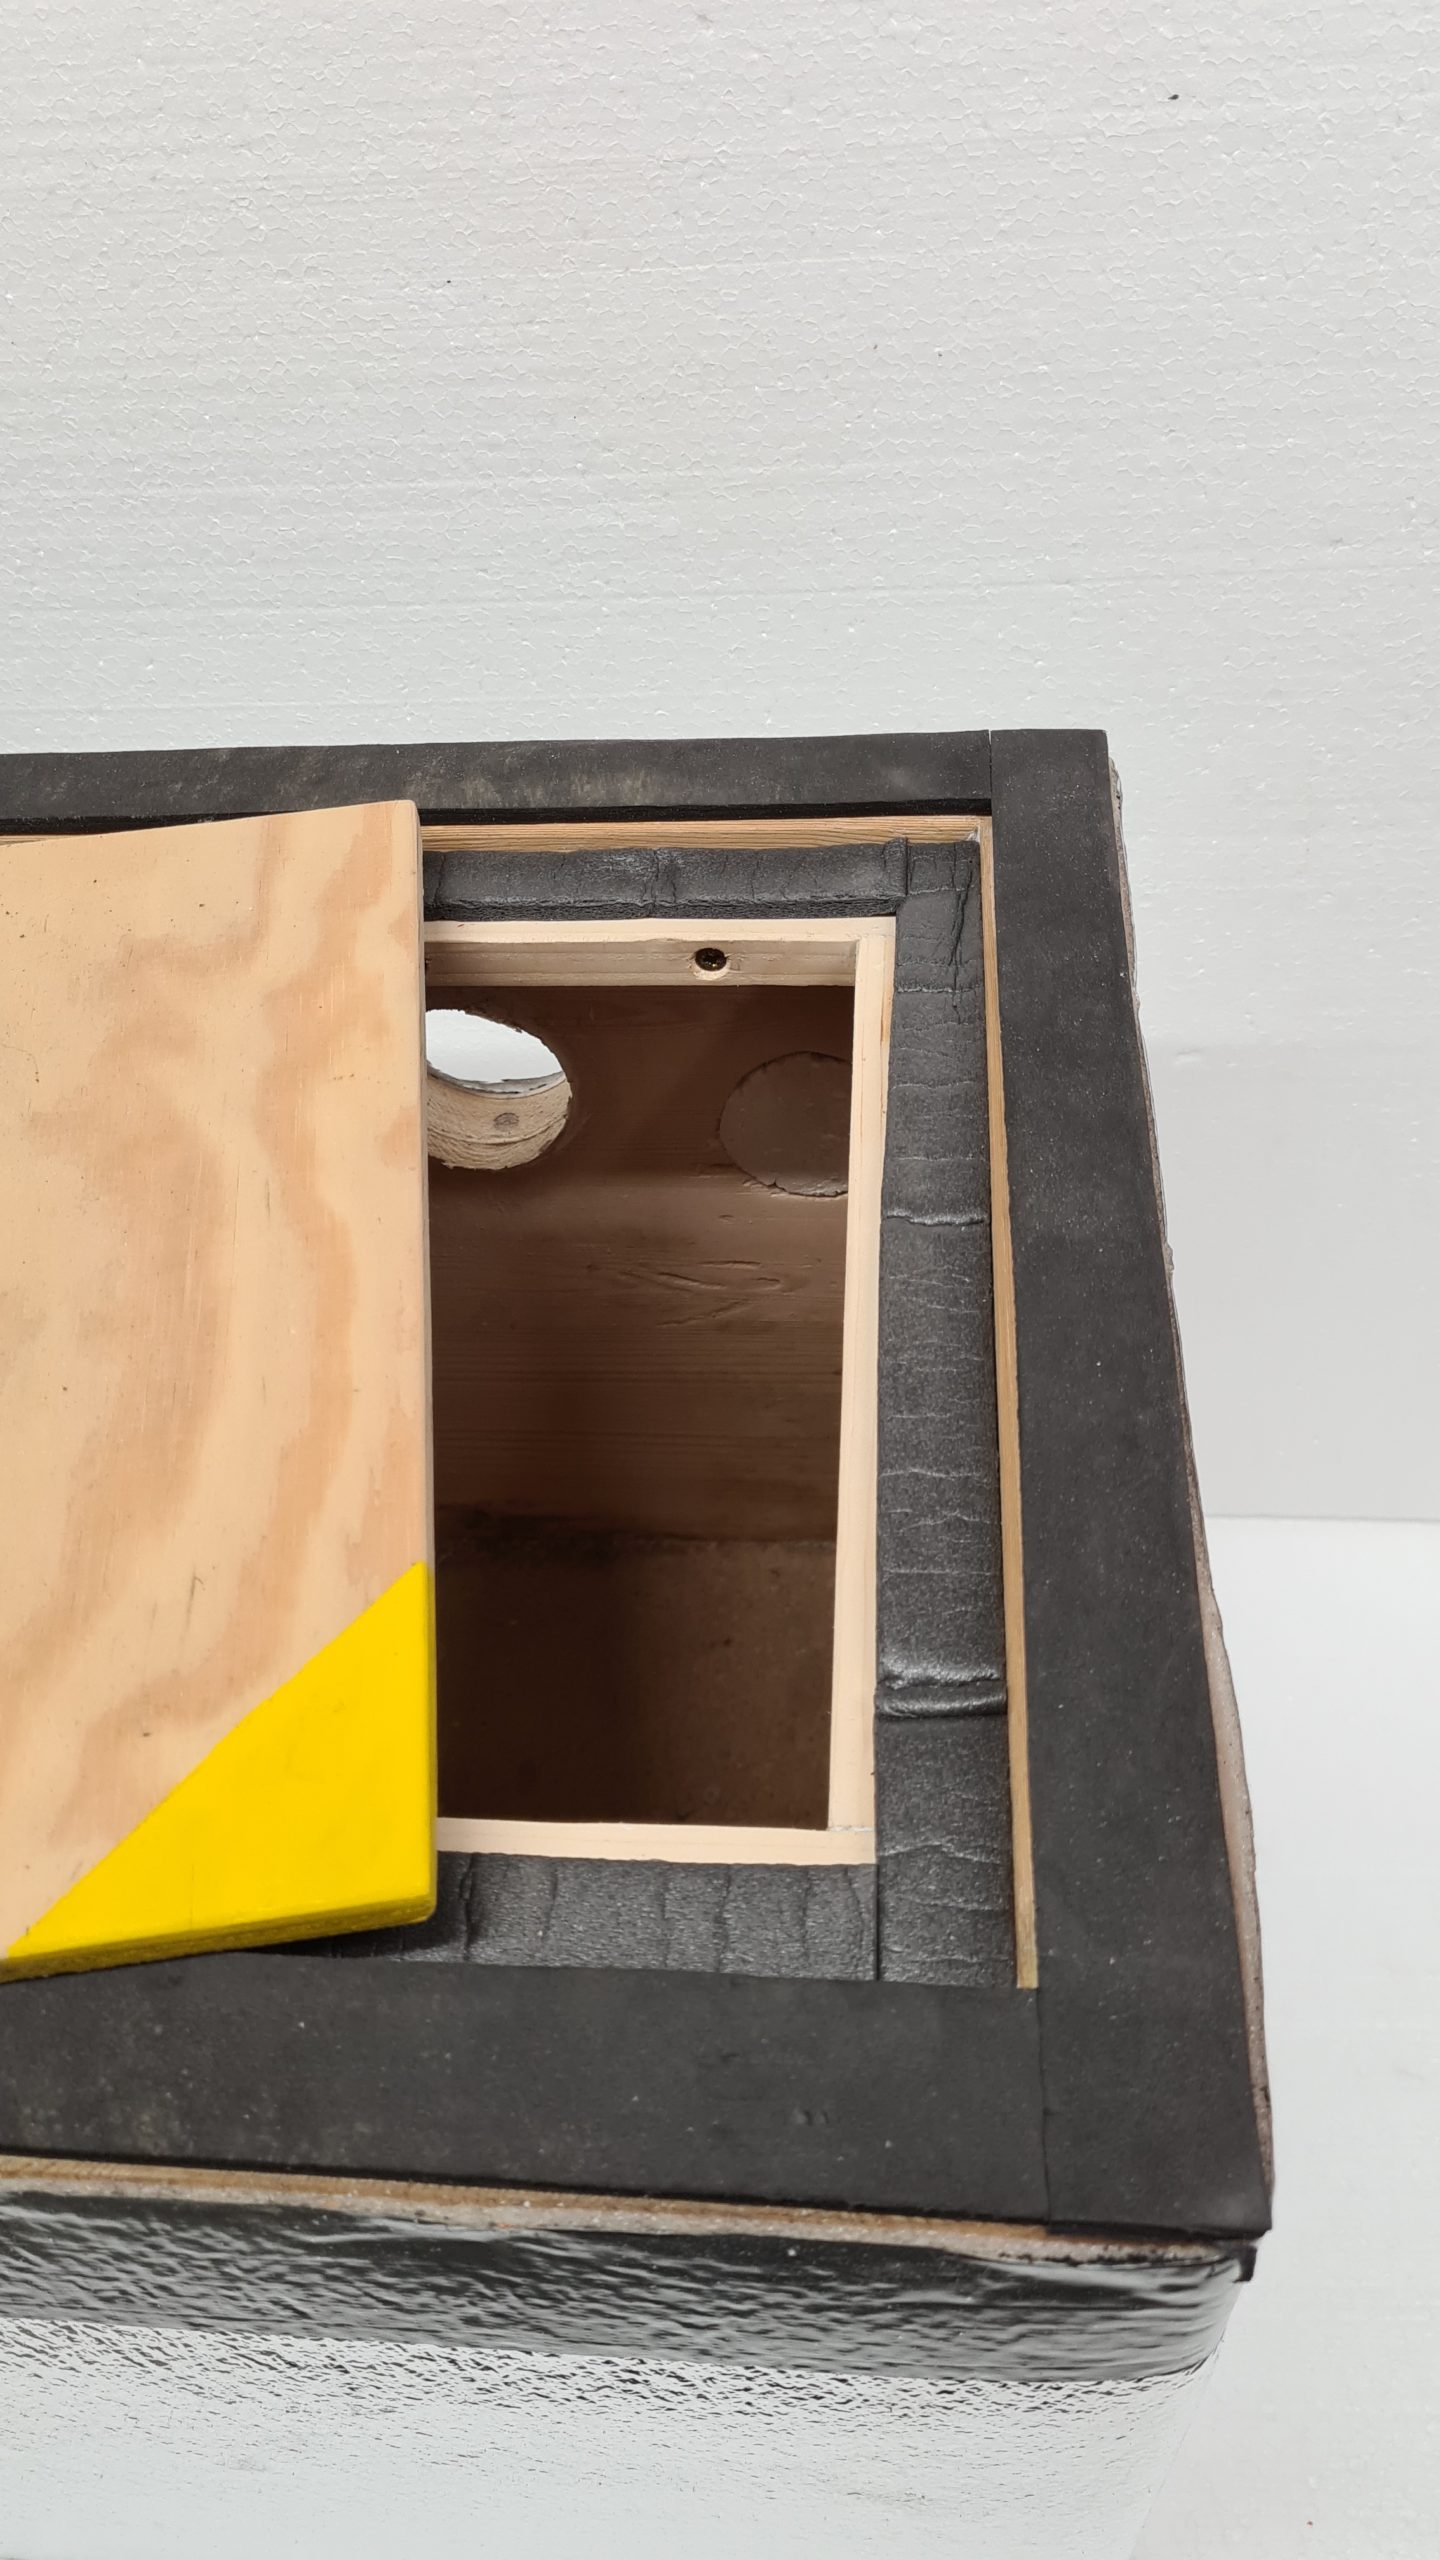
Seal under the roof bitten by bumblebees
Photo: O. Hercog 2020
.
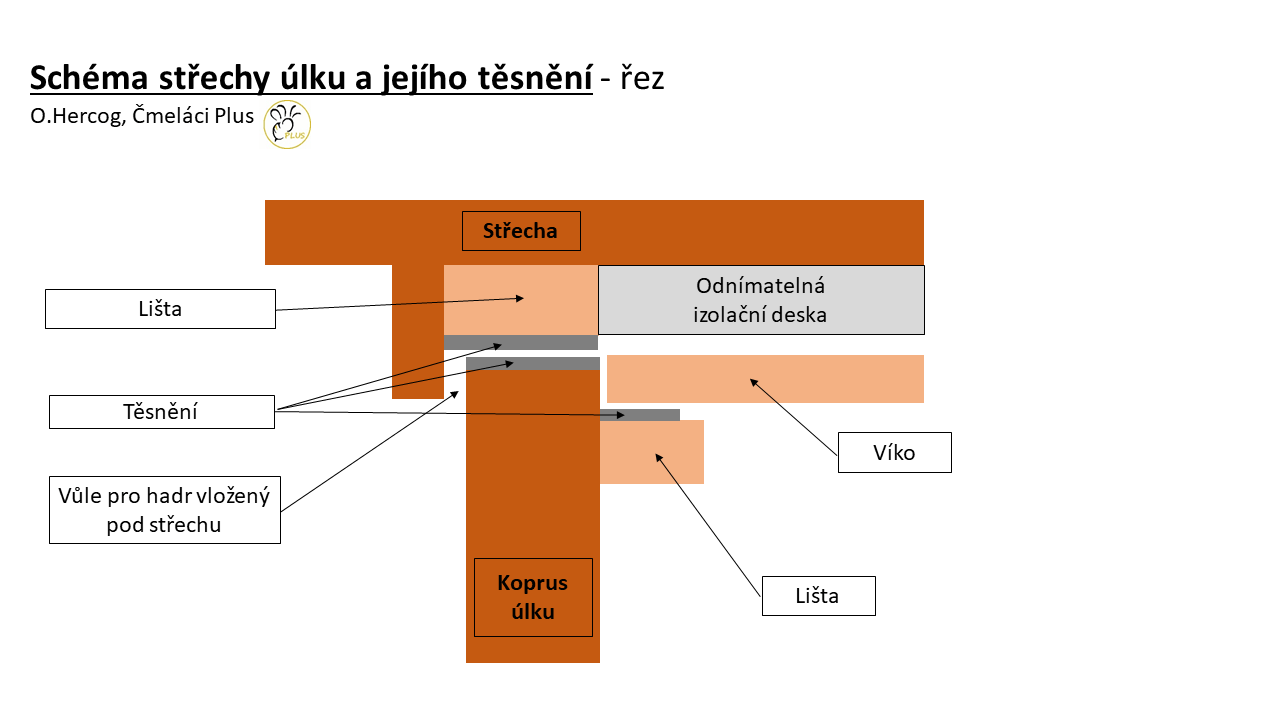
Hive roof seal and cover
Fig. O. Hercog 23/2/2022
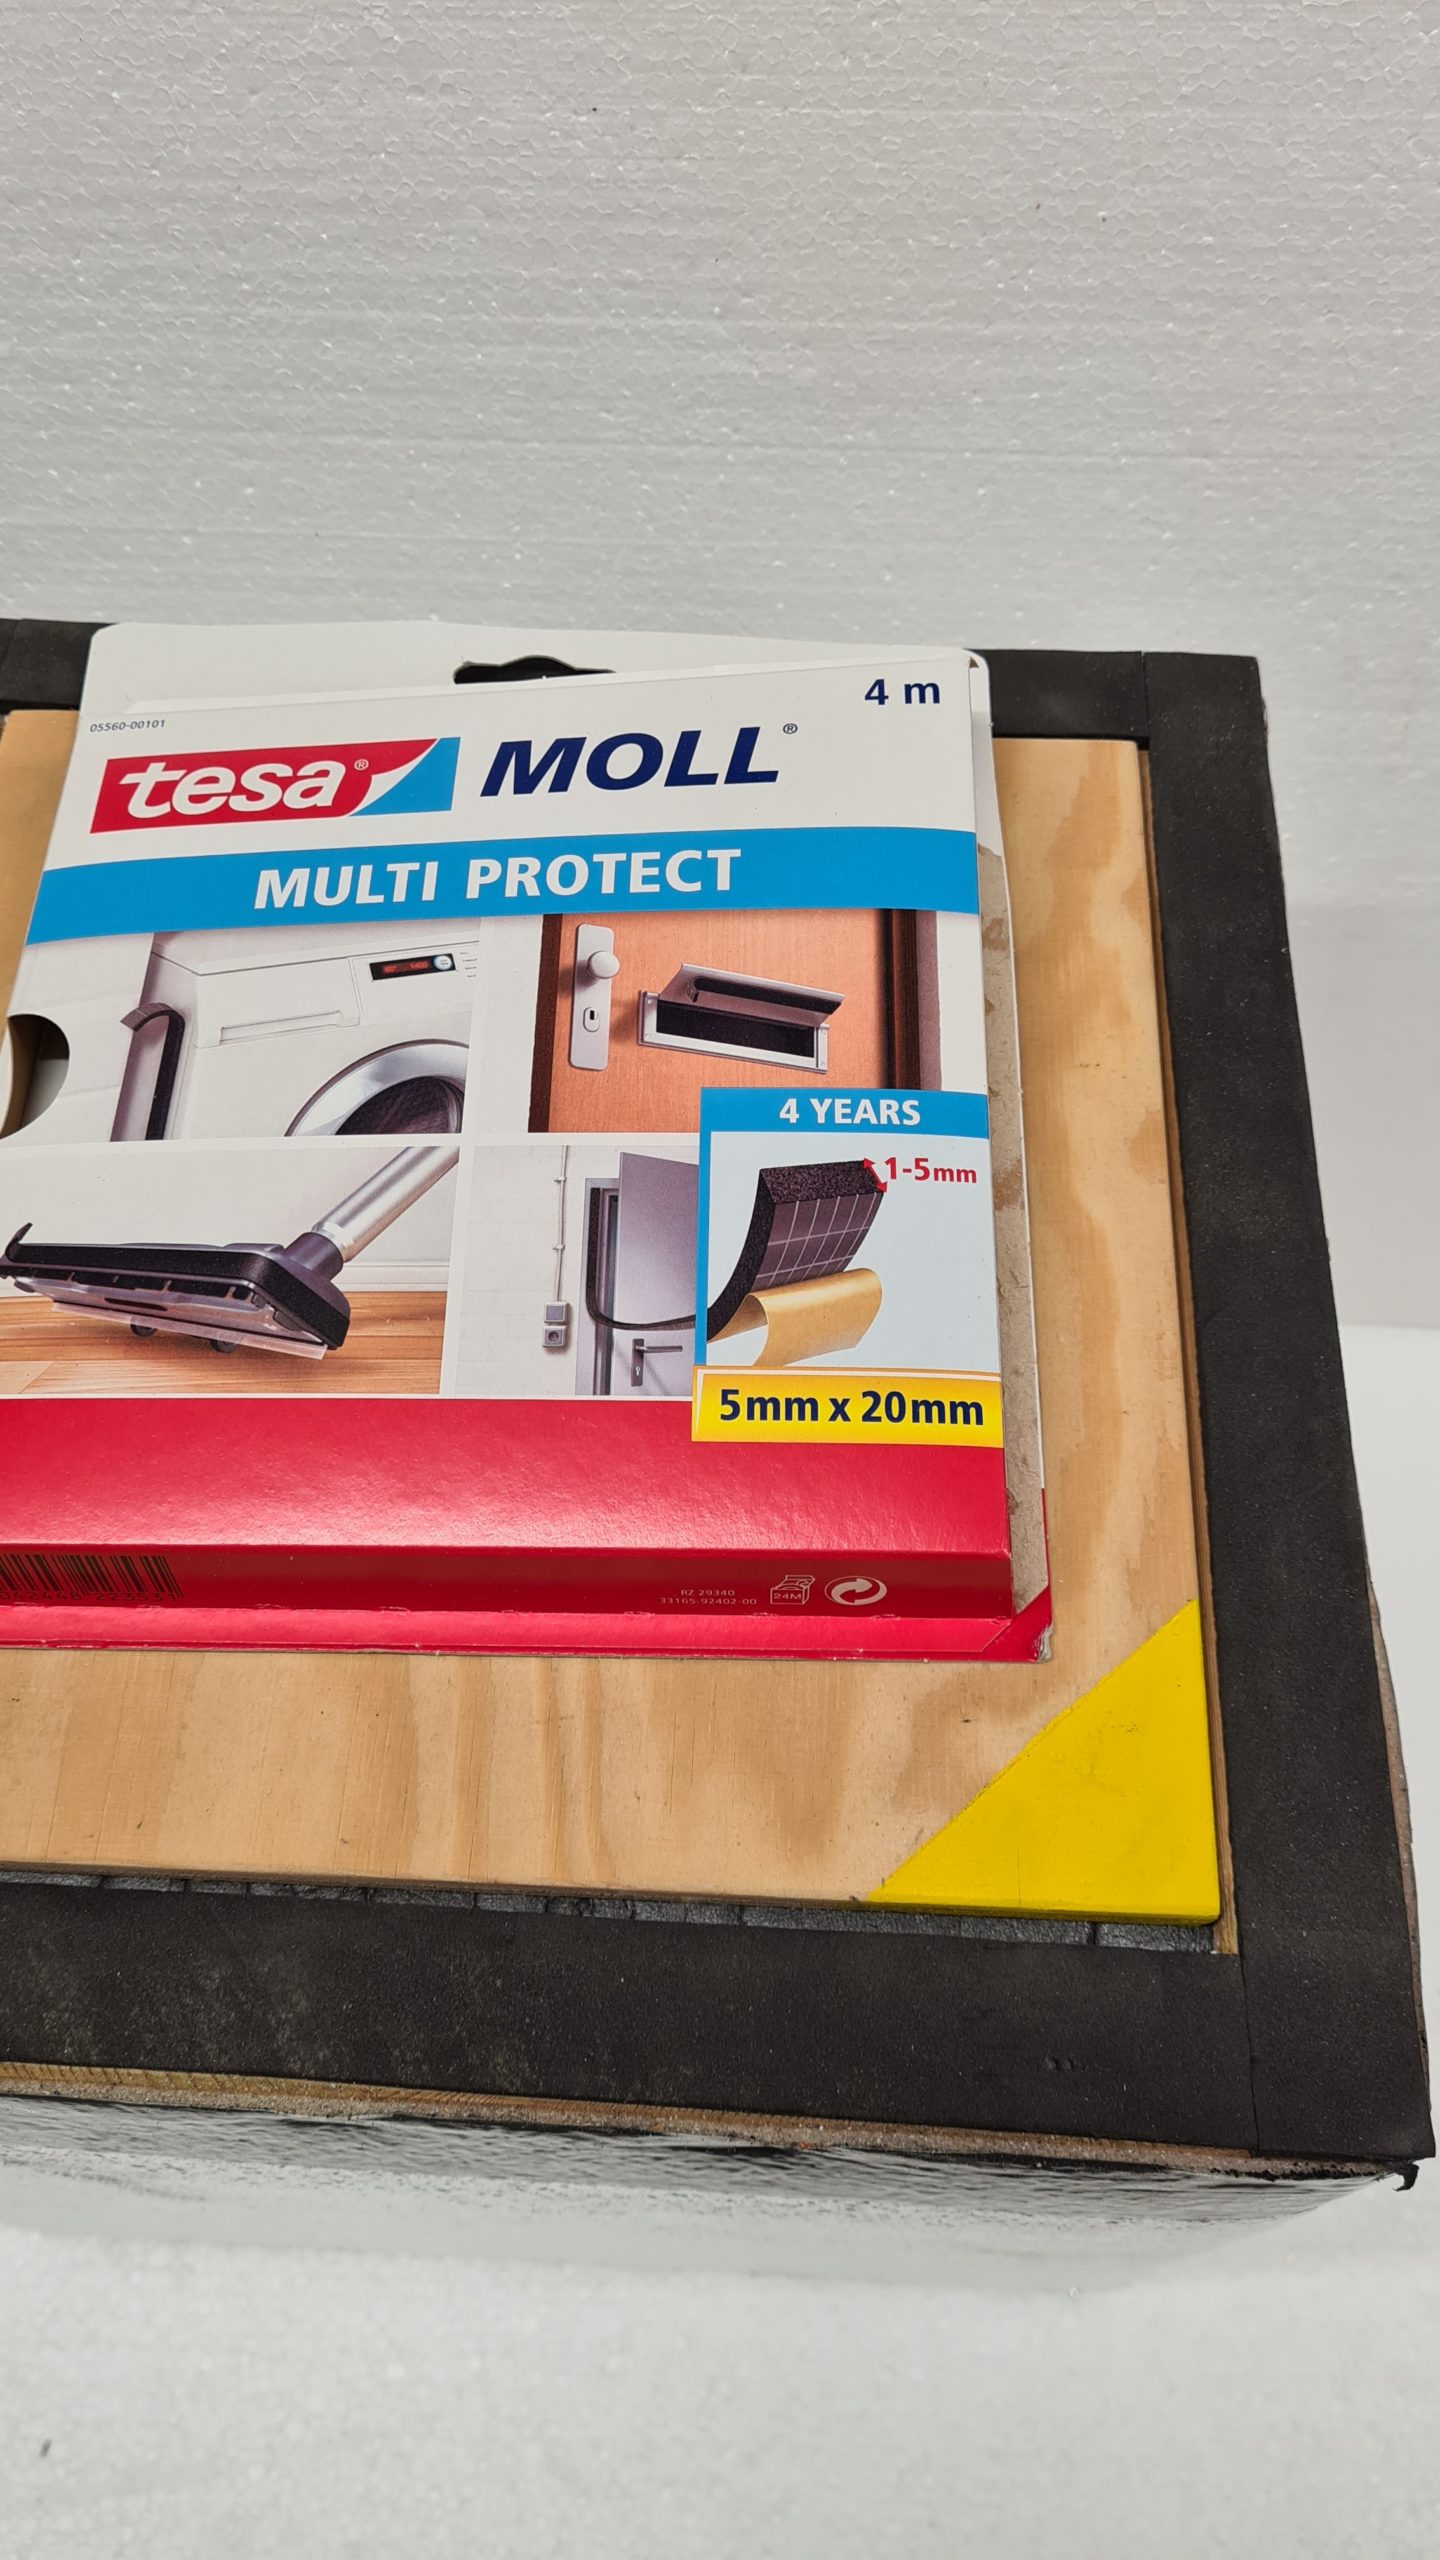
Seal
Photo: O. Hercog 23/2/2022
Seal - detail
Photo: O. Hercog 23/2/2022
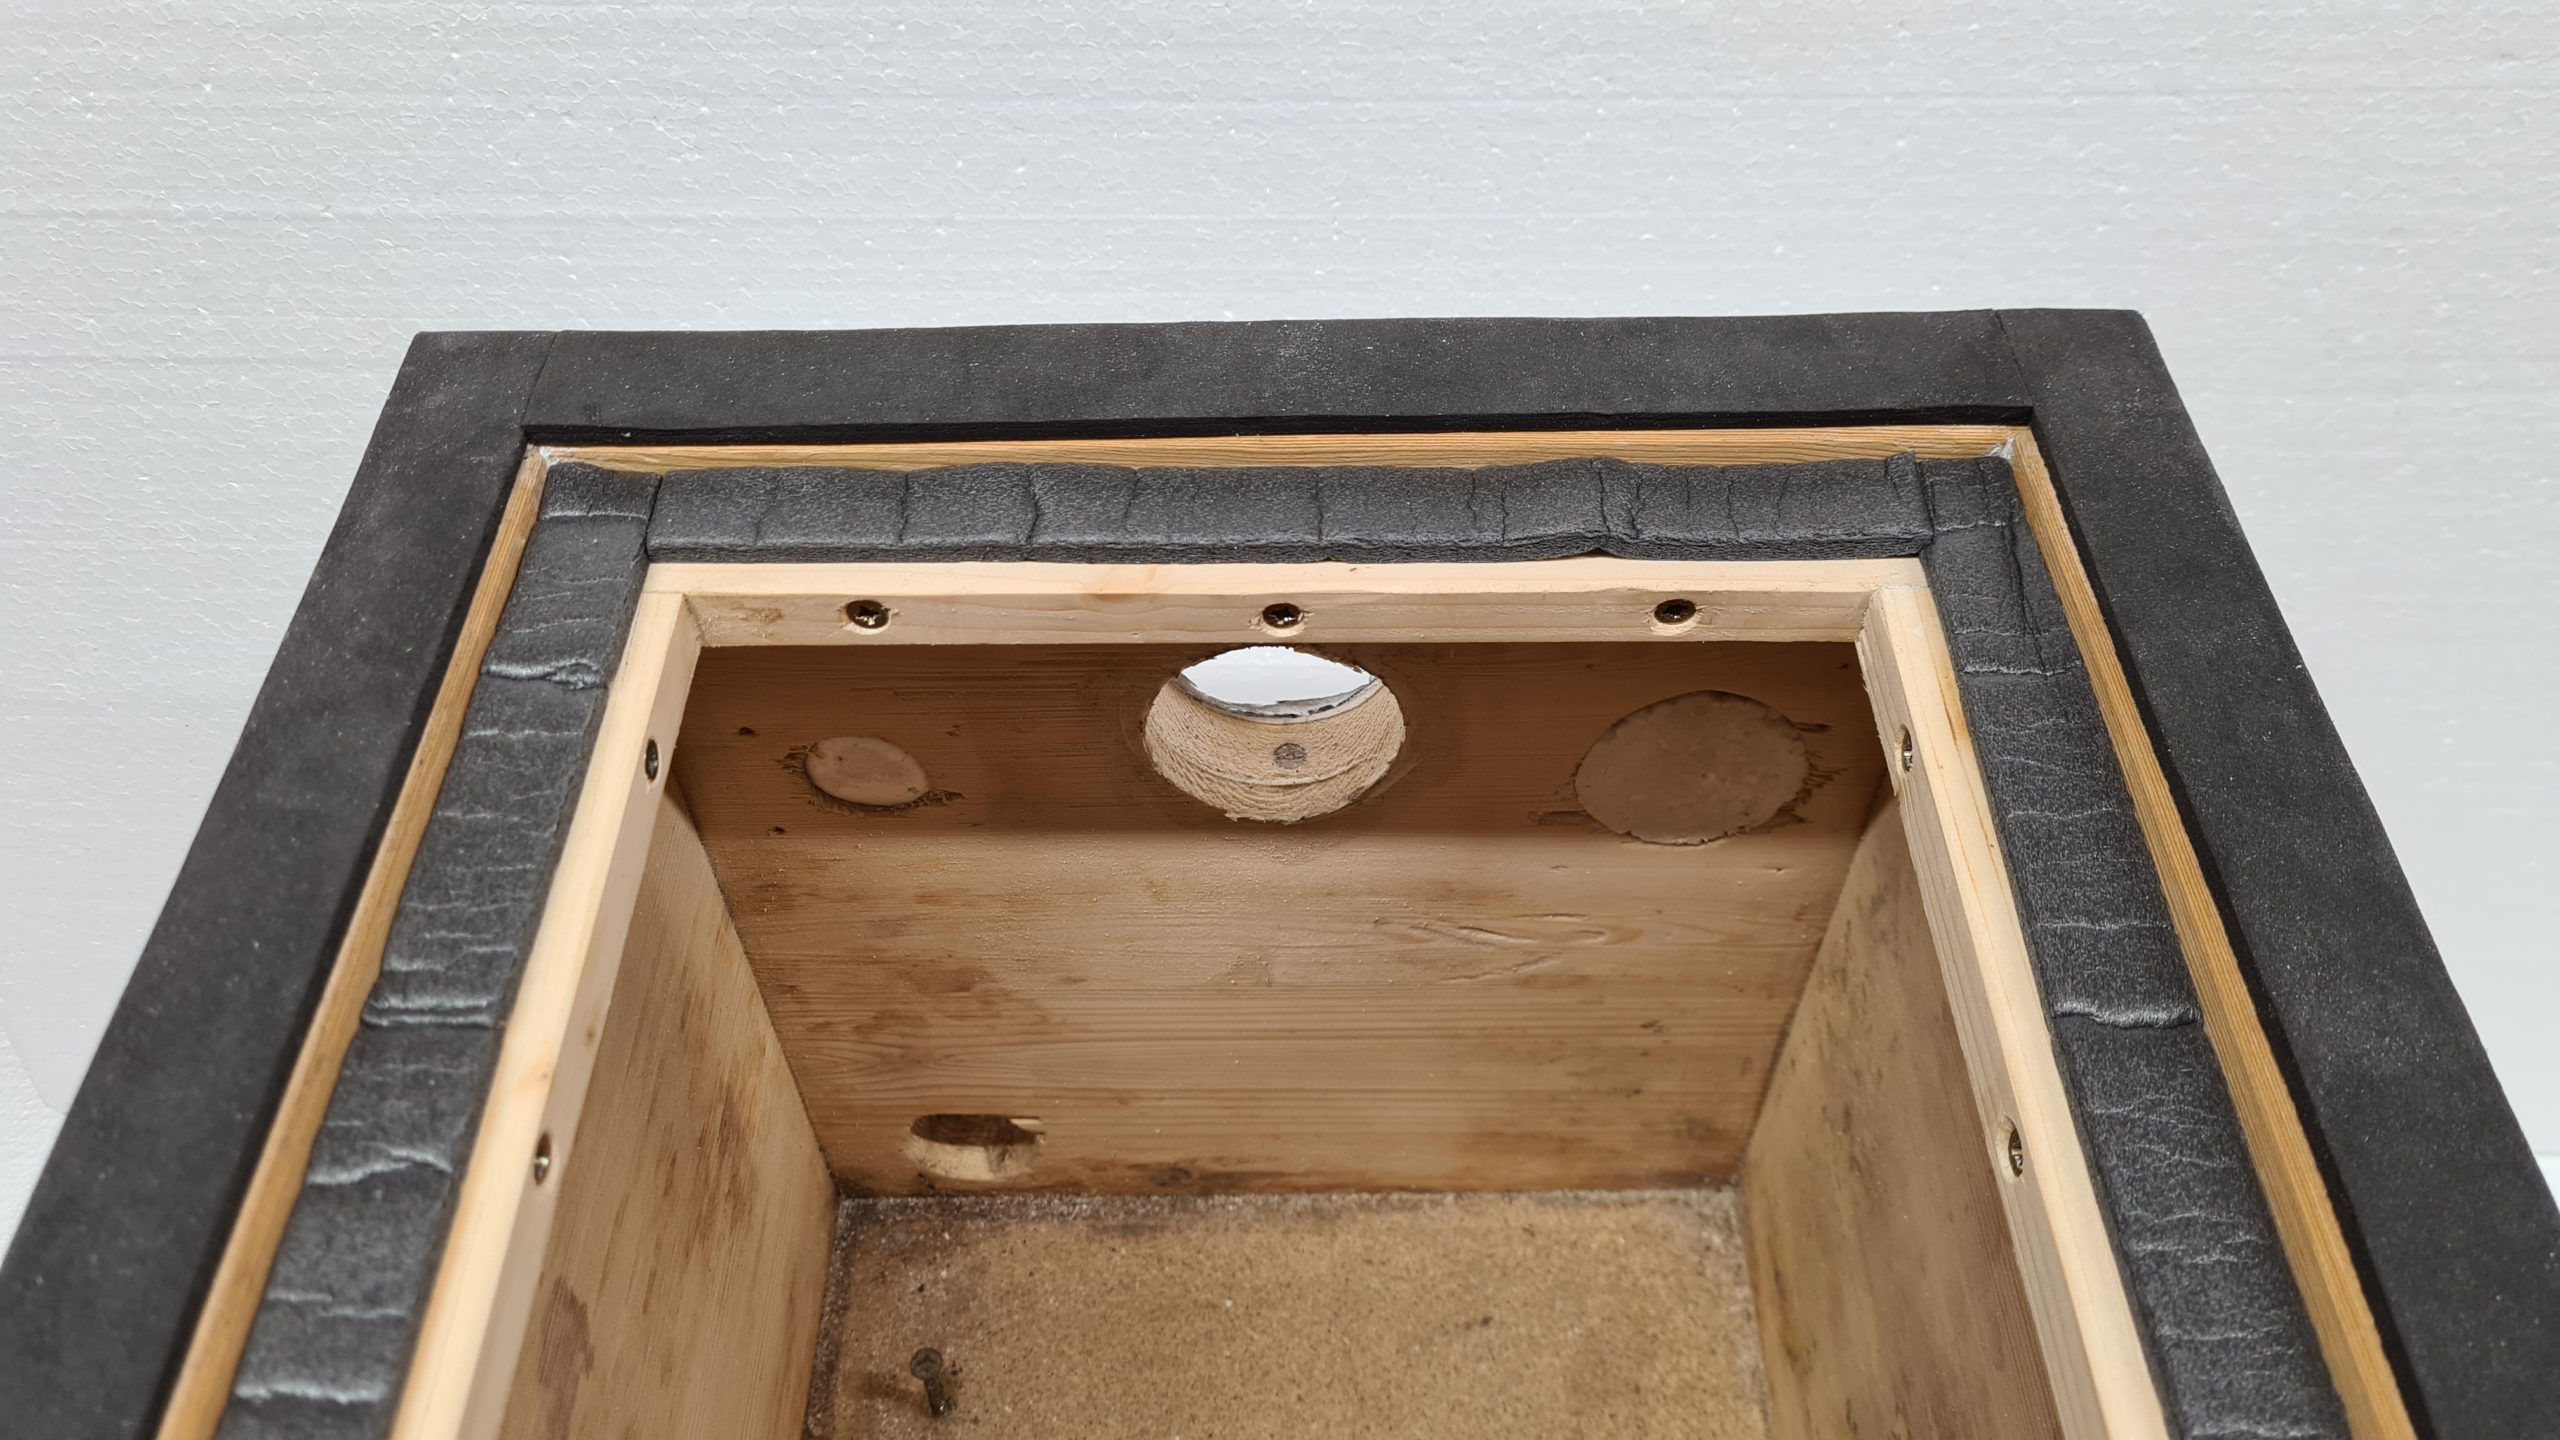
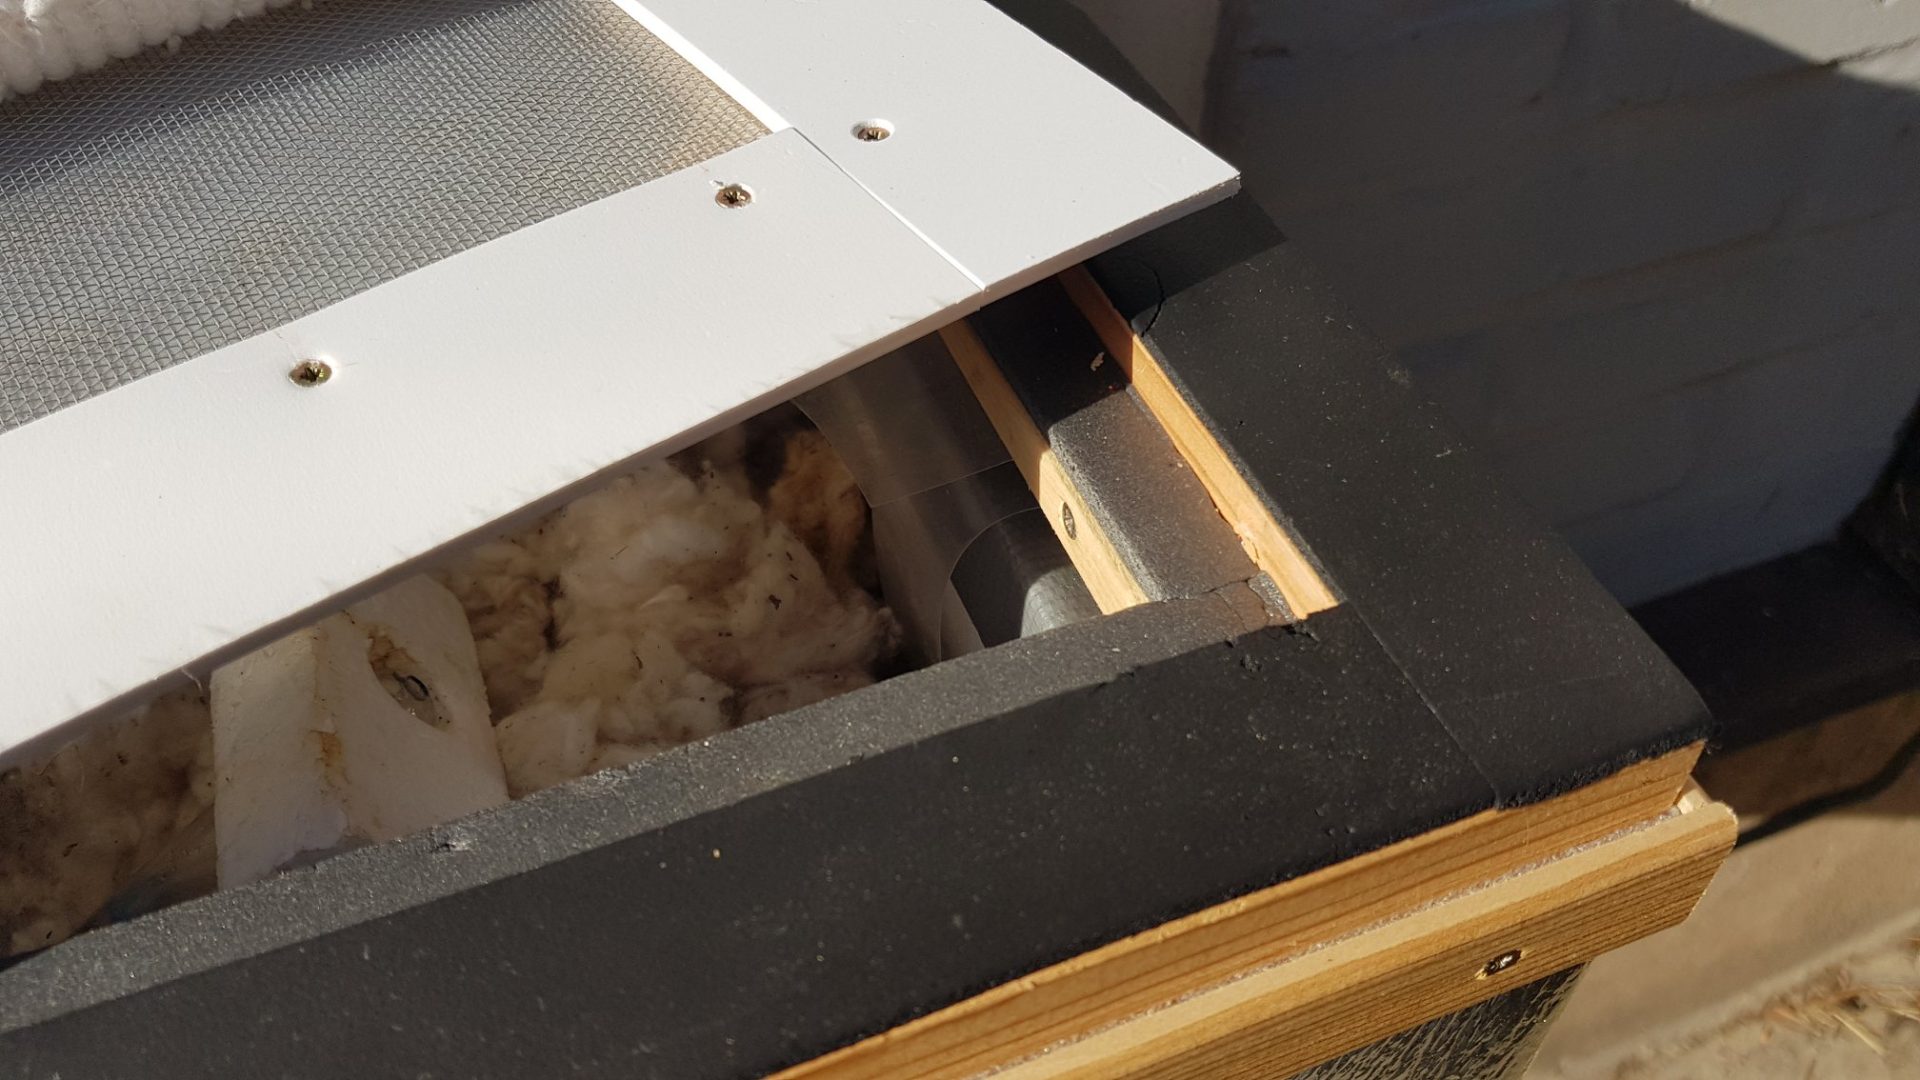
Gasket and cover lid
Photo: Photo: O. Hercog 23/2/2022
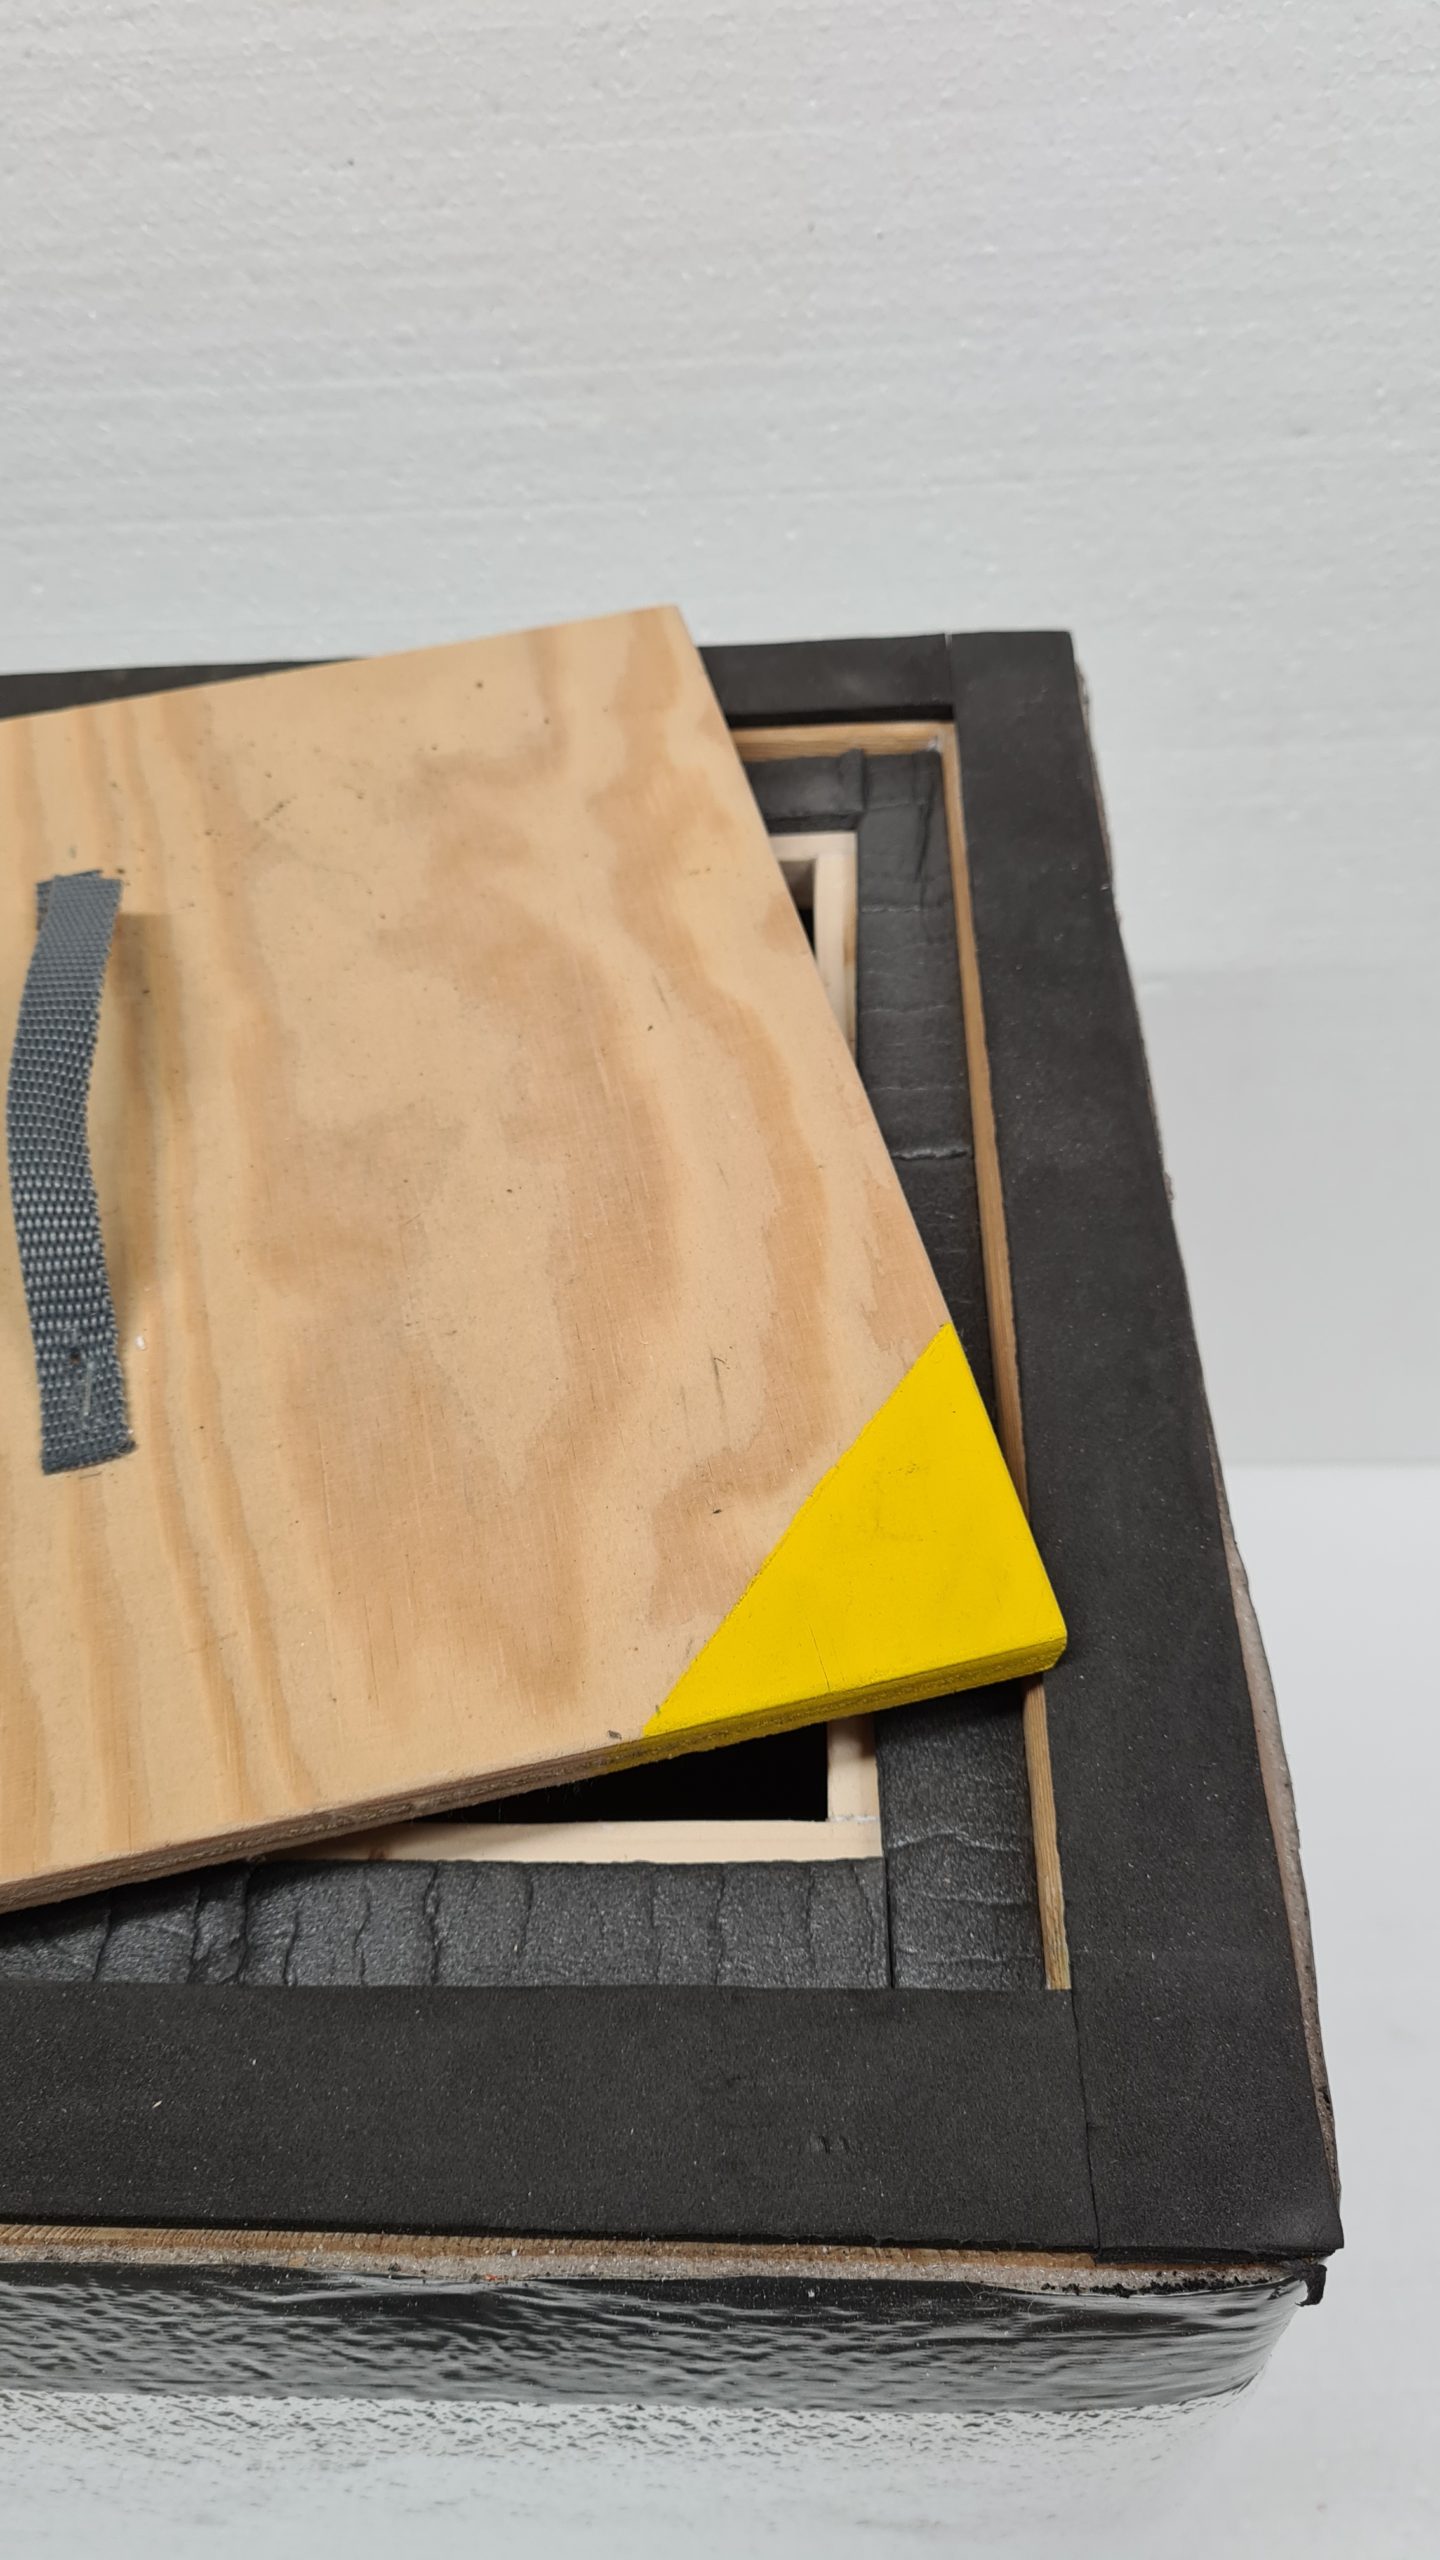
Gasket and cover lid
Photo: O. Hercog 23/2/2022
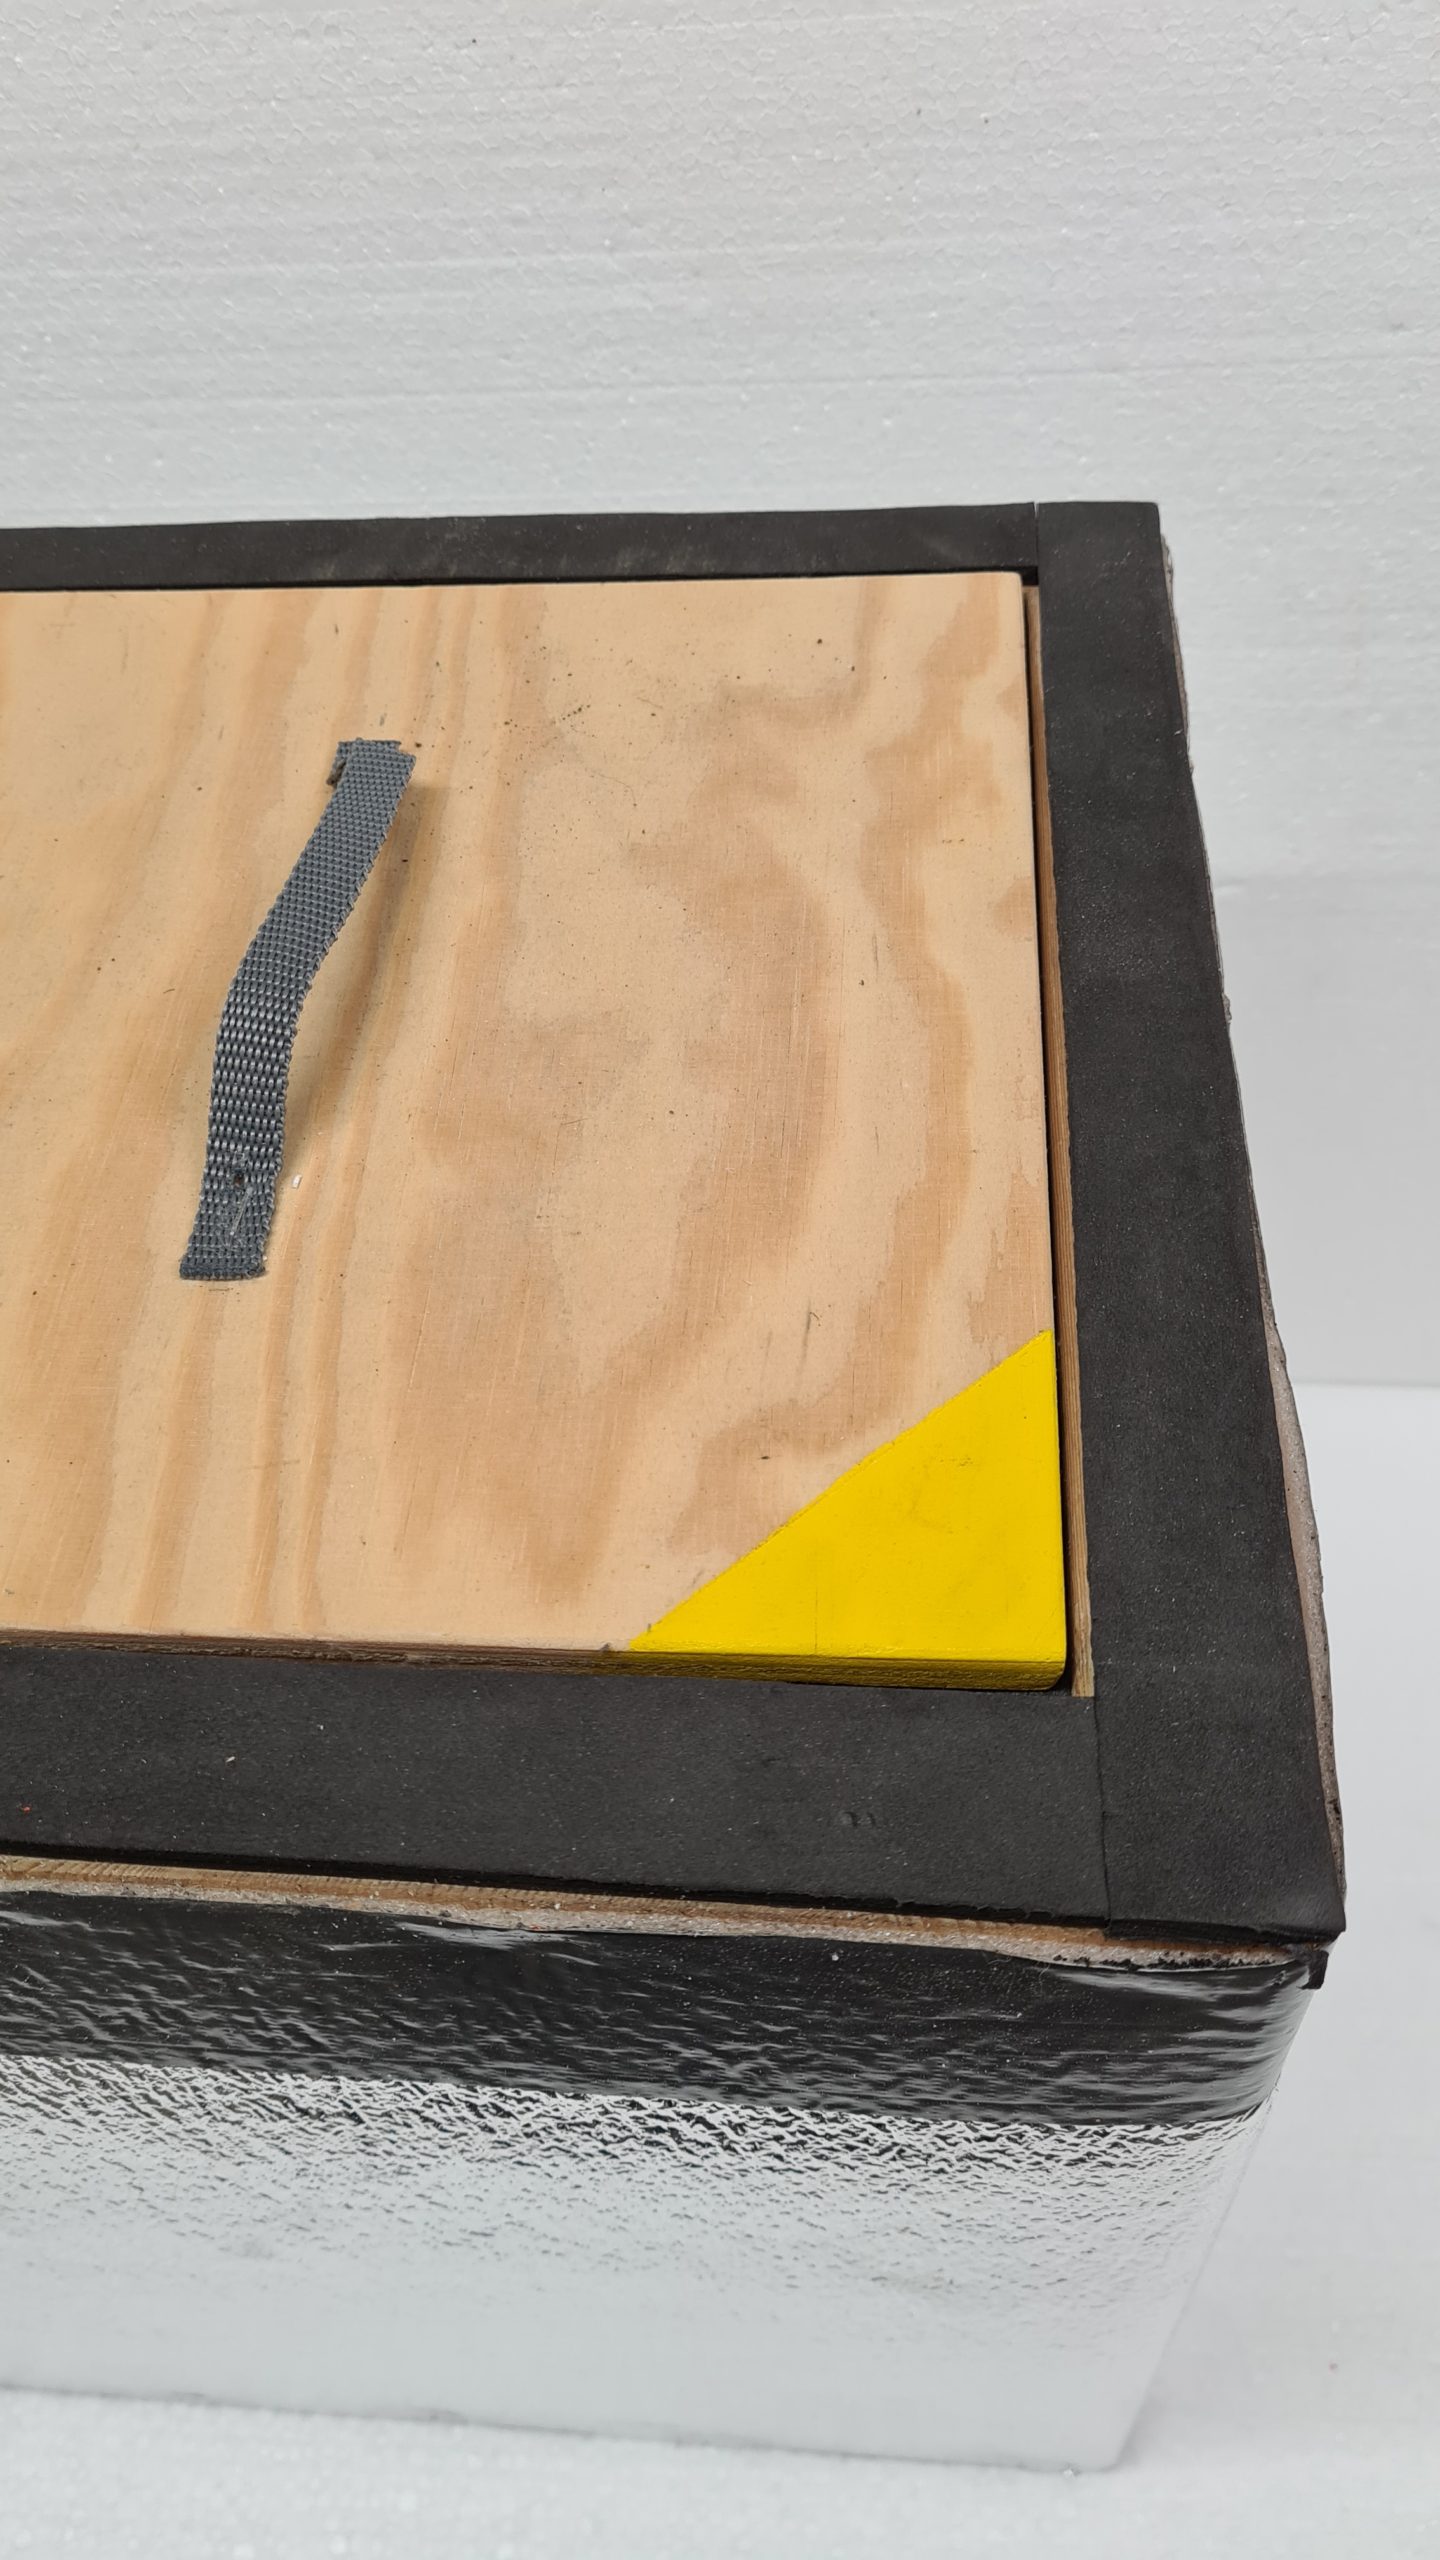
Gasket and cover lid
Photo: O. Hercog 23/2/2022
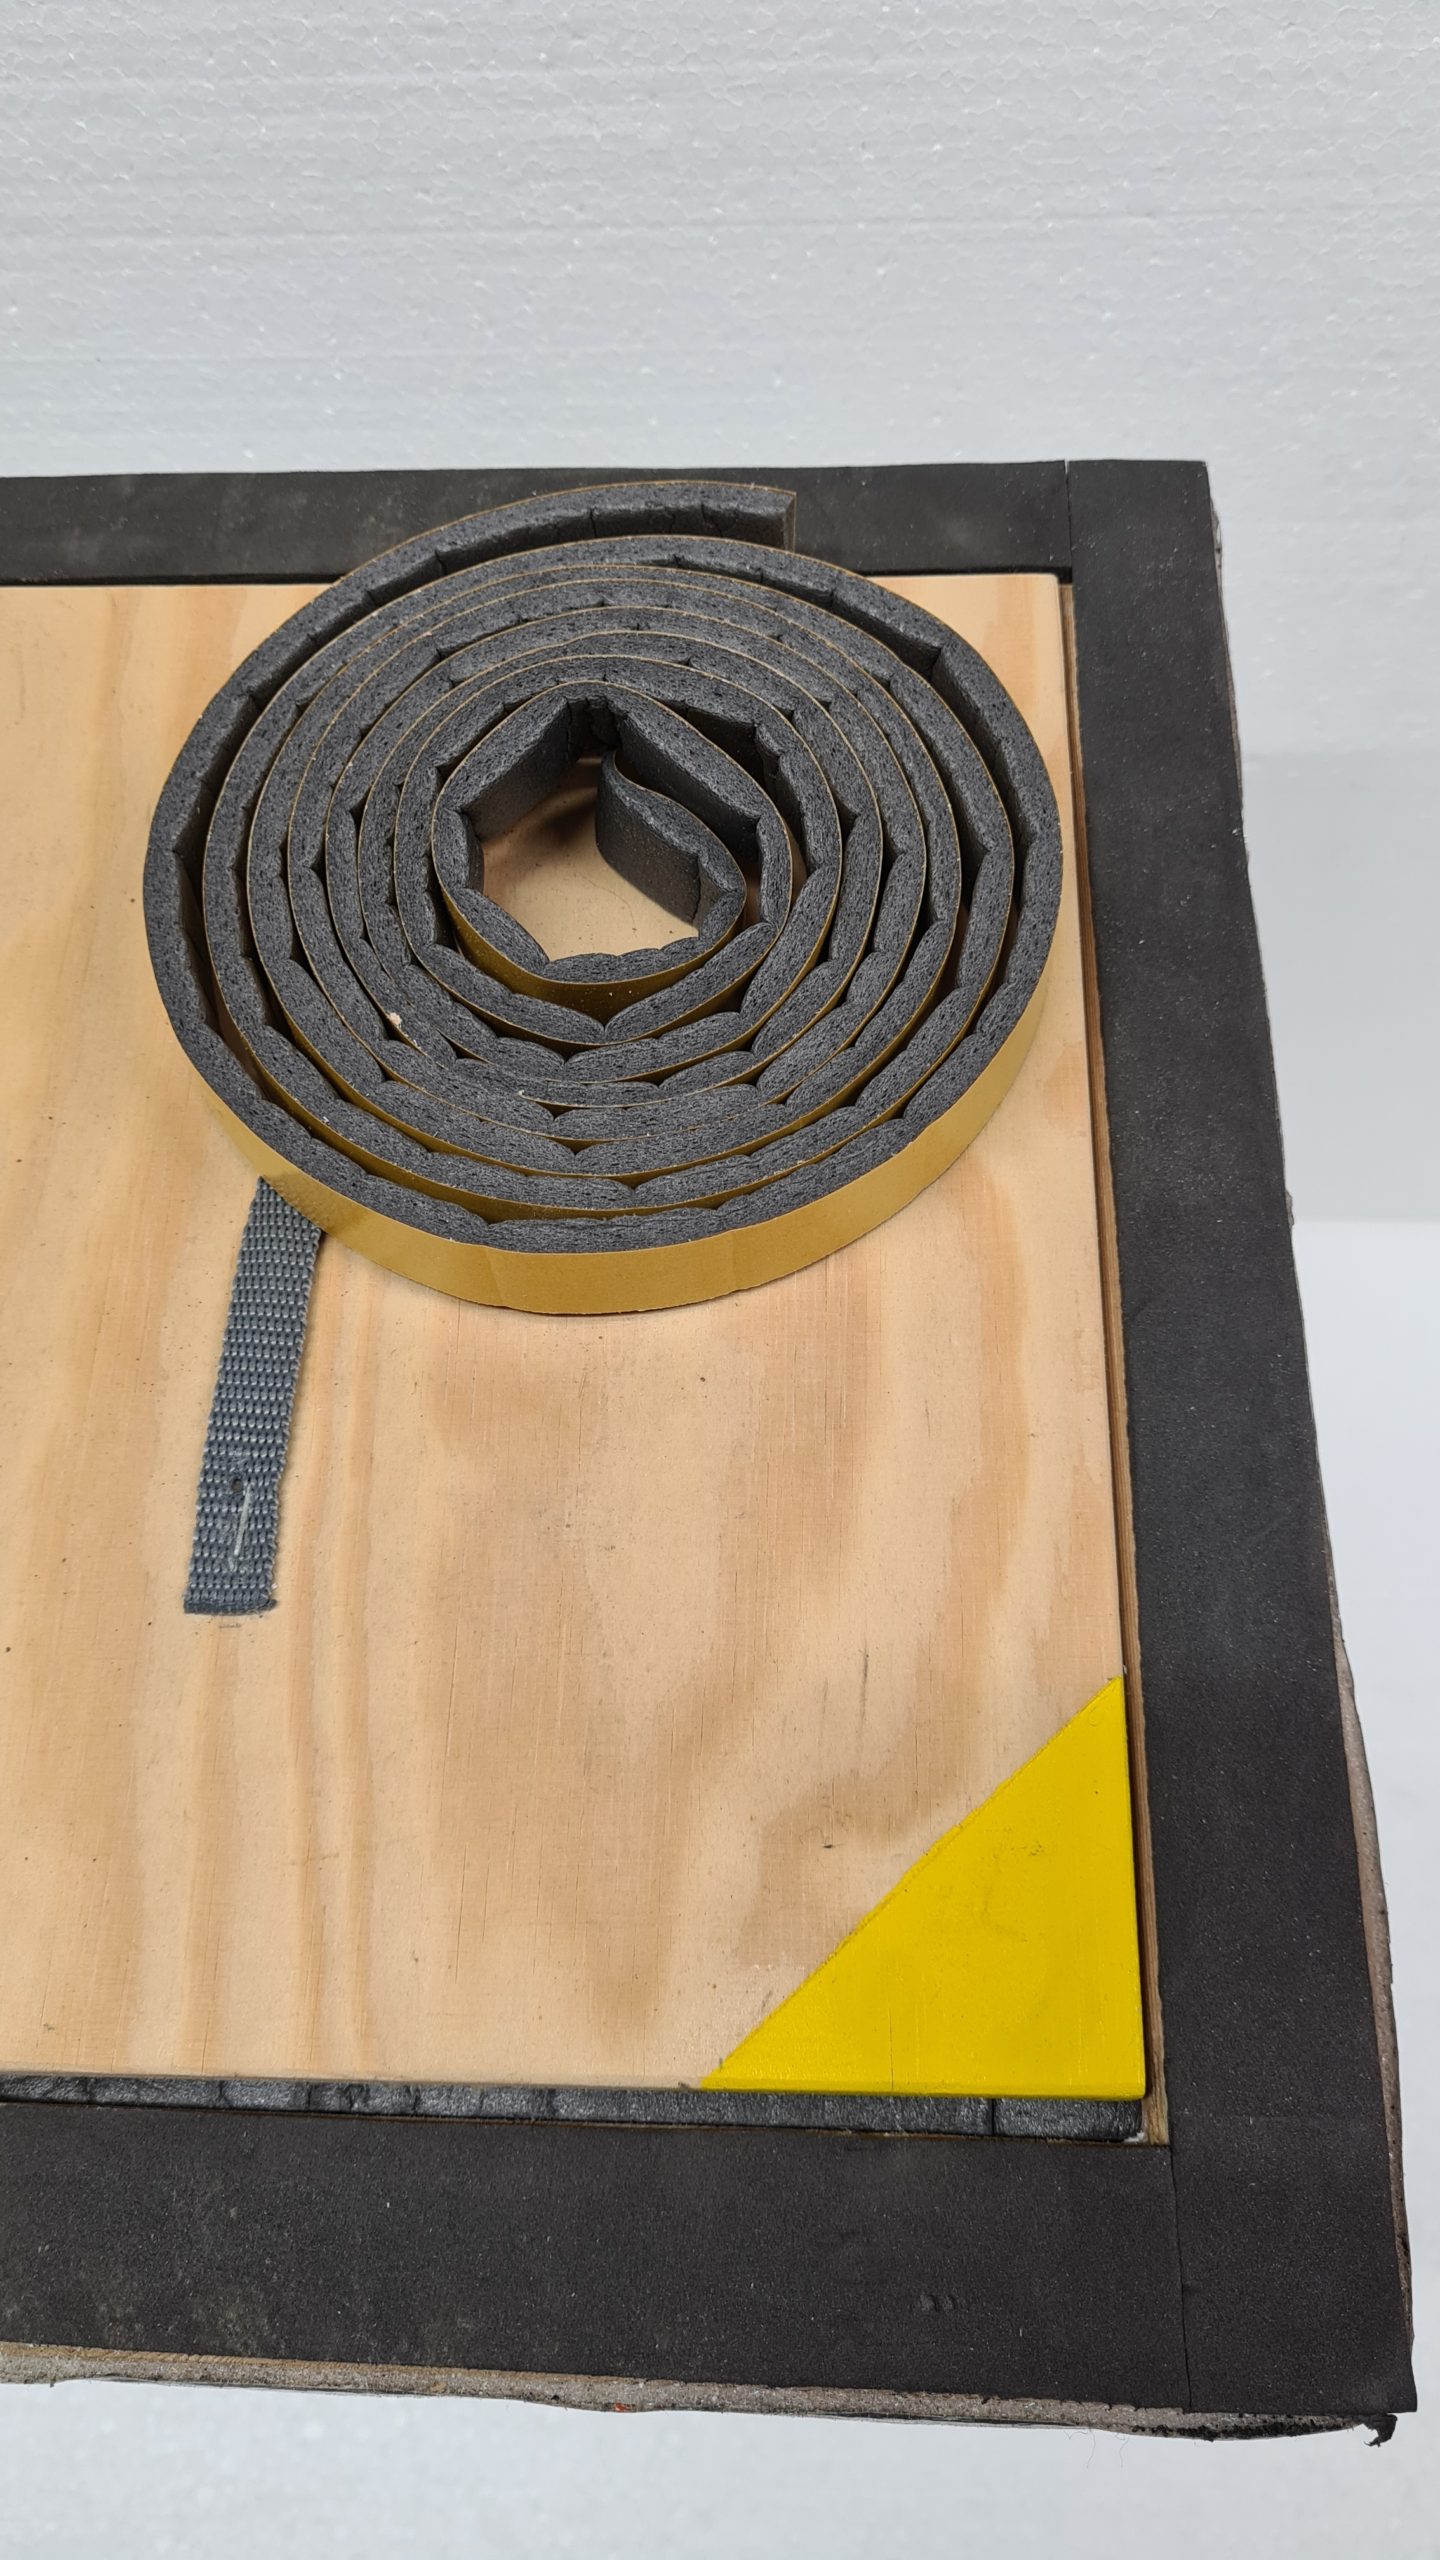
Seal
Photo: Photo: O. Hercog 23/2/2022
Seal
Photo: Photo: O. Hercog 23/2/2022
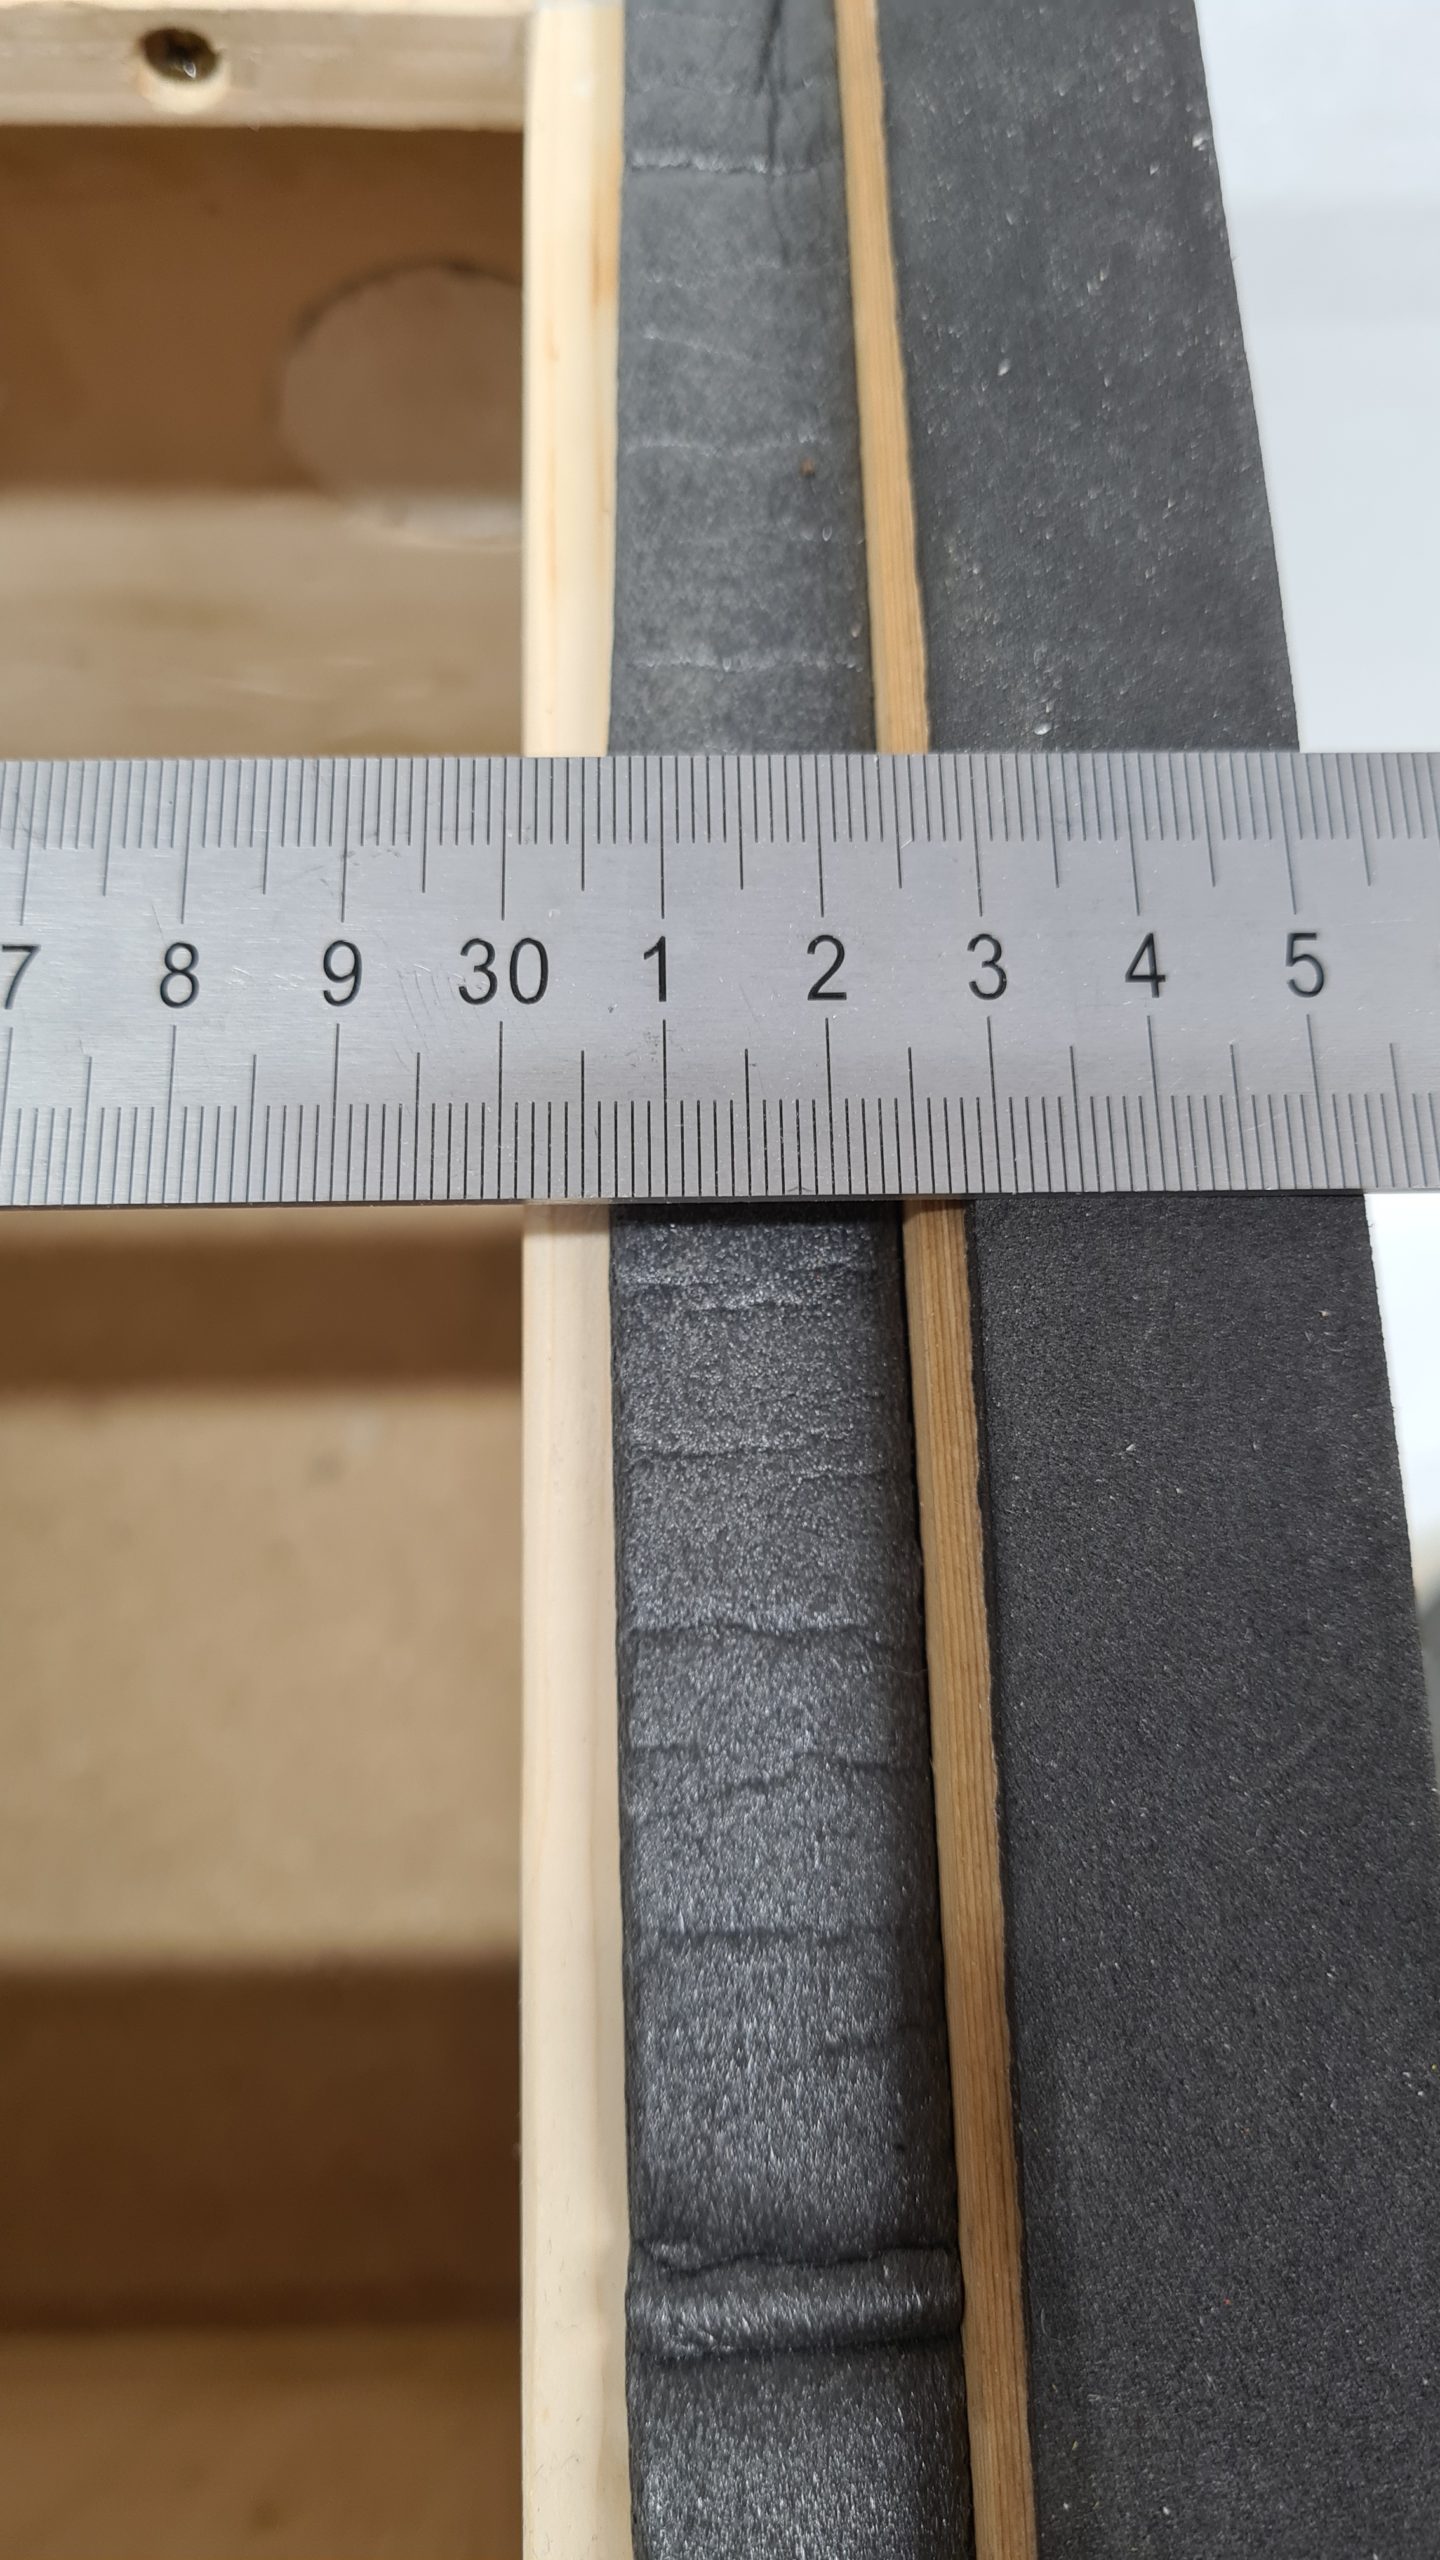
Detail of the protective net seal
1. contact surface on the hive body and 2. on the strips in the hive
Photo O. Hercog 4/2019
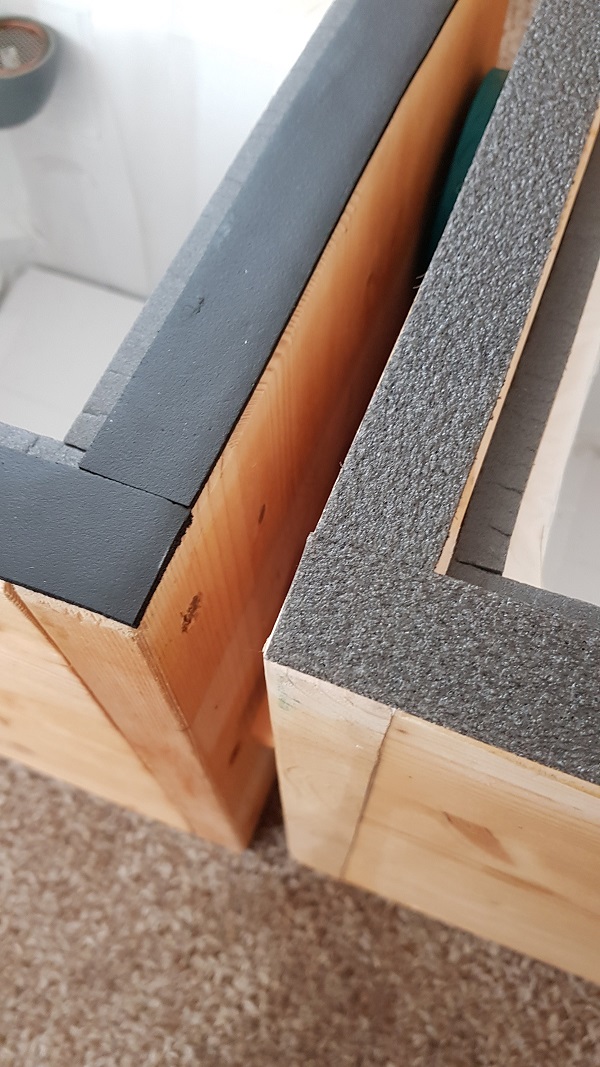
Seal on the hive body
Photo O. Hercog 4/2019