What you will learn here
- Why does the protective flap have a solution for lowering the flap (the plastic part of the flap)?
- Why is this important?
- What are the possible solutions?
- Who are the peg-makers and who are the pick-pockets?
The original post was published on FB Čmeláci PLUS 12/3/2019
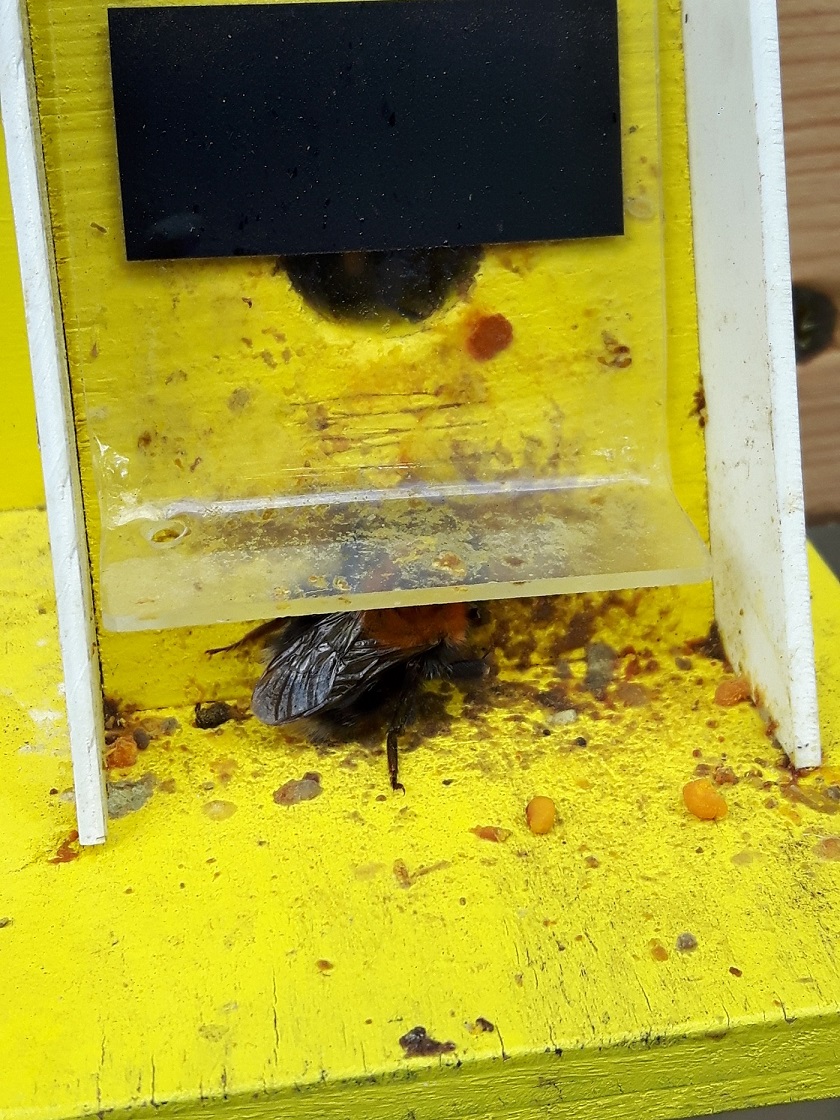
Protective flap clogged with pollen threads and wax
Photo O.Hercog
Here you can see how the bumblebee lifts the valve - it inserts its head under it, then its body, lifts the valve and slips under it,
But he has to get used to it. You have to slowly close/open , he will get used to the touch of the flap and learn to walk through it .
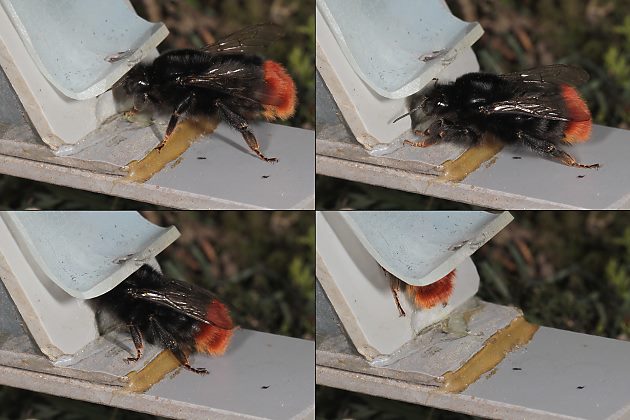
Protective flap – entering rock bumblebee (Bombus lapidarius) Photo http://www.wildbienen.de
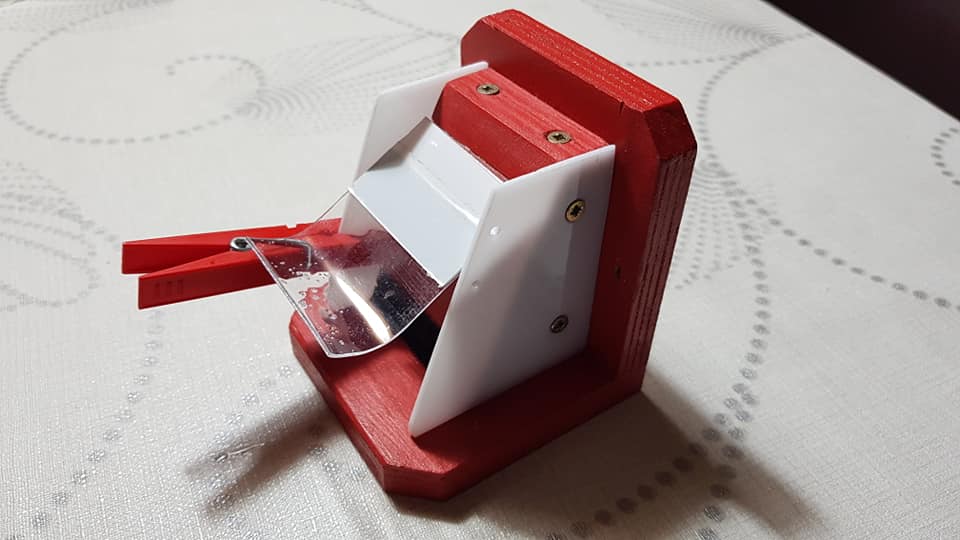
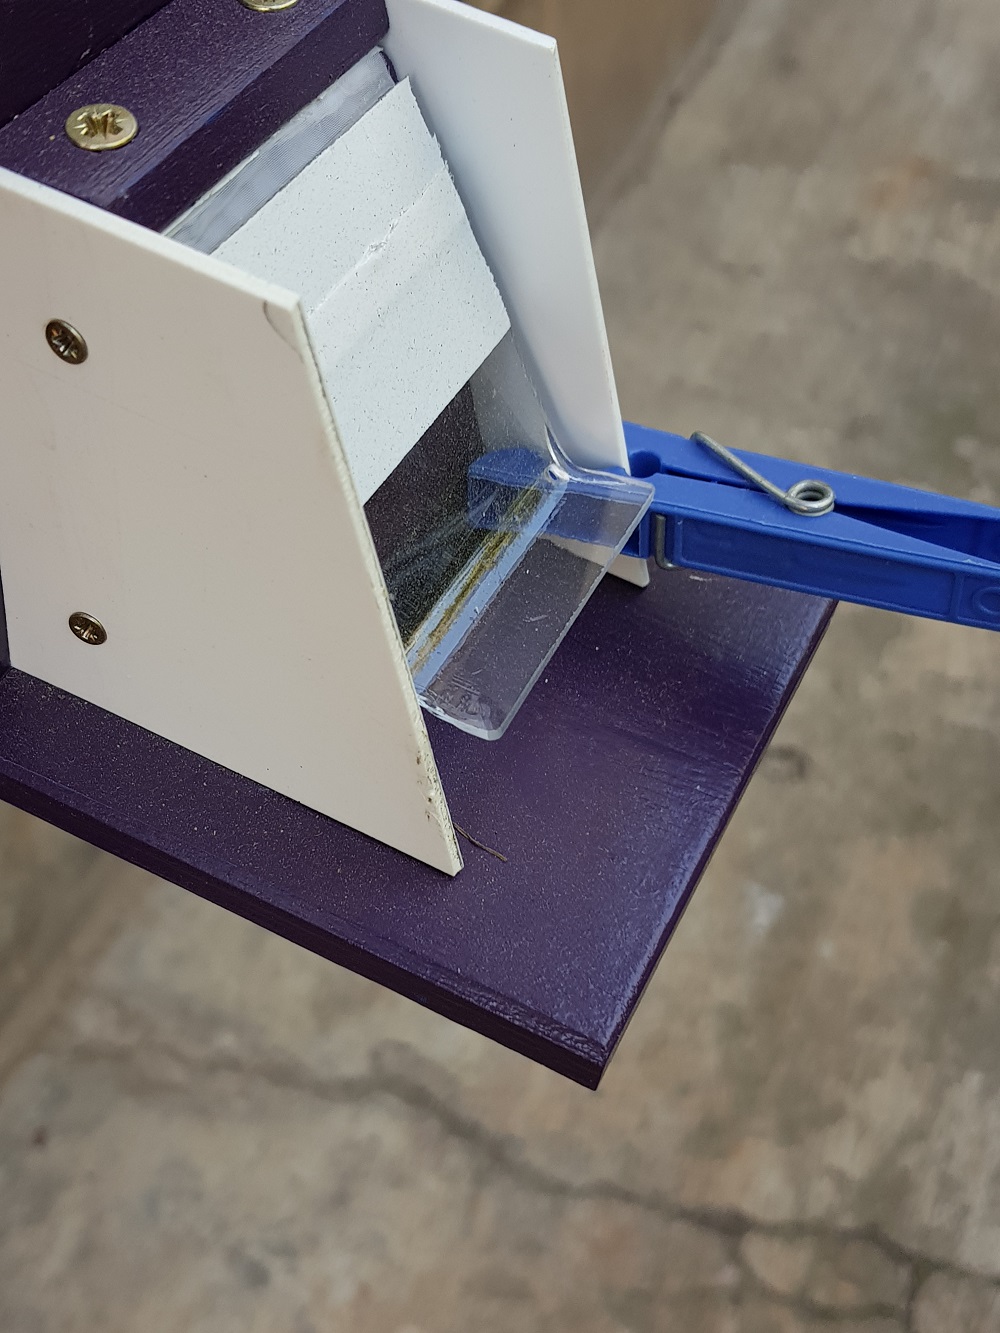
Solution for closing the flap -
pin flap lifted
Photo O. Hercog (2019)
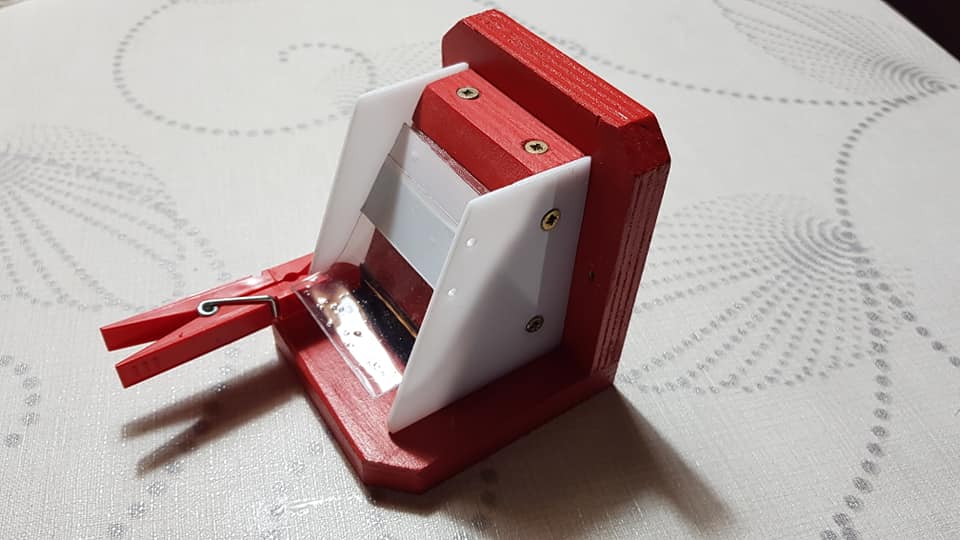
Solution for closing the flap -
flap pin lifted
Photo O. Hercog (2019)
Solution for closing the flap – pin
Photo O. Hercog (2019)
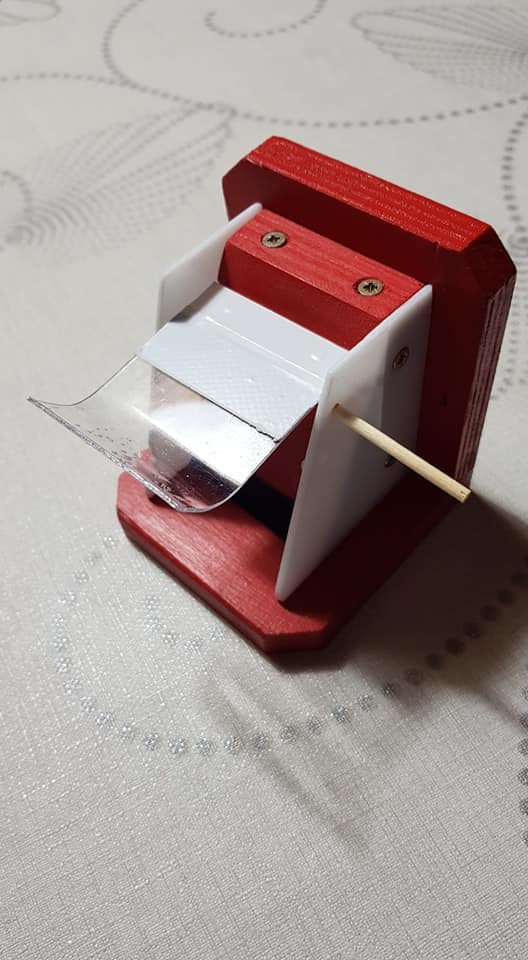
Solution for closing the flap – skewers,
flap up
Photo O. Hercog (2019)
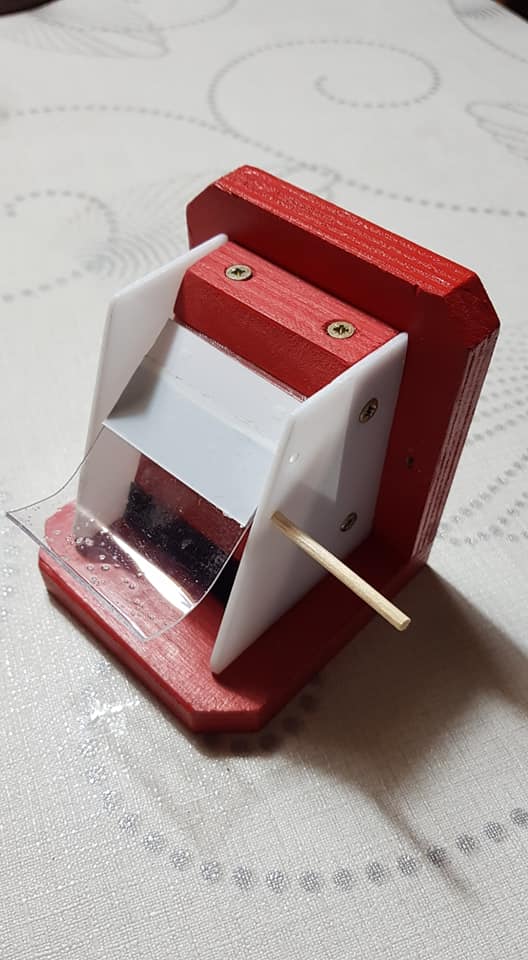
Solution for closing the flap – skewers,
flap closed
Photo O. Hercog (2019)
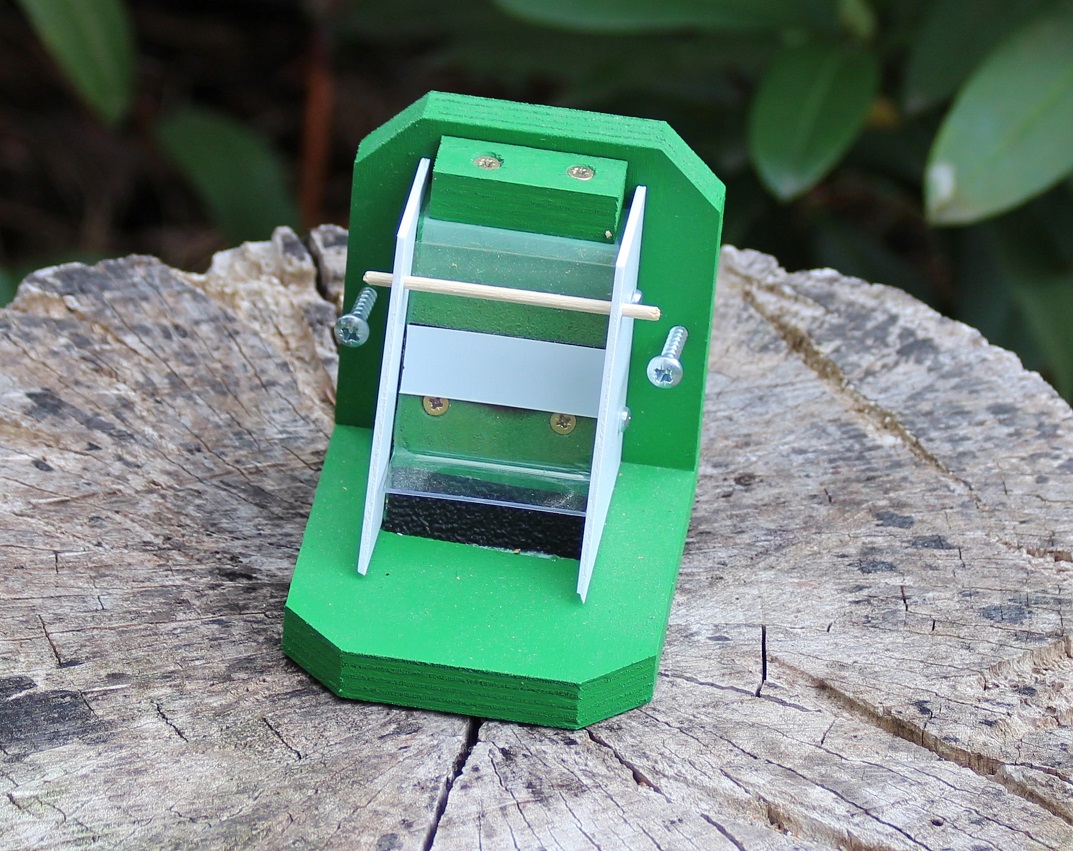
Solution for closing the flap – skewers
Photo J. Černý (2019)

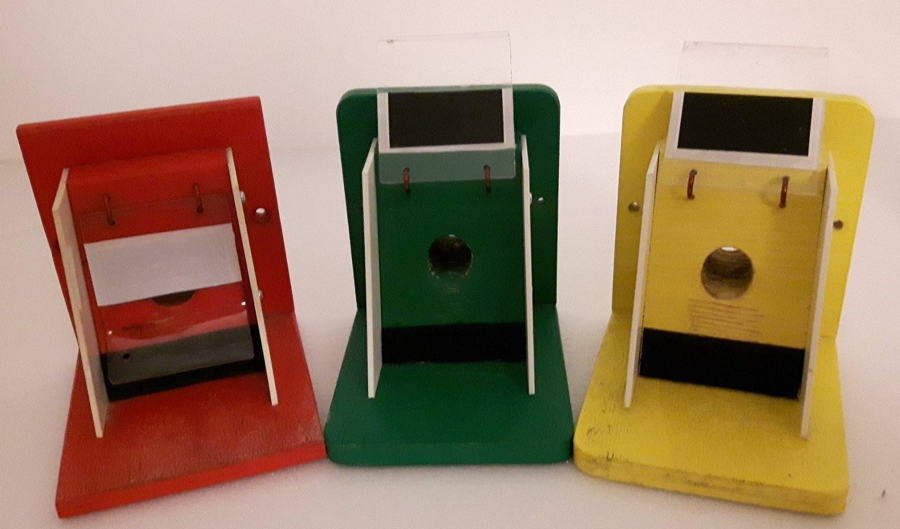
Solution for closing the flap with a screw below the inlet opening
We recommend replacing it with two screws at the level of the inlet opening/its axis
Photo manufacturer's website
Solution for closing the flap: screws,
set screws in the flap body
Photo O. Hercog (2019)
Solution for closing the flap with screws,
flap closed
Photo O. Hercog (2019)
Lorem ipsum dolor sit amet, consectetur adipiscing elit. Ut elit tellus, luctus nec ullamcorper mattis, pulvinar dapibus leo.
Solution for closing the flap – thread
Photo P Fereš
Bumblebees PLUS – Solution for closing the flap – thread
Photo M. Andrlík
Other solutions
An interesting solution was proposed by Roman Ševčík. He used two strong magnets at the beginning of the flap.
strong magnets (so that the flap does not close by itself) and at the same time small ones (so that they do not interfere with the operation of the valve and the flap can be lowered gradually).
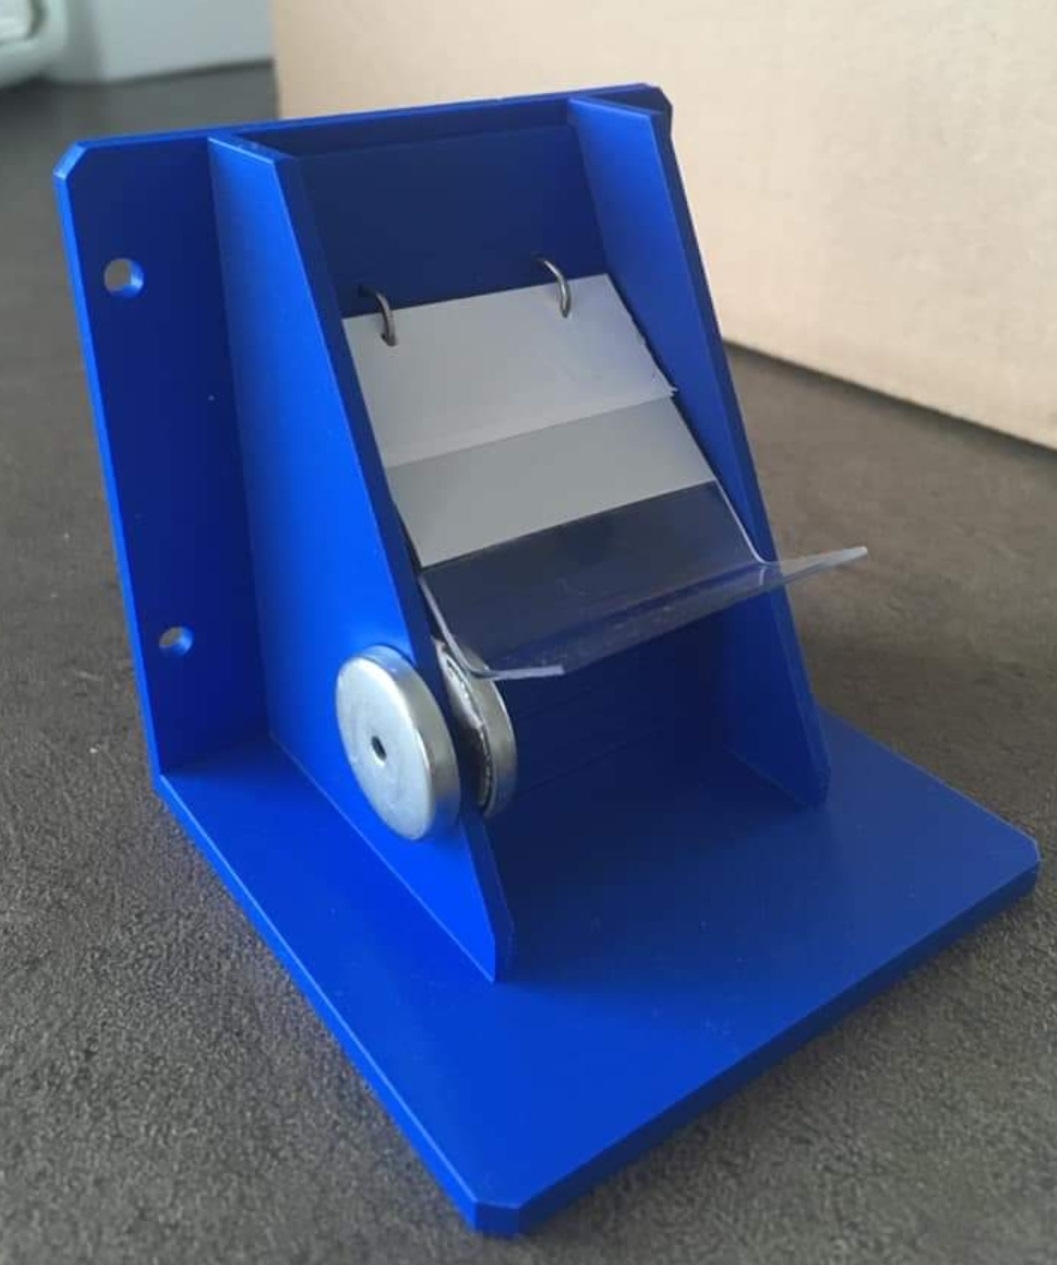
Solution for closing the flap using magnets
Photo R. Ševčík (2020)
There are many other solutions, including connecting electronics to sense the position of the flap, electronic control (we don't know how electronics can distinguish between a bumblebee and a wasp), etc.
If you have your own solution that has worked for you, we would be happy to add it here.
Don't forget to adjust the flaps with tape according to J. Čížek's recommendations, see HERE
Modification of the flap. Covering the black tape with white tape. Leaving only the lower window.
Photo O. Hercog (2018)