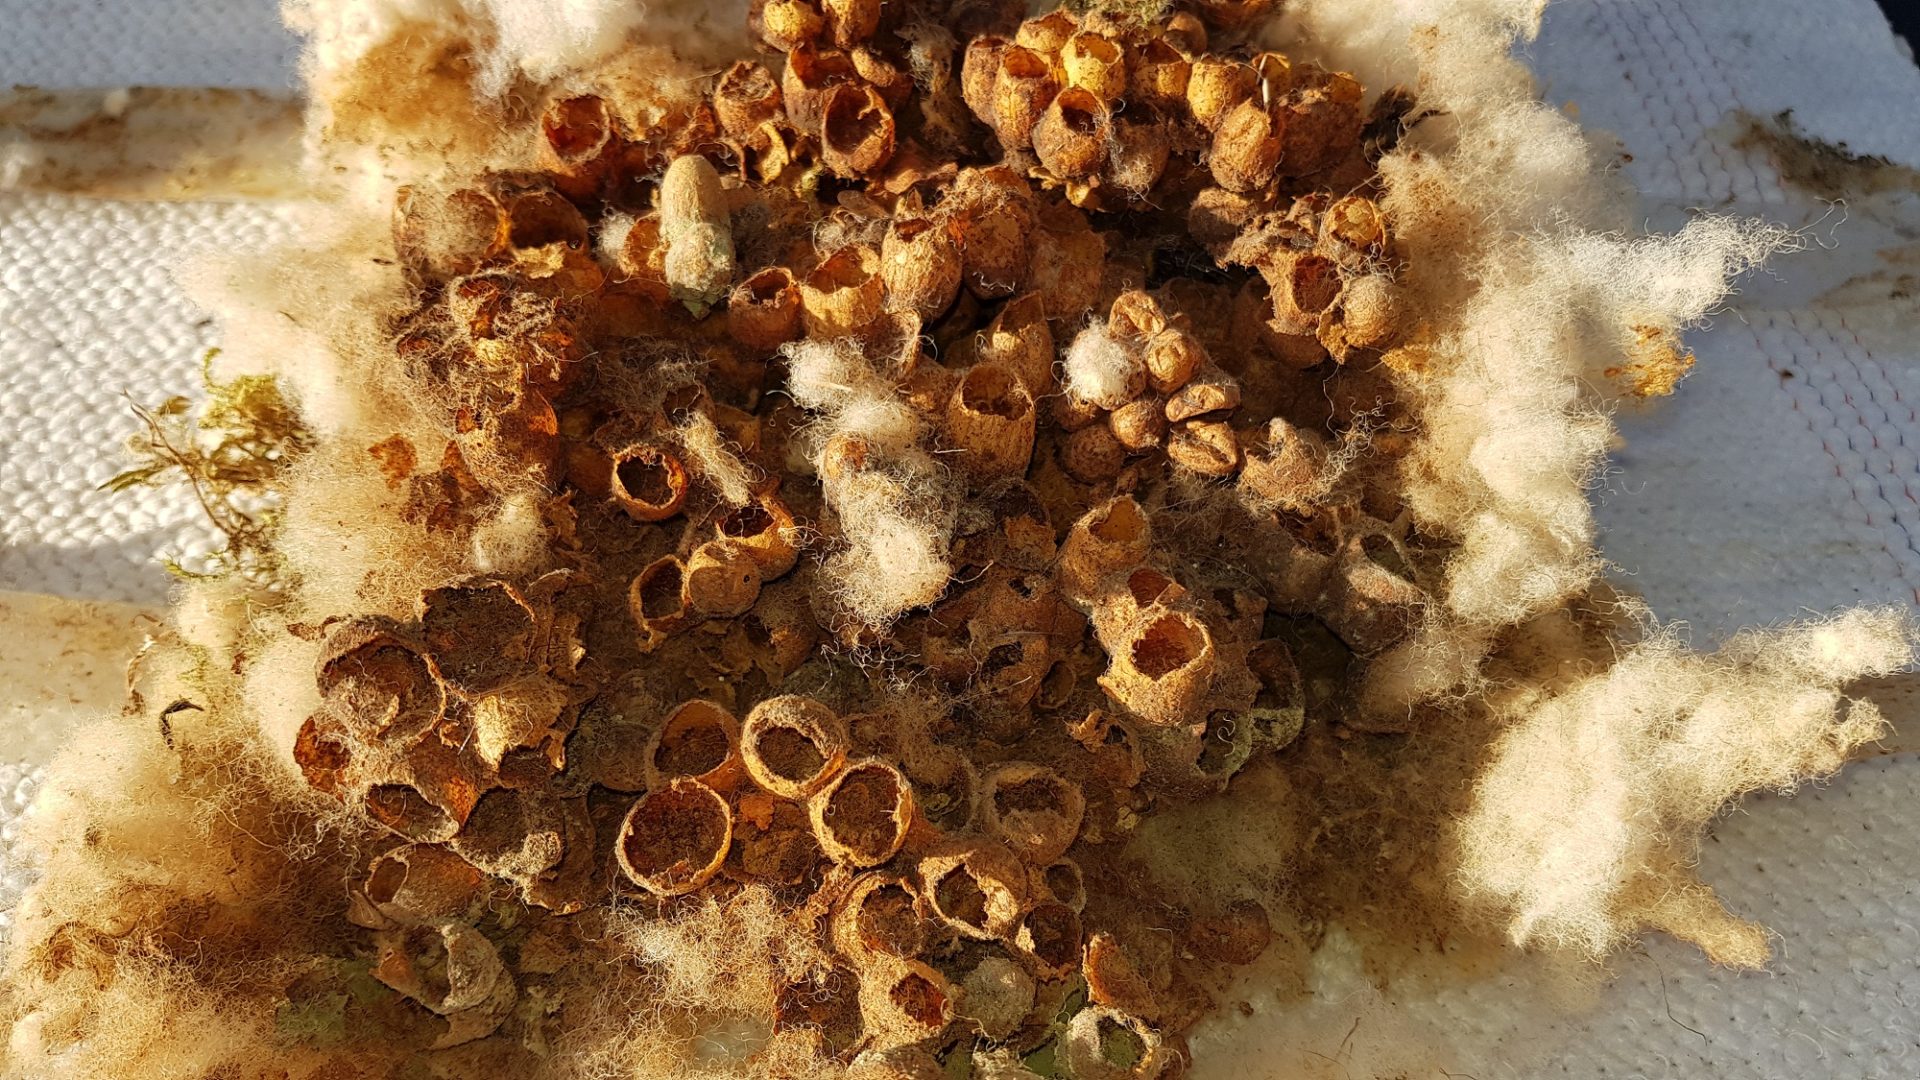
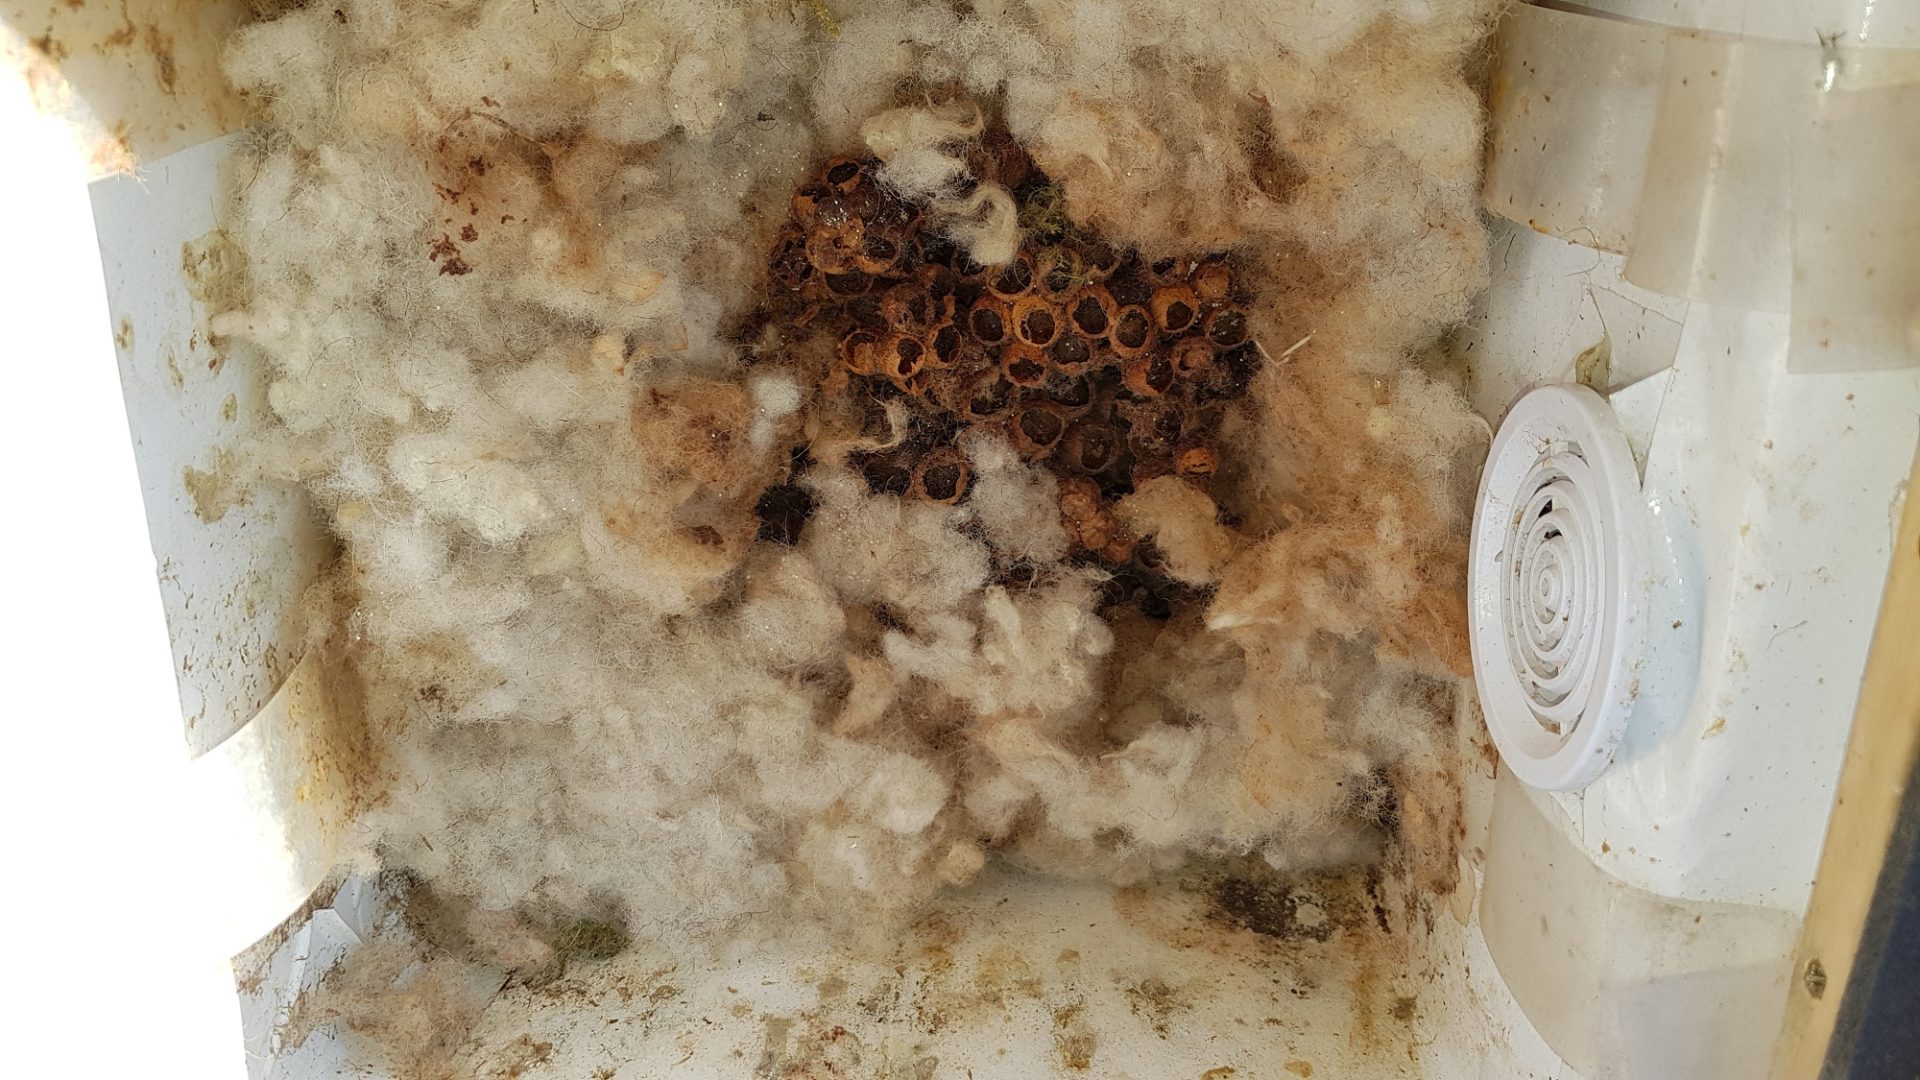
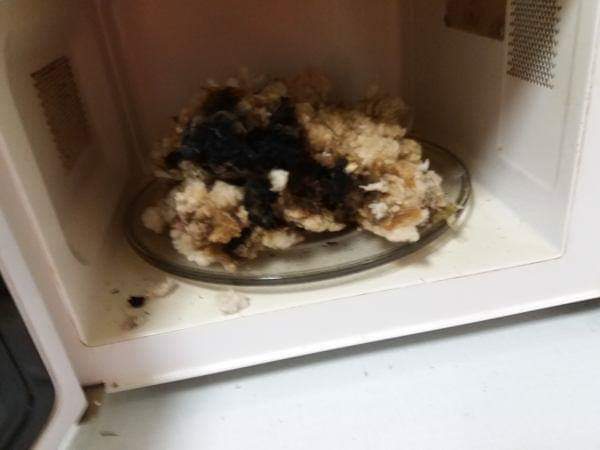
A nest of bumblebees after the season
Photo O., Hercog 20/9/2020
The nest of the Humen bumblebee after the season
The nest is actually abandoned – there has been no movement in the nest for many days
Photo O., Hercog 20/9/2020
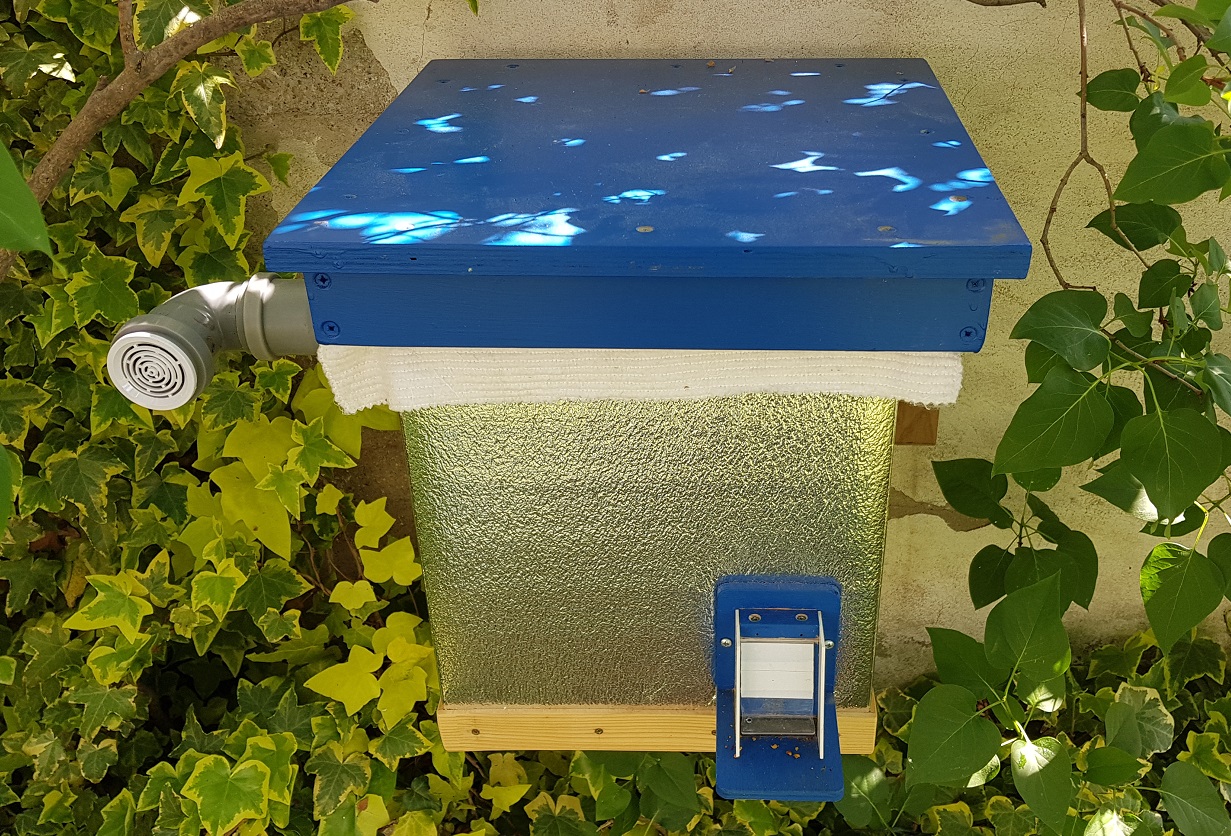
Poor quality roof of a commercially available hive after one season
Source Internet
Poor quality roof of a commercially available hive after one season – leaks into the hive and the hive is leaky
Source Internet
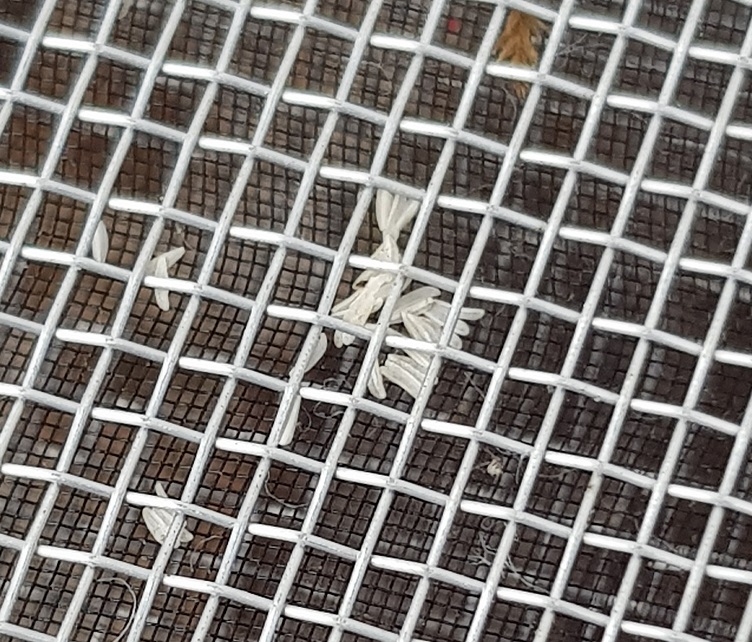
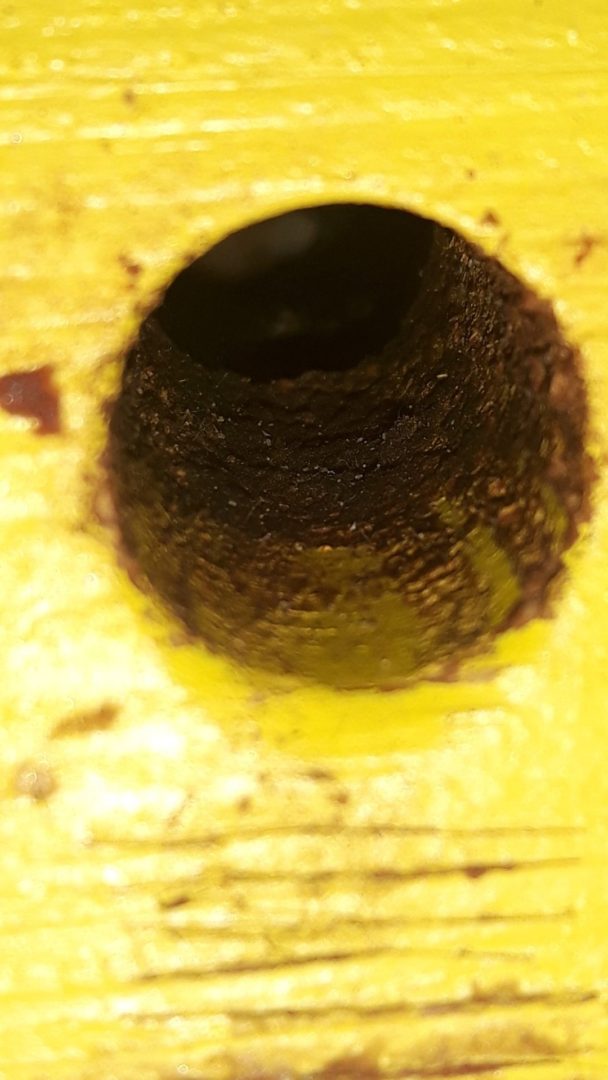
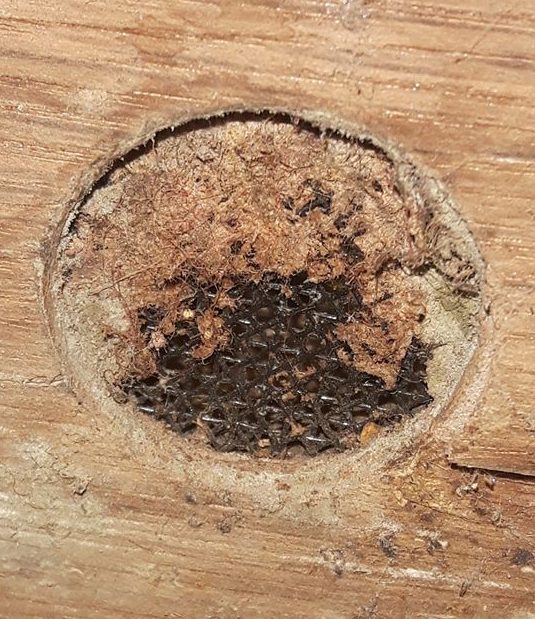
Hive ventilation - parasite eggs (here flies) laid on the mesh
of the ventilation hole
Photo O.Hercog 2018
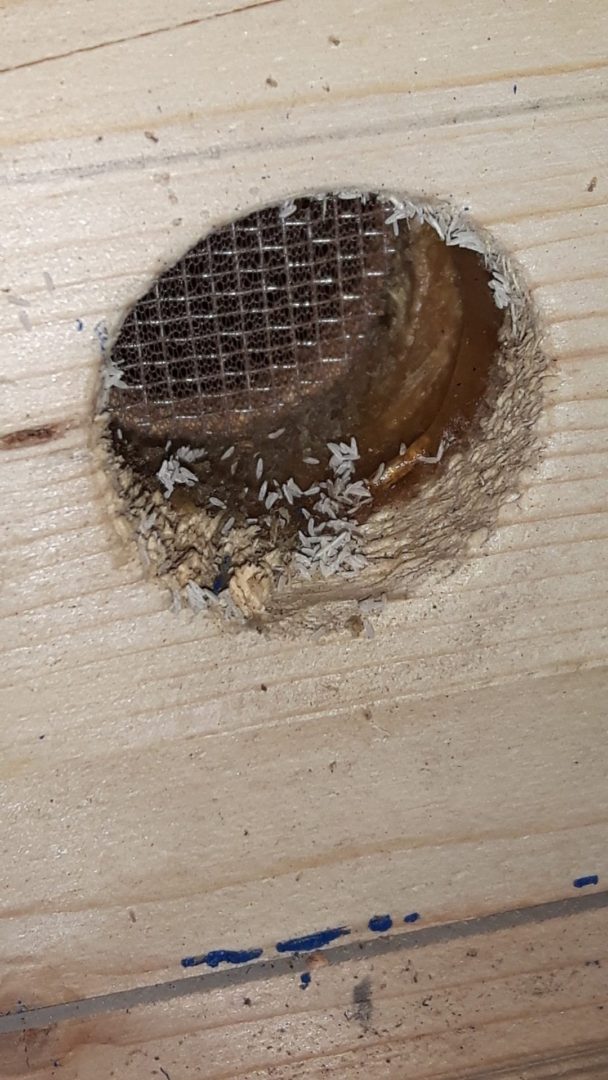
Fly eggs laid in a sticky trap in a ventilation
hole
Photo O. Hercog
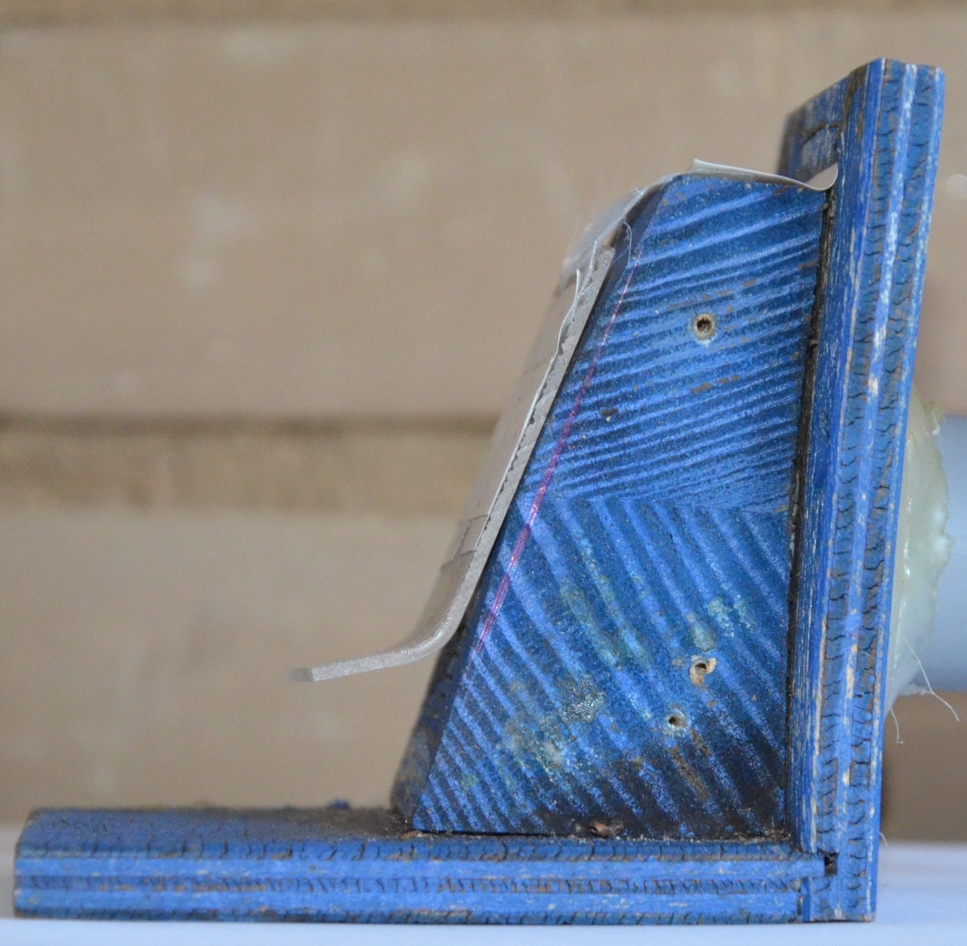
After removing the sidewall, it is noticeable that the flap is almost not touching the sidewall. This flap is not functional. Damage caused by moisture after one season.
Photo: K. Kučera
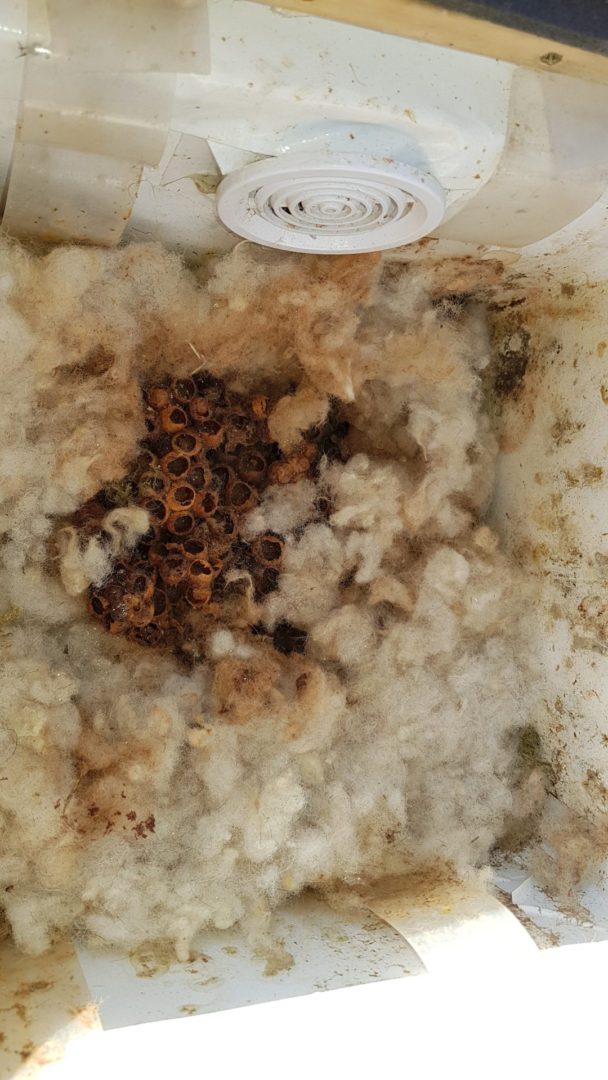
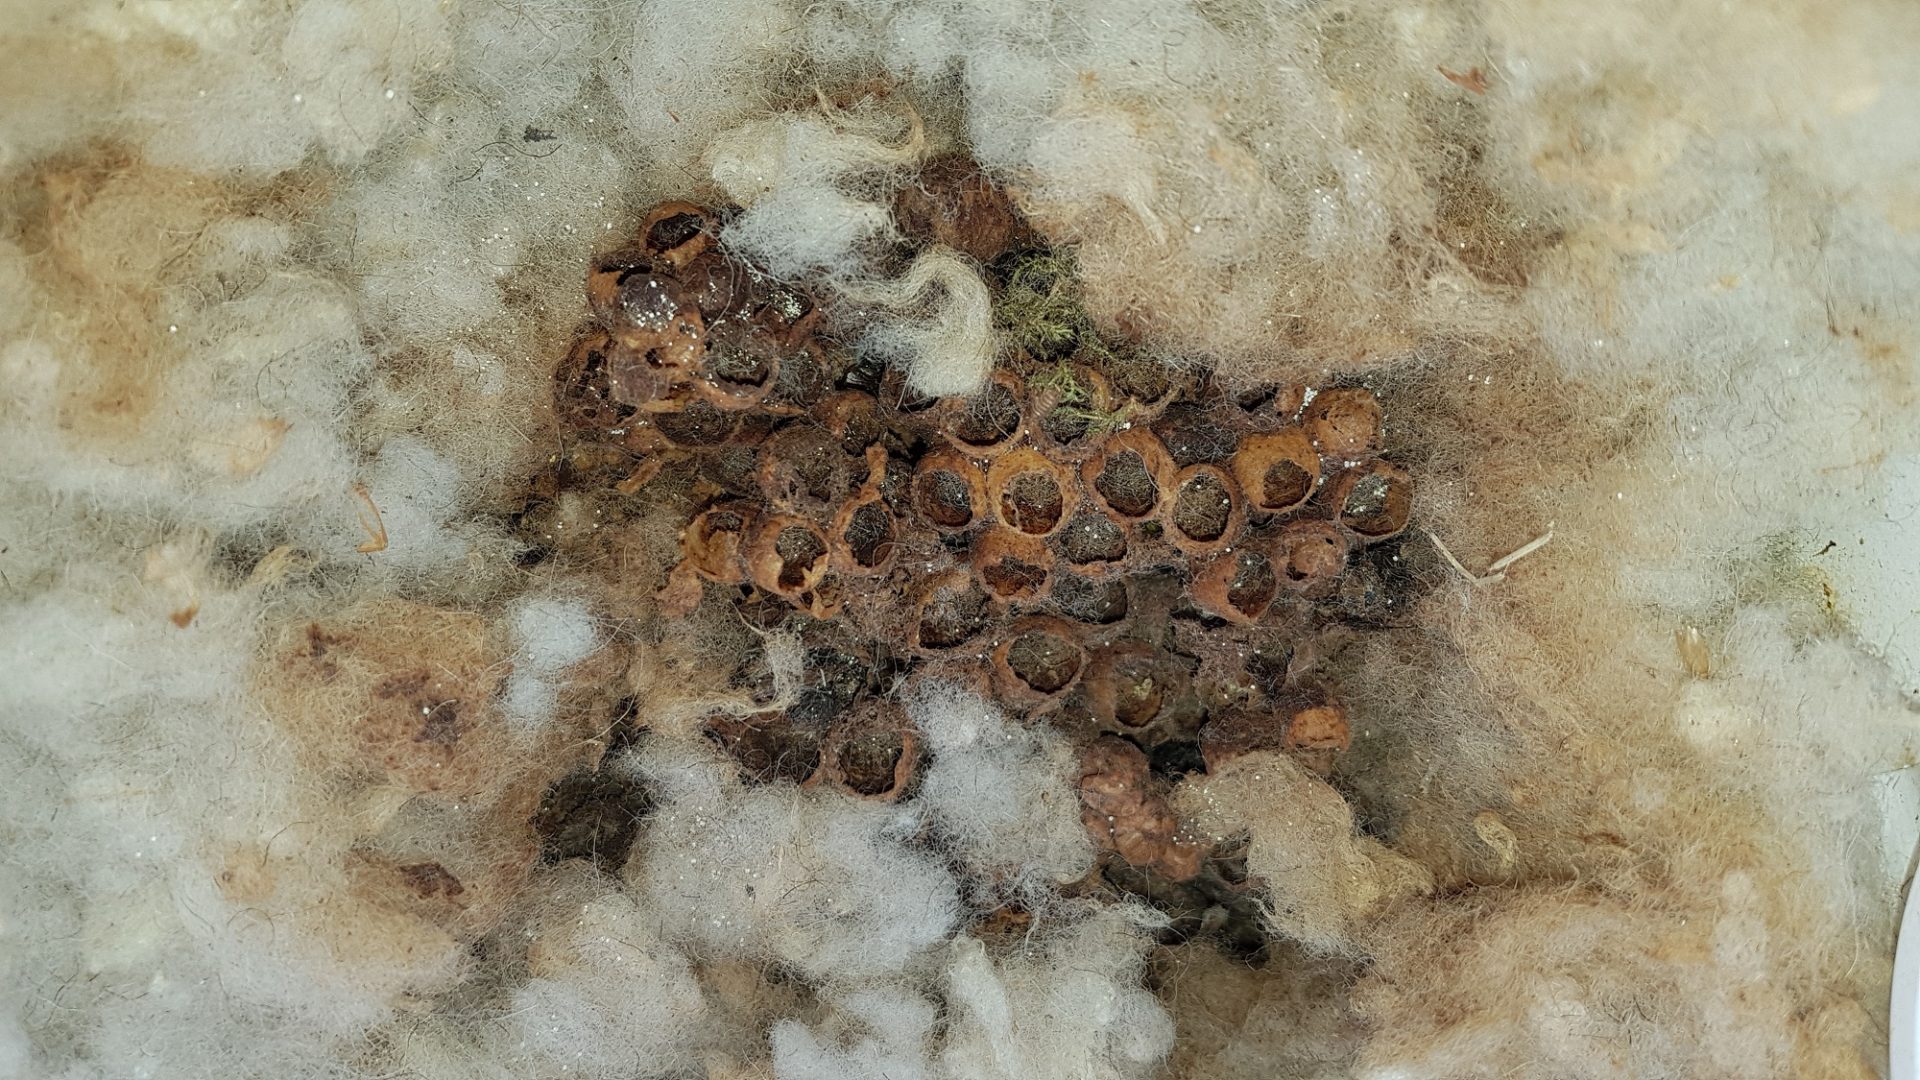
The nest looks empty – no bumblebees are calling and the nest has been empty for weeks.
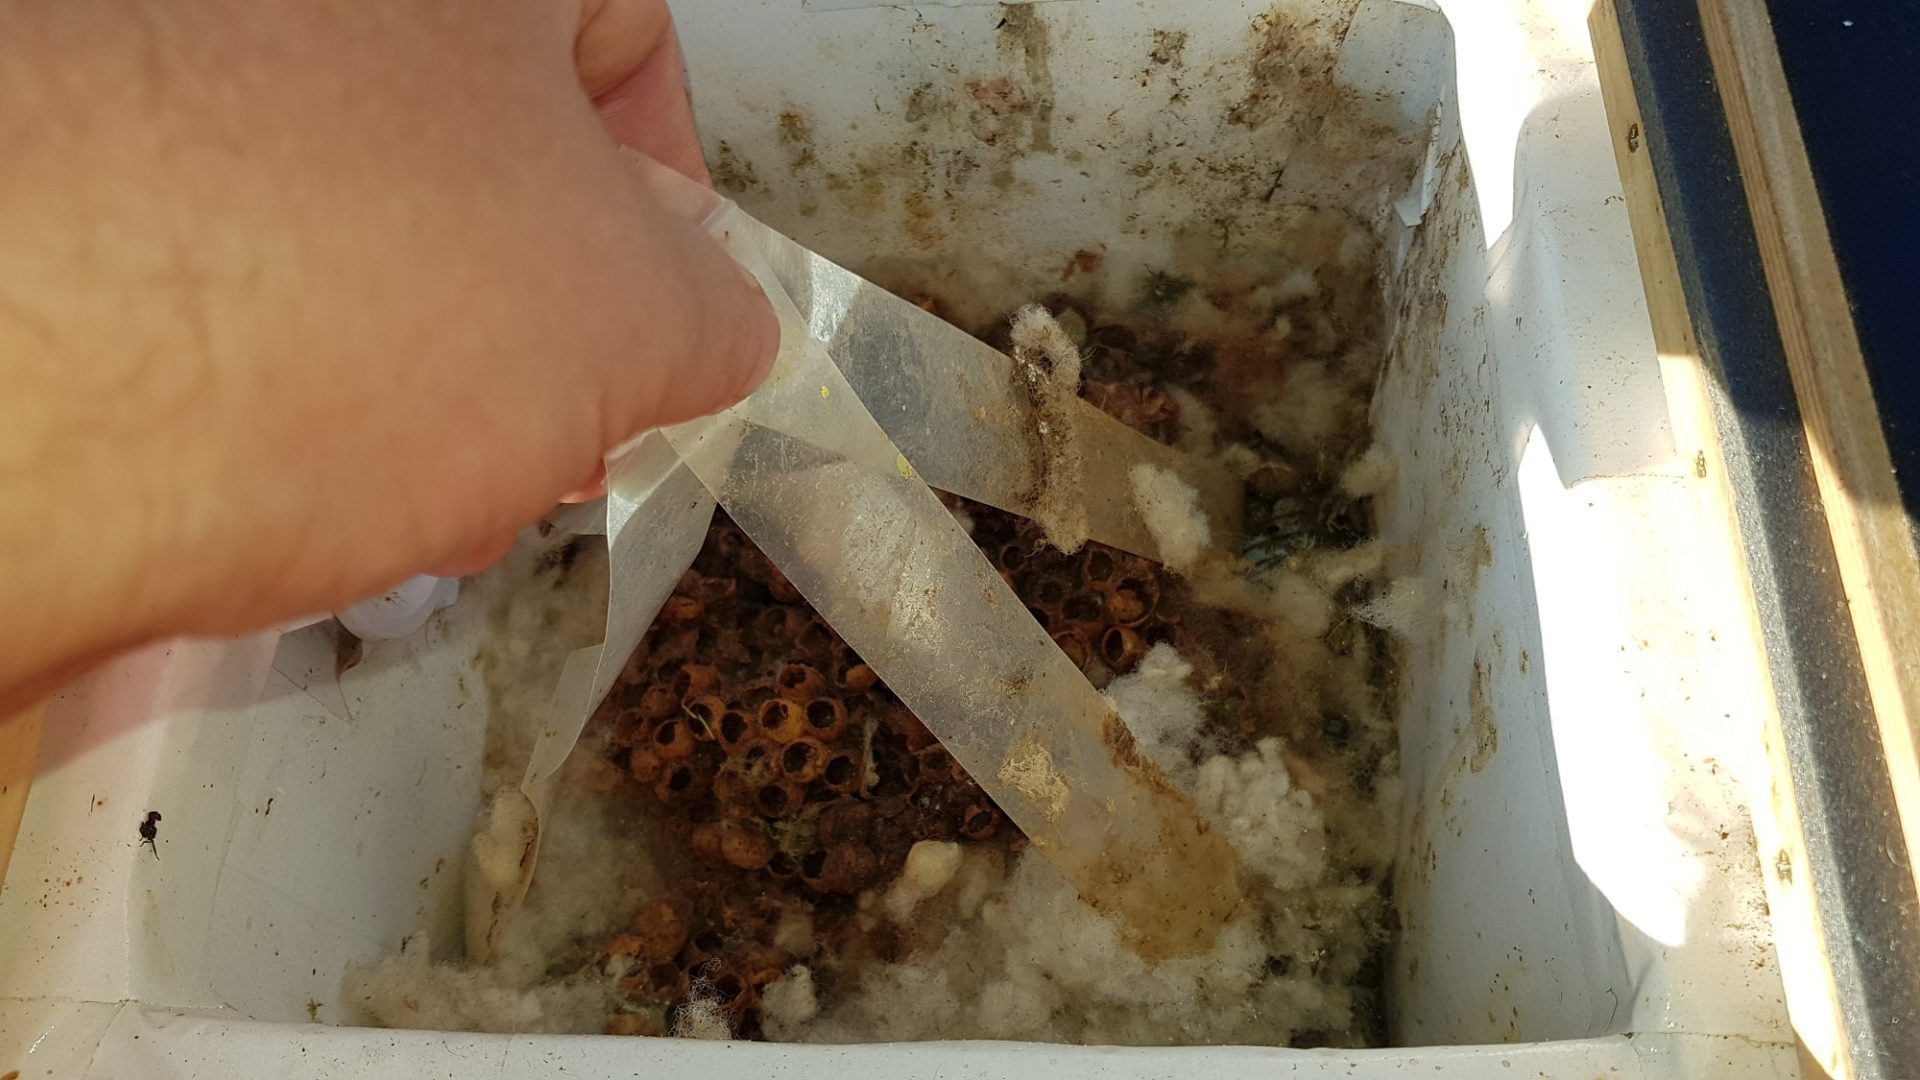
Uncovering the nest - step by step
Photo O. Hercog 20/9/2020
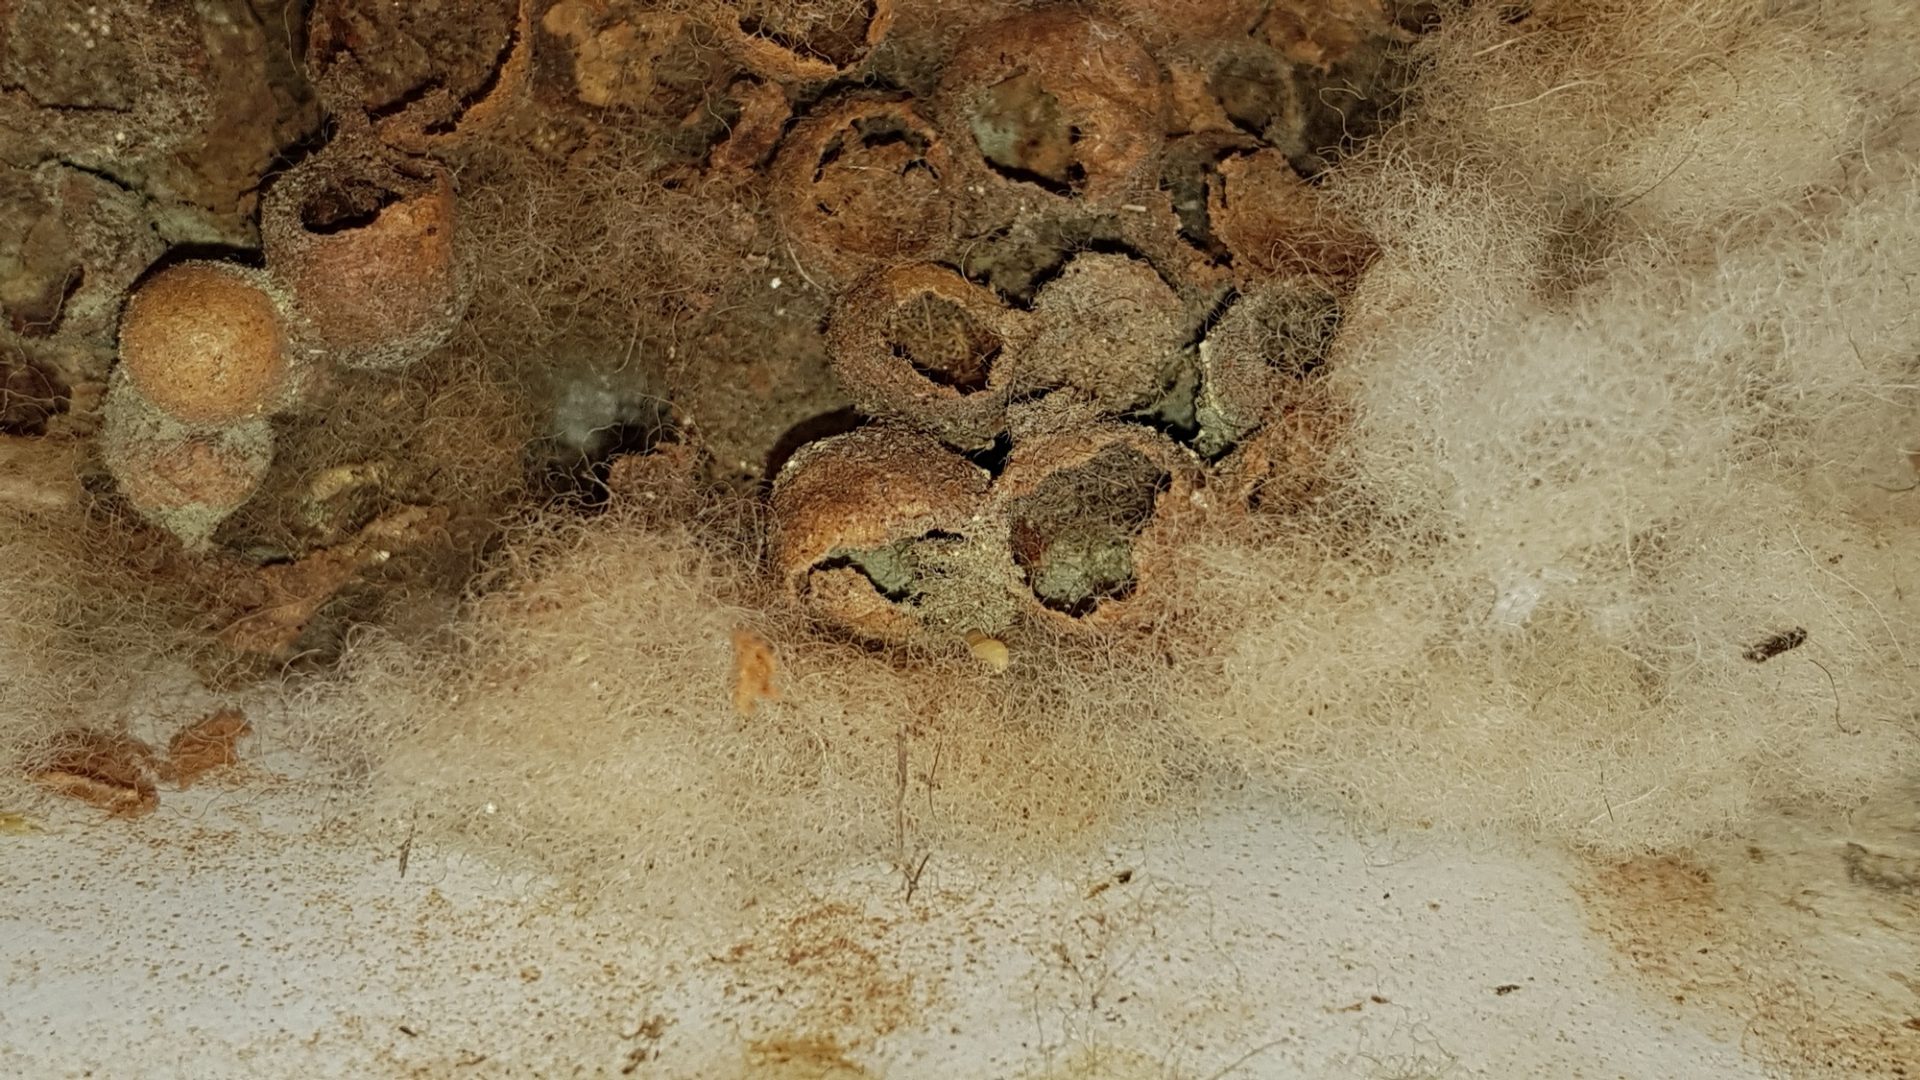
After the lining is gradually uncovered, the waxwork appears. The nest is empty and without reserves of honey and pollen. The mothers have fattened it up before hibernation, hastening the demise of the rest of the nest.
Uncovering the nest - step by step
Photo O. Hercog 20/9/2020
An empty nest and lifeless, but it was strong and produced enough mothers.
Uncovering the nest - step by step
Photo O. Hercog 20/9/2020
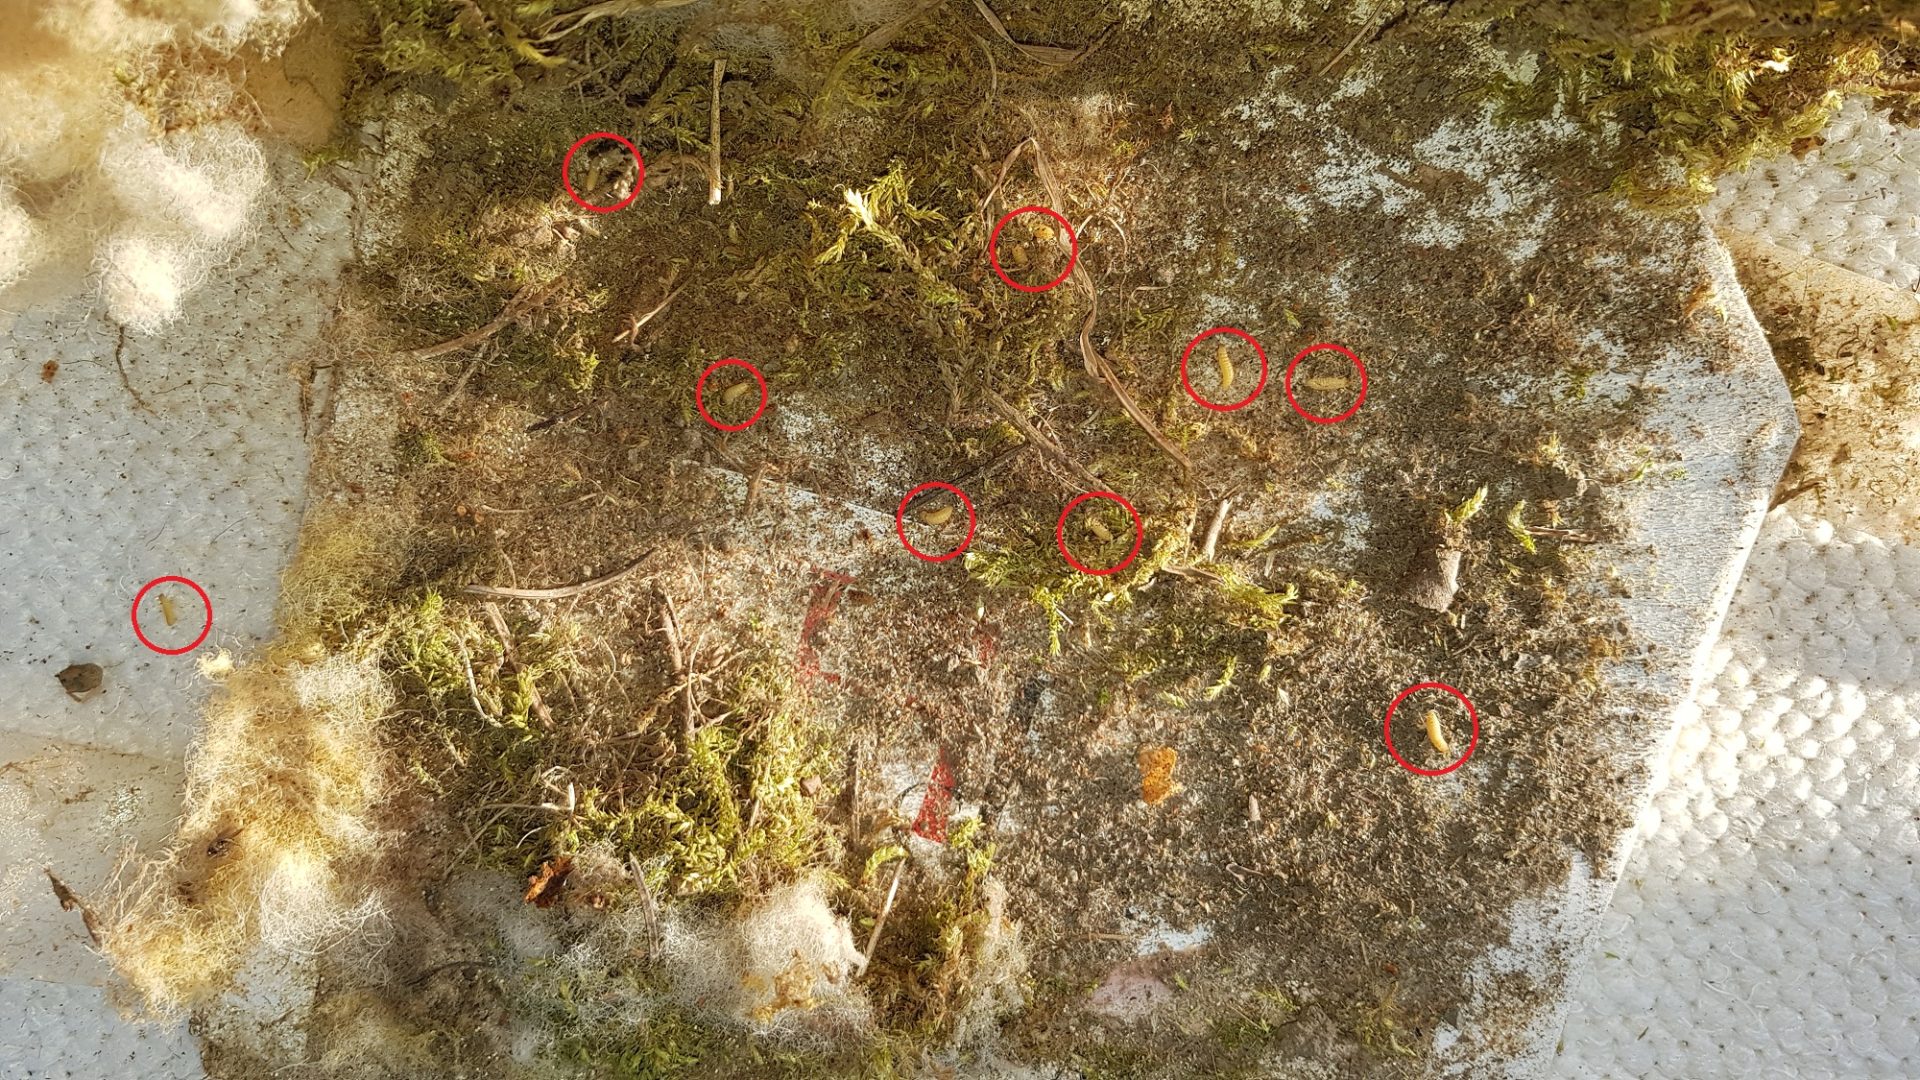
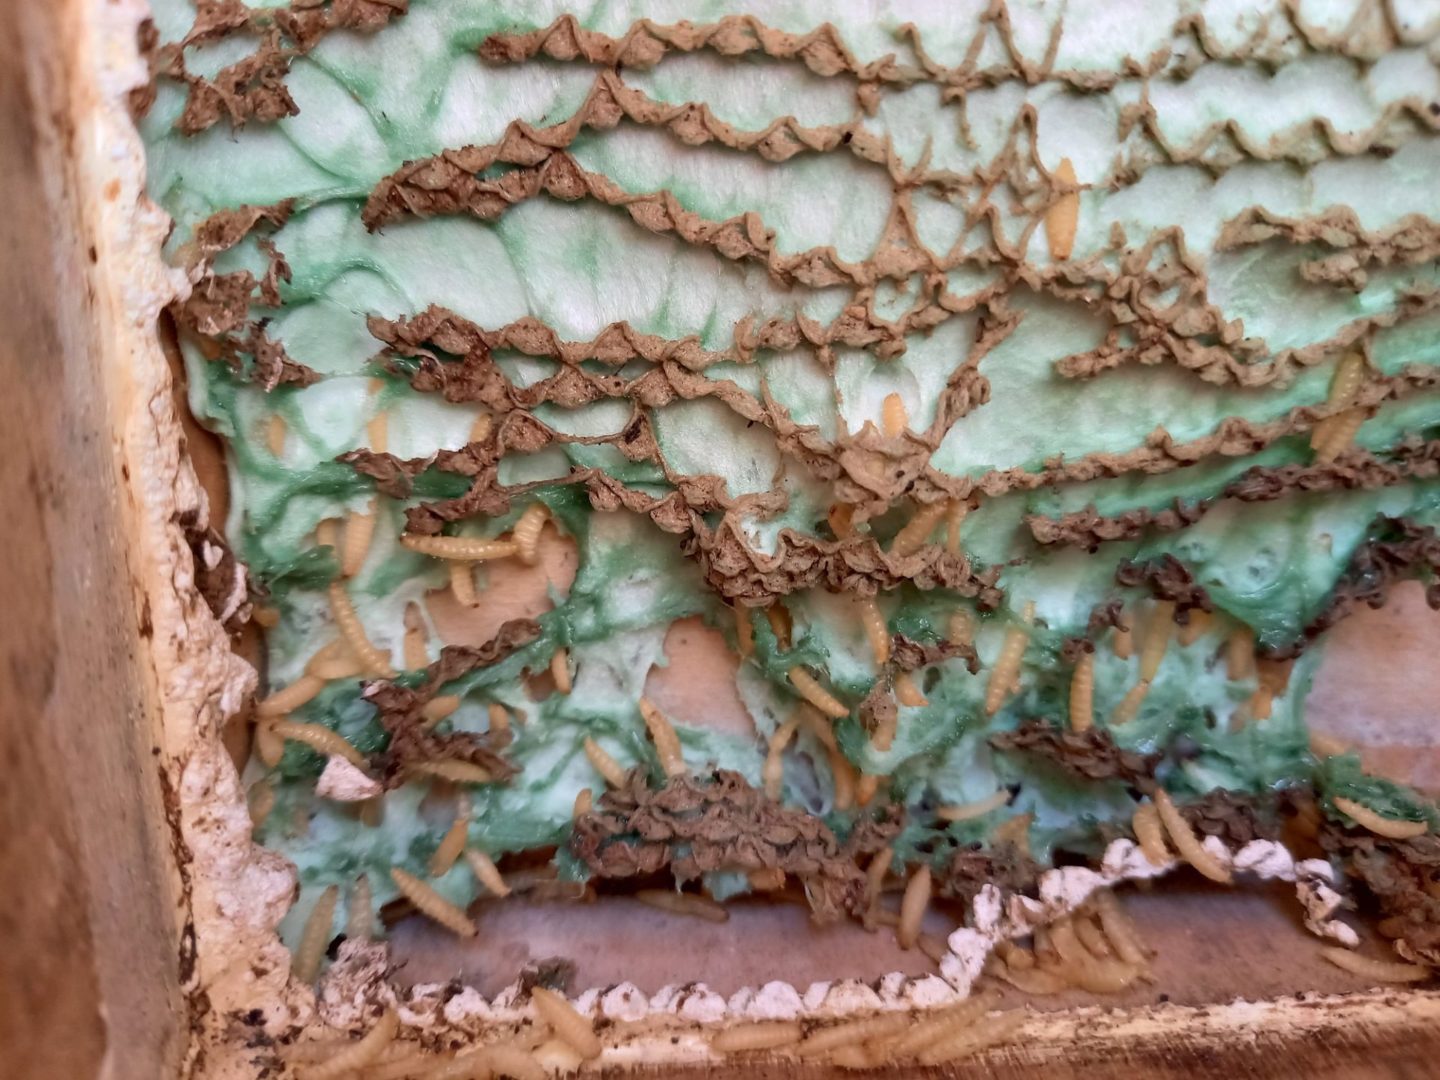
Mold appears on the empty cocoons. A parasite larva can be seen in the center of the photo.
Uncovering the nest - step by step
Photo O. Hercog 20/9/2020
.
A nest of ground bumblebees after the season.
Although there is mold on the surface of the nest, the nest has thrived and produced queens.
Workers in a strong nest can clean the waxwork and a strong
nest thrives well
Photo O. Hercog 20/9/2020
Last year's lining - sanitation in the MW oven, too intensive heating.
The author's photo is not included at the request of his wife...
Bumblebees PLUS – Bumblebee Elevator – Cleaning the nest after the season
Photo: O. Hercog 9/2020

The base of the nest and the first wax cases and cocoons
Photo O. Hercog 8/2017
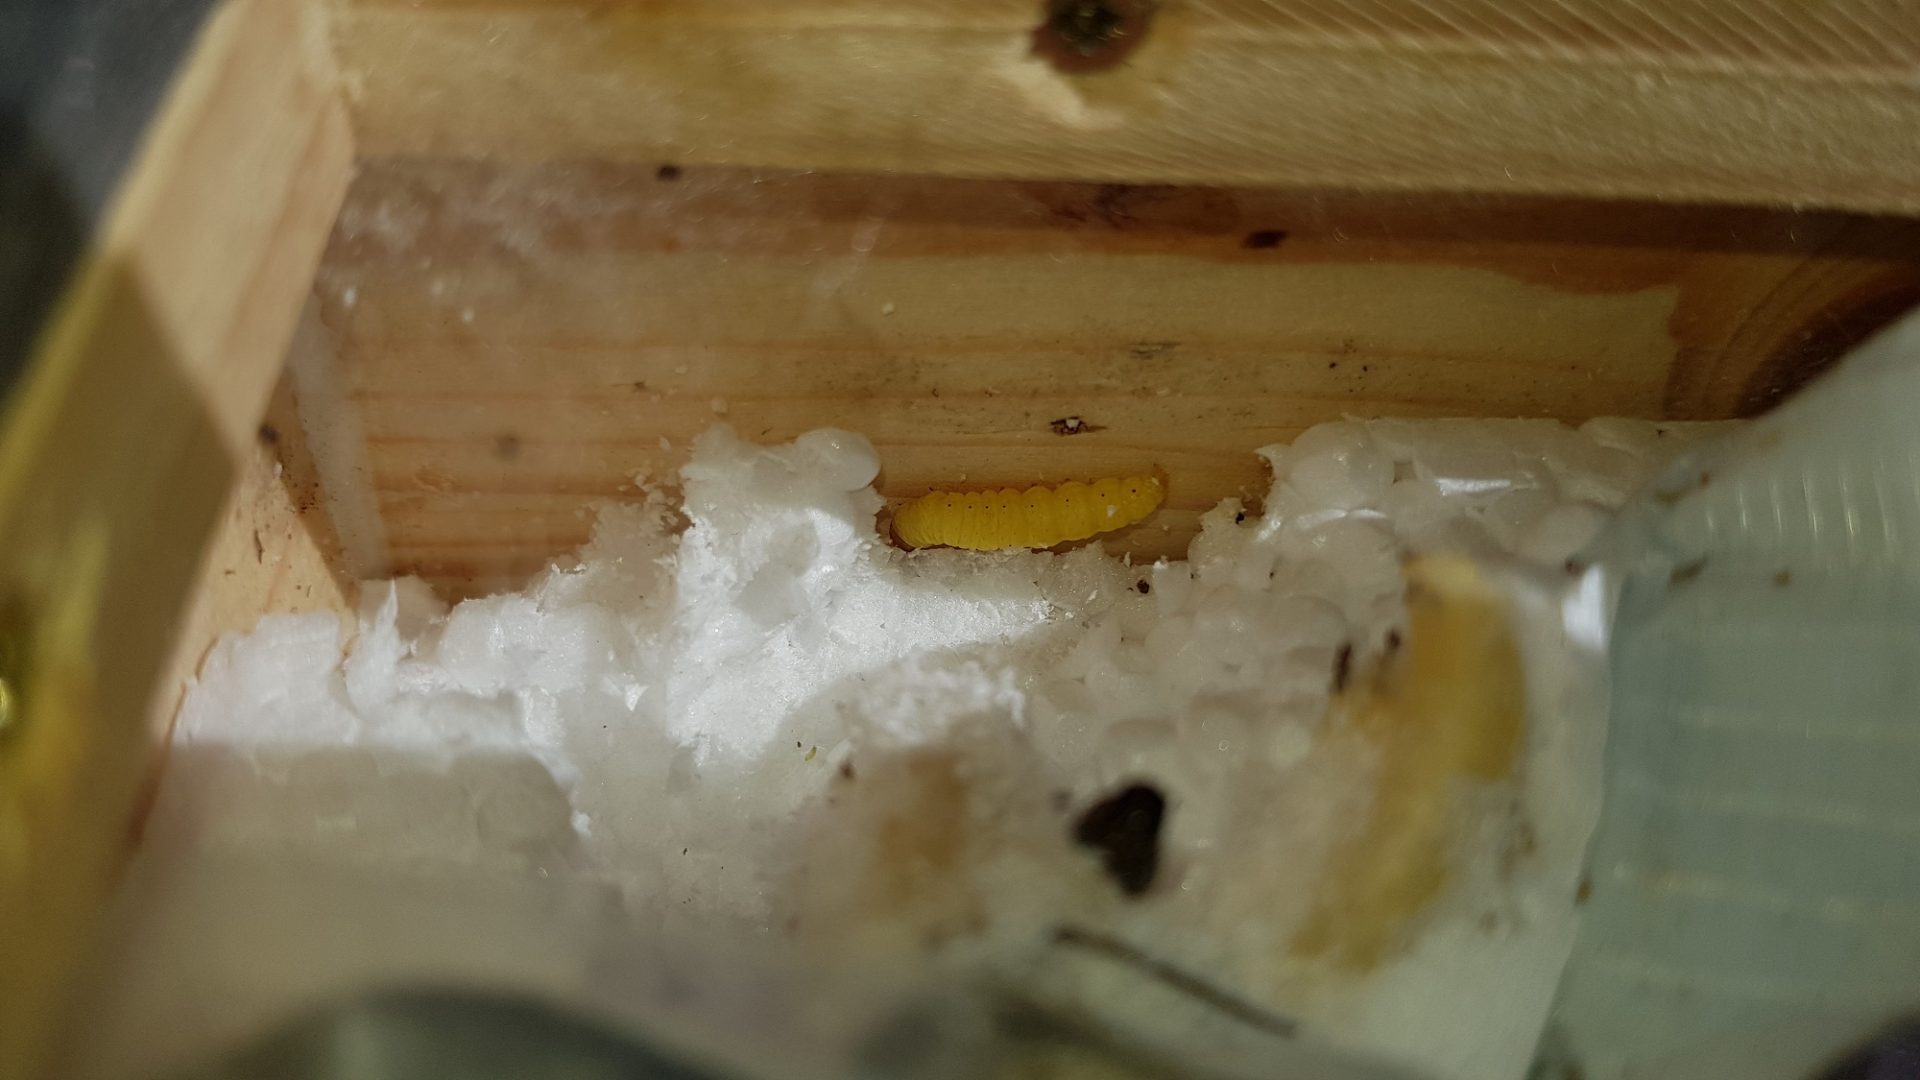
Parasite larvae hidden under the nest - antherophagus nigricornis
Photo by O. Hercog 9/20/2020

Larvae and pupae of the parasitic beetle antherophagus nigricornis
Photo O. Hercog 20/9/2020
Caterpillars of the parasitic wasp are preparing to overwinter in fibrous casings behind chewed polystyrene boards
Photo O Hecog 20/9/2020
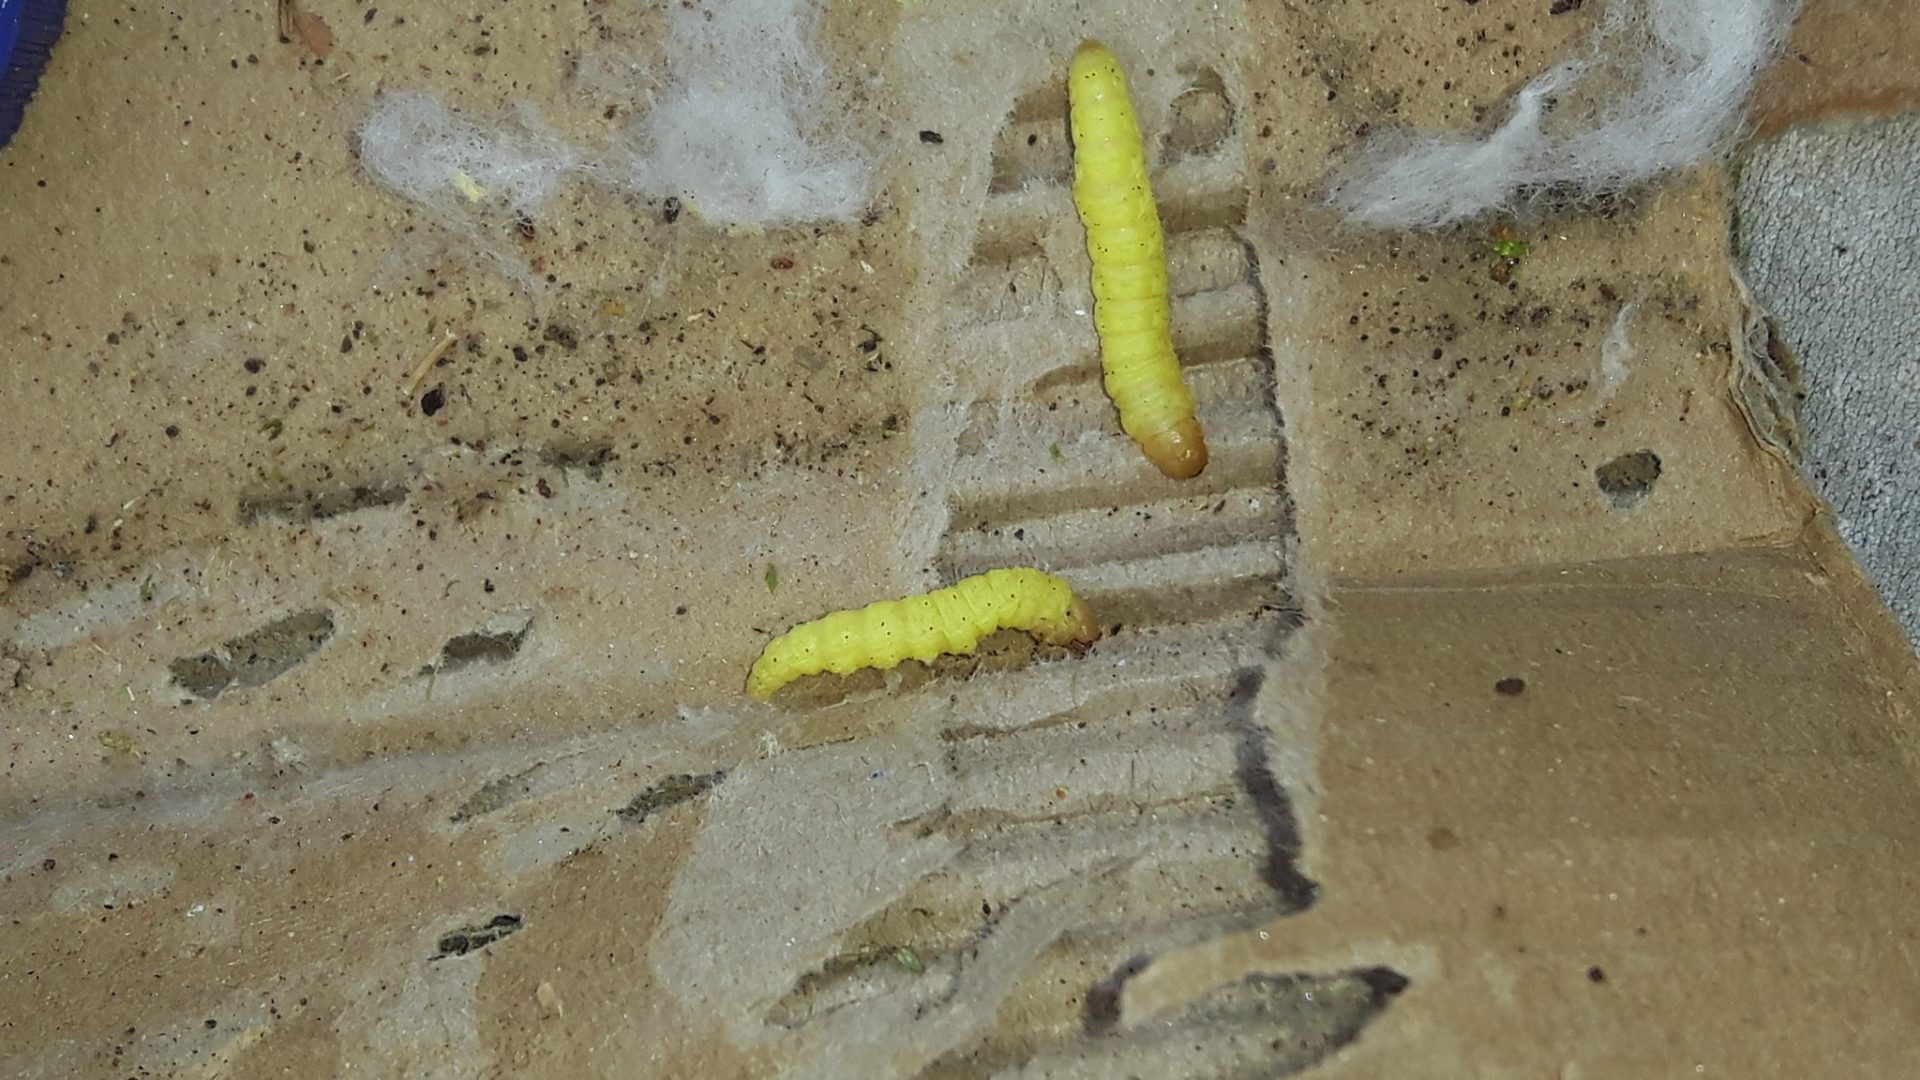
Caterpillars of the ectoparasitic worm in corrugated cardboard chambers

Fly pupae
Photo O. Hercog

Caterpillars of the ectoparasitic wasp hidden behind the ventilation in the hive
Photo O Hercog 9/2018
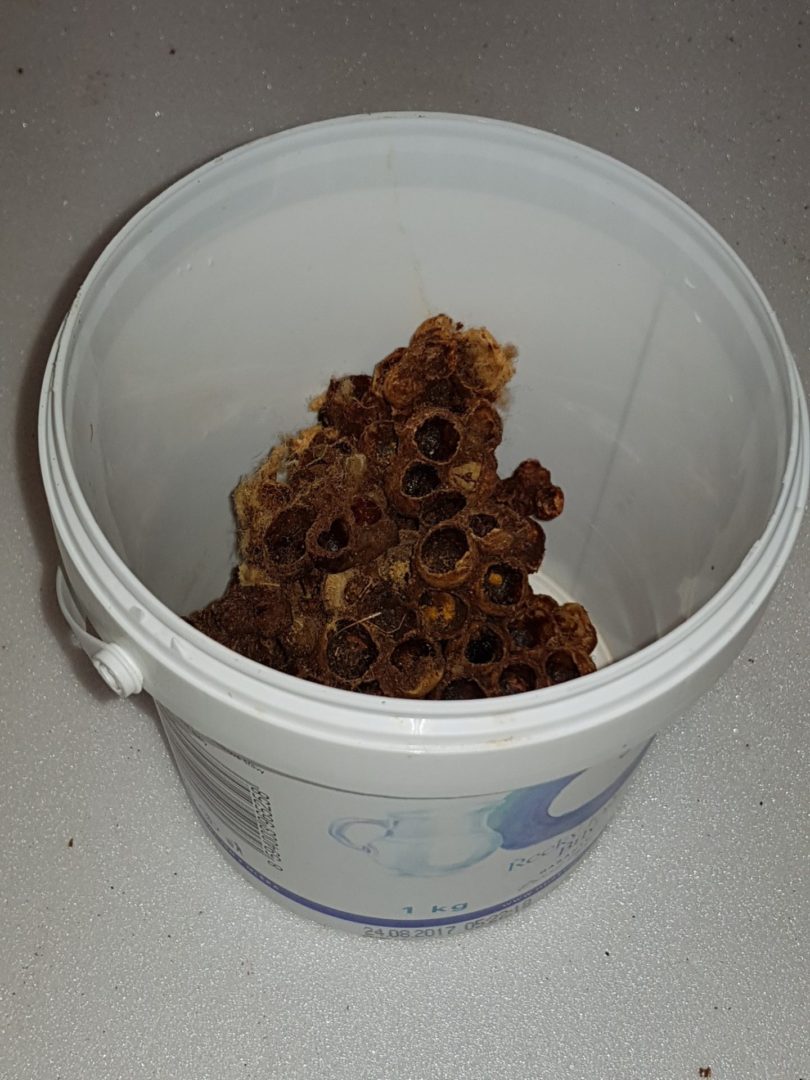
Part of the nest stored for display
This one performed in Dobrý rán 2020
Photo O. Hercog 8/2019
Protective flap clogged with pollen threads and wax
Photo O.Hercog
Blocked entrance hole to the corridor behind the flap
Photo O. Hercog 8/2019
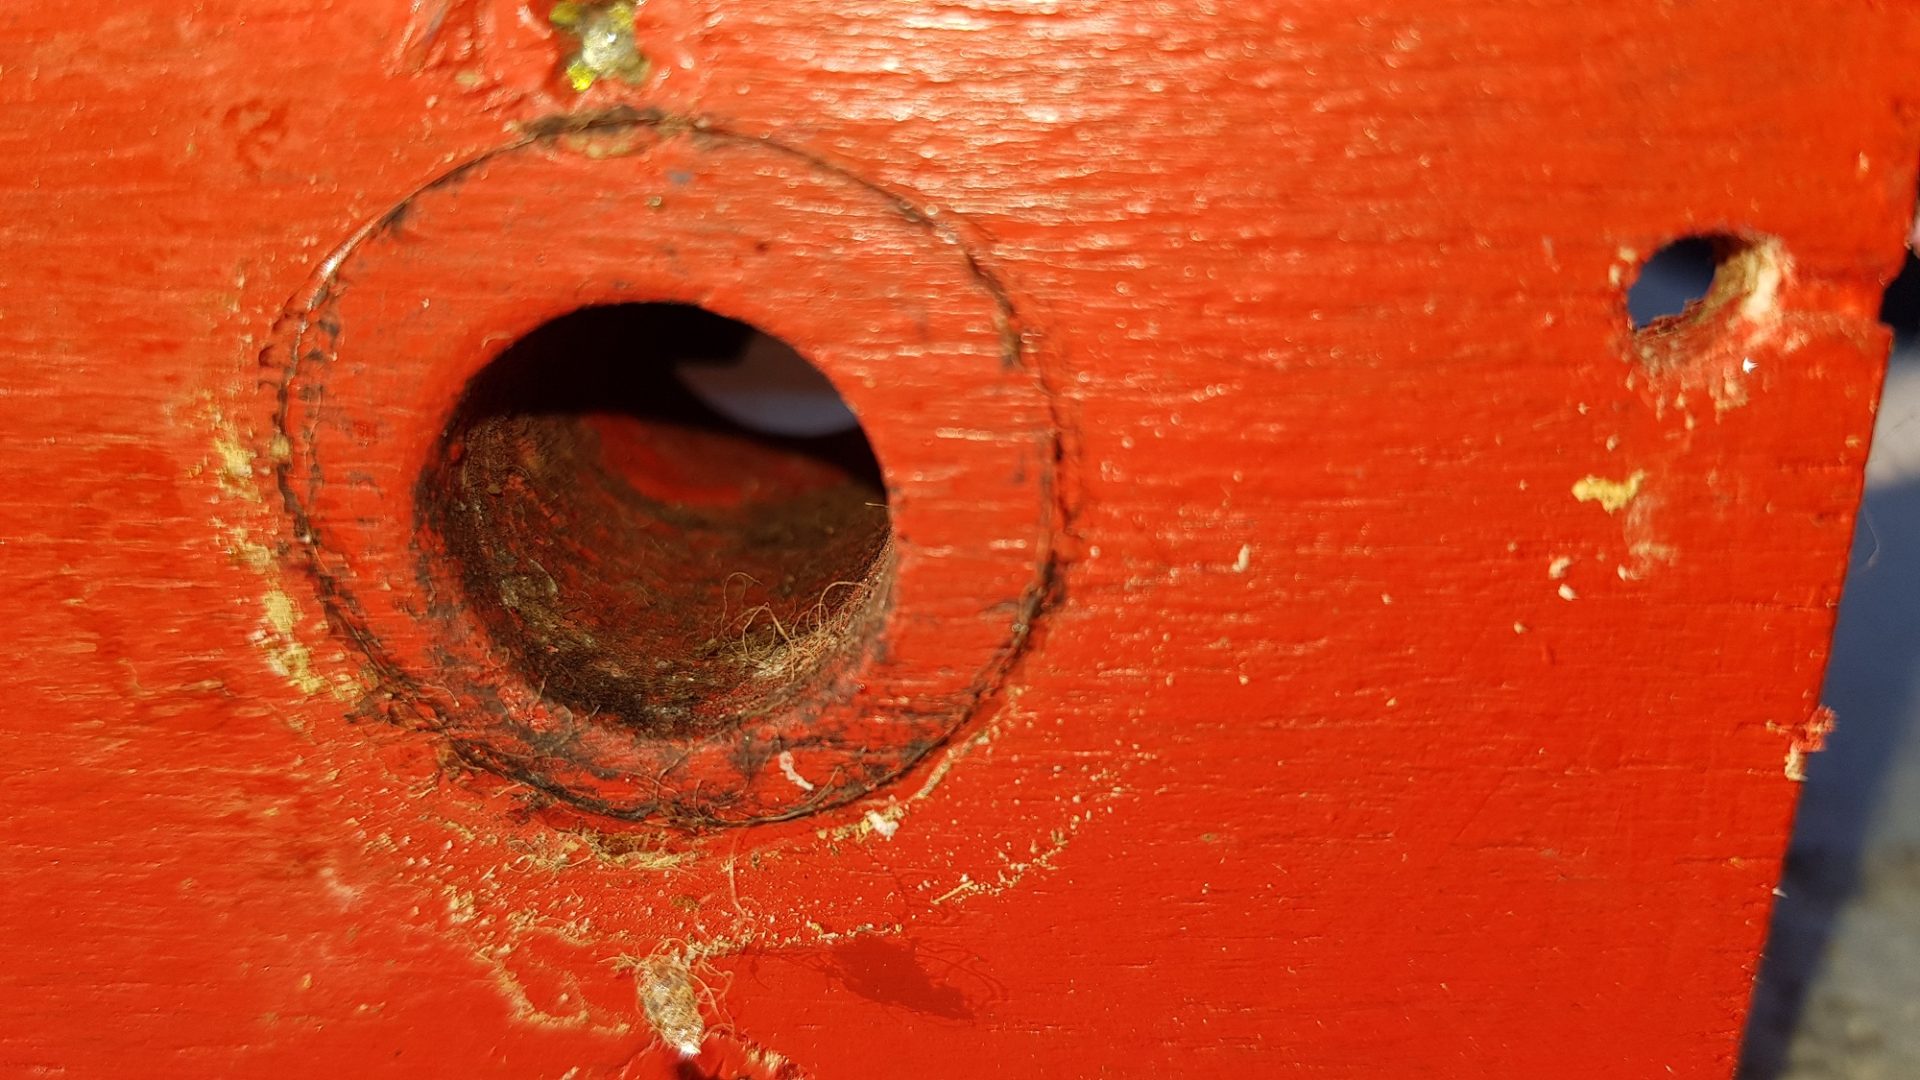
Dirty inlet hole in the flap
Photo O. Hercog 2018
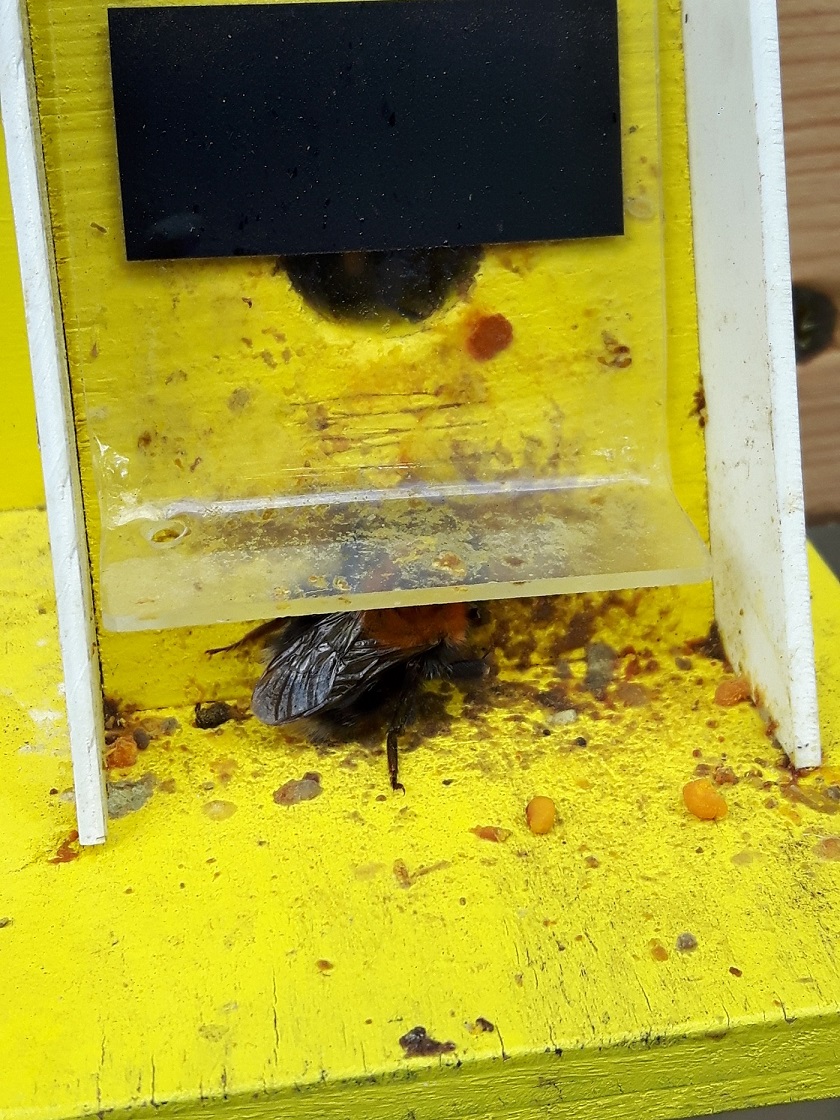
Back of the flap
Photo O. Hercog 20/9/2020
Entrance hall after the season
Photo: O. Hercog 9/2020
Entrance hall after the season
Photo: O. Hercog 9/2020
A woman's head is priceless - cleaning
Photo: P. Krčová 8/2019
Entrance hall after the season - cleaning
Photo: O. Hercog 8/2019

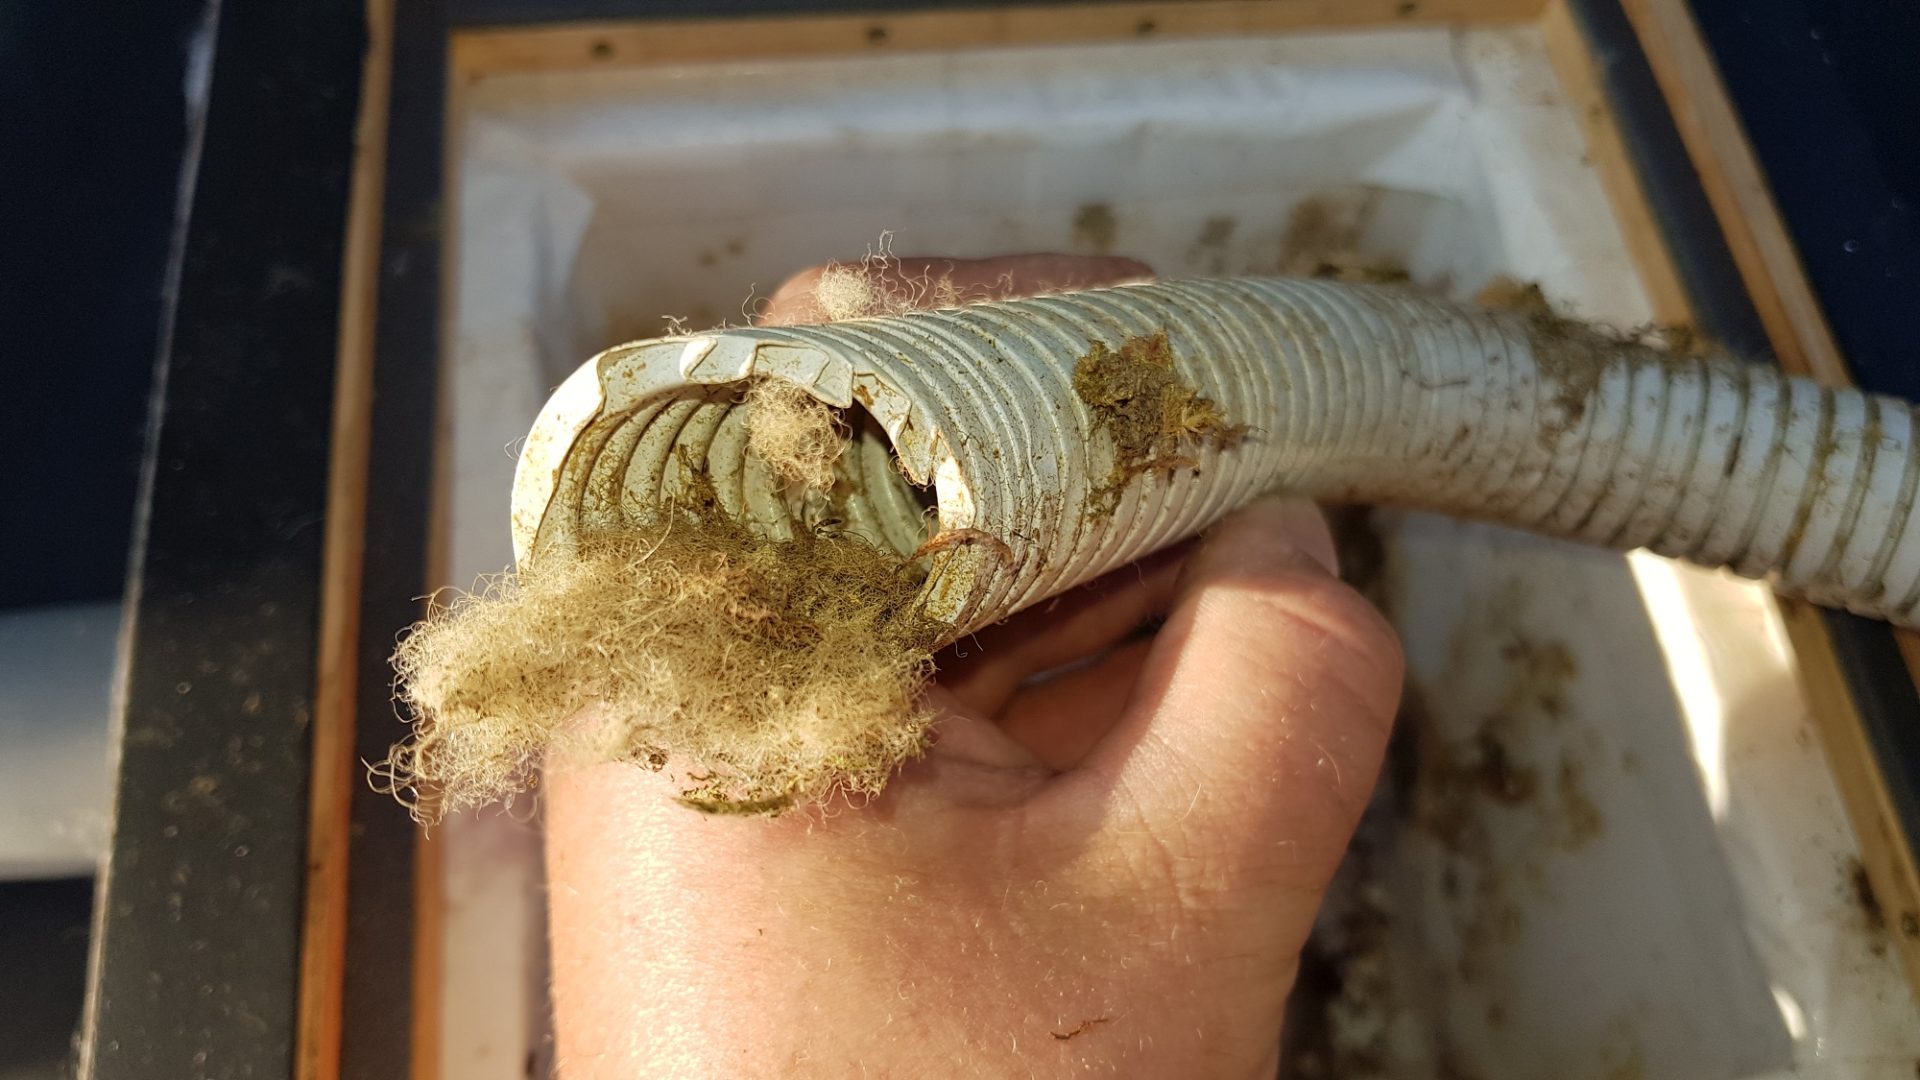
Cardboard insert removed during cleaning
Photo O. Hercog 20/9/2020
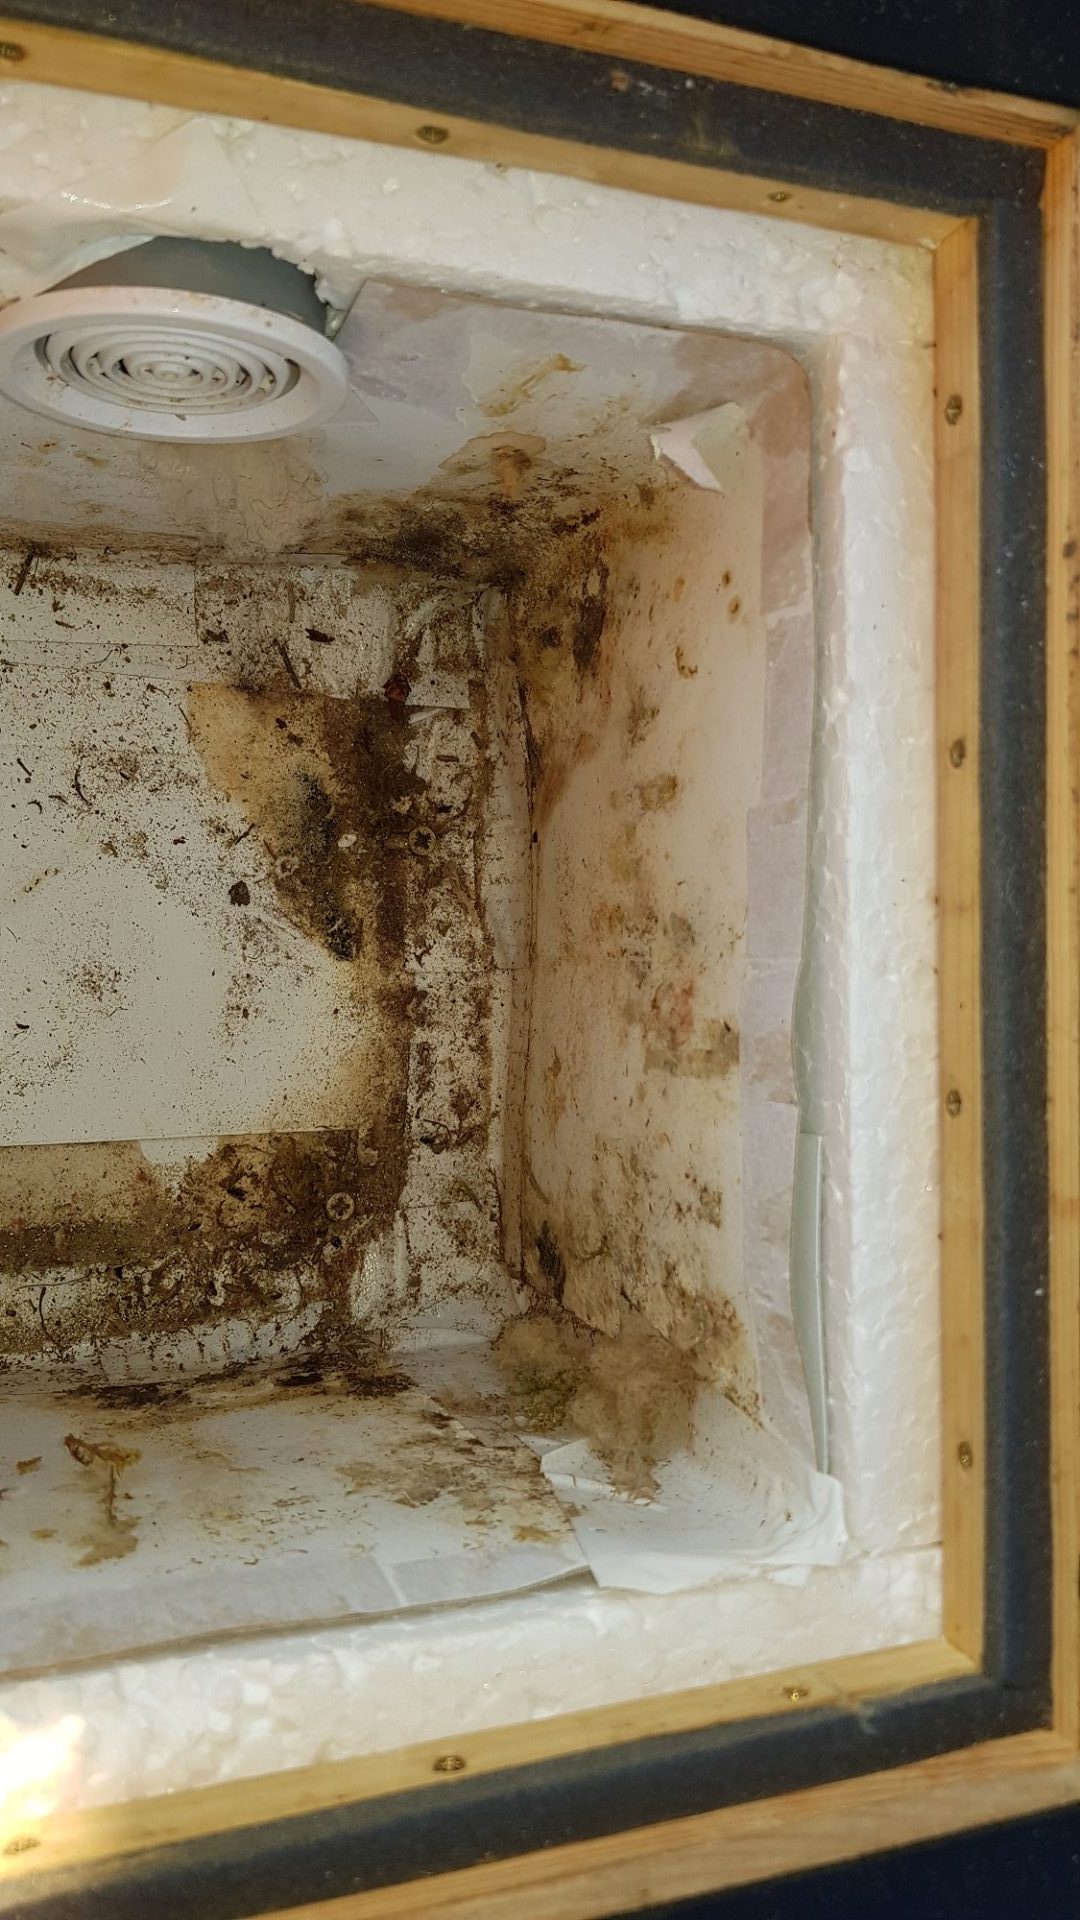
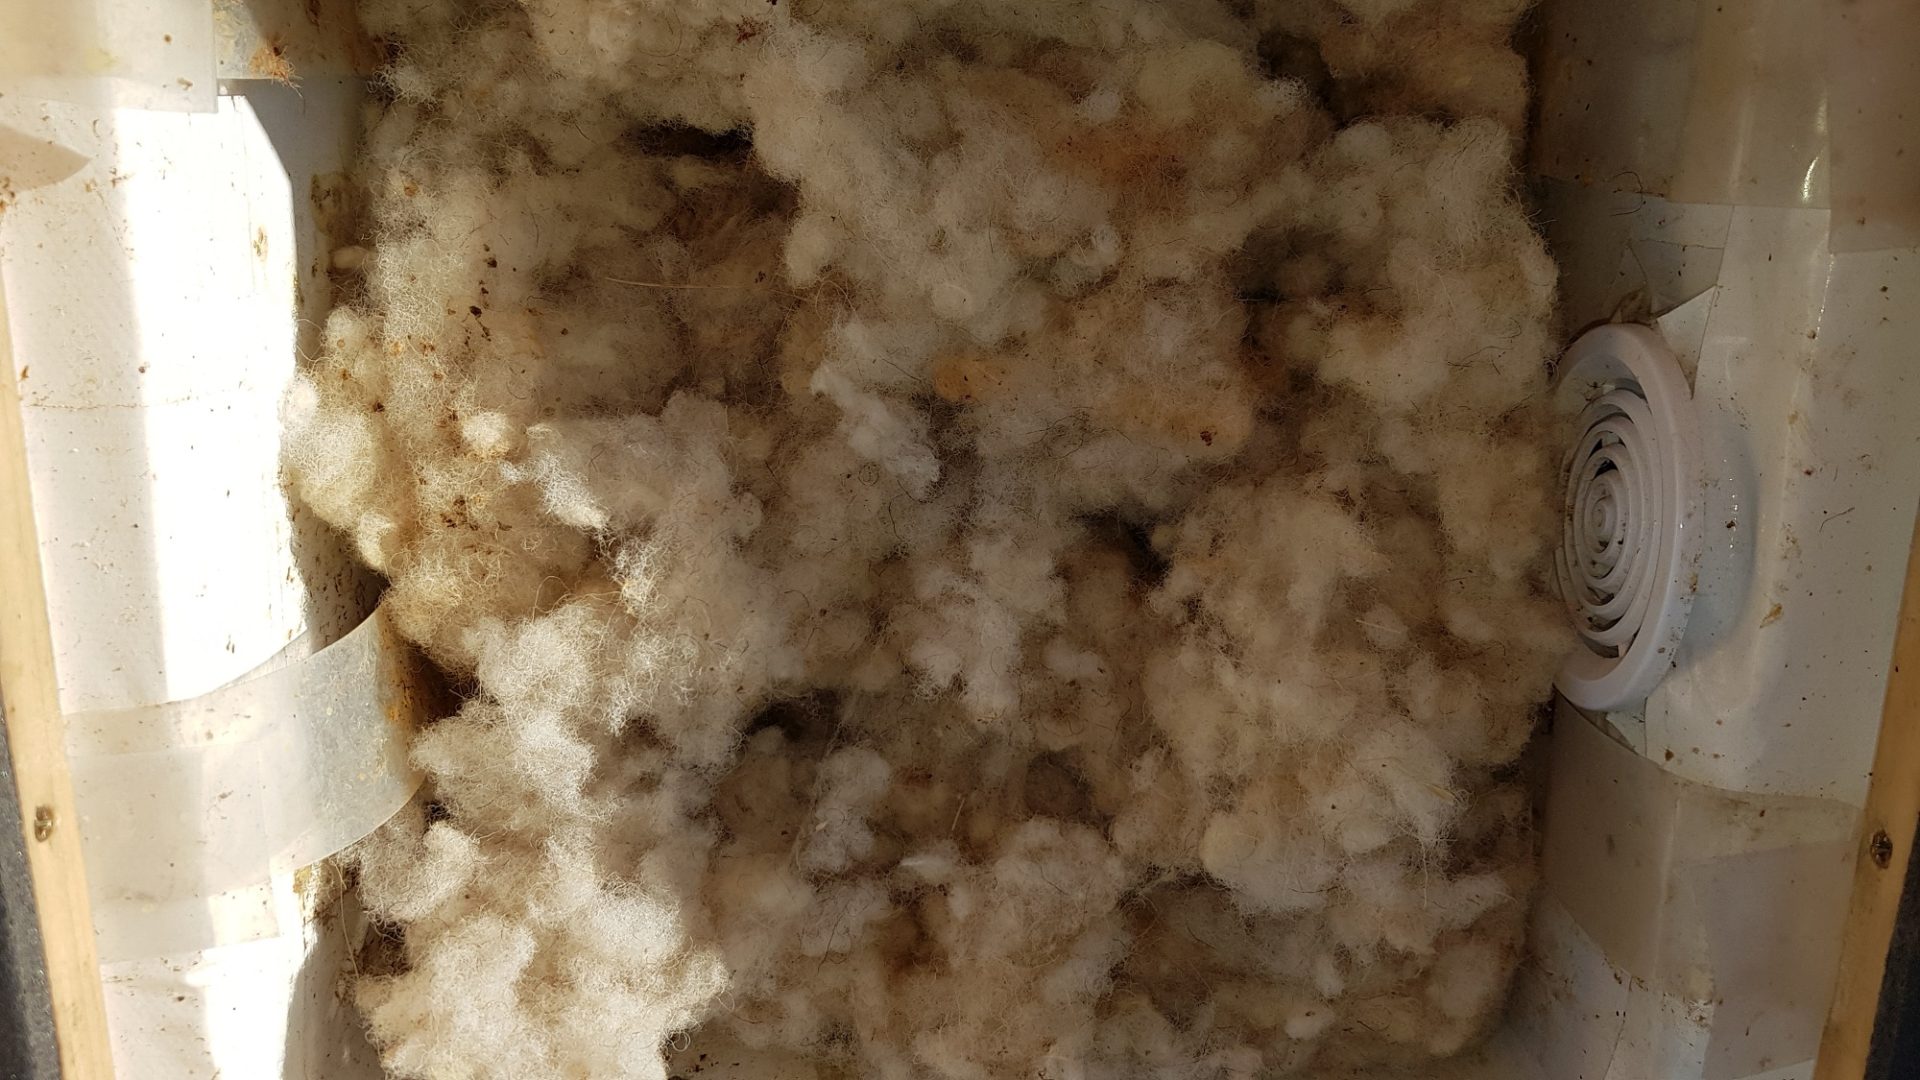
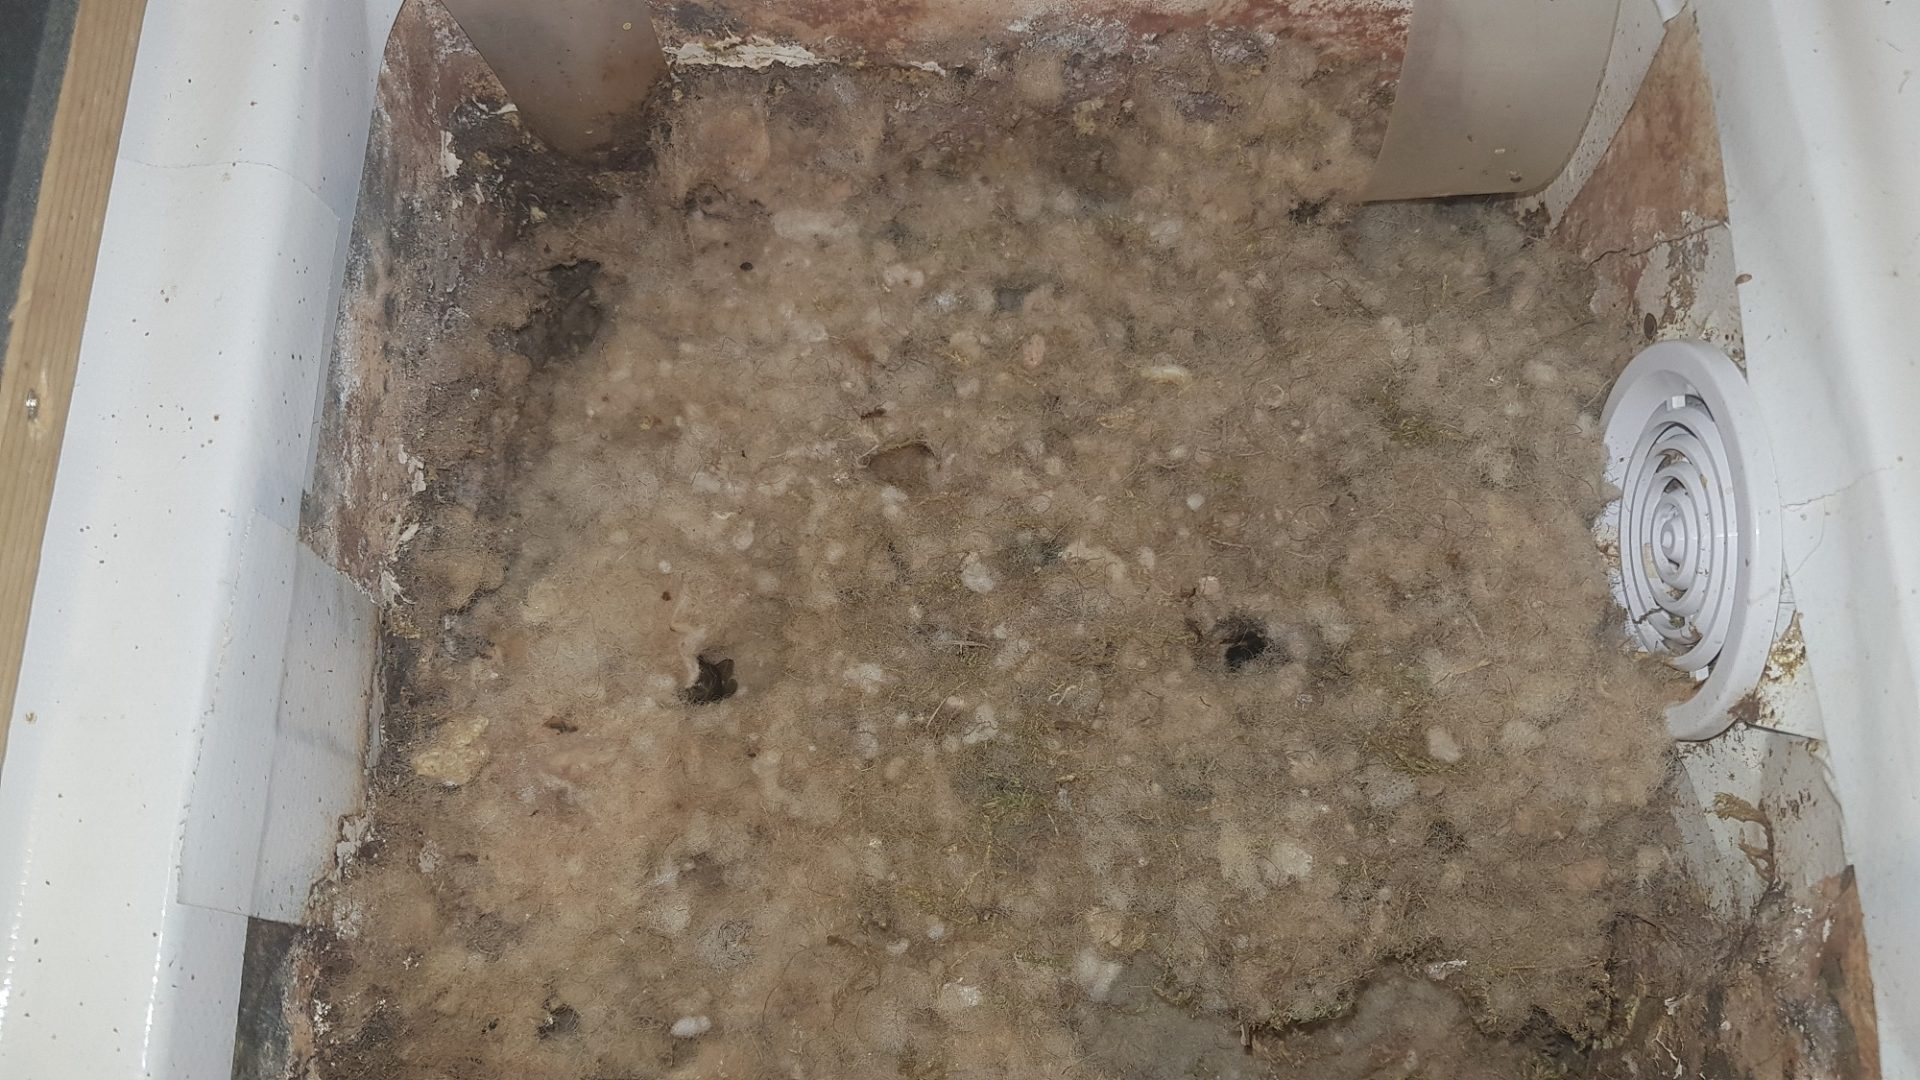
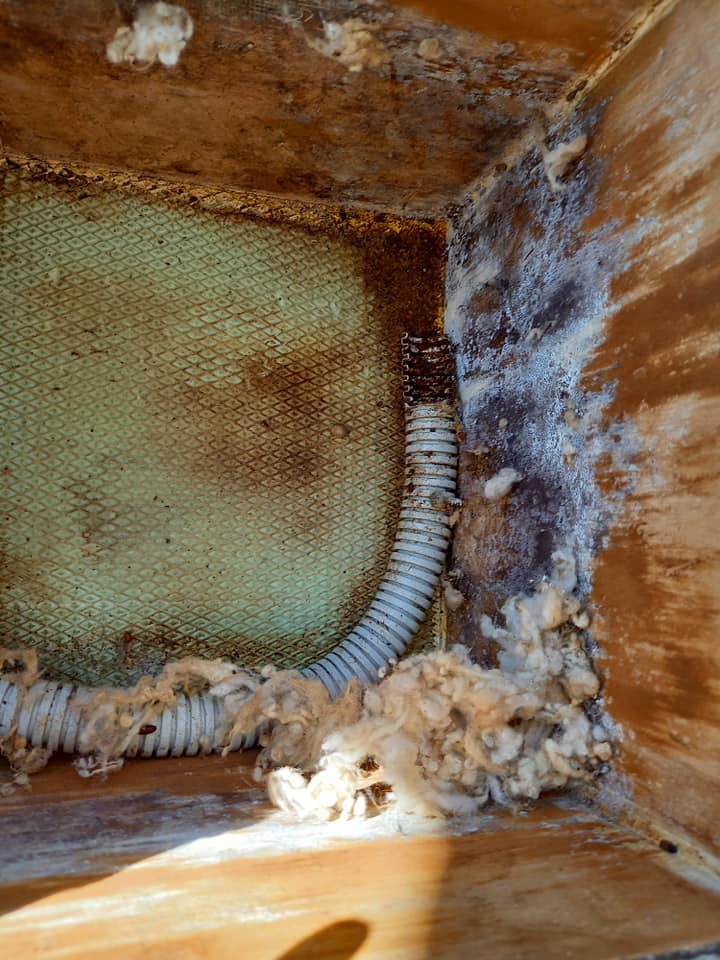
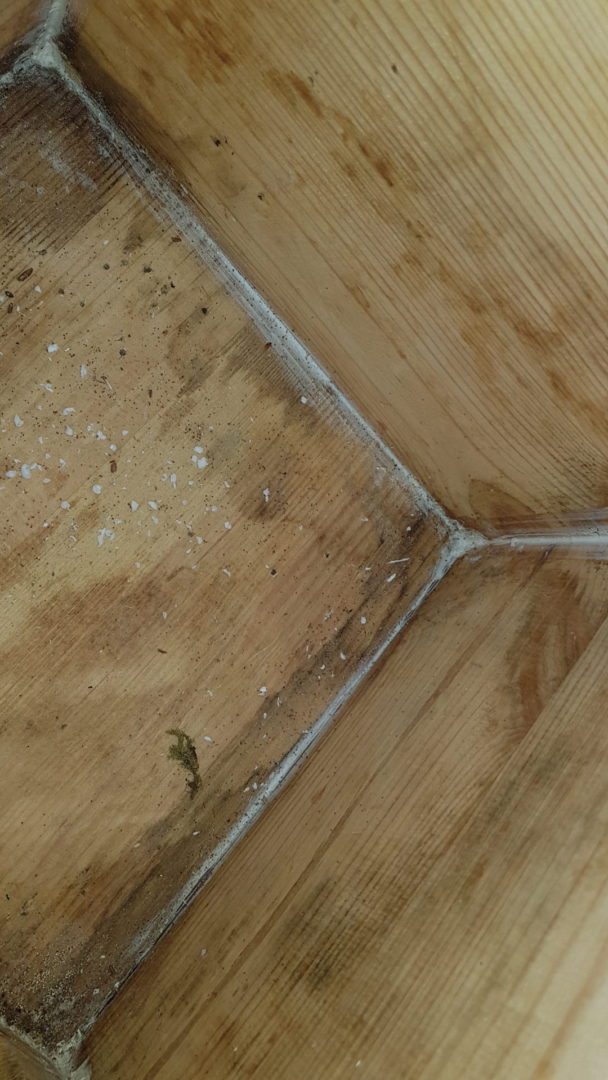
The walls of the hive after the season
The hive was cleaned during the season
Photo O. Hercog 9/2020
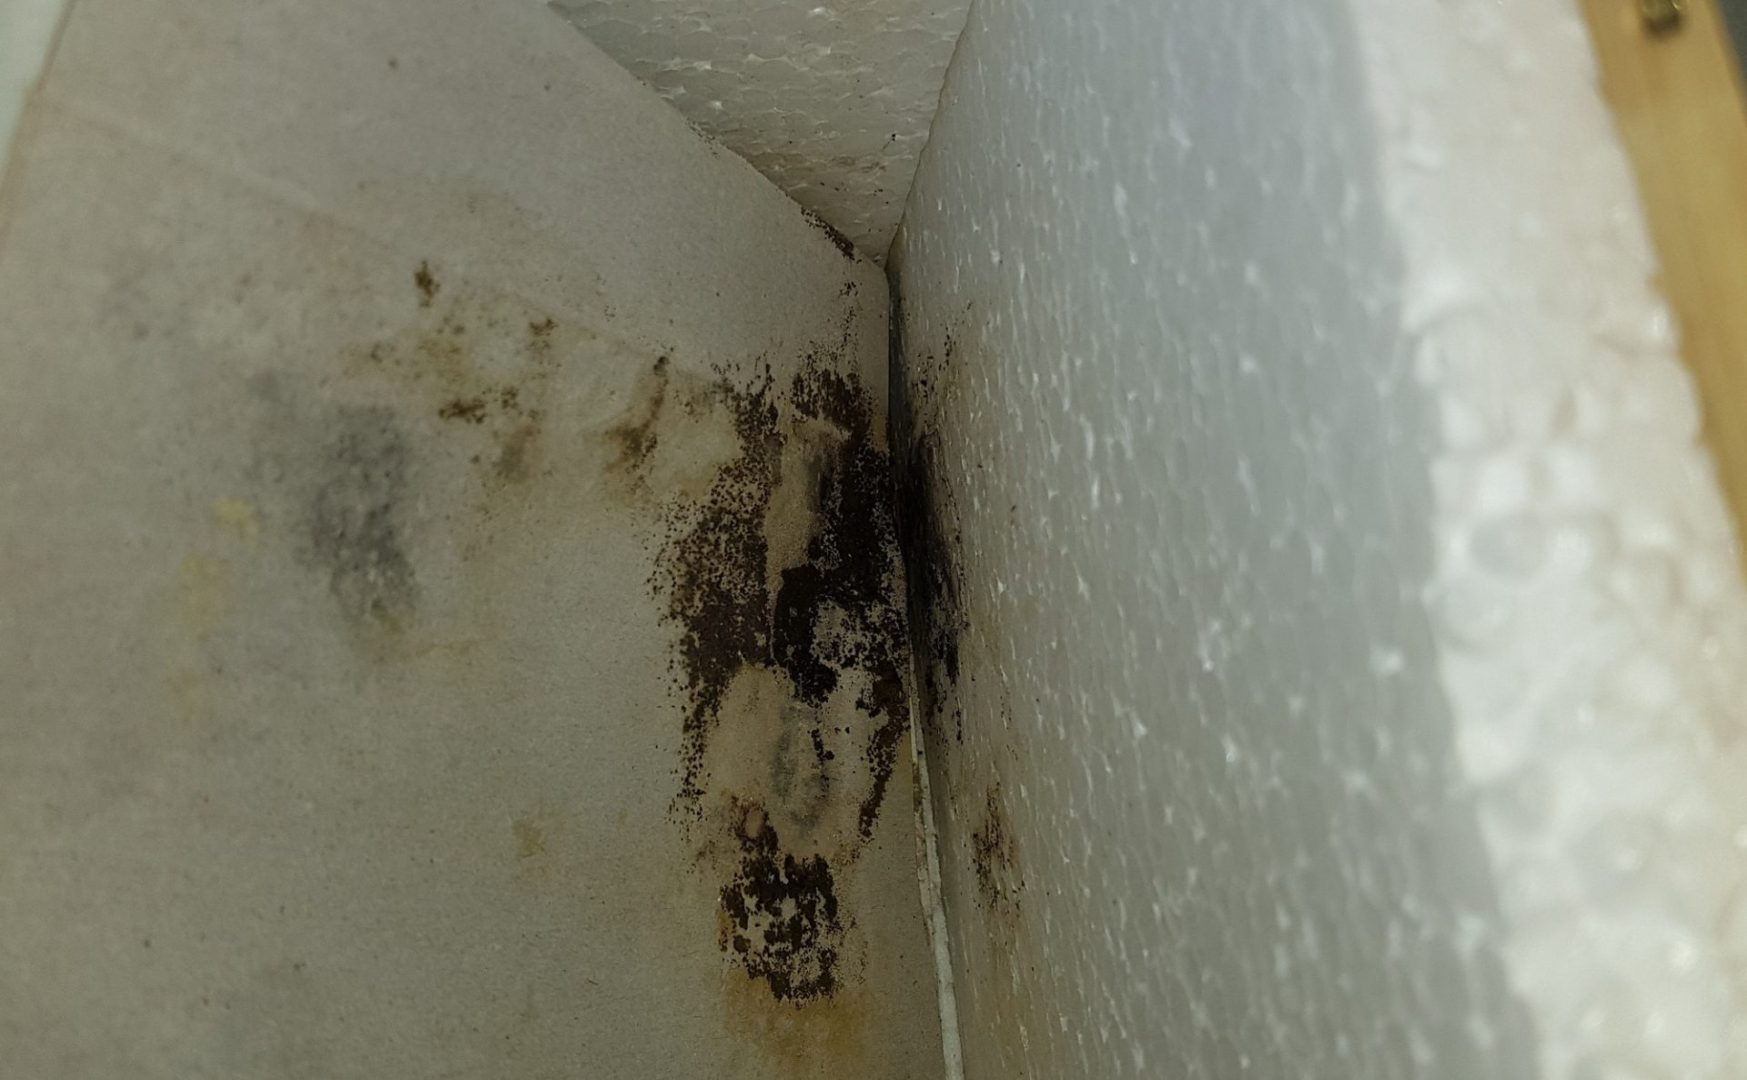
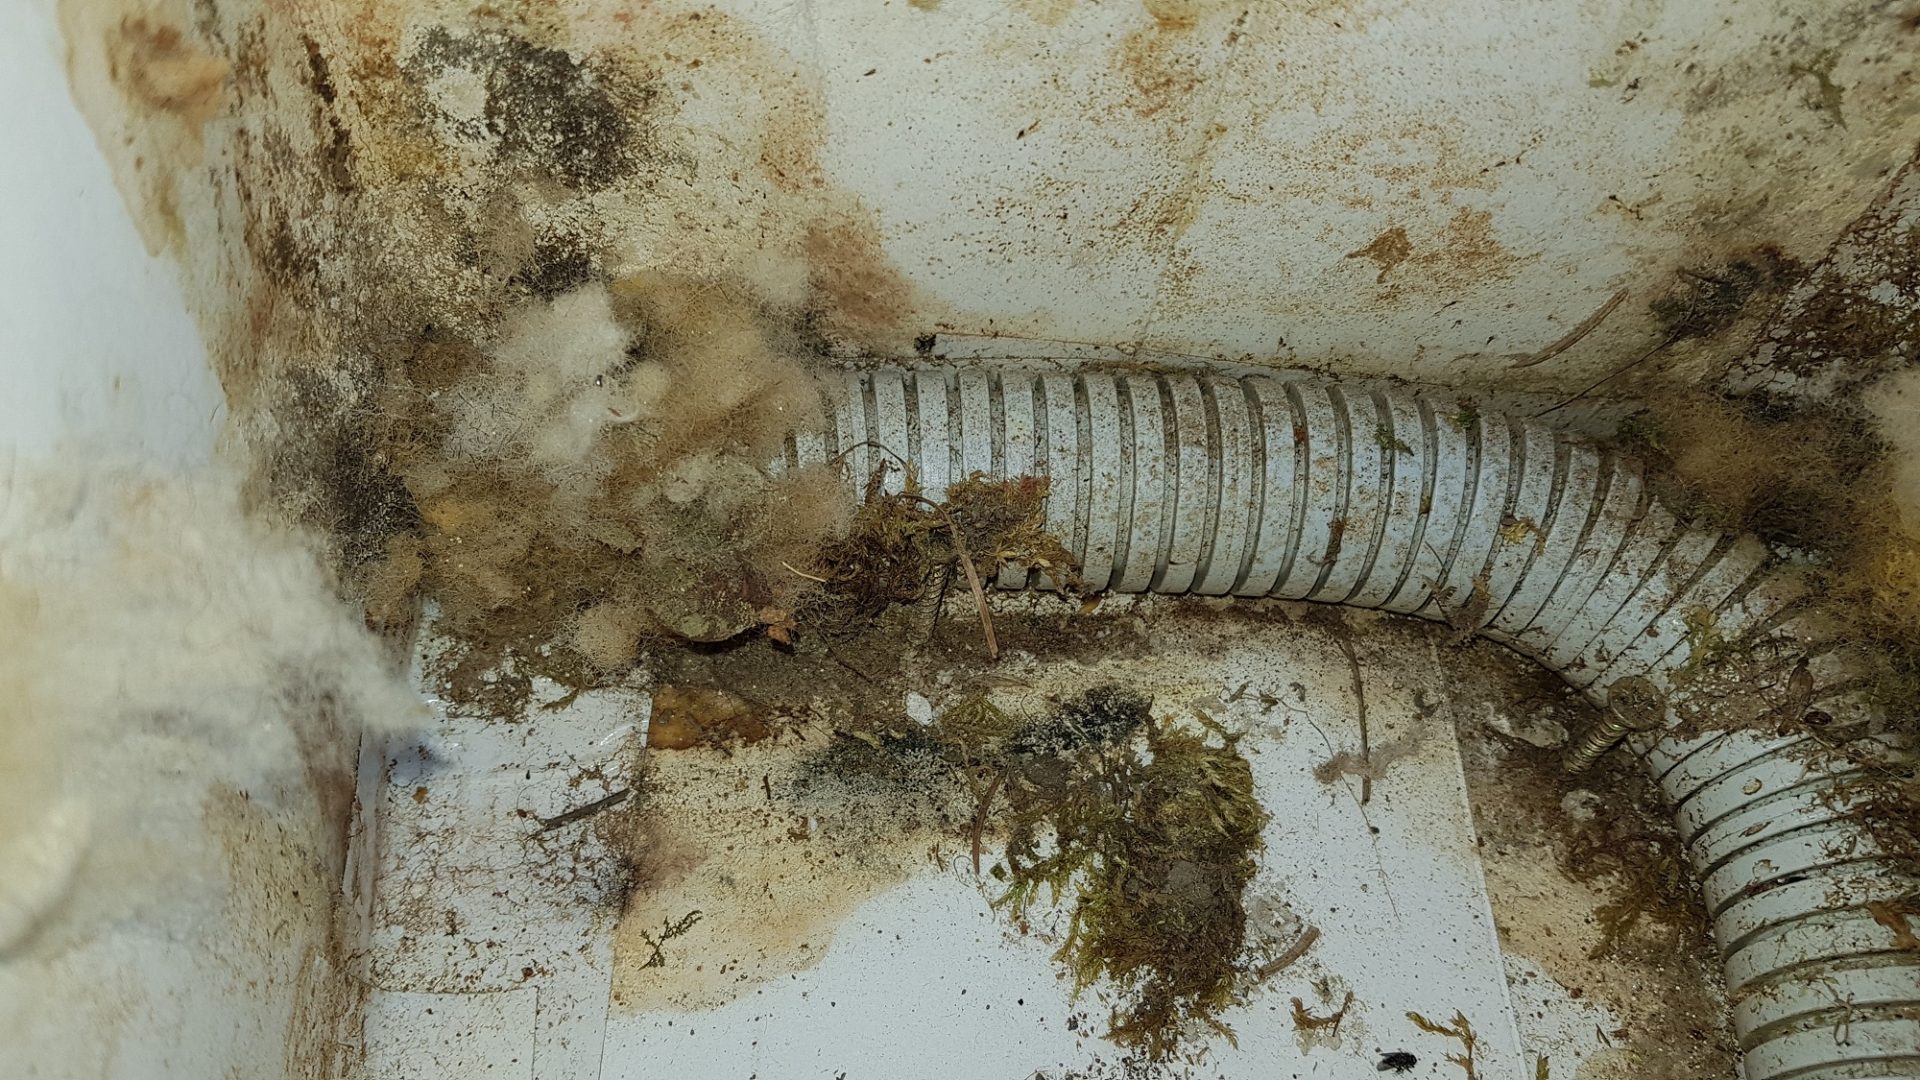
Mold can also form behind cardboard in large nests
Photo O. Hercog 20/9/2020
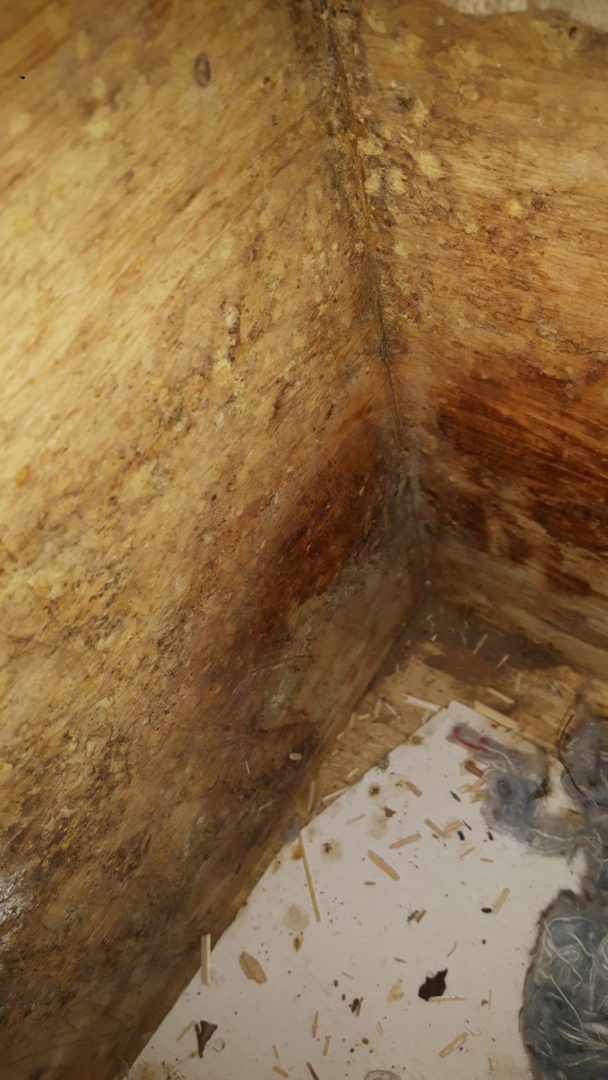
Moisture damages the wooden parts of the hive.
It is necessary to dry and clean the walls.
Photo by O. Hercog
The walls of the hive with a strong nest after the season
Photo M. Bradová 8/2020
The walls of the hive after the season (they were covered with cardboard
Photo O. Hercog 8/2019
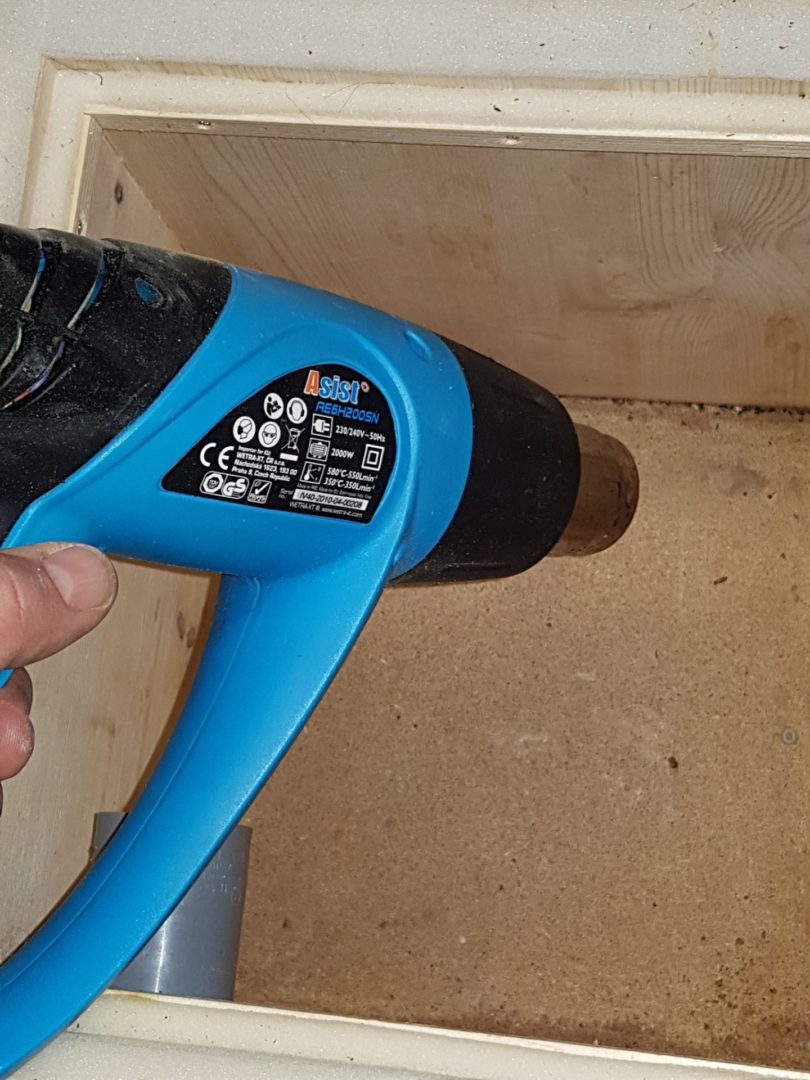
Using a heat gun to sanitize the walls of the hive
Use the heat gun in a way that does not damage the soft parts of the hive (polystyrene bottom, seals, etc.)
Just heat the wood, but do not burn it!
Photo O. Hercog 8/2019

Antherophagus nigricornis larvae hidden in the polystyrene bottom of the alley
Photo M. Bradová 9/2020
Antherophagus nigricornis larvae hidden in the polystyrene bottom of the alley (the polystyrene melted due to the heat)
Photo M. Bradová 9/2020
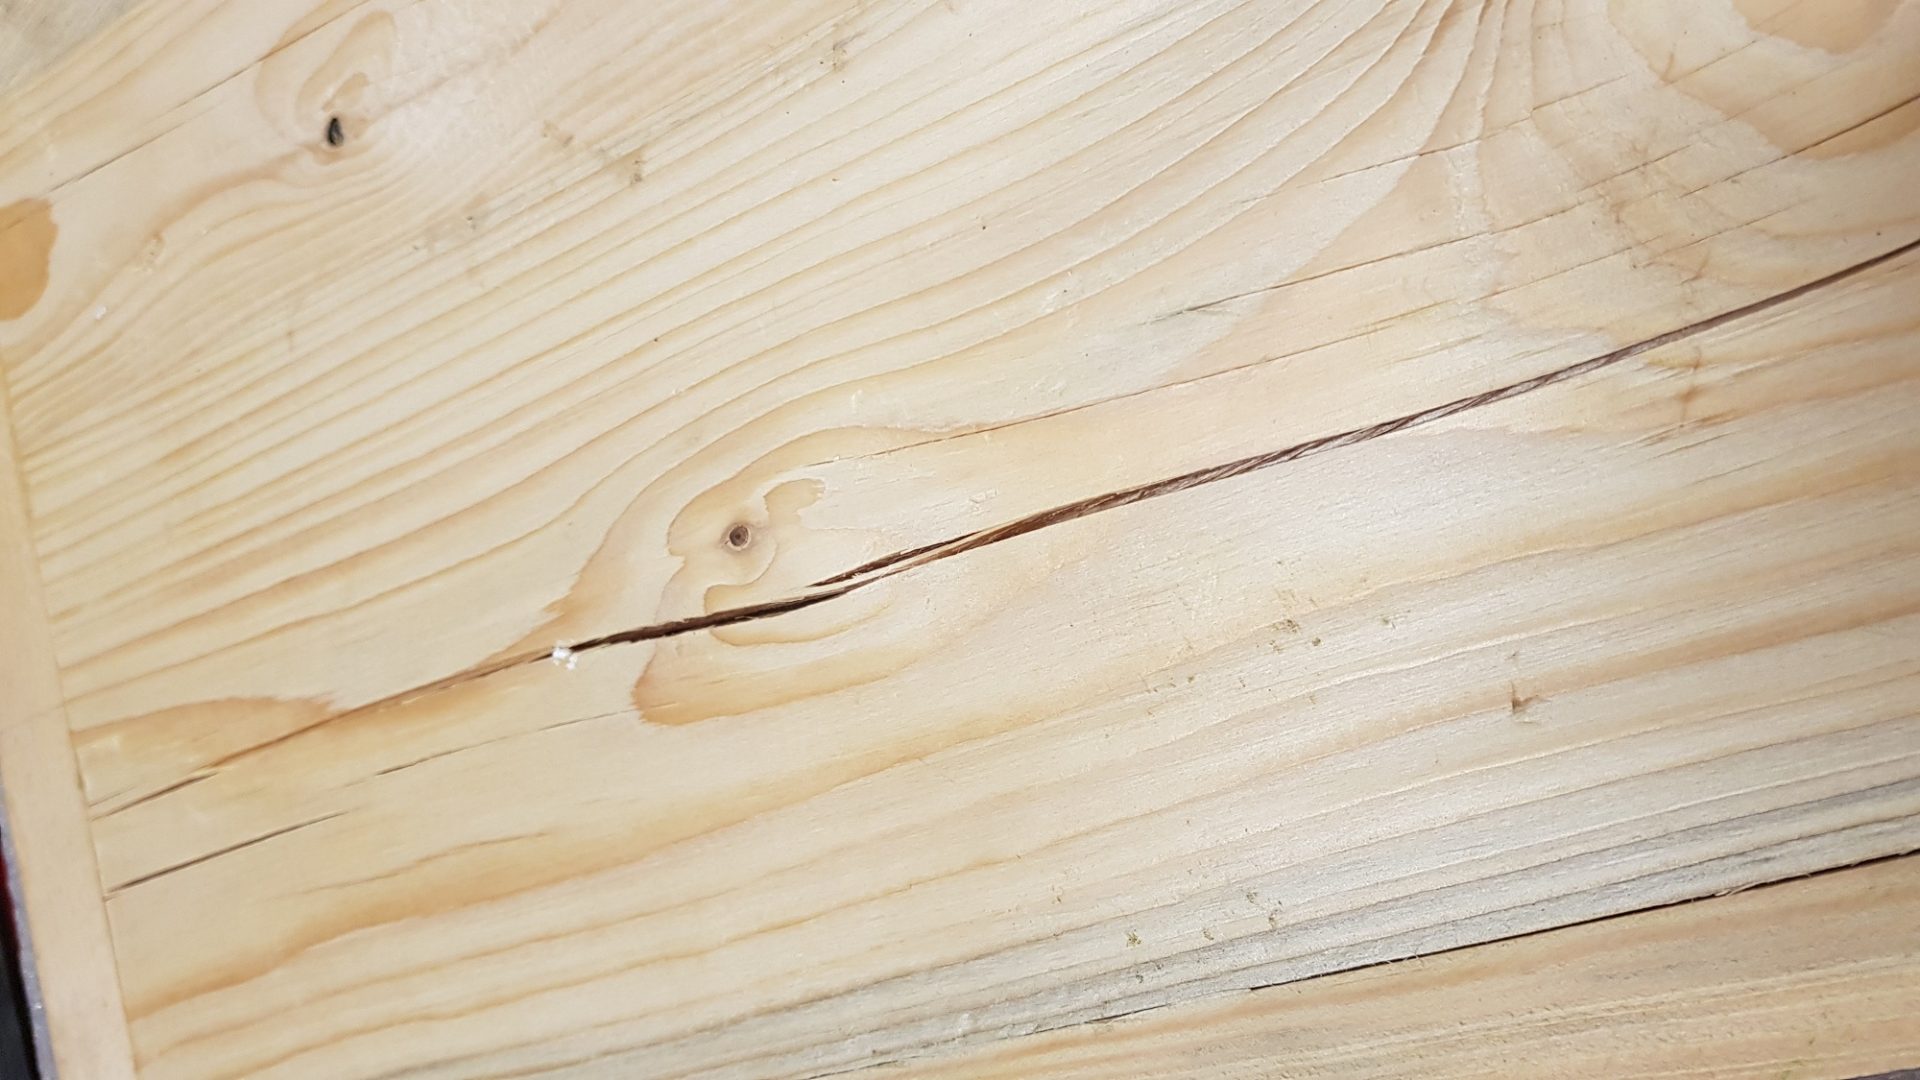
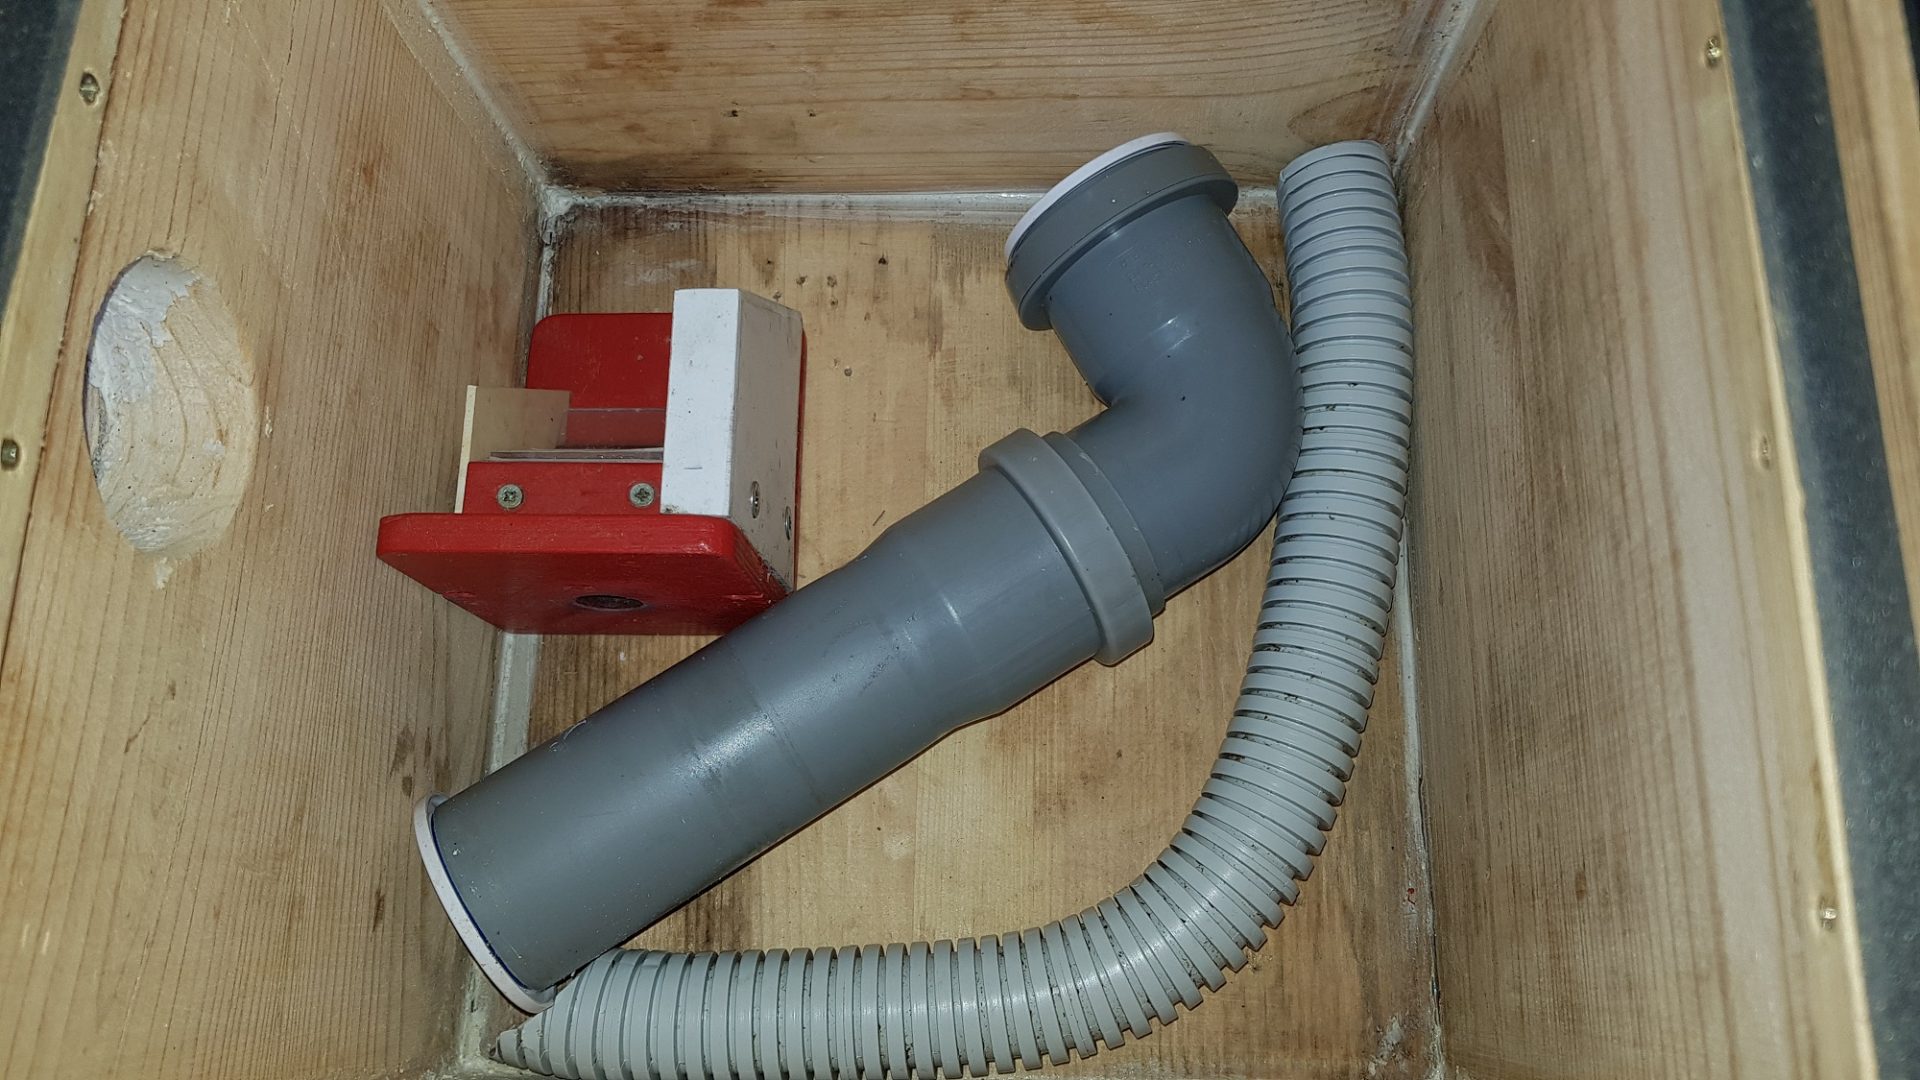
Bumblebees PLUS – Cracks in the hive body
Photo O. Hercog 2020
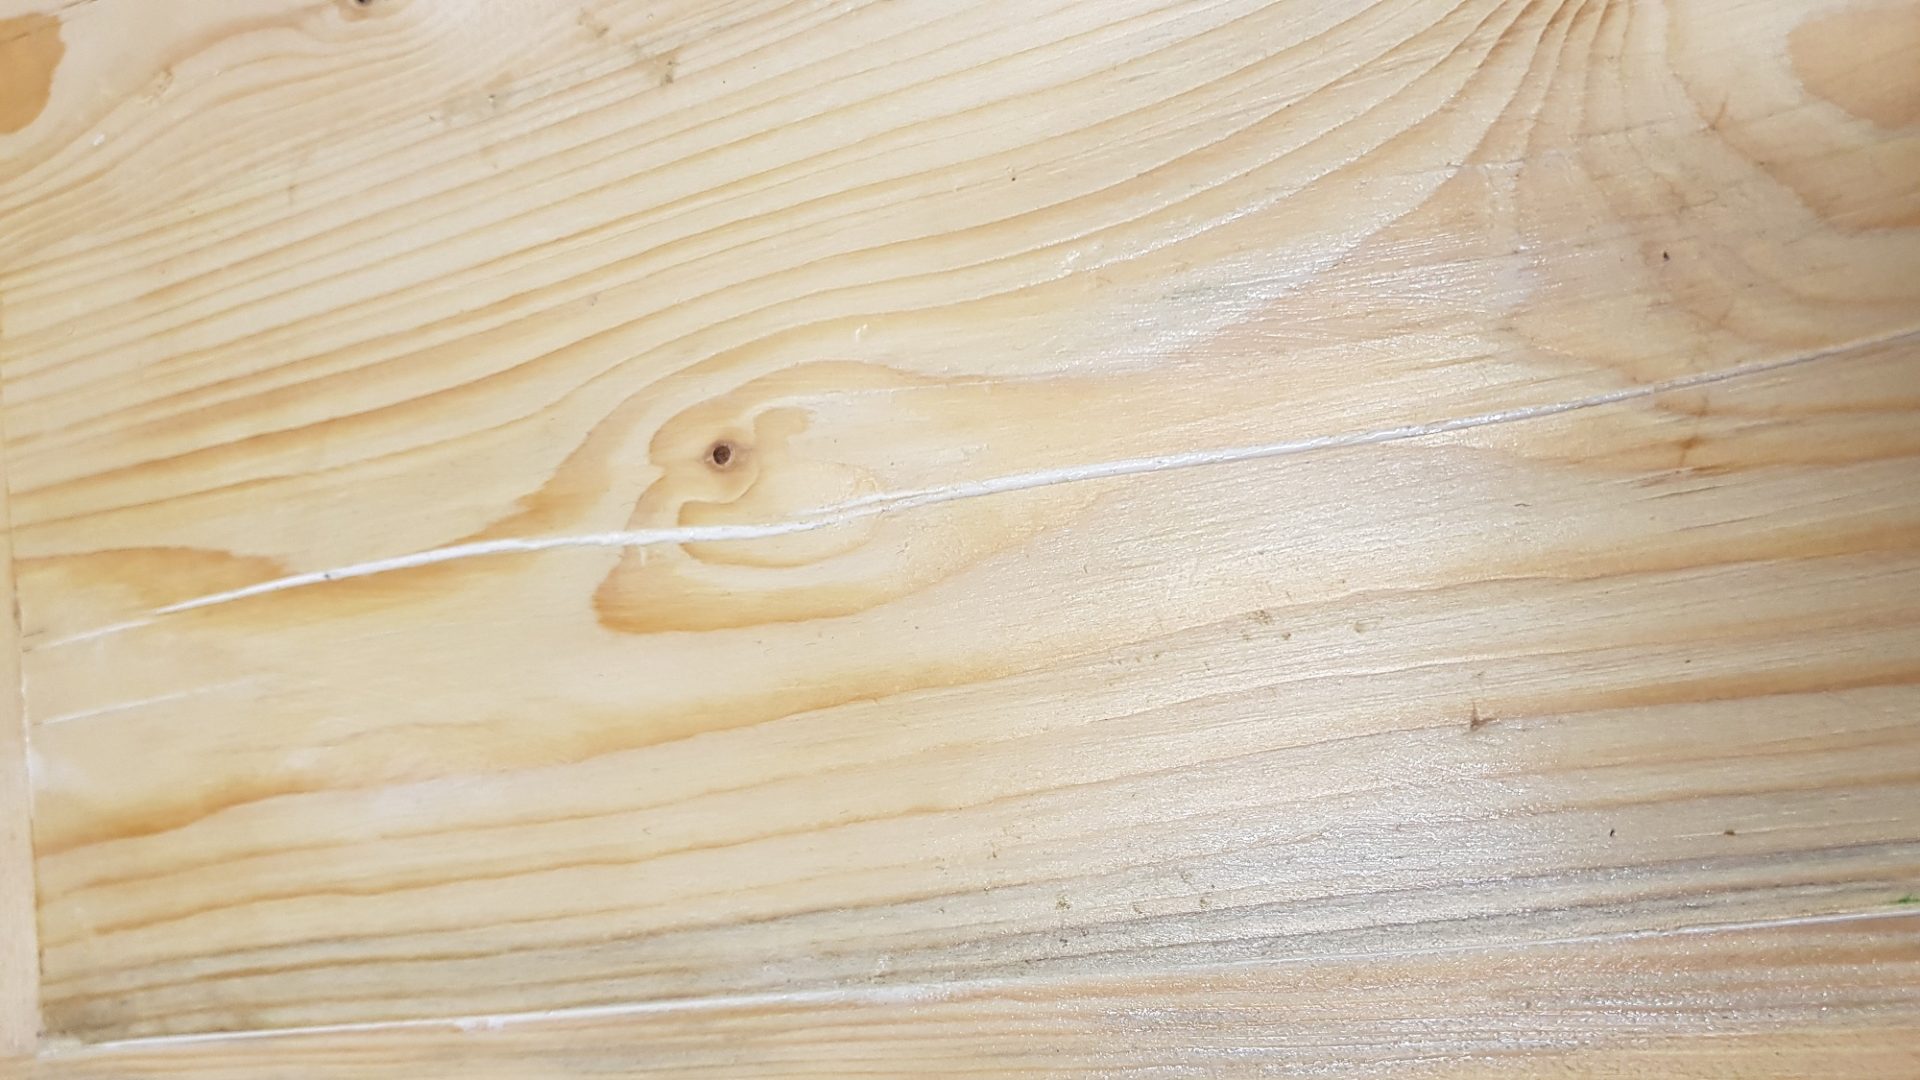
Bumblebees PLUS – Cracks in the hive body – sealing with flexible sealant
Photo O. Hercog 2020
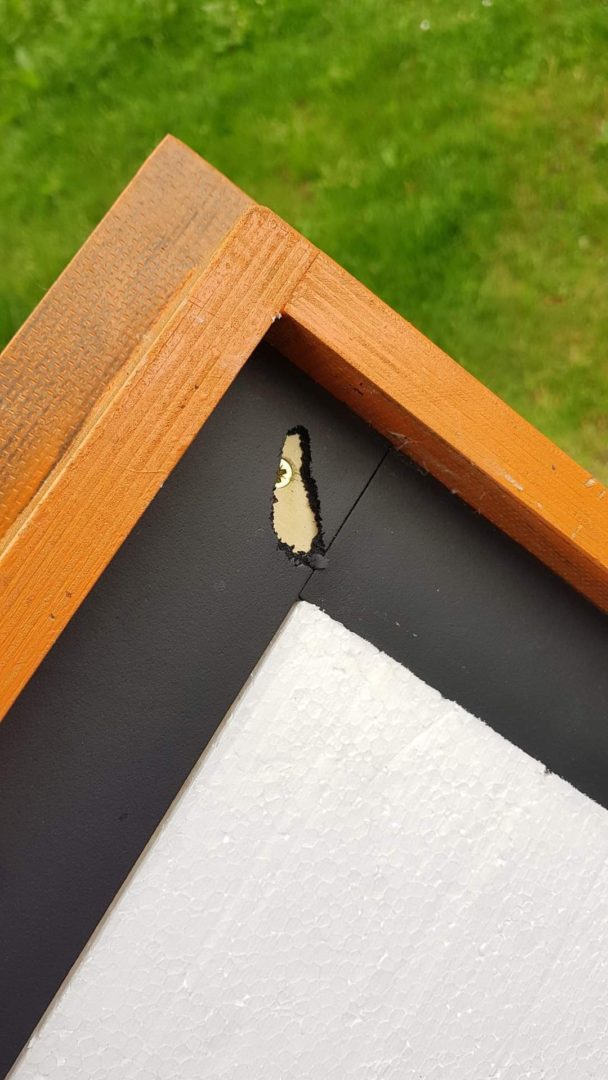
Bitten through seal under roof
Photo O. Hercog 8/2020
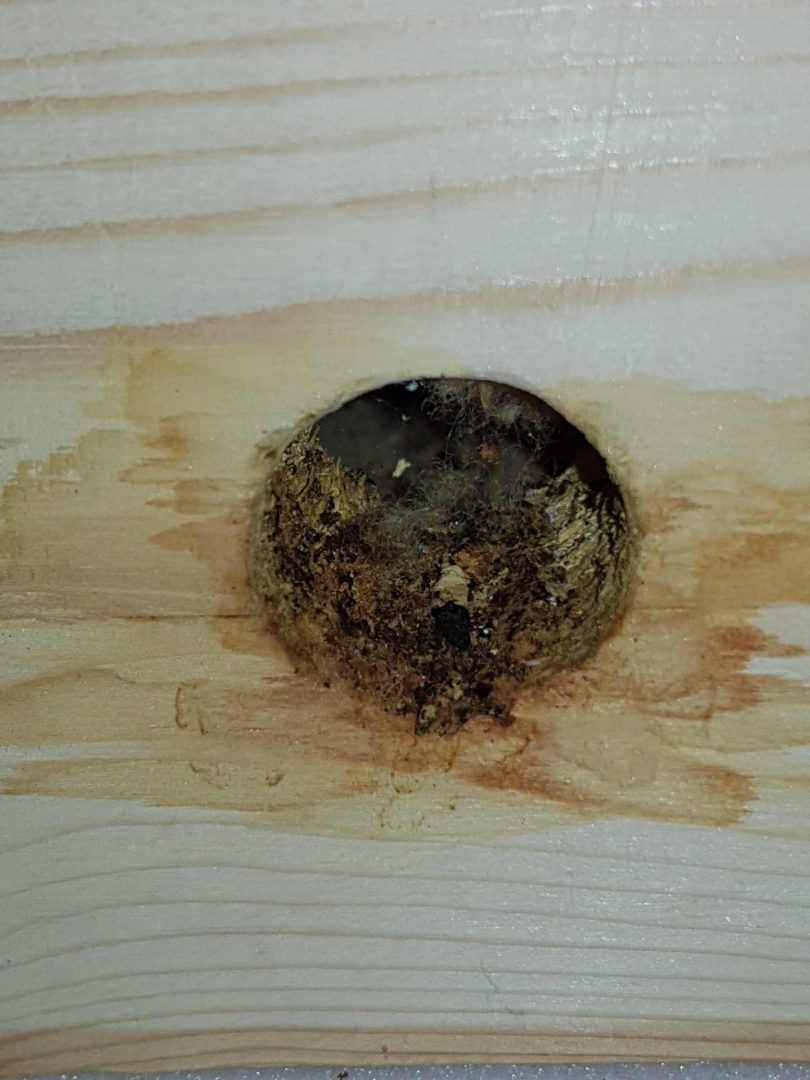
Bee hive ventilation sealed with wax
Photo O. Hercog 2017
Hive ventilation - parasite eggs (here flies) laid on the mesh
of the ventilation hole
Photo O.Hercog 2018
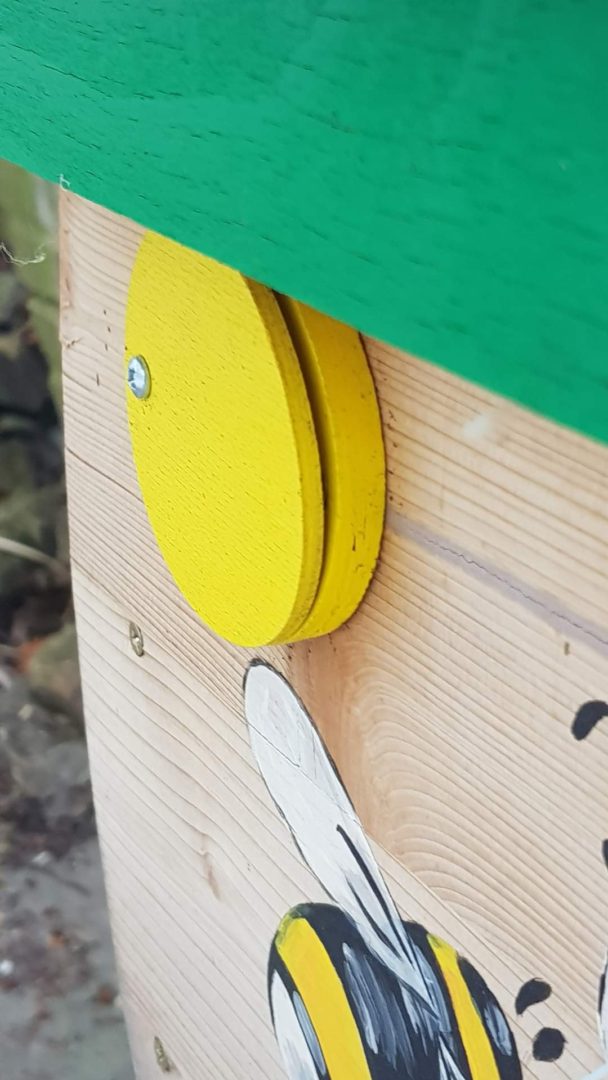
Deformed ventilation cap
Photo O. Hercog 5/4/2020
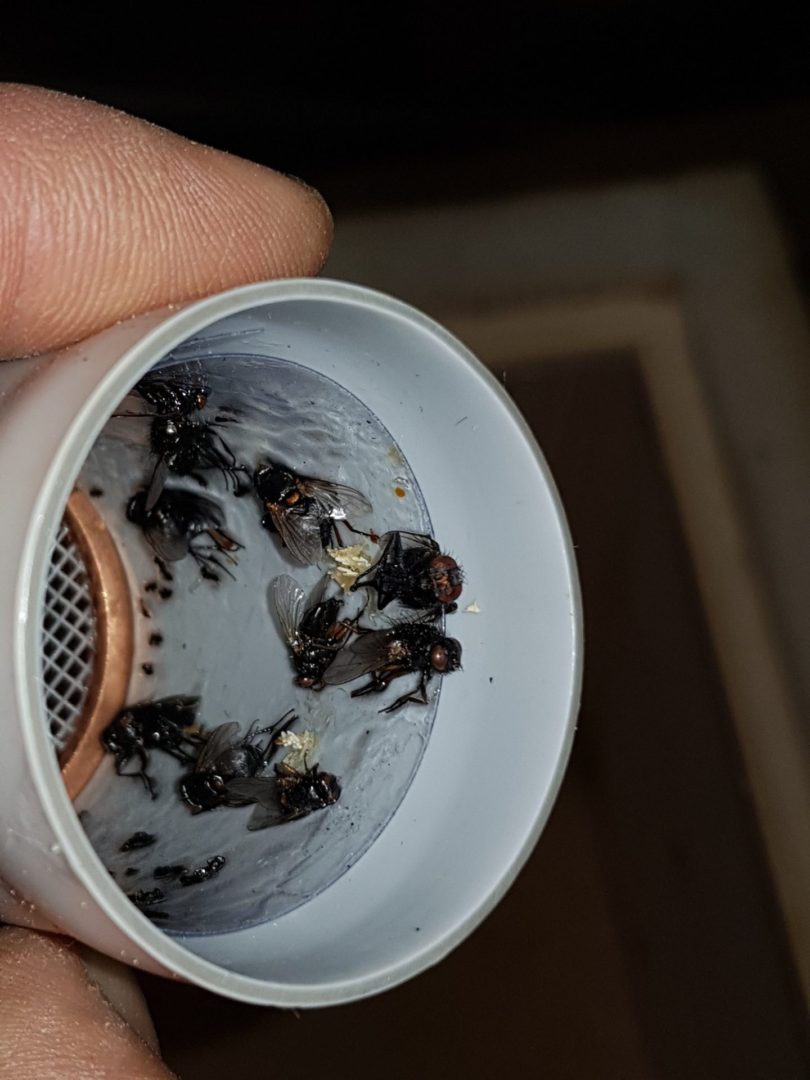
Sticky trap in ventilation after the season
Photo O. Hercog 2018
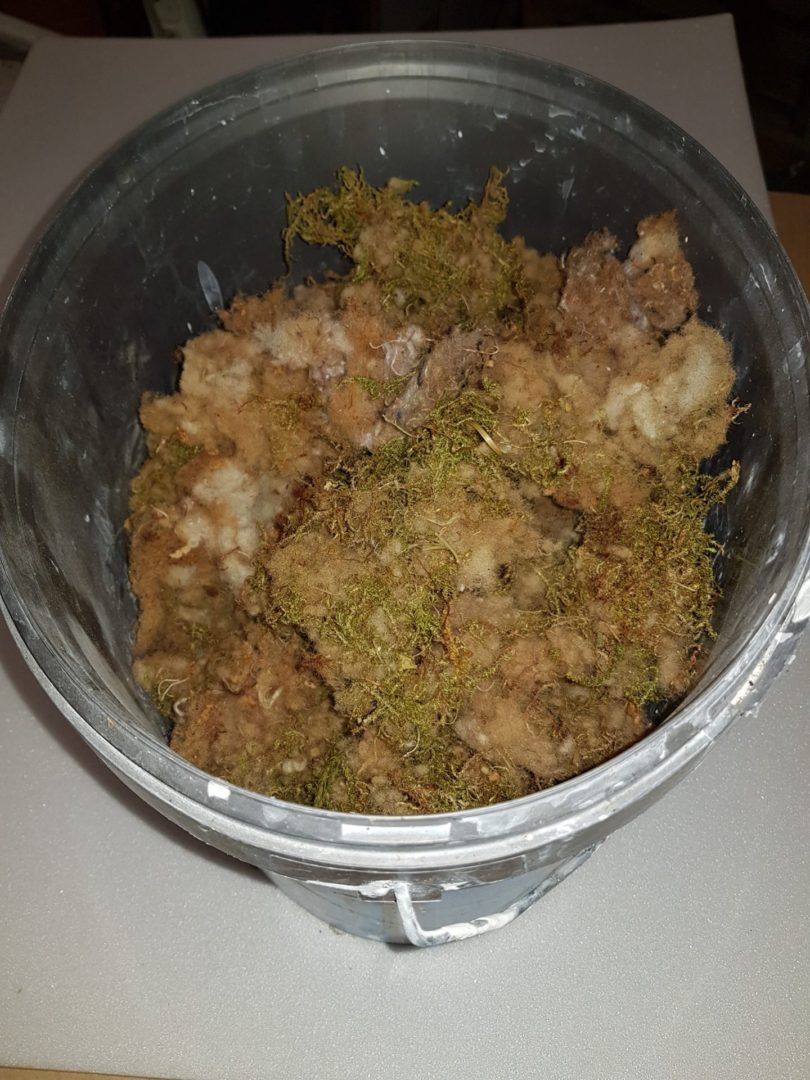
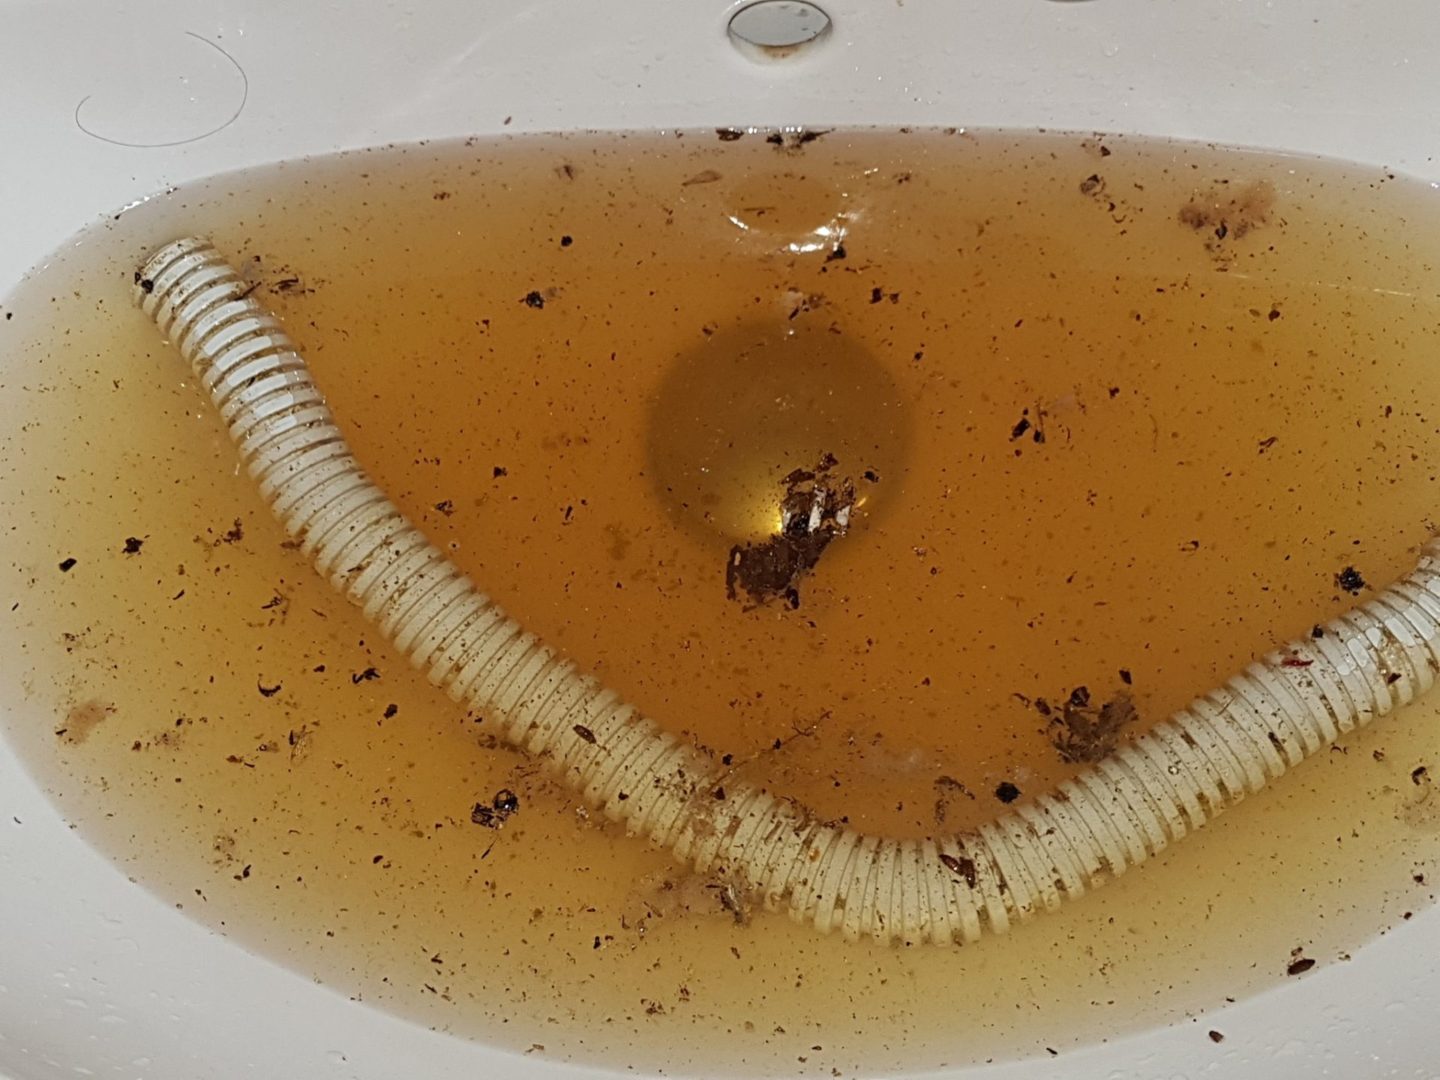
Dispose of the remains of the nest
Photo by O. Hercog 8/2019
Bumblebees PLUS – Storing the hive after the season
Photo O. Hercog 20/9/2020
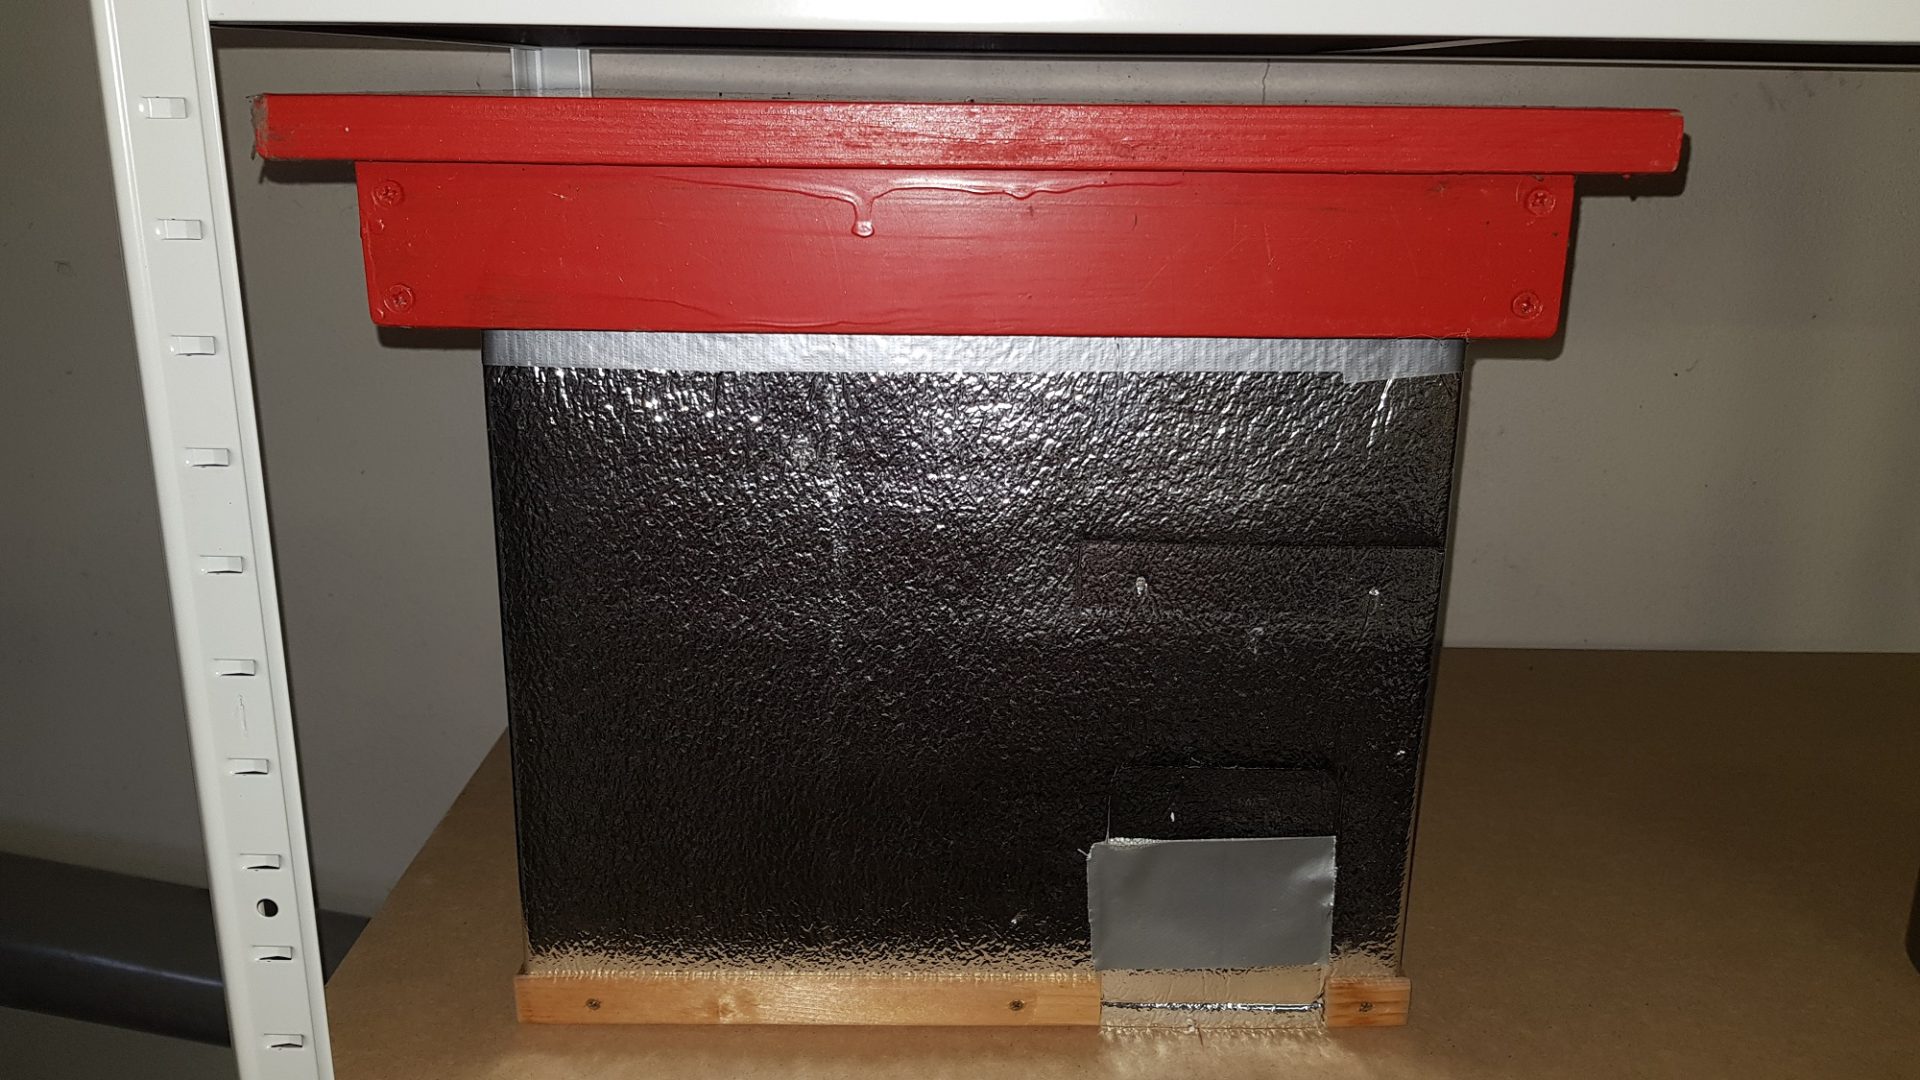
Bumblebees PLUS – Storing the hive after the season
Photo O. Hercog 20/9/2020
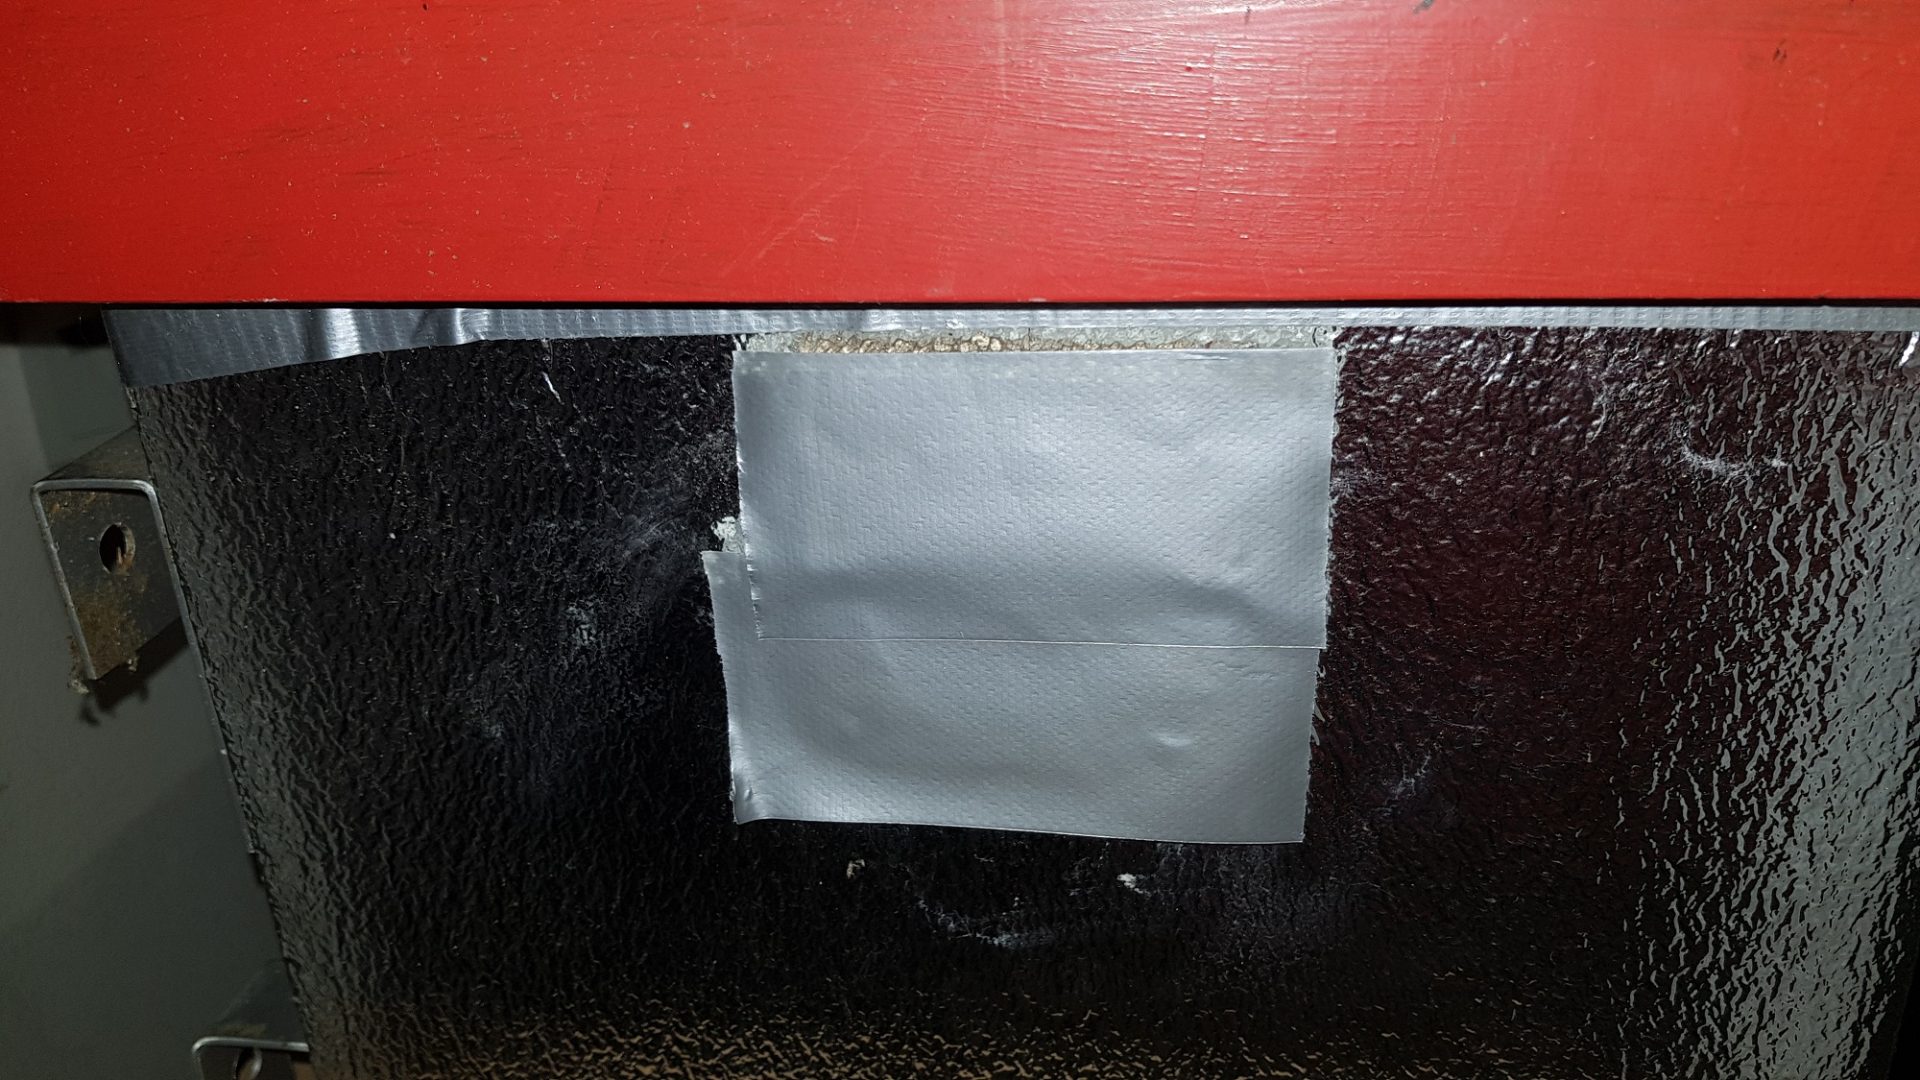 The ventilation hole is taped over for storage
Taped over the ventilation hole
Photo O. Hercog 20/9/2020
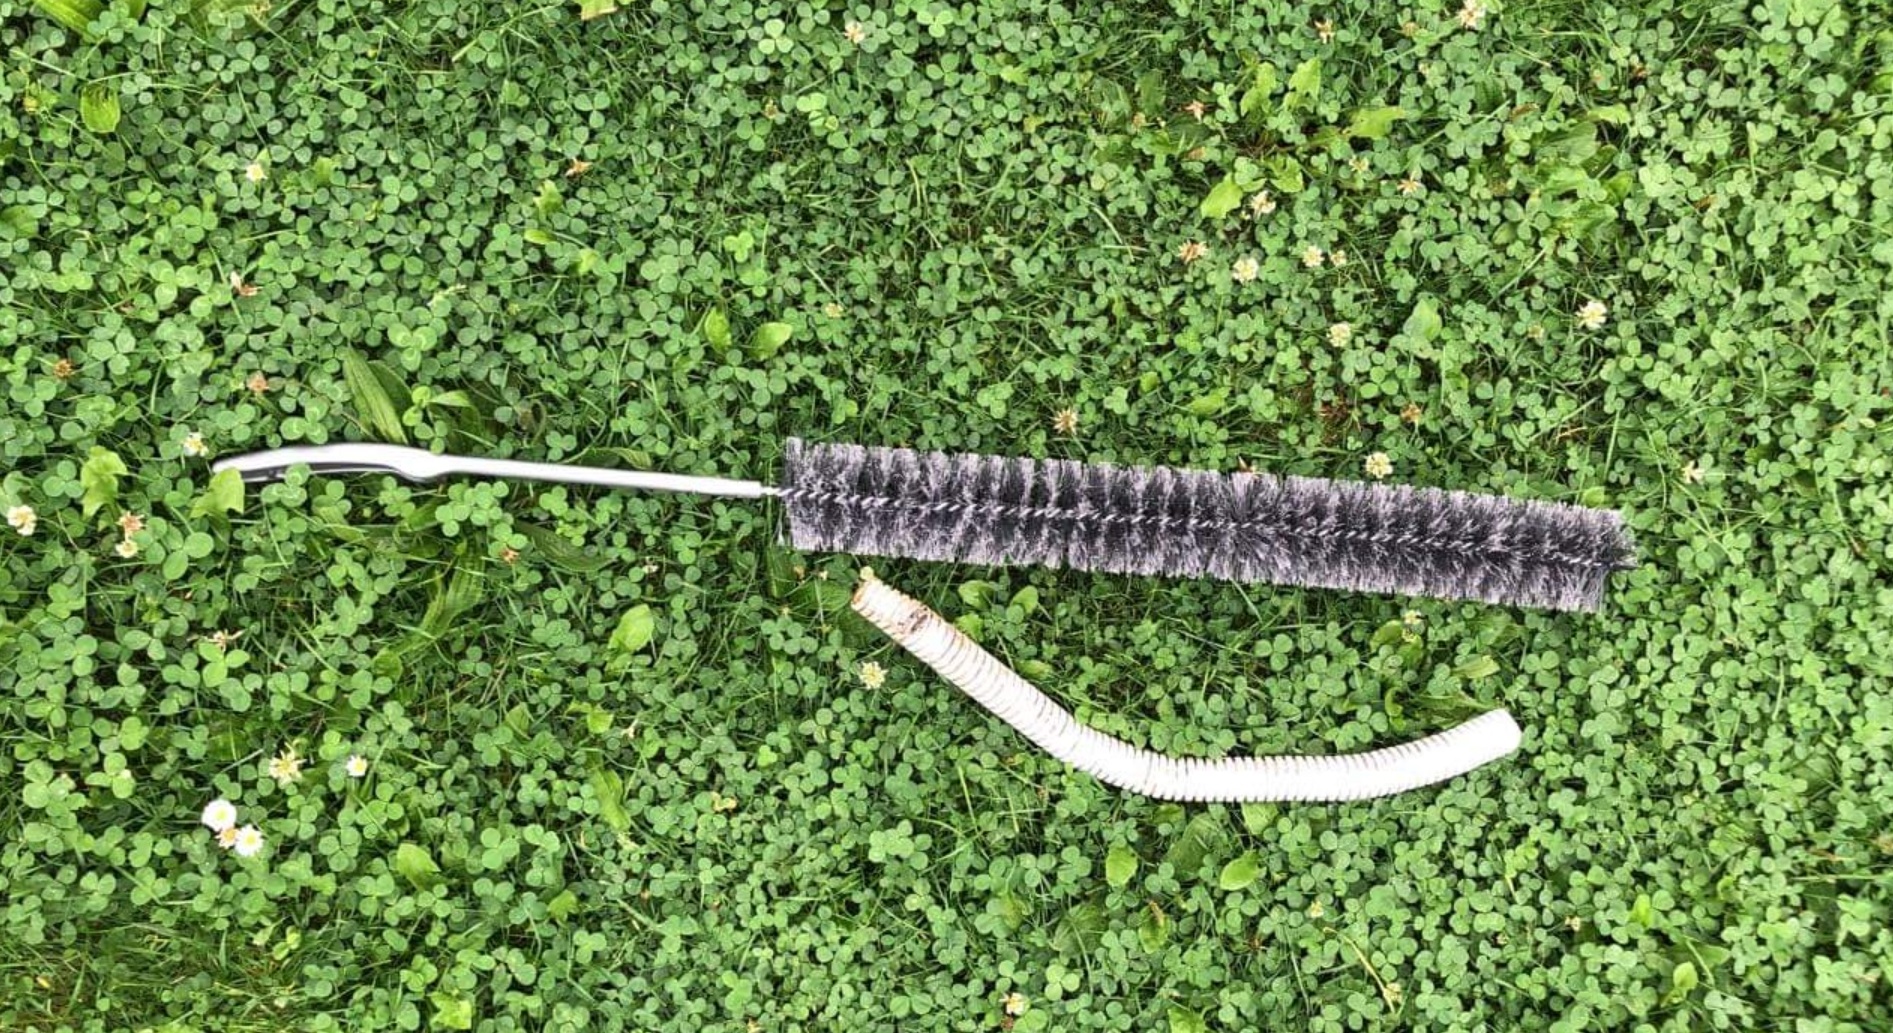
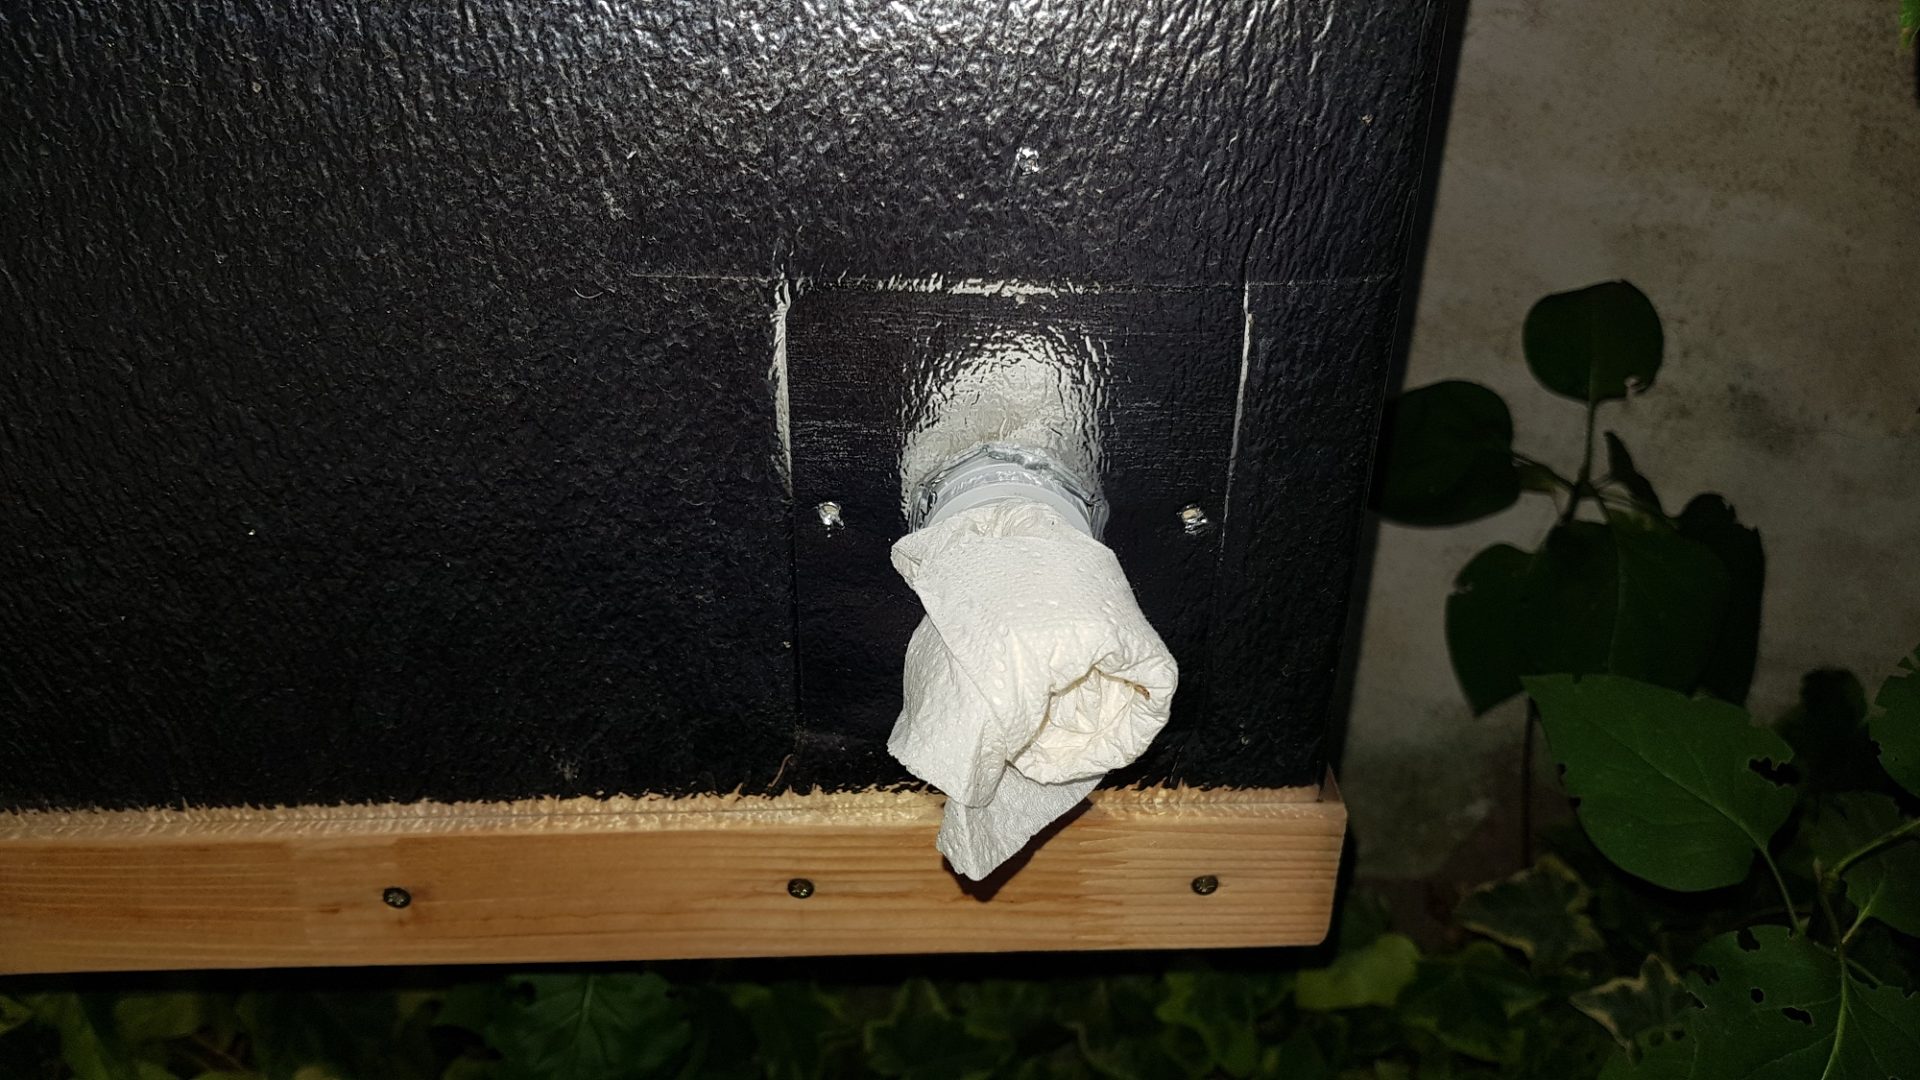 The inlet/ventilation opening can be closed with a roll of tissue for storage
Entrance hole closed with a coil
Photo O. Hercog 20/9/2020

A nest of a hypnotic bumblebee (Bombus hypnorum) in a birdhouse
Photo: Dave Jones
Fear in action – we will see it again
Photo O. Hercog (5/2020)