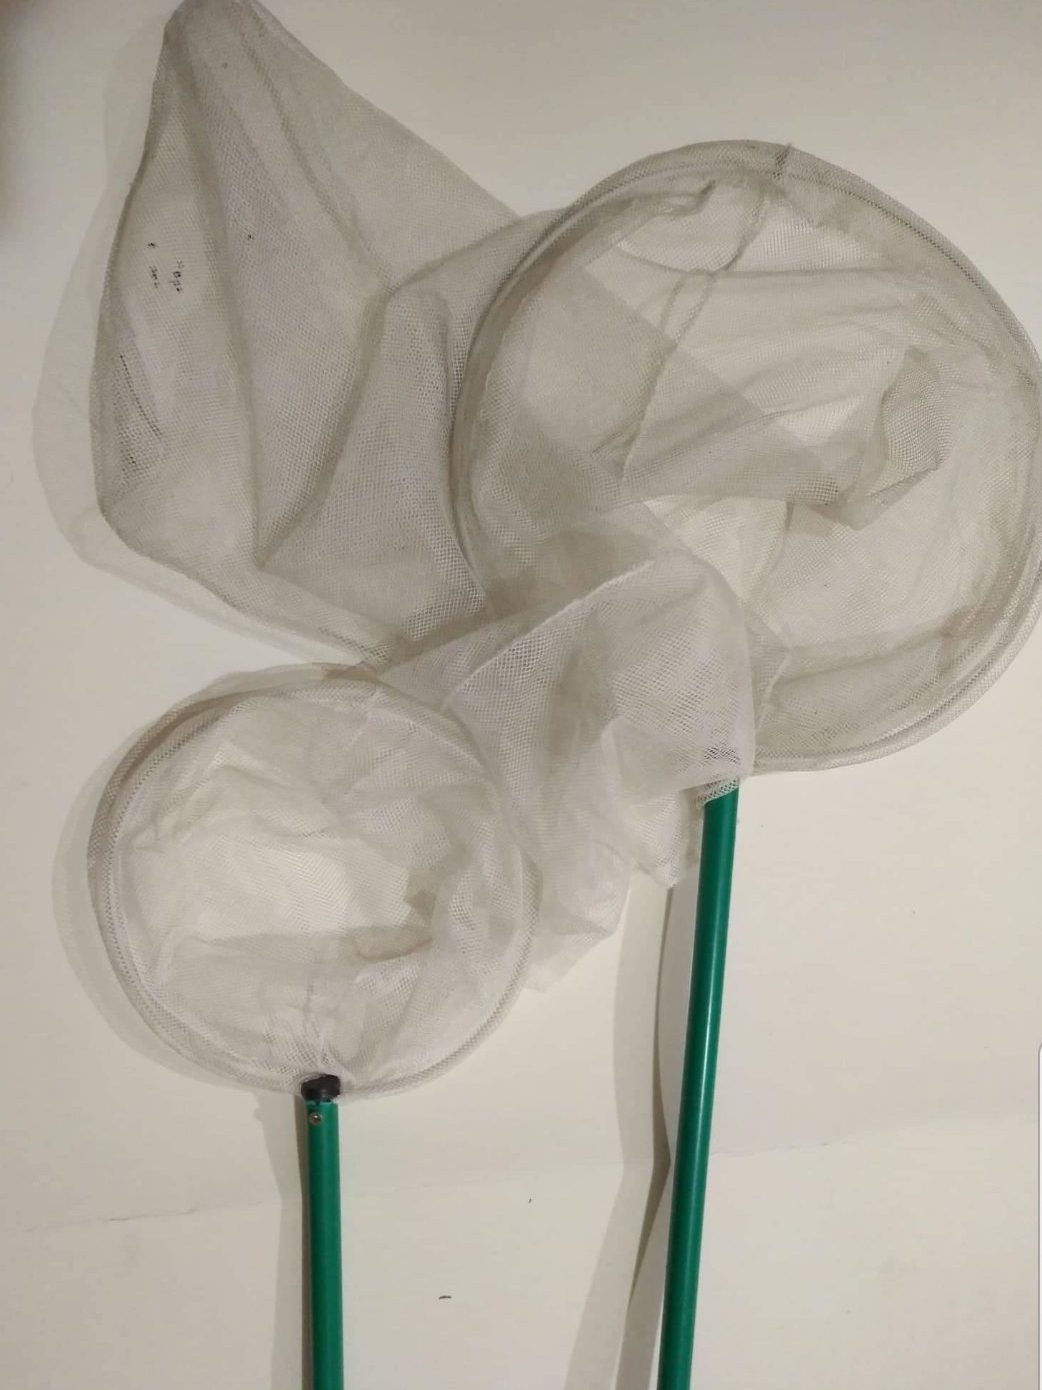
Net for gentle trapping of bumblebees
Diameter 20 + 40cm
Photo J. Černý
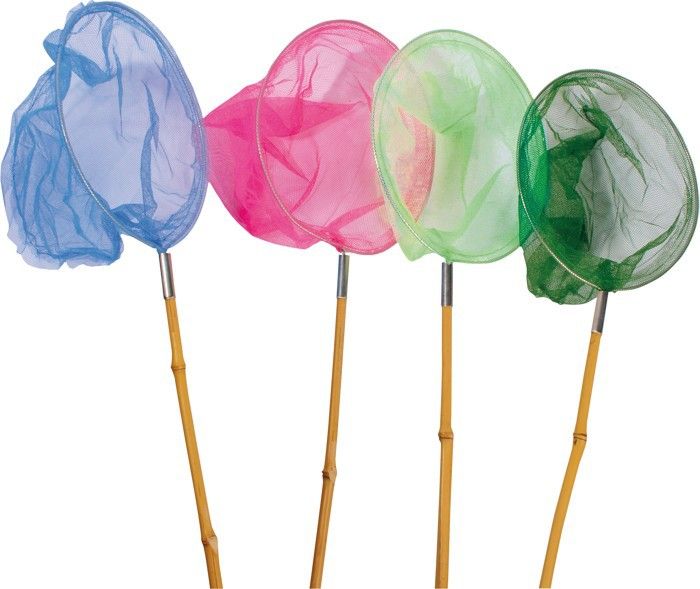
Net for gentle insect capture
Source Internet
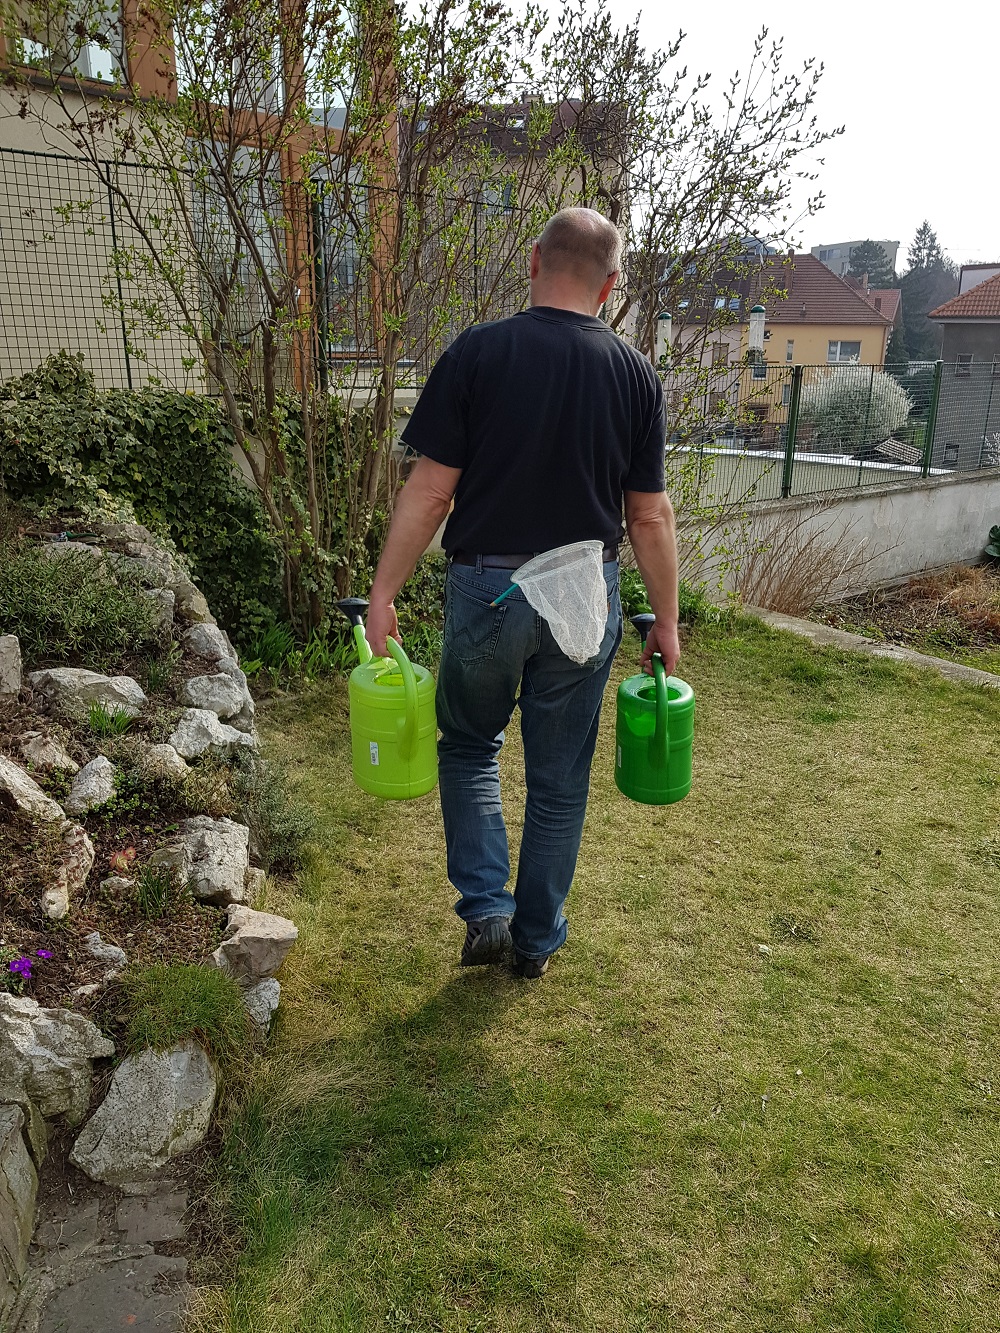
Net on standby
Photo O Hercog
The net is on standby
😀
Photo O. Hercog
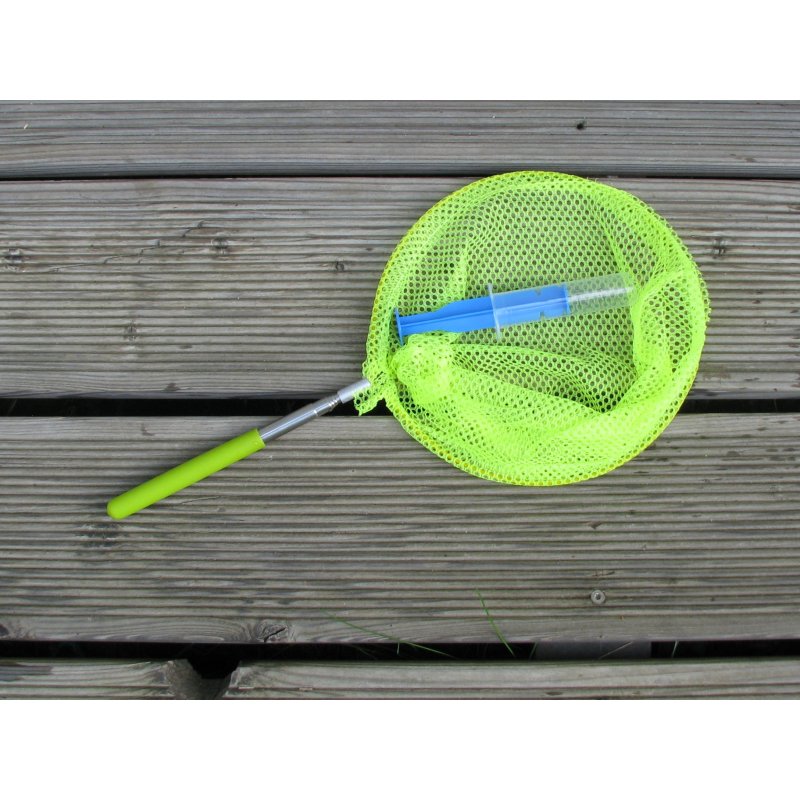
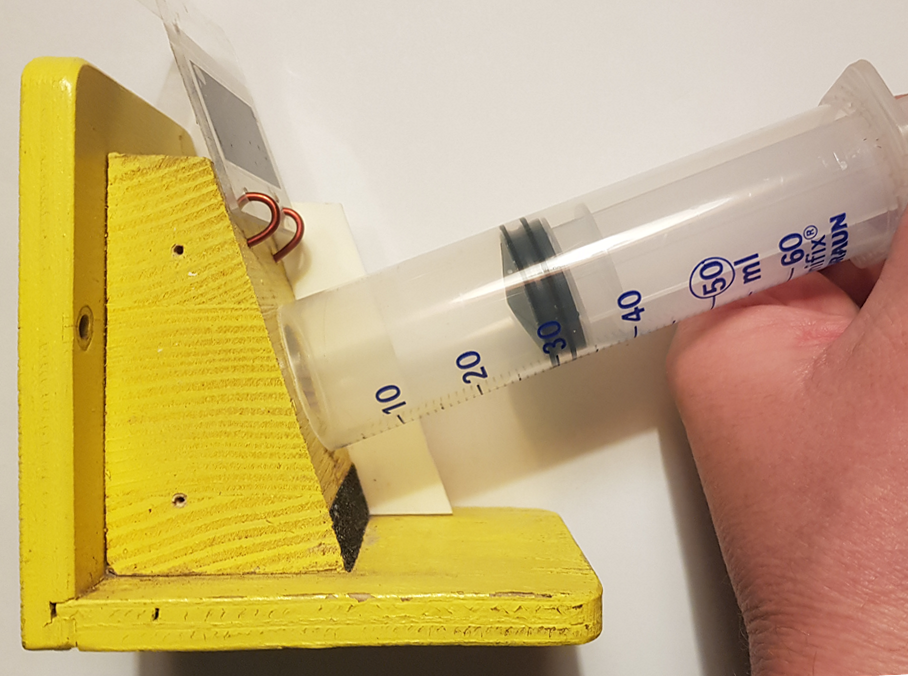
Capture set
WARNING - inappropriate size of mesh (shallow) and introducer (small diameter of syringe 20 ml)
Photo from seller's website
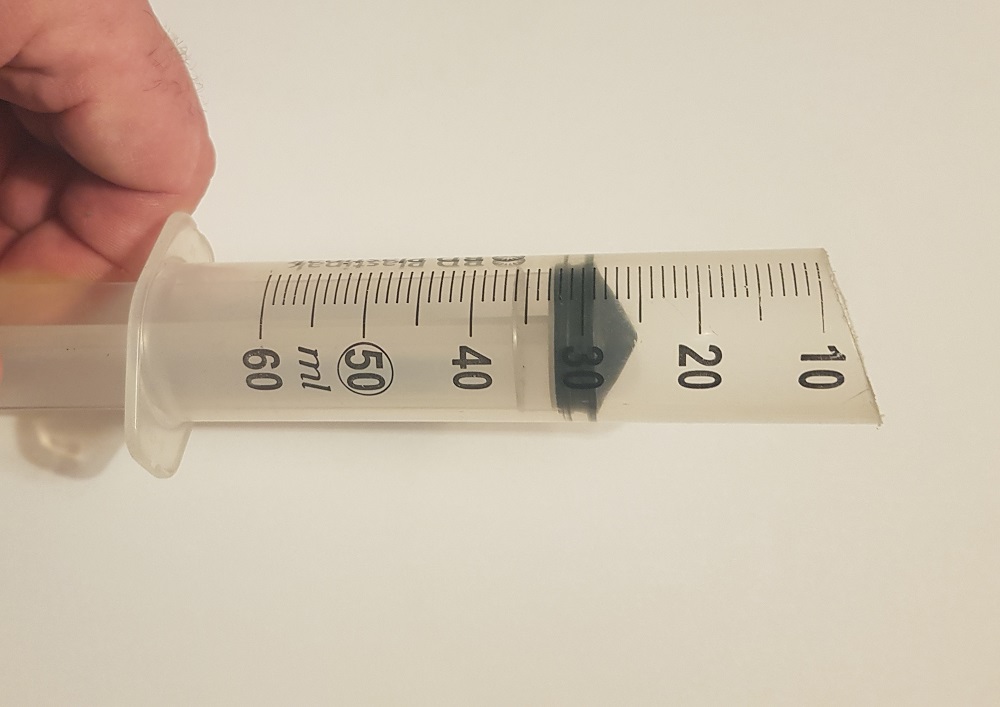
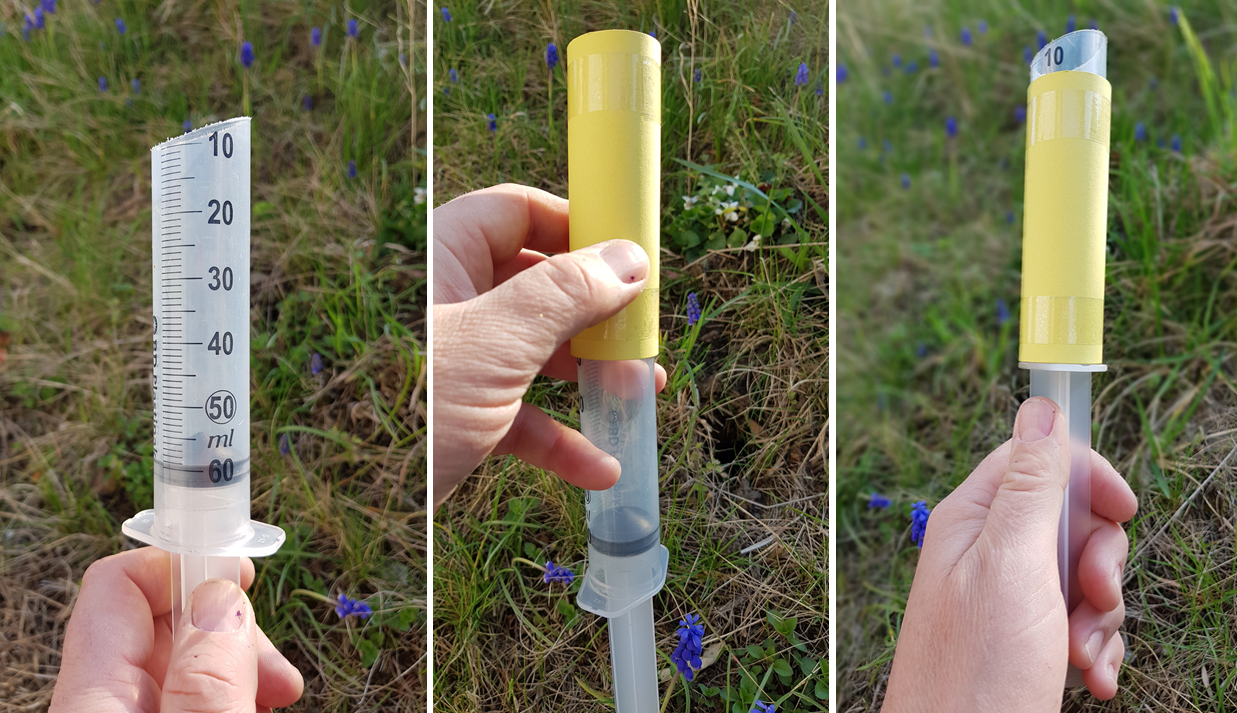
Queen bee introducer into the hive – diagonally cut front surface
Note – available in pharmacies as a 50 ml syringe
Photo O. Hercog
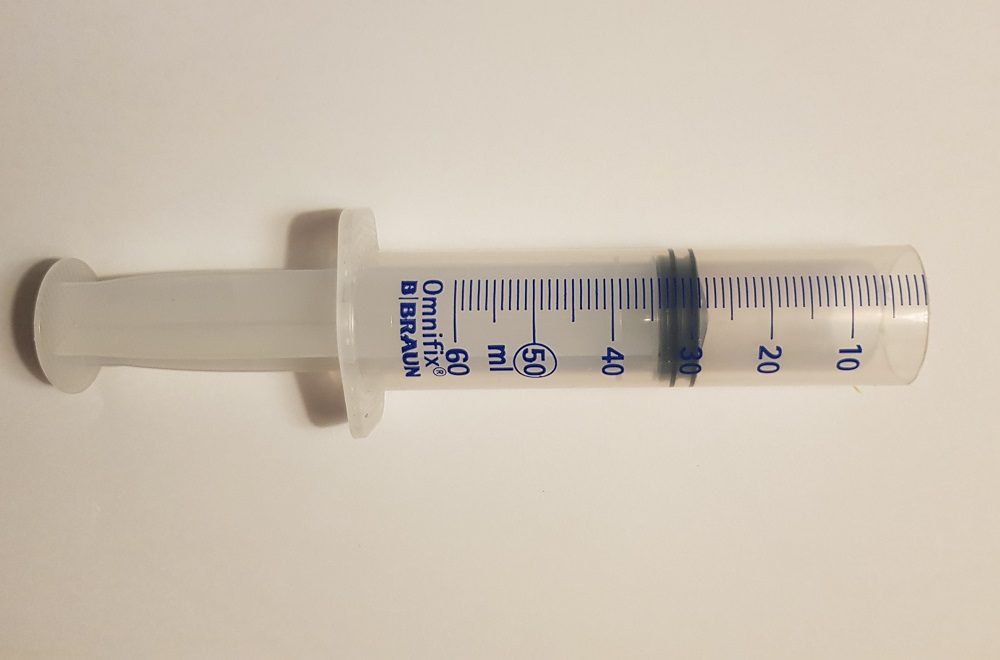
Queen bee feeder – straight cut front surface
Queen bee feeder into the hive – diagonally cut front surface – suitable cutting angle,
feeder attached to the entry hole,
queen enters the hive more easily
Photo O. Hercog
Queen bee feeder into the hive – straight cut front surface
of the feeder attached to the entry hole
The queen will slide in the feeder and will have difficulty entering the hive
Photo O. Hercog
Loader with a case
If you put a case on the loader, the captured mother will be in the loader in the dark and more at ease
Photo O. Hercog

Queen bee feeder into the hive after being placed on the entry hole
Foro O. Hercog
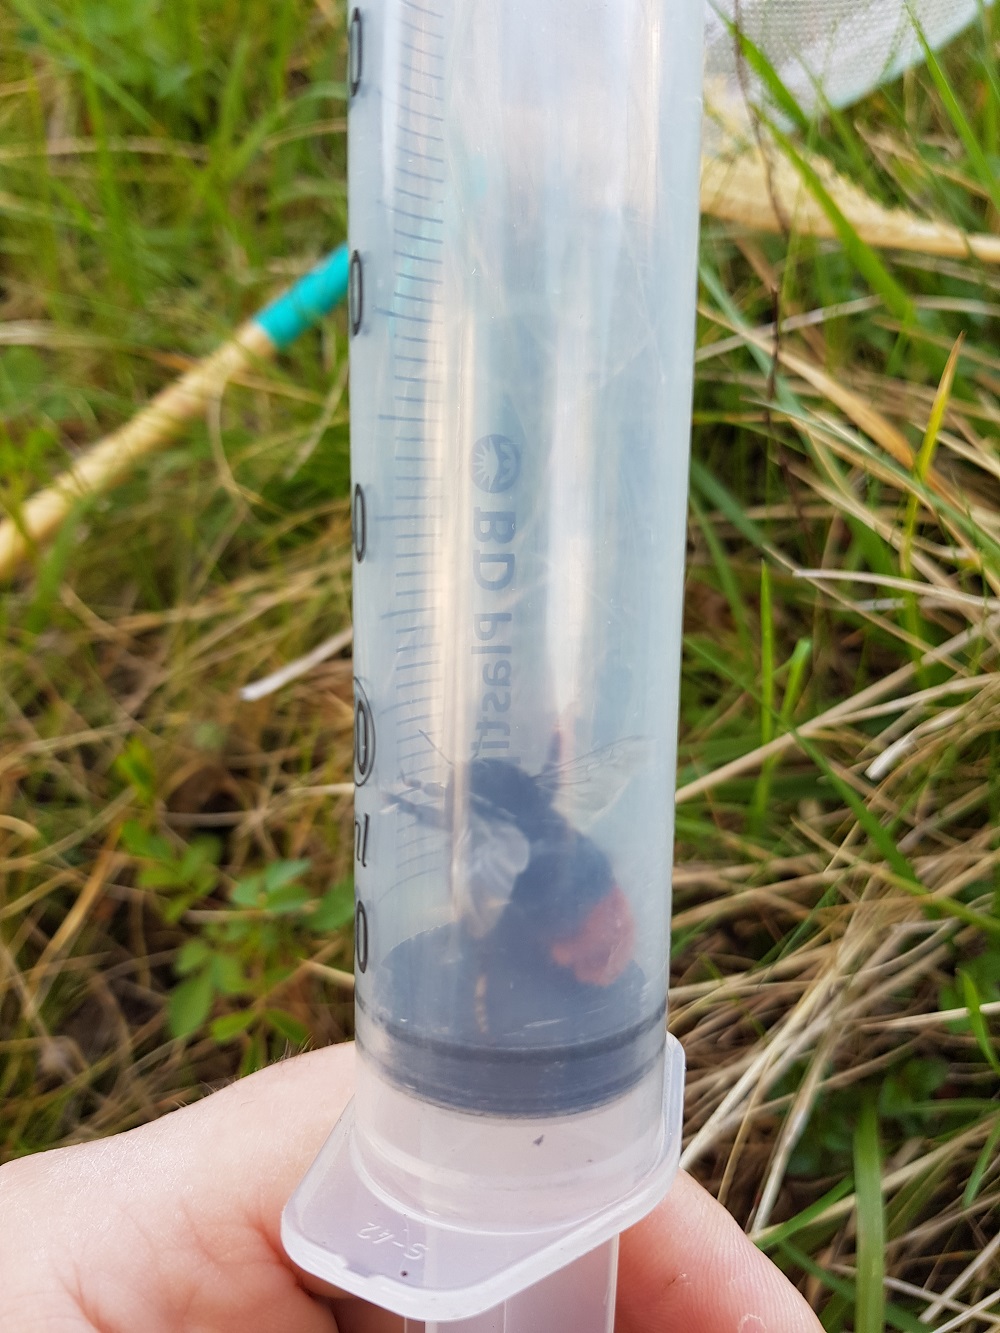
The transmitter – the mother of the rock bumblebee
Photo O. Hercog

The transmitter – the mother of the agricultural bumblebee
Photo O. Hercog
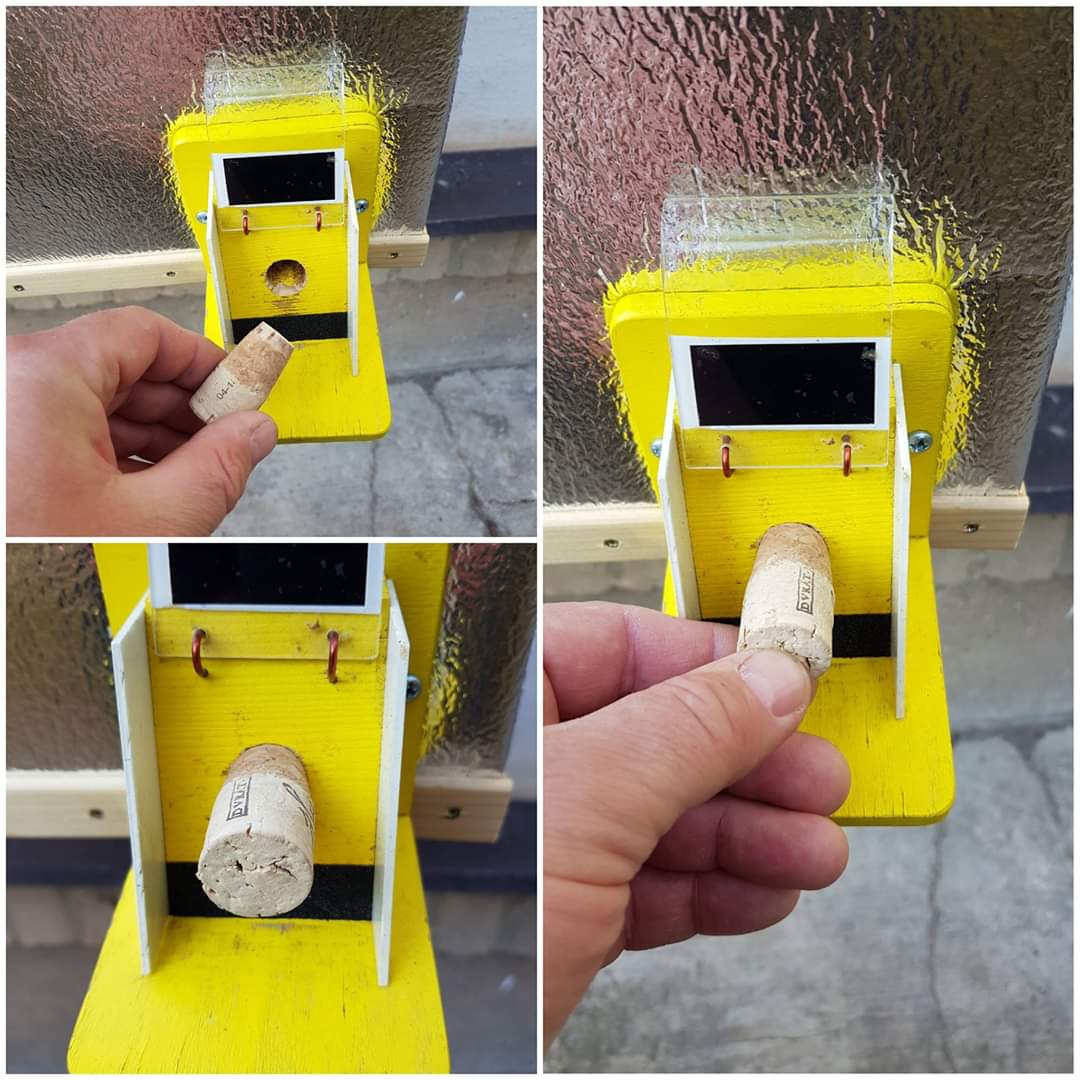
Closing the hive with a ground cork stopper
Photo O. Hercog
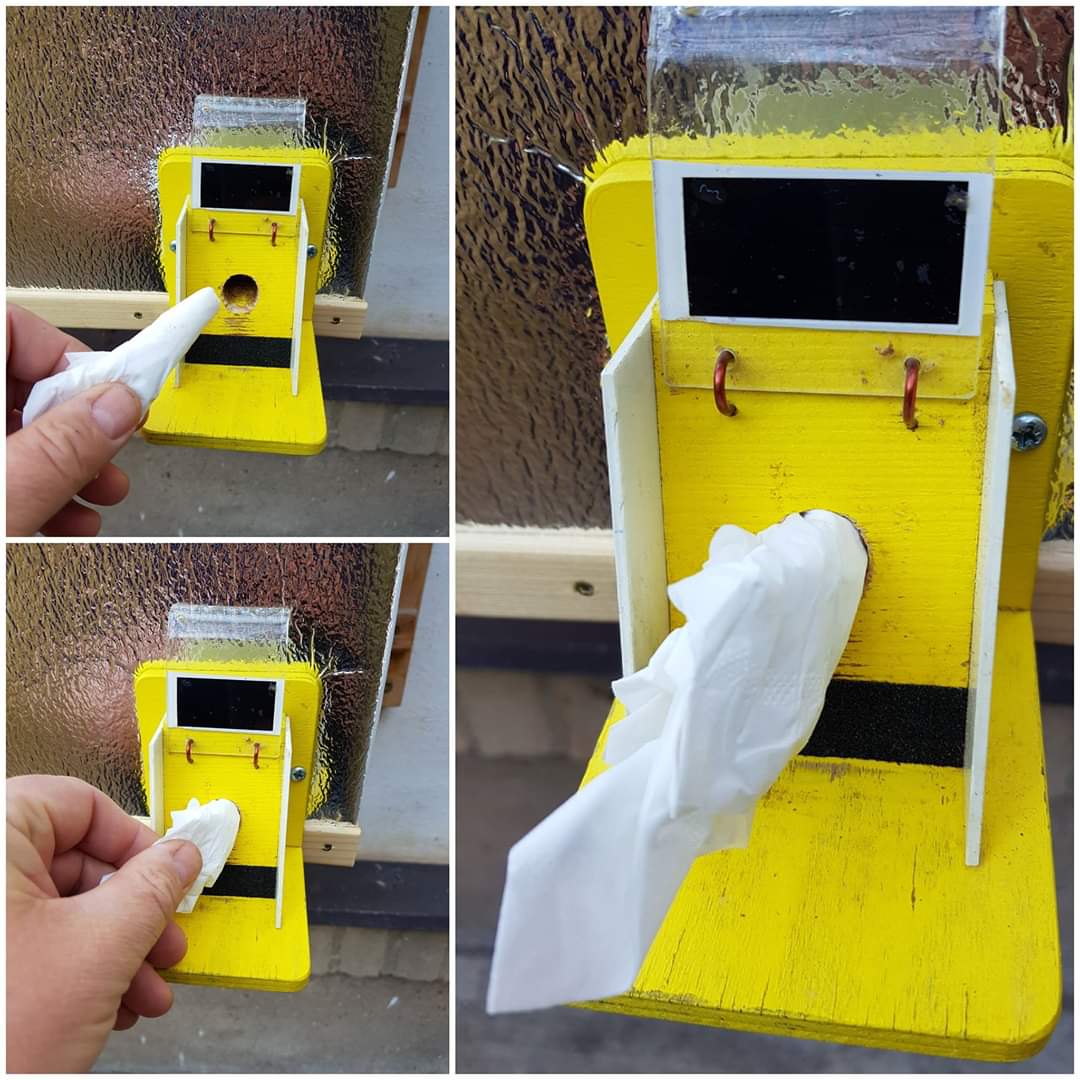
Closing the hive with a roll of napkin
Photo O. Hercog
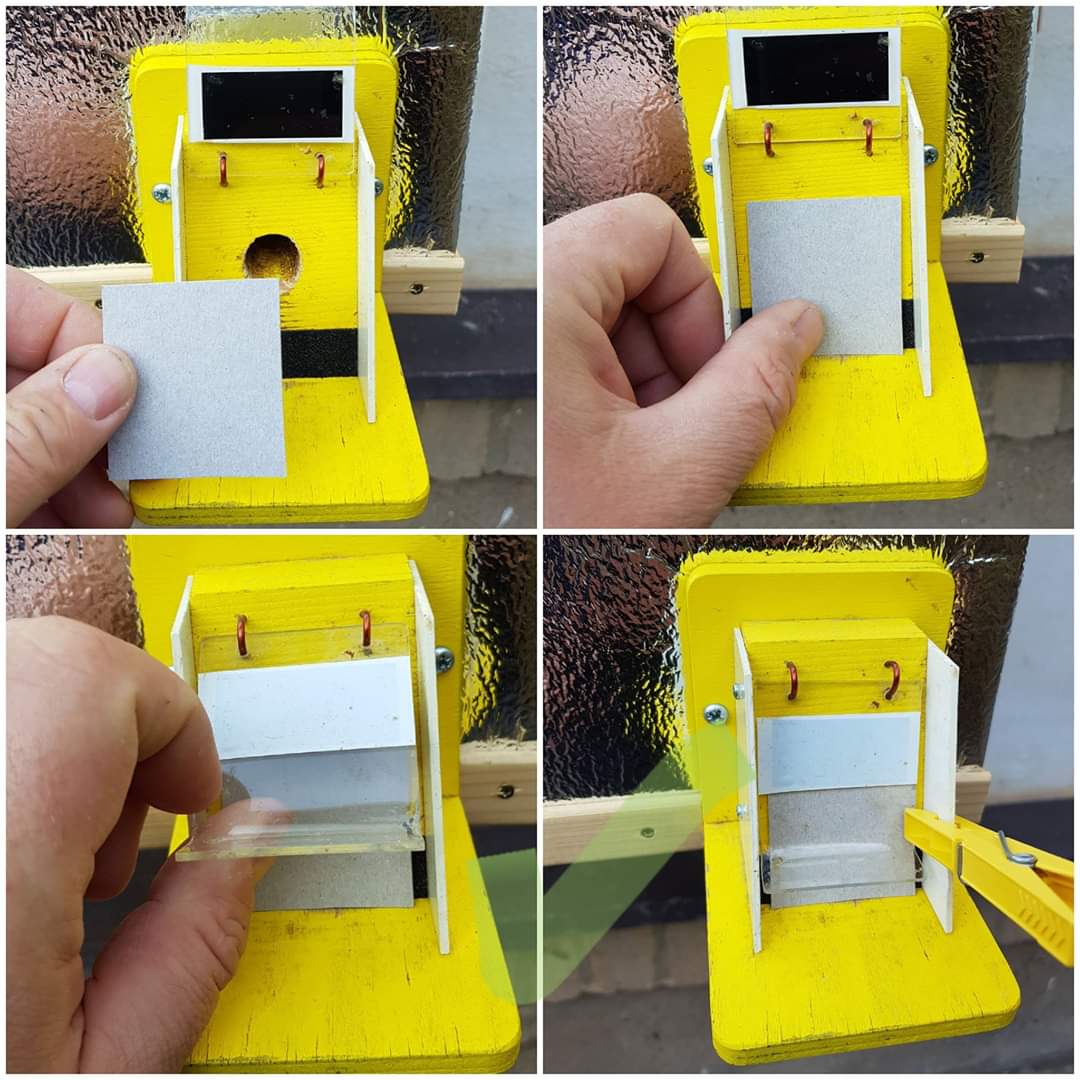
Closing the hive with a cardboard cutout
Photo O. Hercog
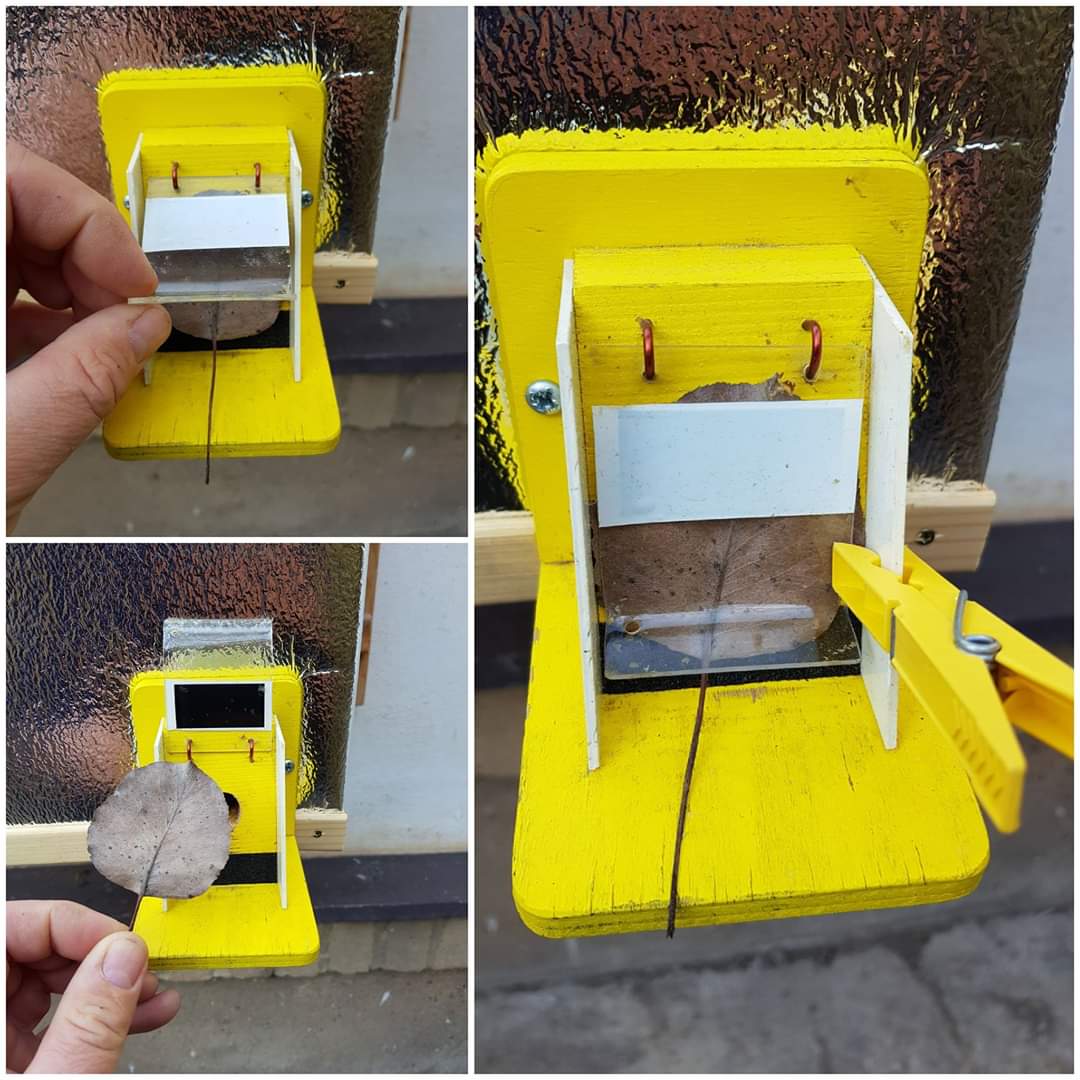
Bumblebees PLUS – Closing the hive with a leaf
is an emergency solution of the "nothing else at hand" type
Photo O. Hercog
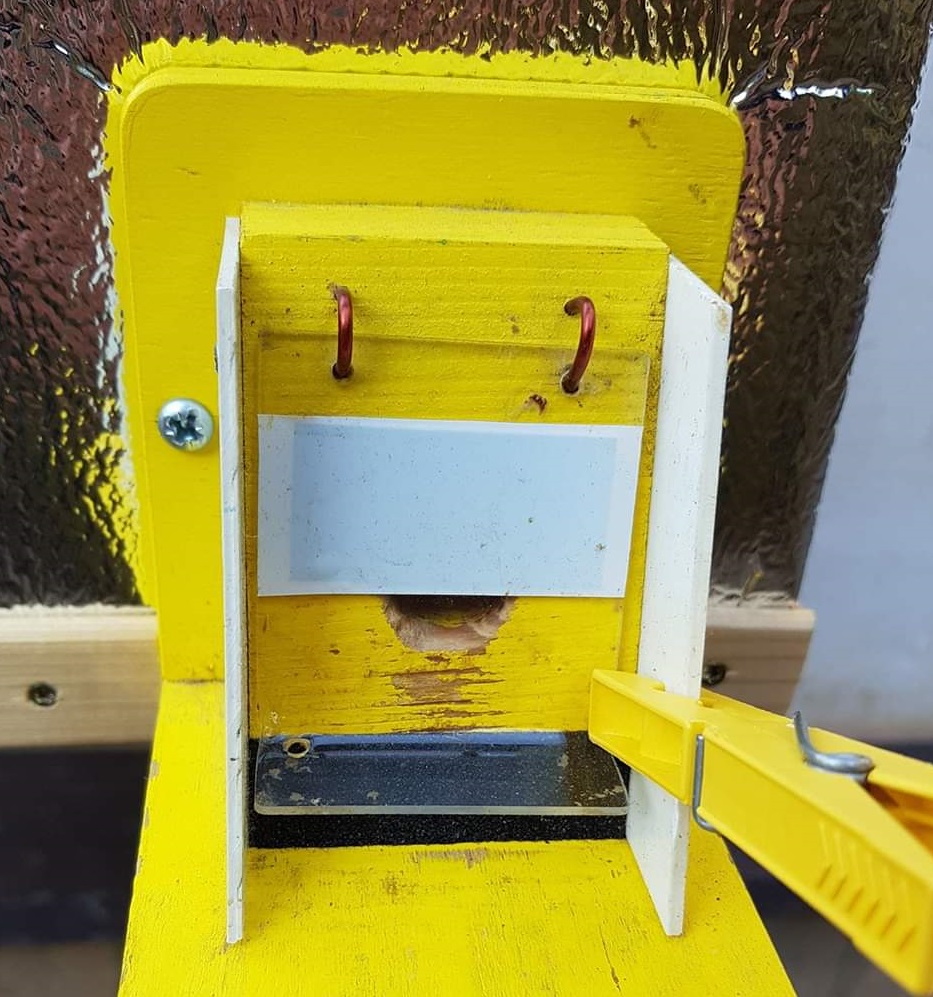
Closing the hive by closing the flap and securing it with a clothespin.
Quick and easy, but cannot be used when introducing the queen bee into the nest – she can see the light shining through!
Photo O. Hercog