Bumblebees PLUS A Scare and I Could See It
Source Internet
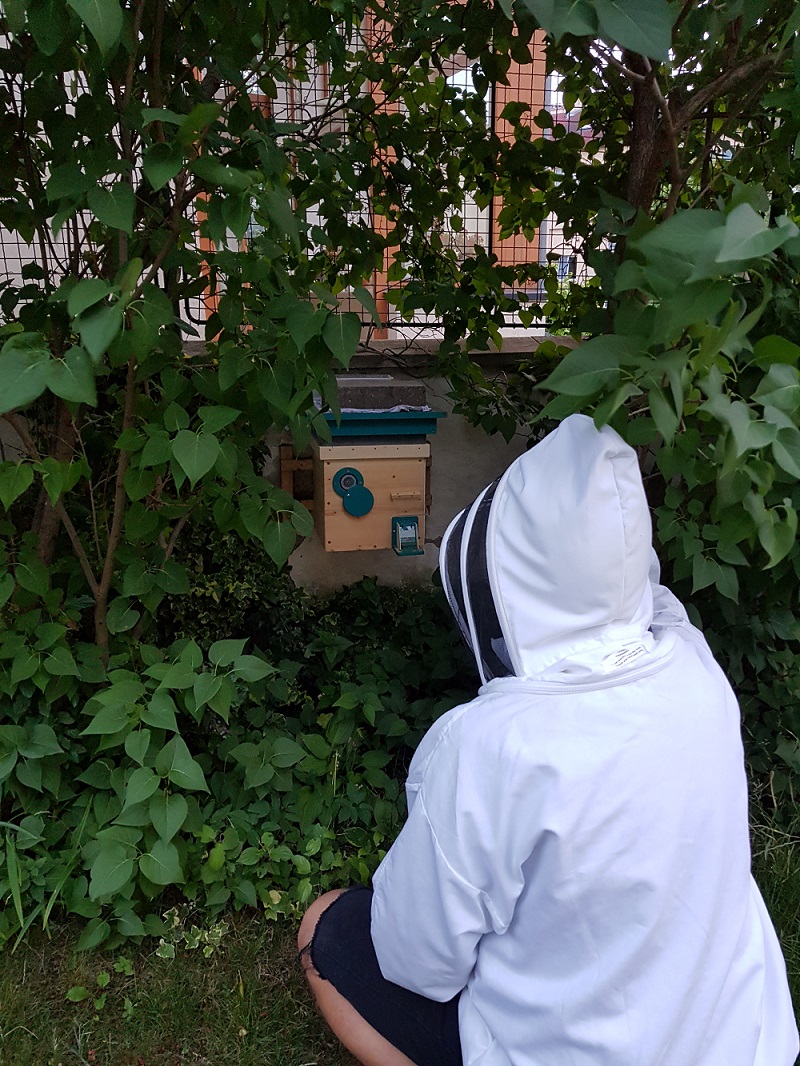
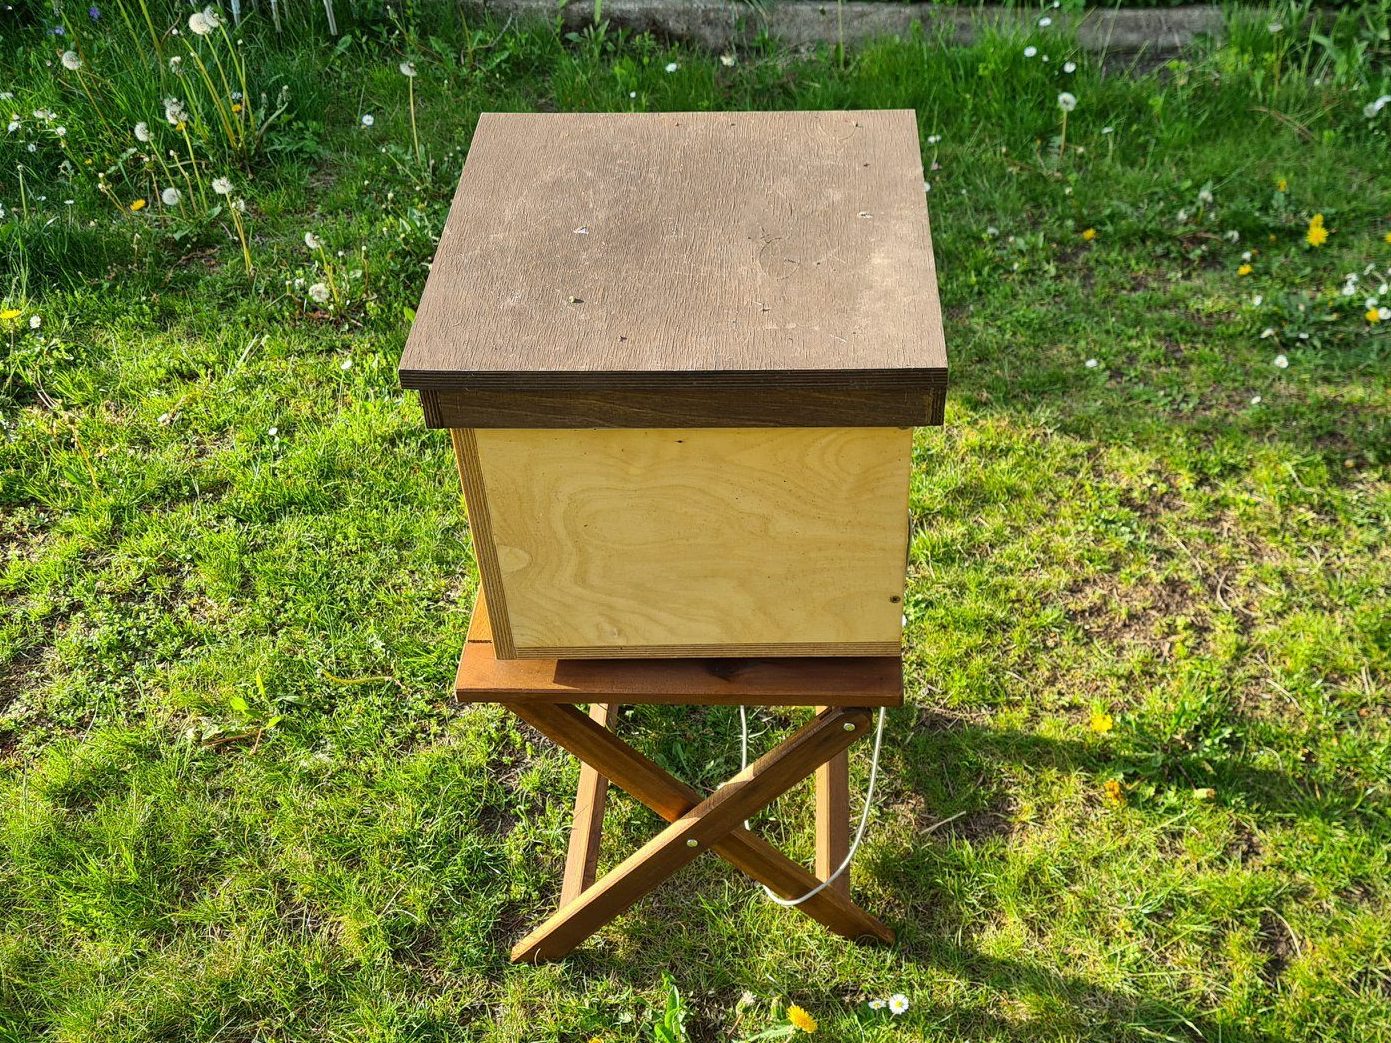
Placing the hive behind a screen
Photo E.Kalčíková
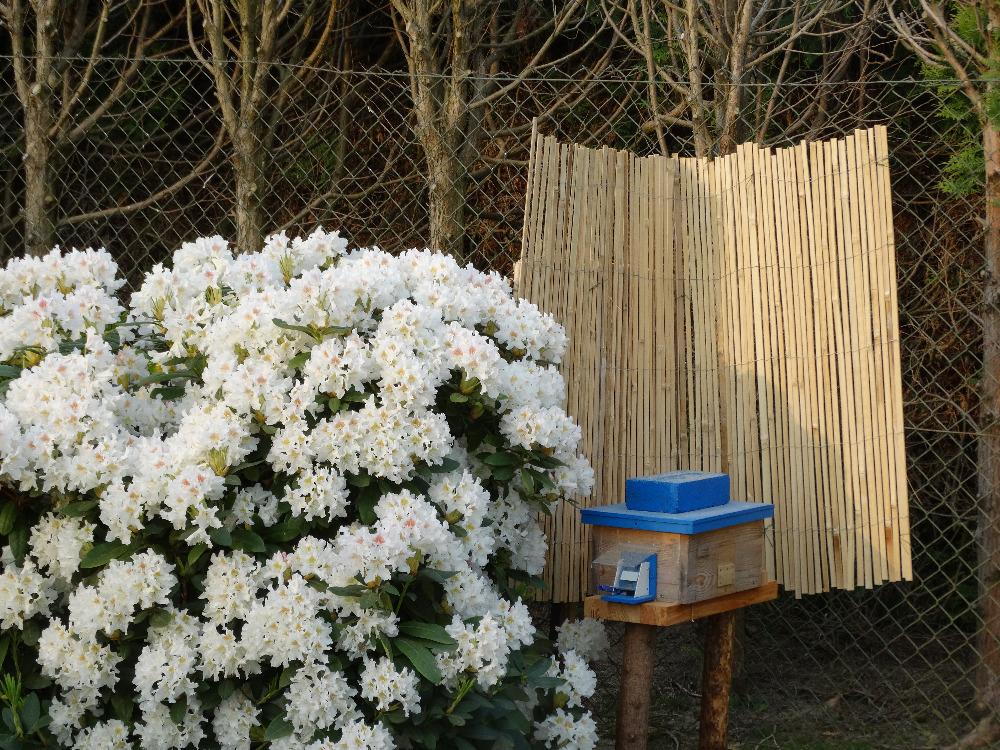
Placing the hive under the bumblebee bushes
Photo O. Hercog
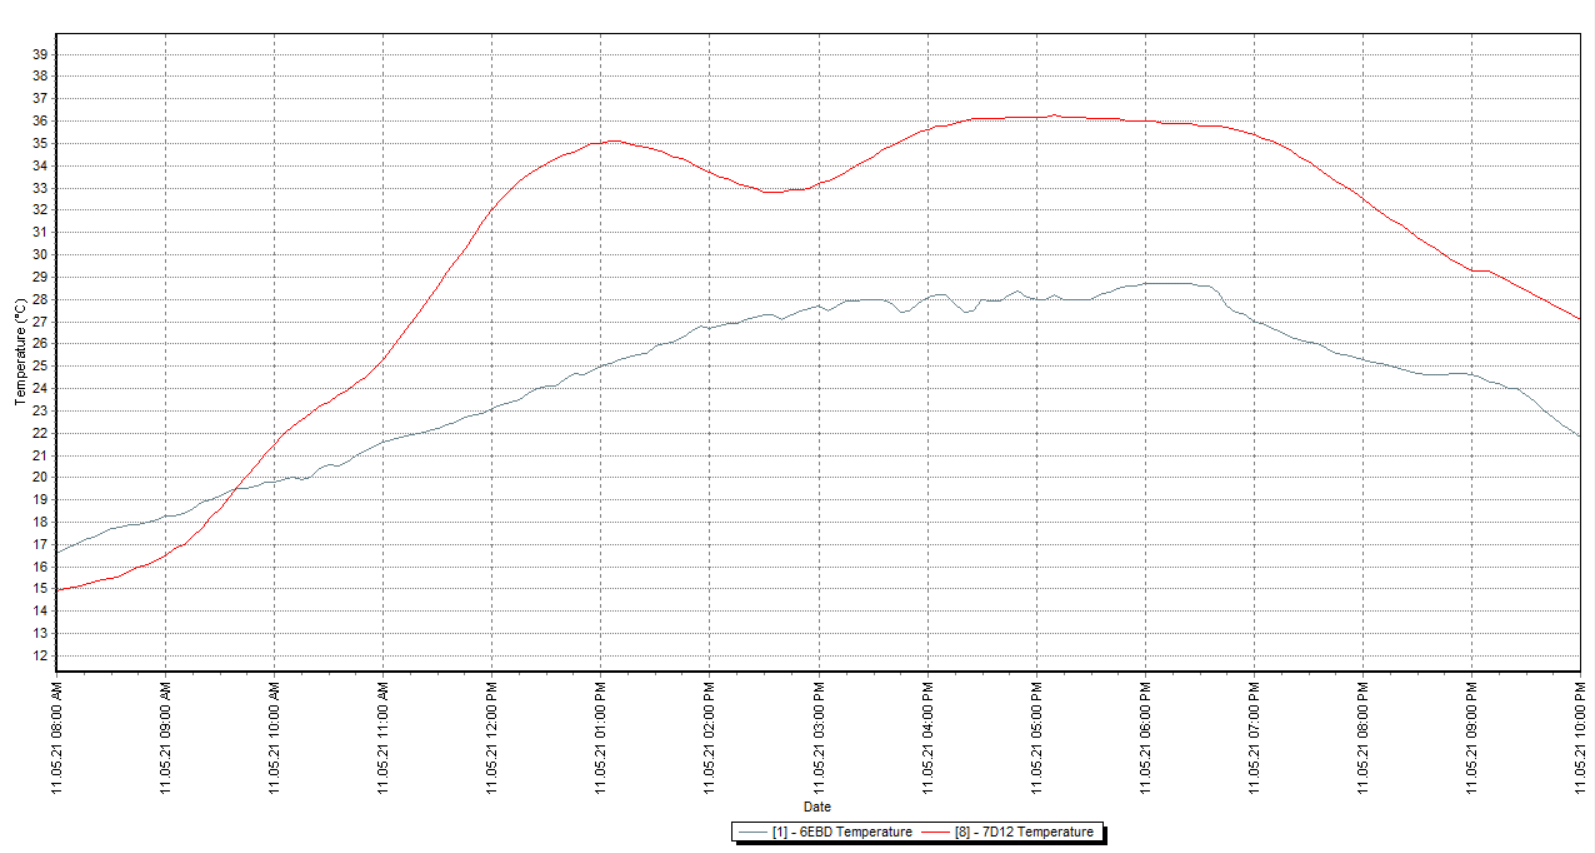
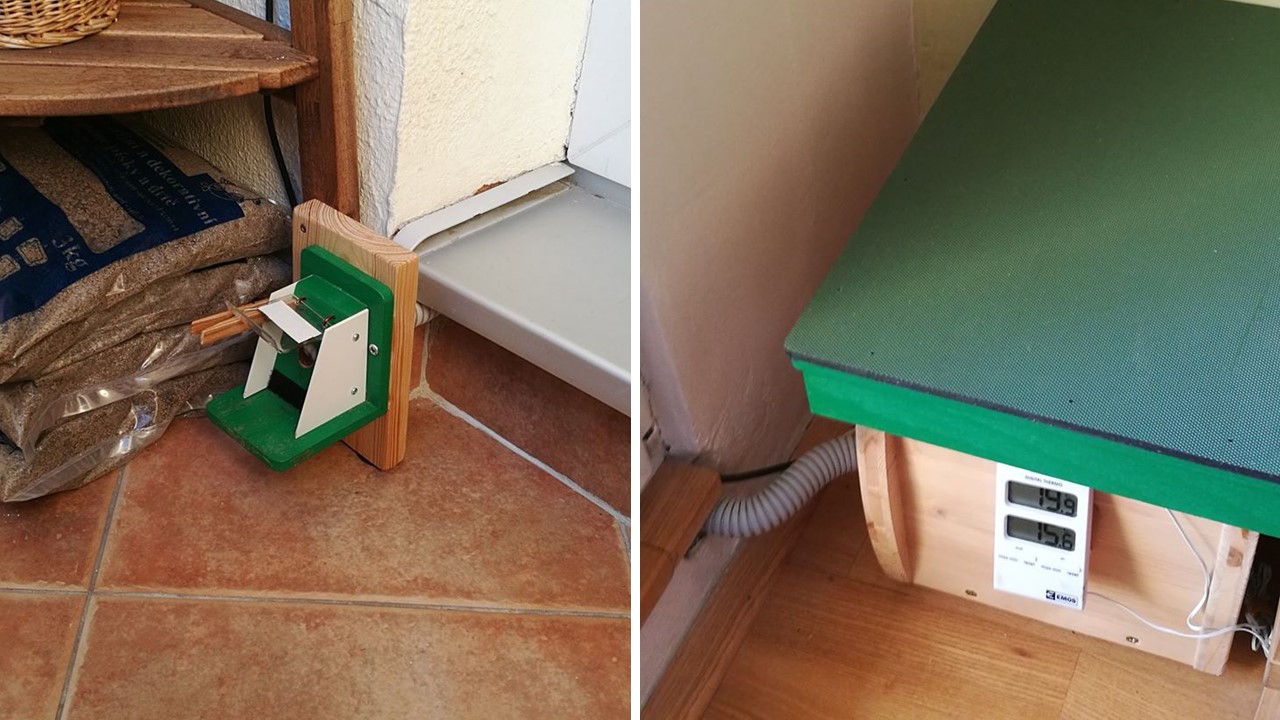
Measuring the temperature in a hive placed in the sun
* The red curve in the graph shows the air temperature in the hive
* The gray curve shows the air temperature in the shade.
Source: Bumblebees PLUS 05/2021
Measuring temperature in a hive placed in the sun
Source: Bumblebees PLUS 2021 05
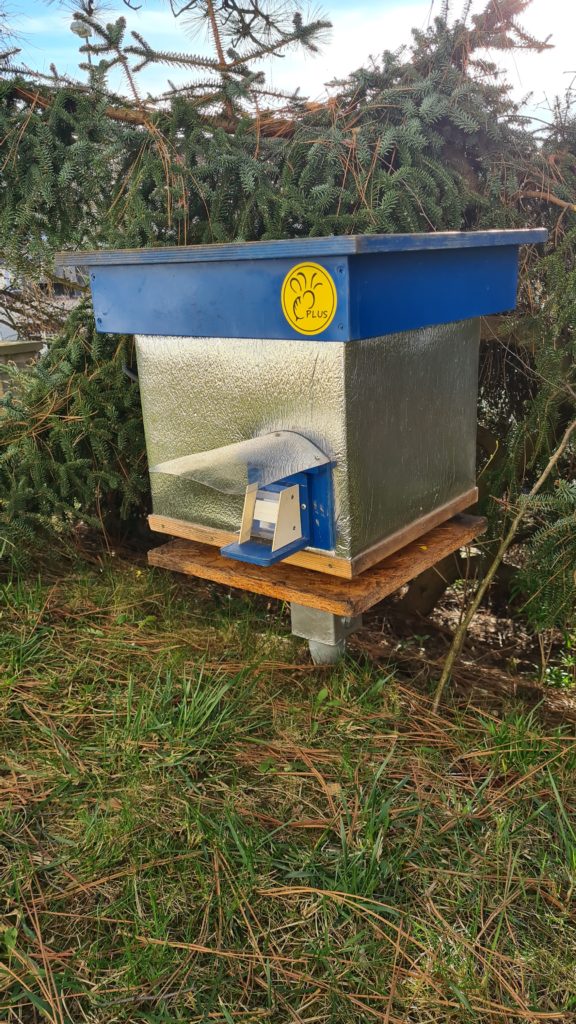
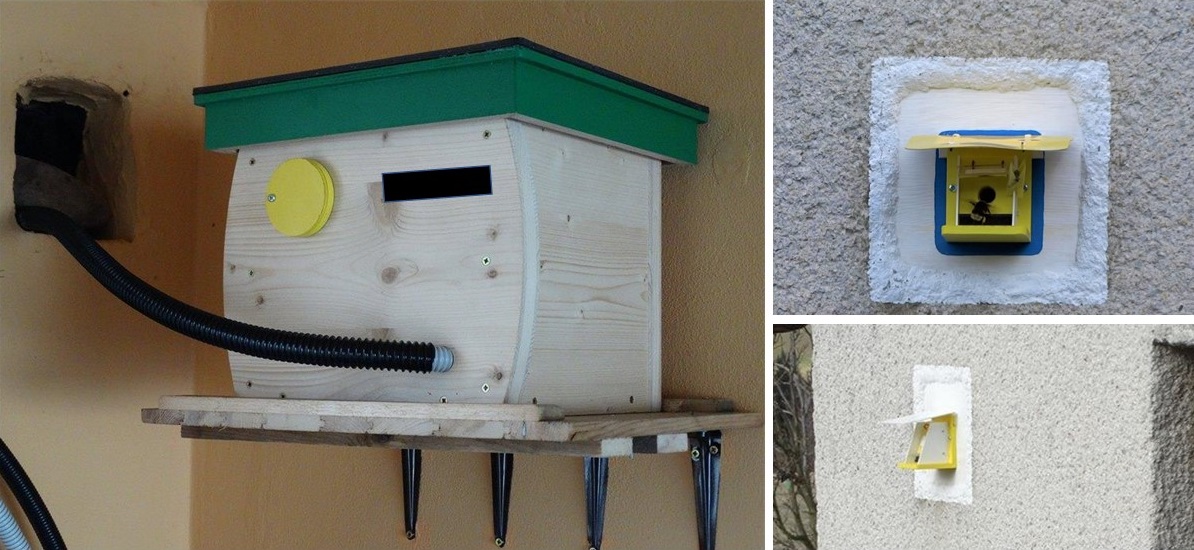
Bumblebees PLUS – Roof over the flap
Photo O. Hercog 6/2020
.
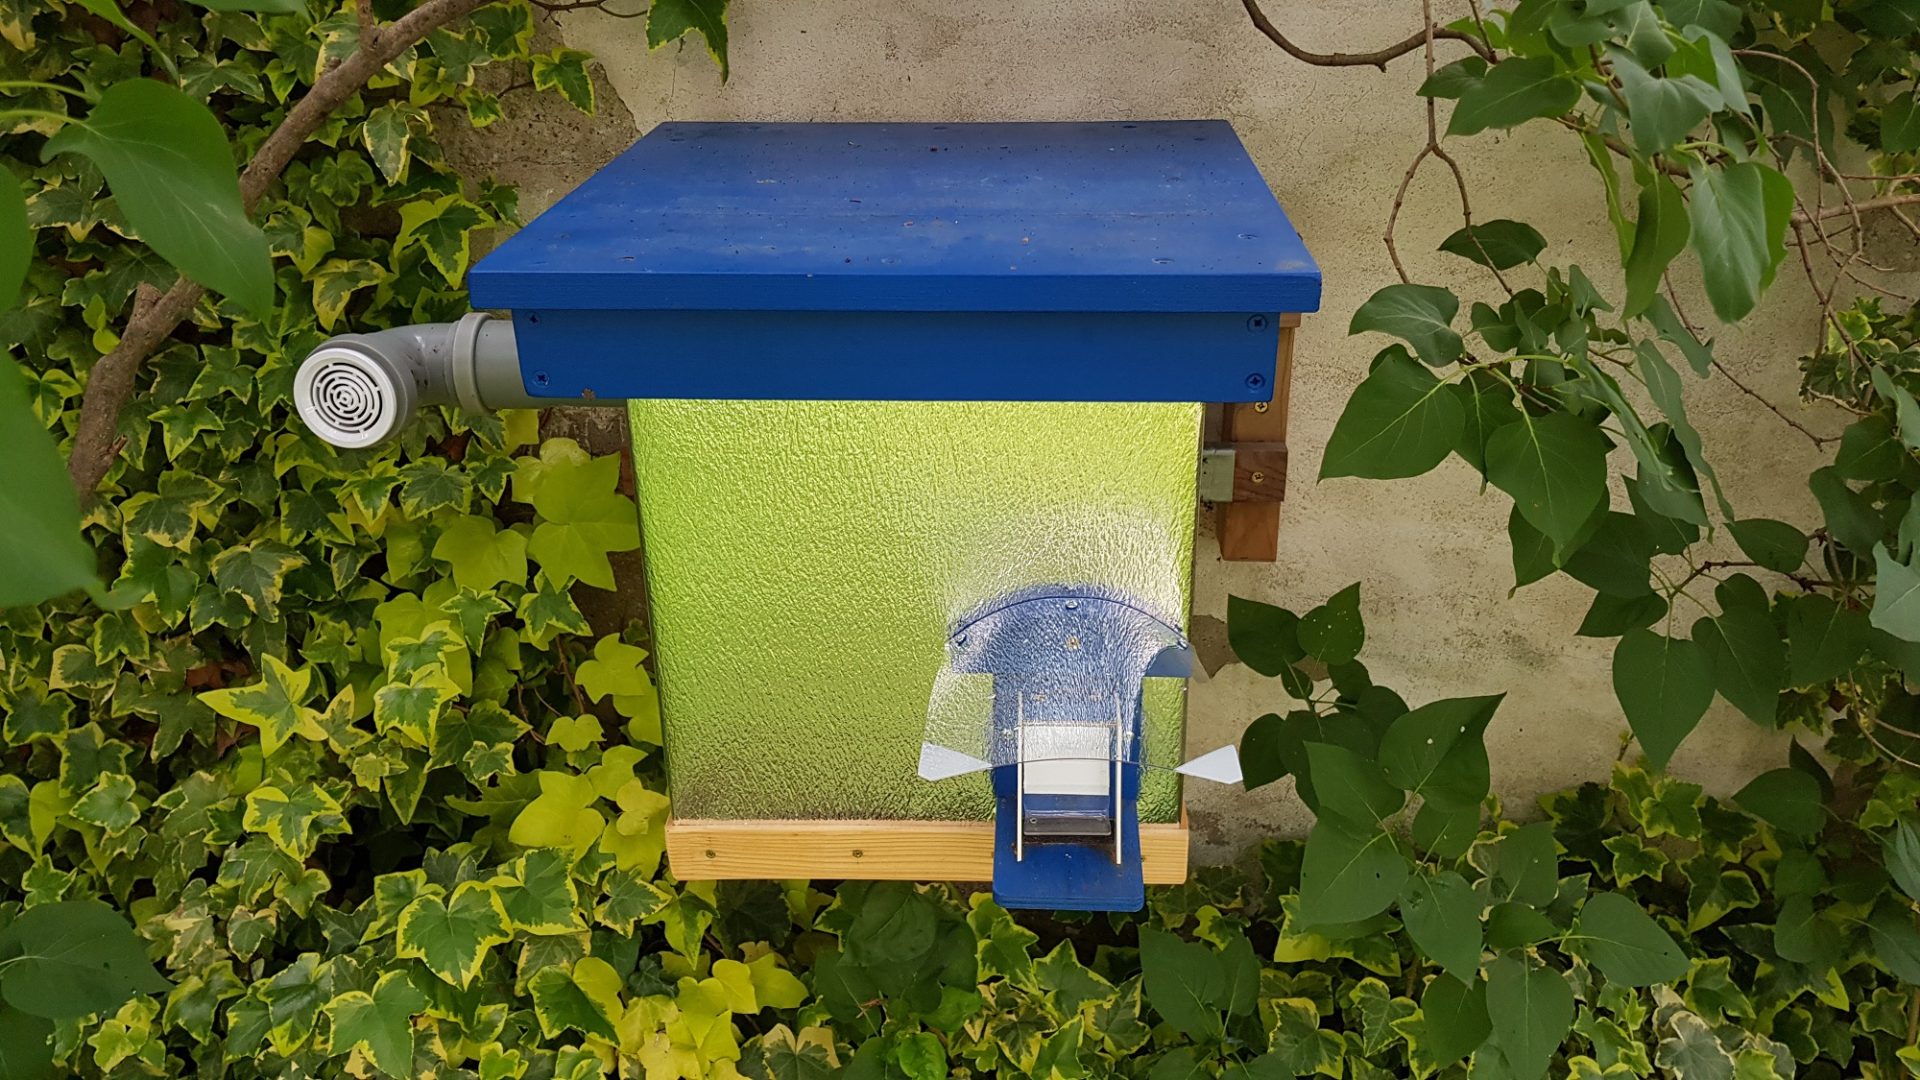
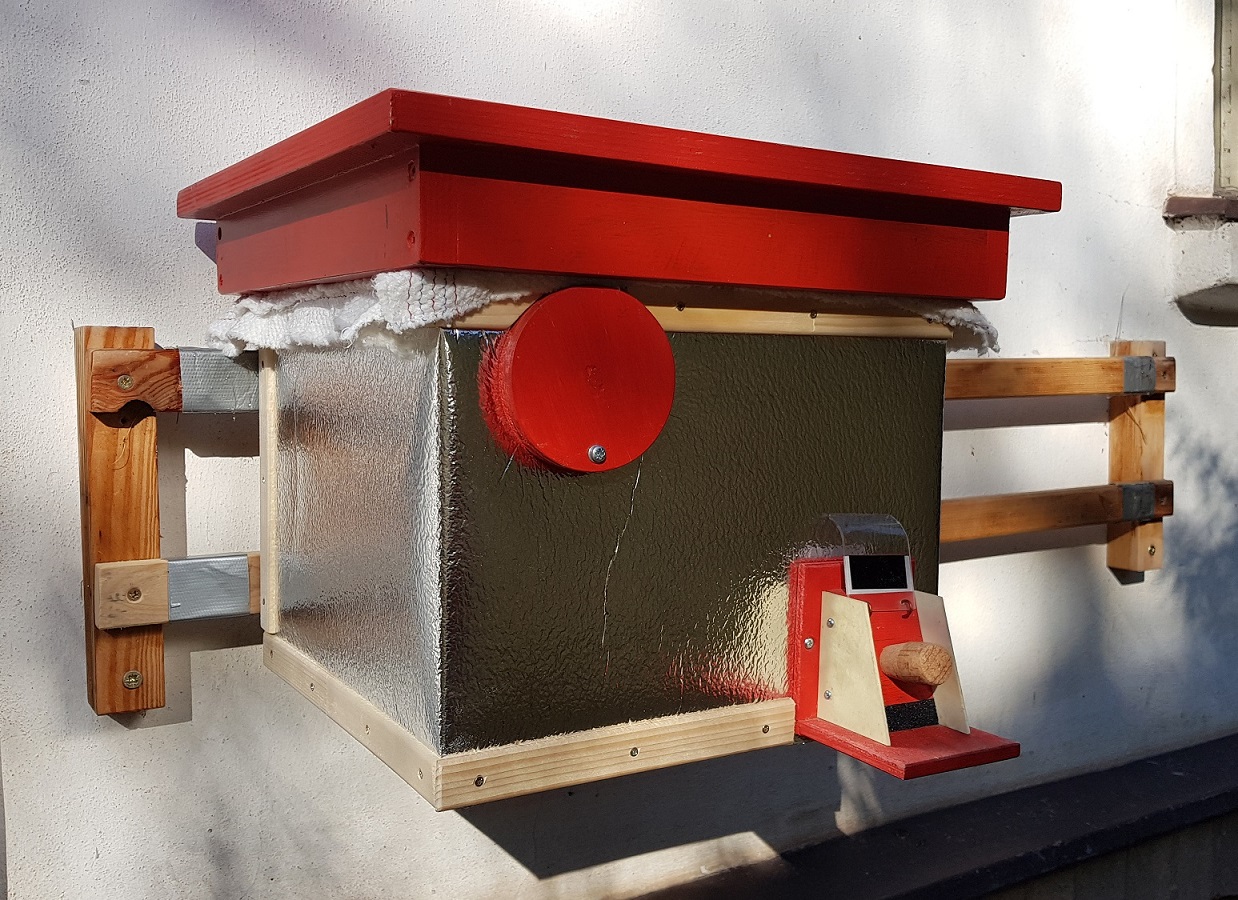
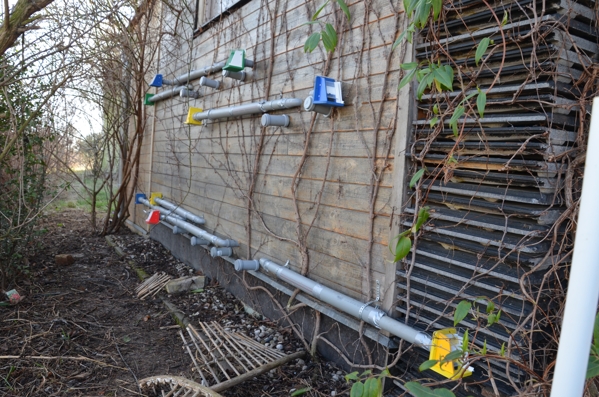
Placing the hive on the hangers on the fence wall
Photo O. Hercog
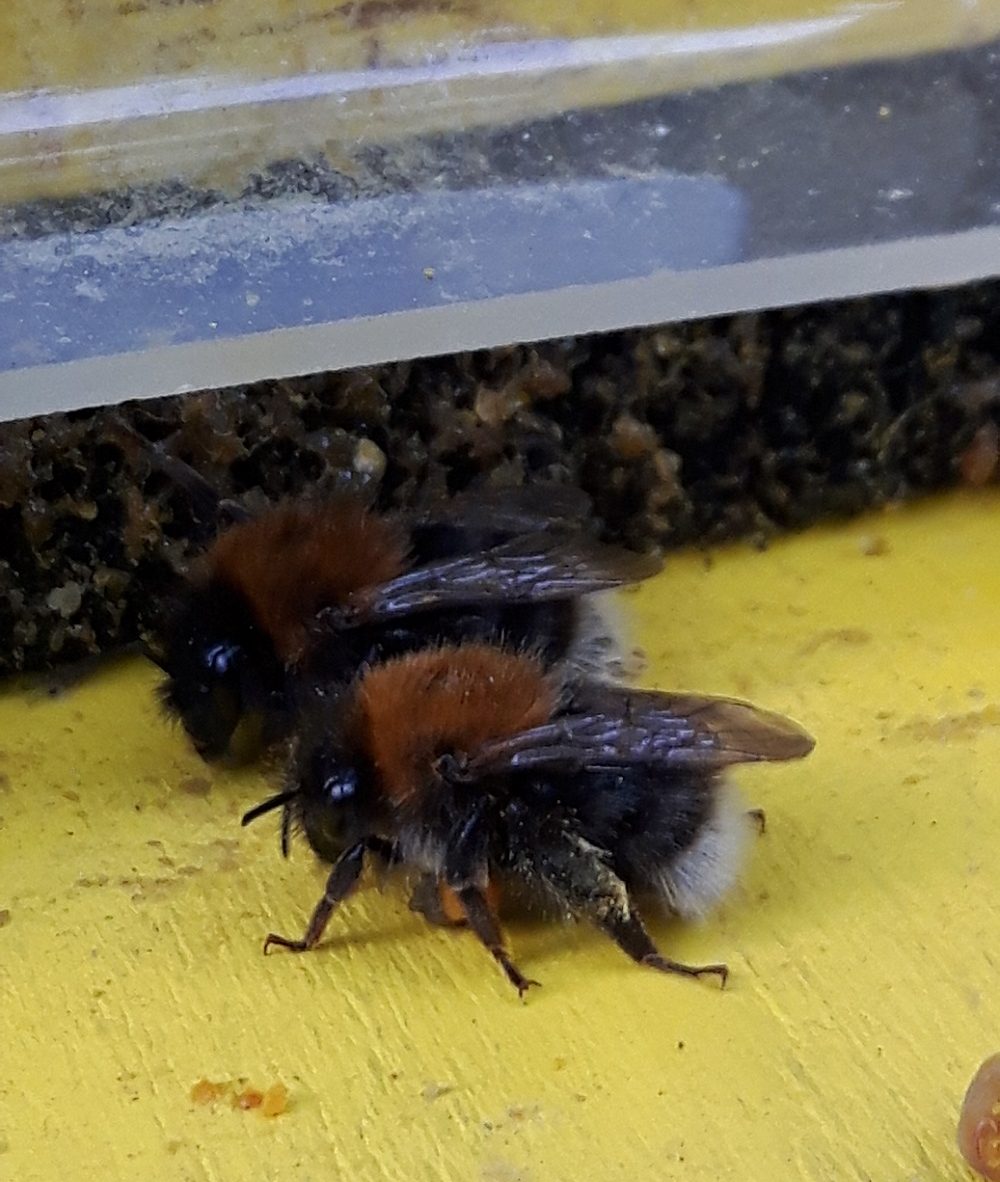
Hypnotic bumblebee (Bombus hypnorum)
Photo O. Hercog
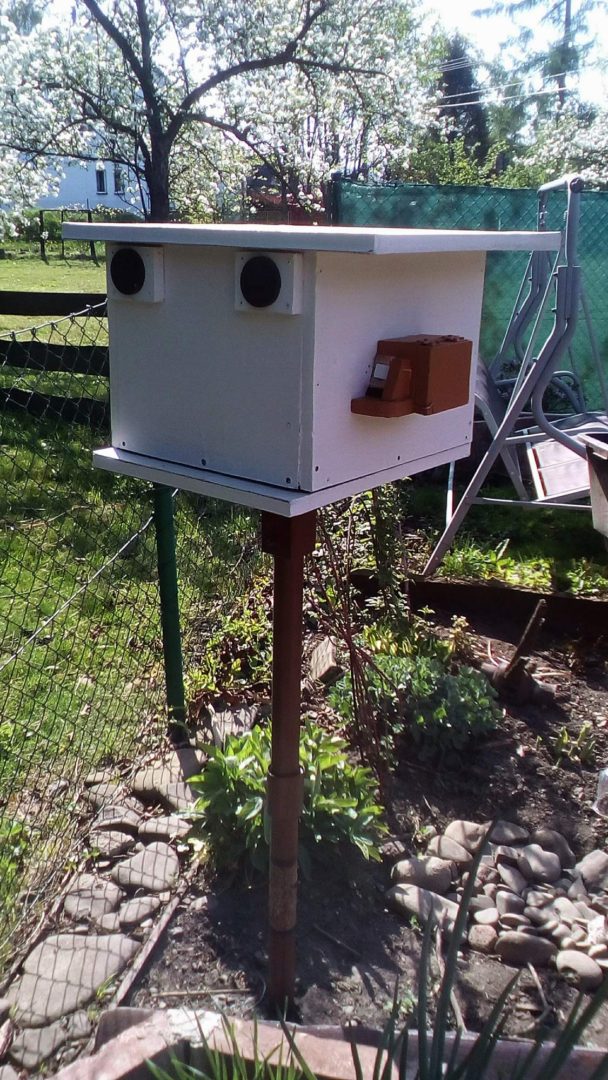
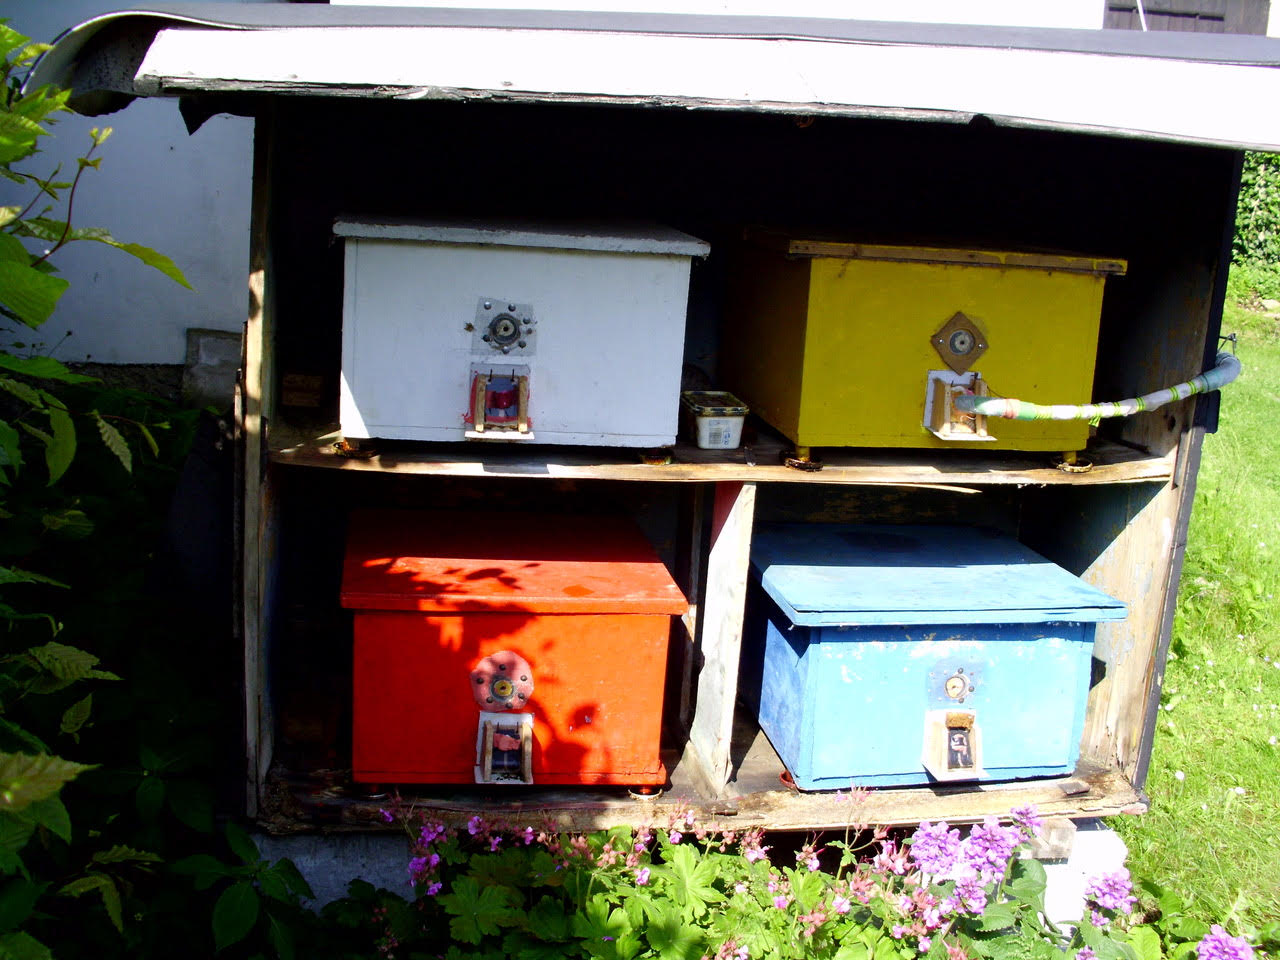
Hive placement – inlet holes as far apart as possible
But place the hives as far apart as possible
Photo R. Kýros
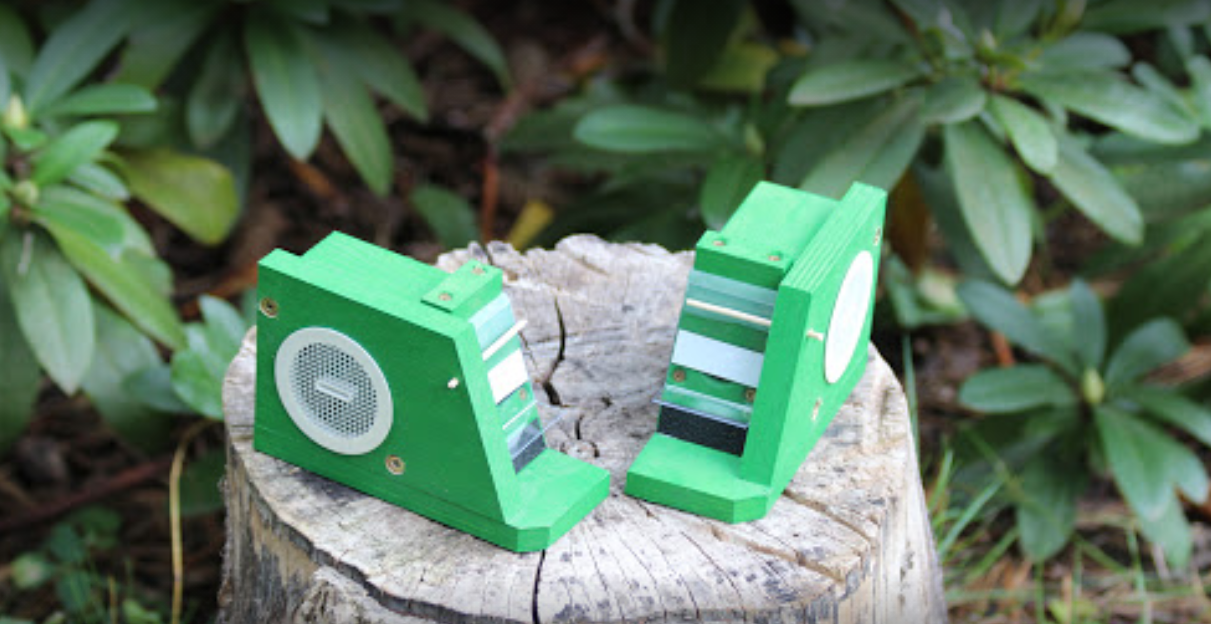
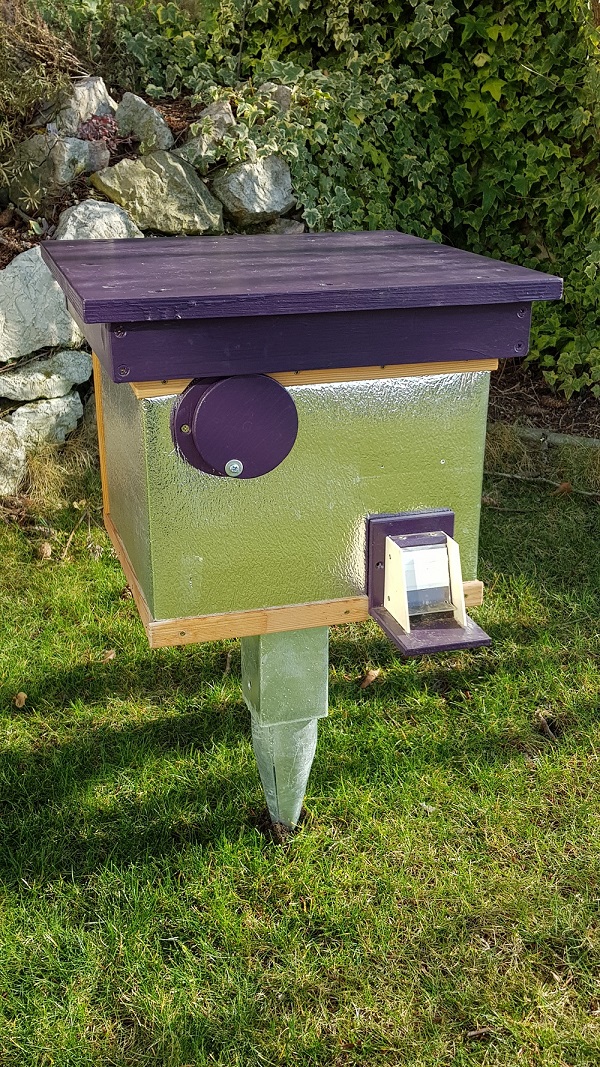
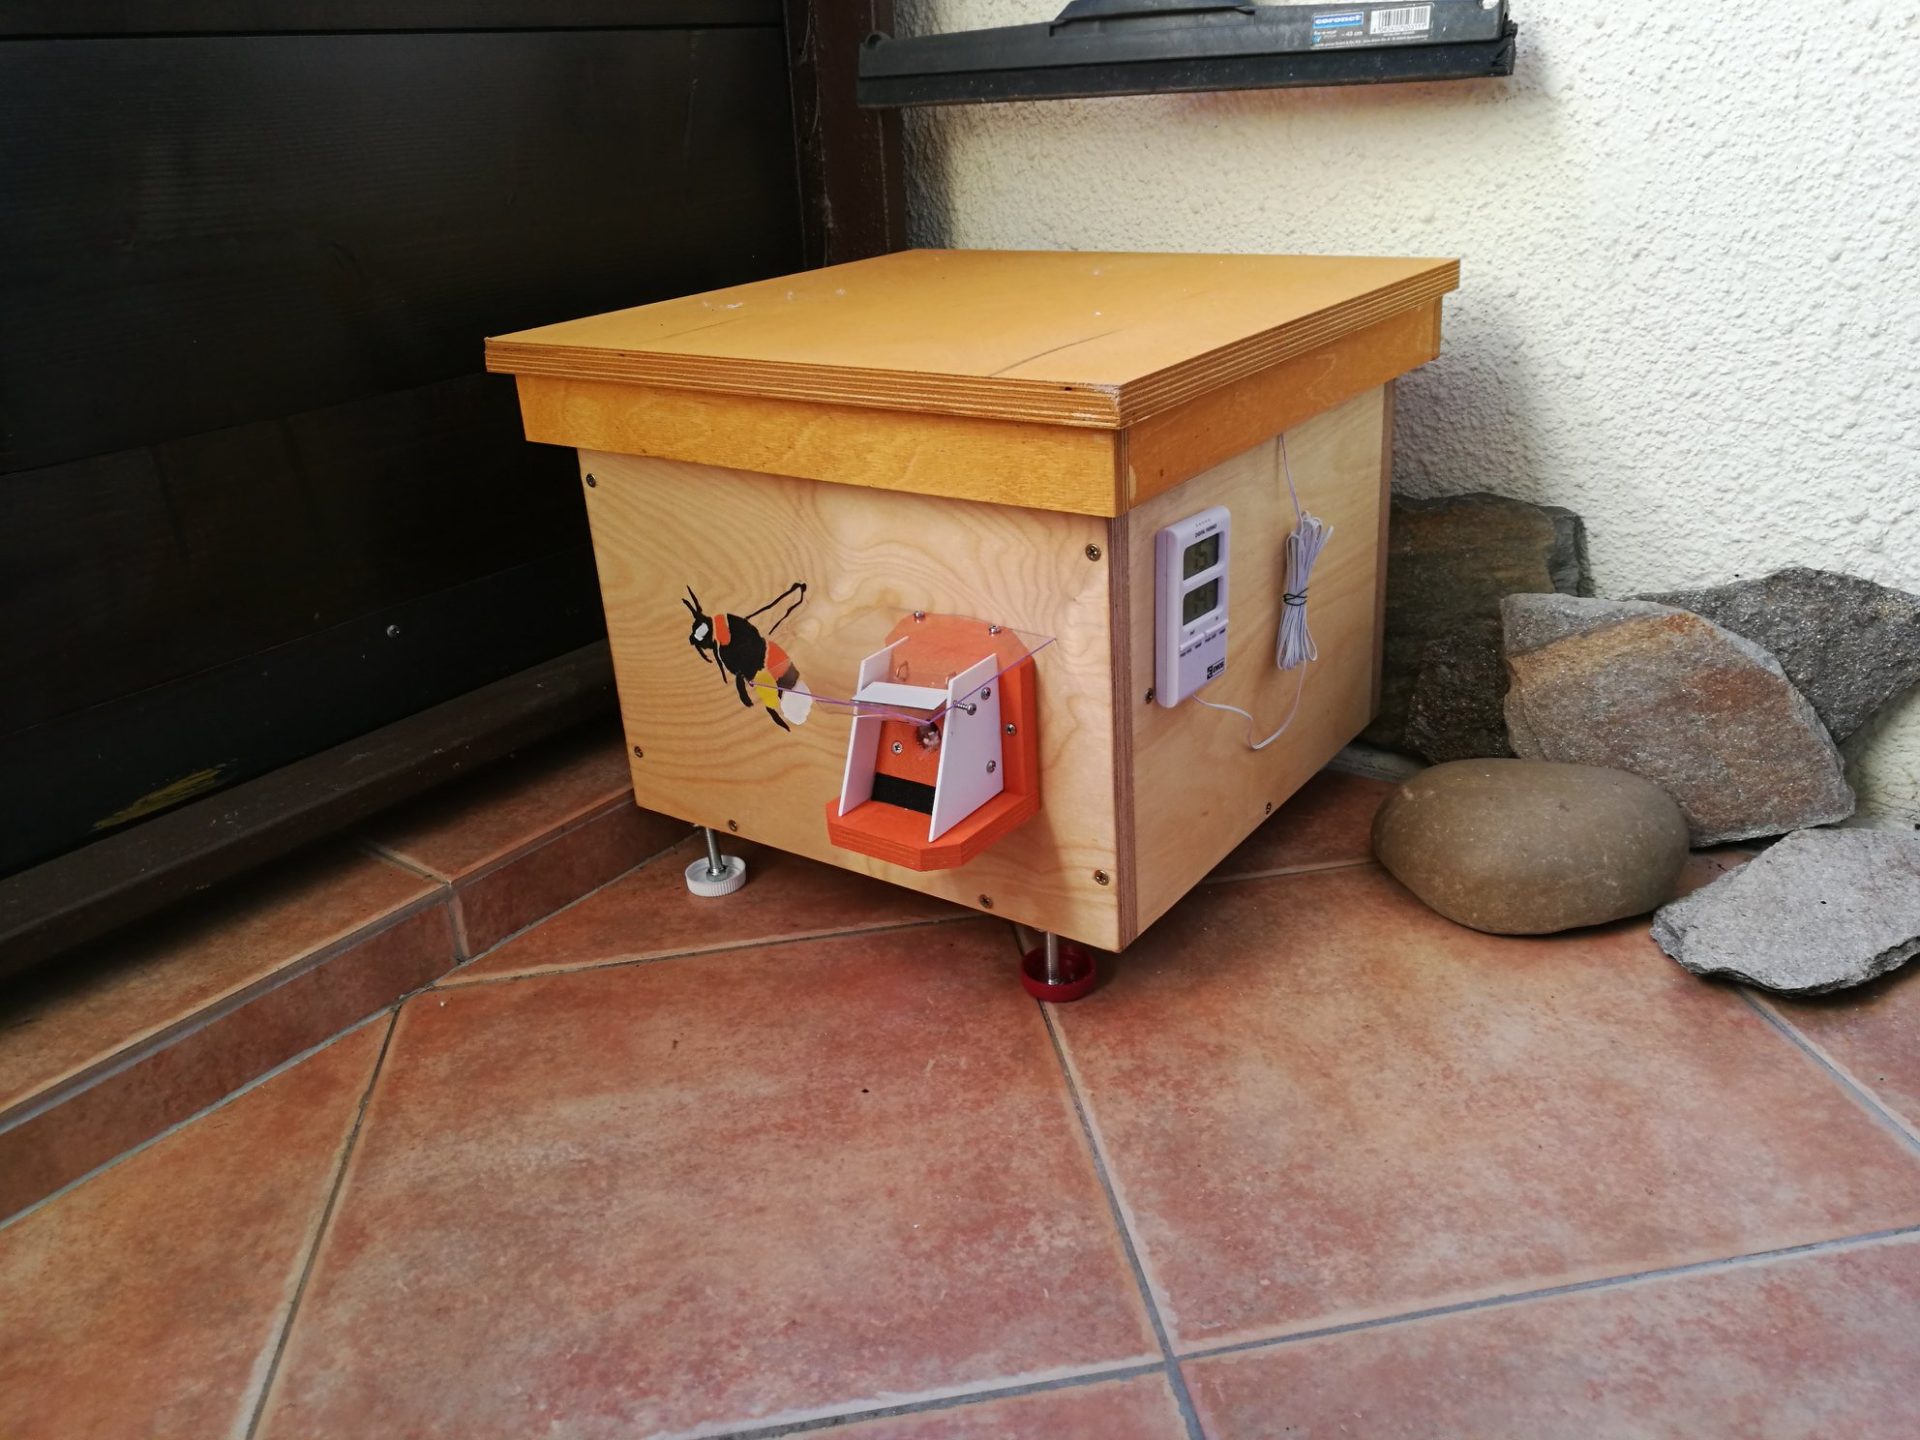
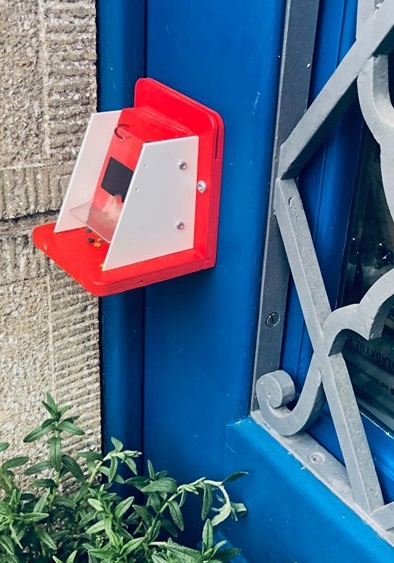
Bumblebees PLUS – Protective flap
Photo manufacturer's website
Bumblebees PLUS – Protective flap
Photo manufacturer's website
Bumblebees PLUS – Protective flap – placed on the side of the hive
Photo manufacturer's website
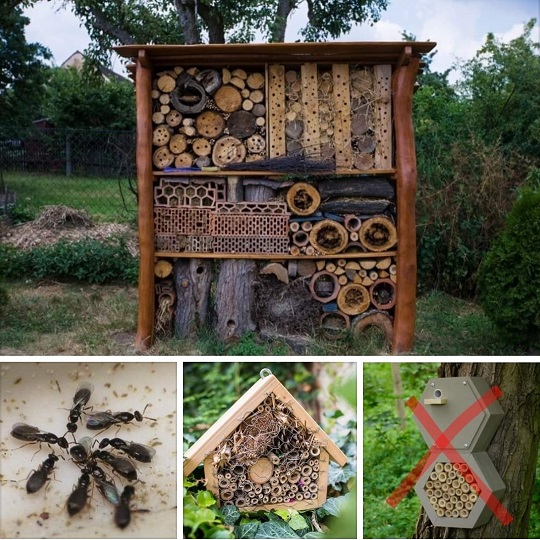
Place the hive as far away from insect hotels as possible
Photo Internet
Source Internet
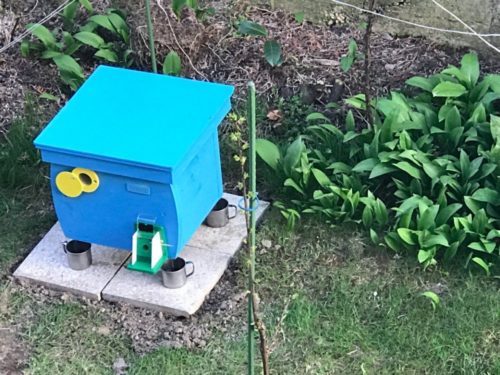
Bumblebees PLUS – Protecting the hive against ants – a hive on the ground.
Photo D. Mesko

Hives concentrated in one place are a problem when queens return
Source Internet
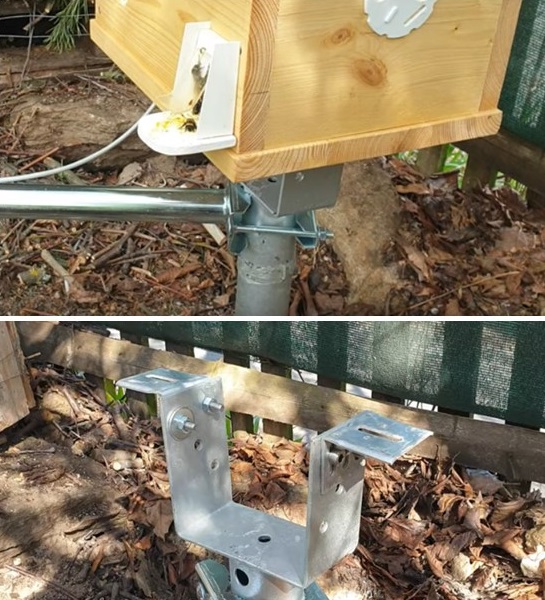
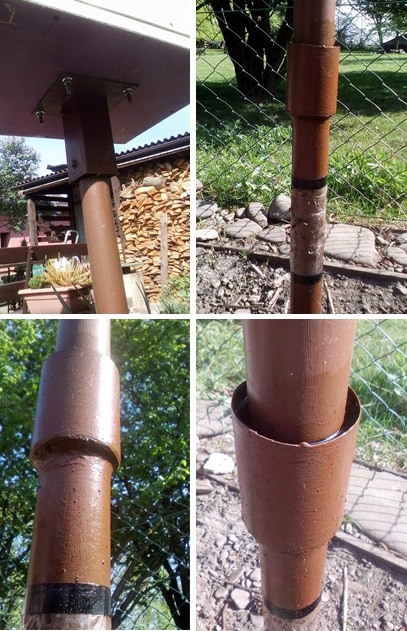
A hole on a stand, a ground screw
Photo L. Budiš
A niche on a stand made of a ground foot (ground screw) and a beam holder
Photo O. Hercog
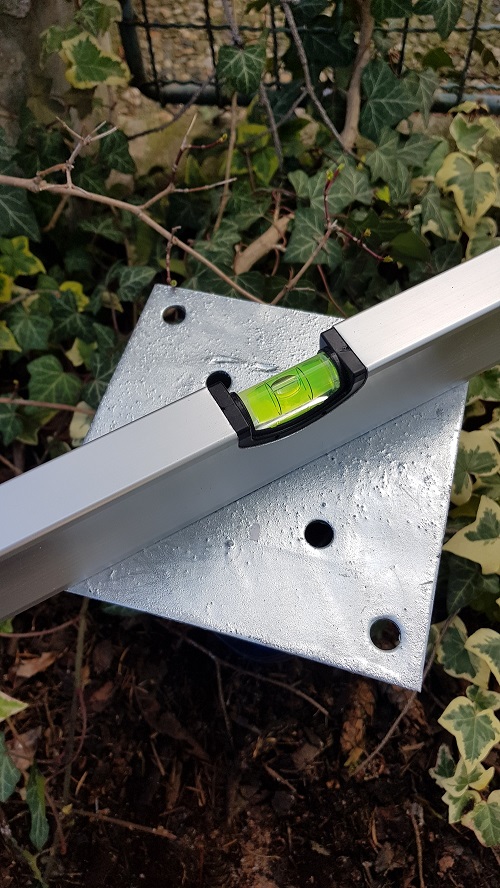
A gap on the stand from the ground screw
, leveling to the plane
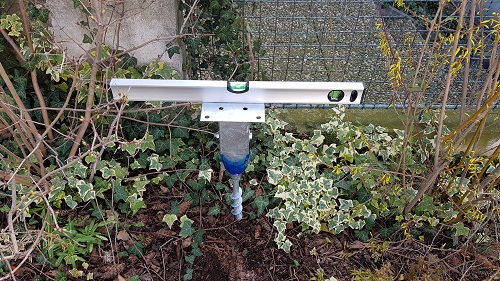
A gap on the stand from the ground screw
, leveling to the plane
Shock stand
Photo: O. Hercog (17/3/2023)
Hive on a stand with protection against ants
Photo R. Kýros
Protection against ants, a hive on a stand - details
Photo R. Kýros
A nest on a stand loaded with tiles
Photo P. Fereš
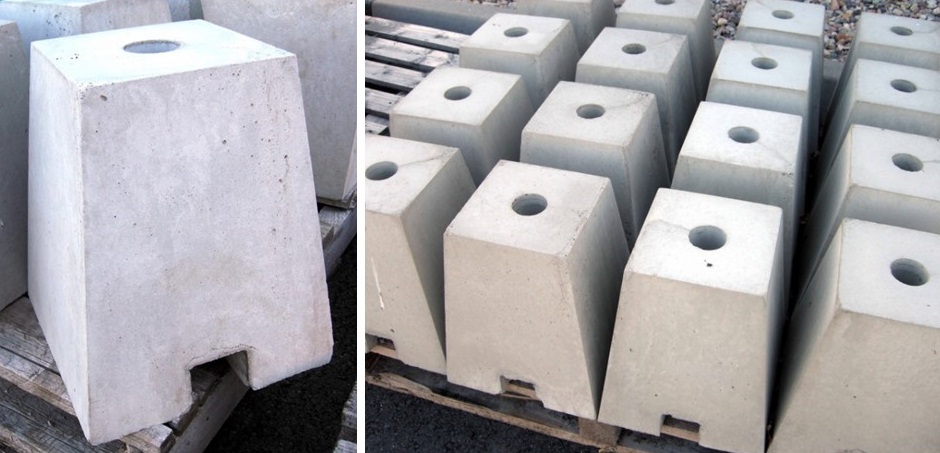
A hole on the stand - a concrete footing
If it is buried in the ground, or the stand is not high, it will serve well
Tip K. Kučera Photo manufacturer's website
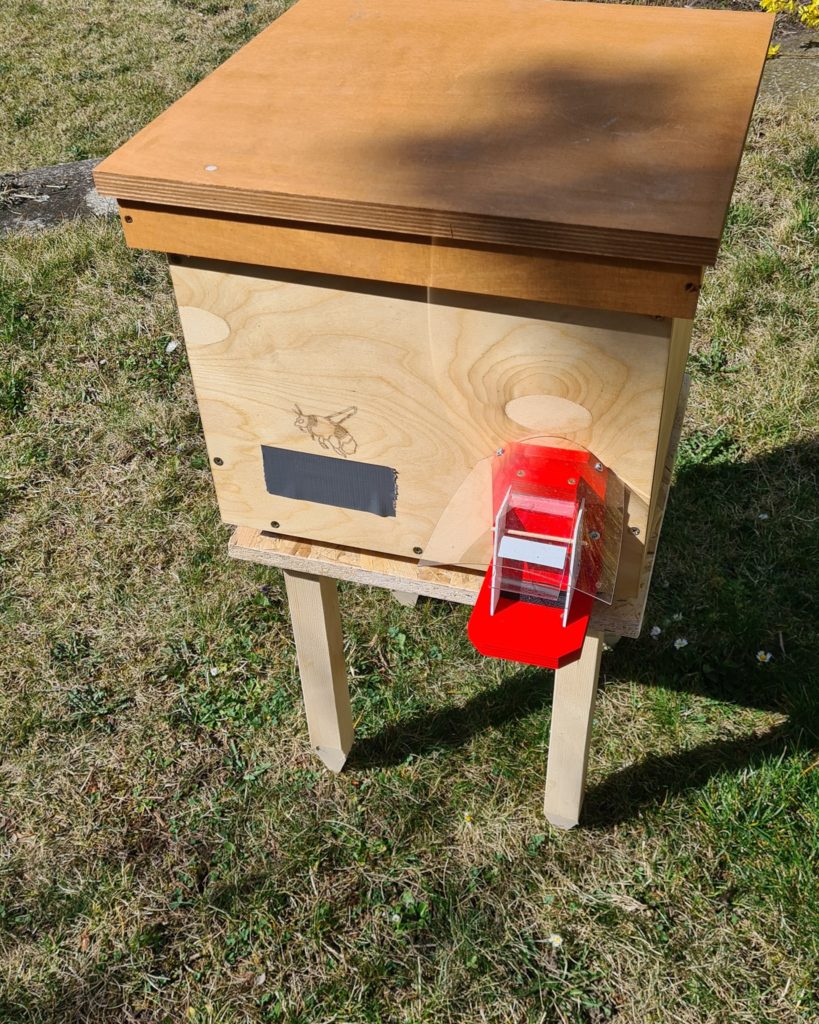
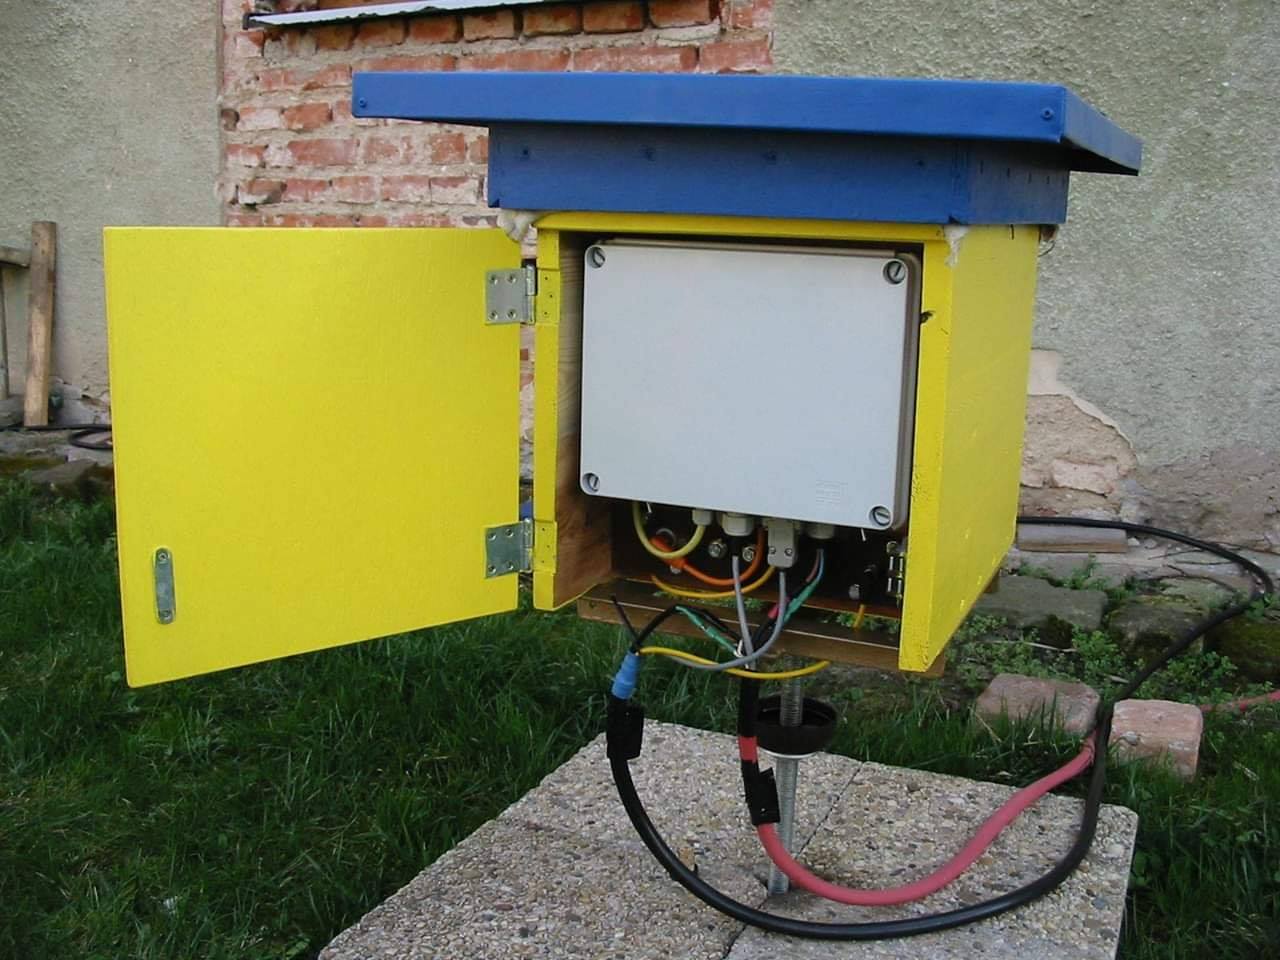
Table under the scare
Photo: O. Hercog (2022/030
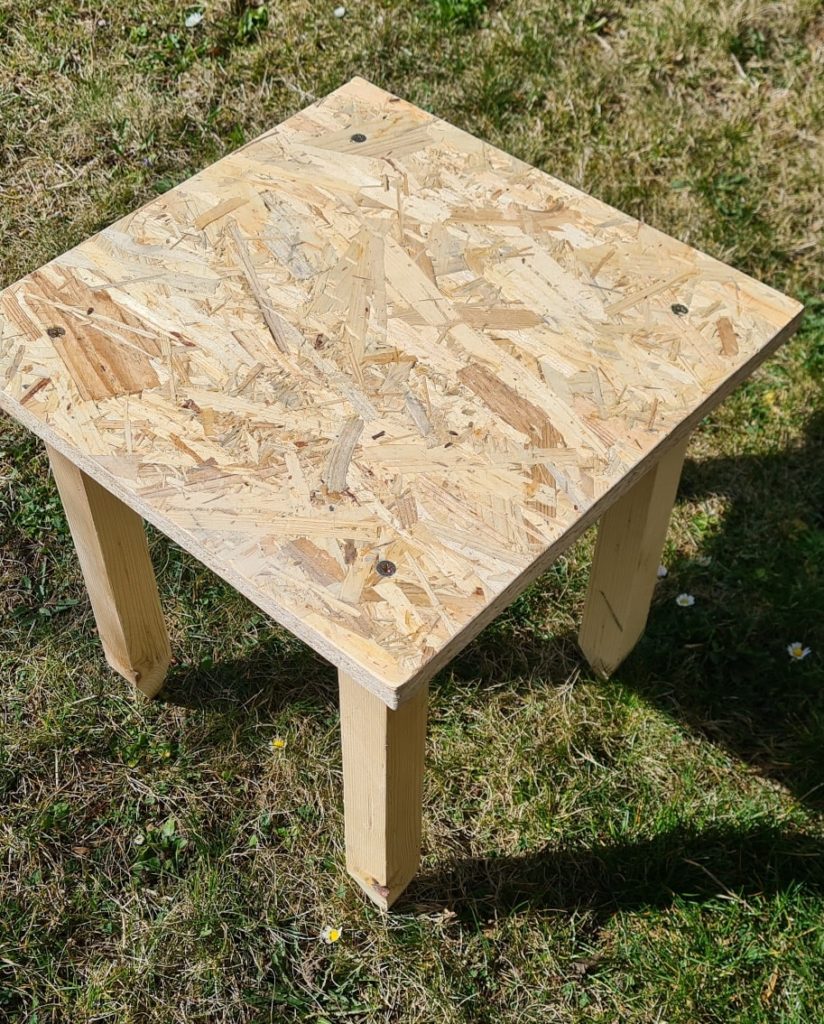
Table under the scare
Photo: O. Hercog (2022/030
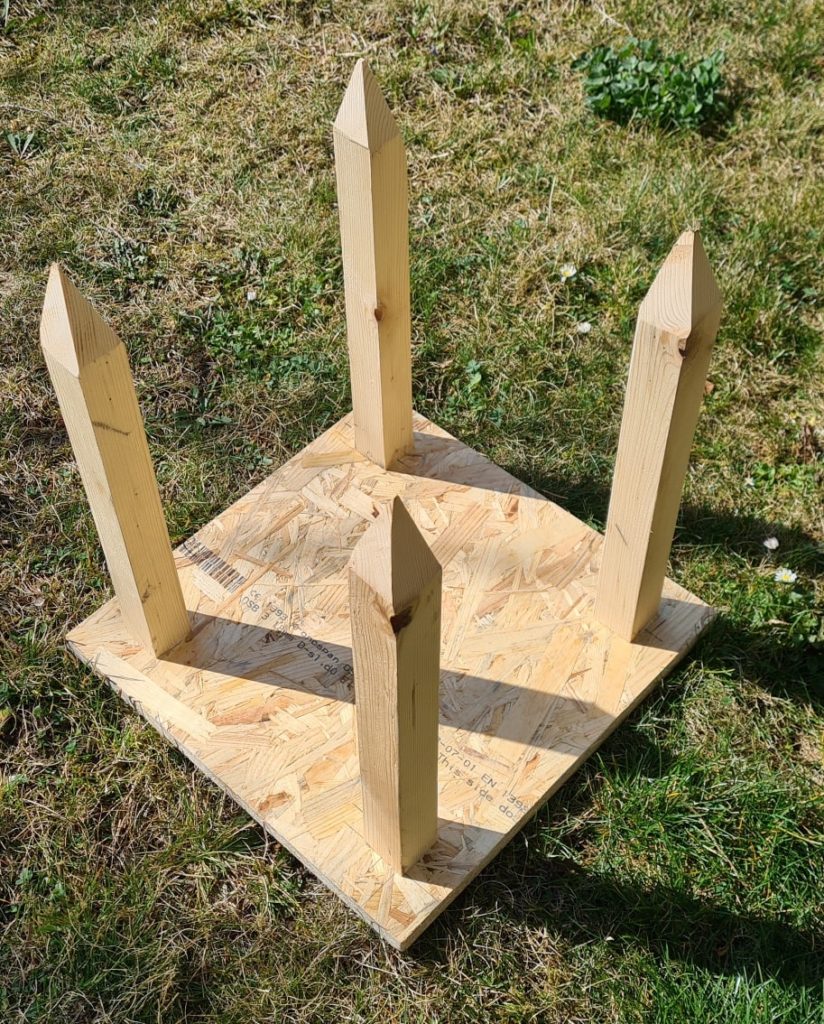
Table under the scare
Photo: O. Hercog (2022/030
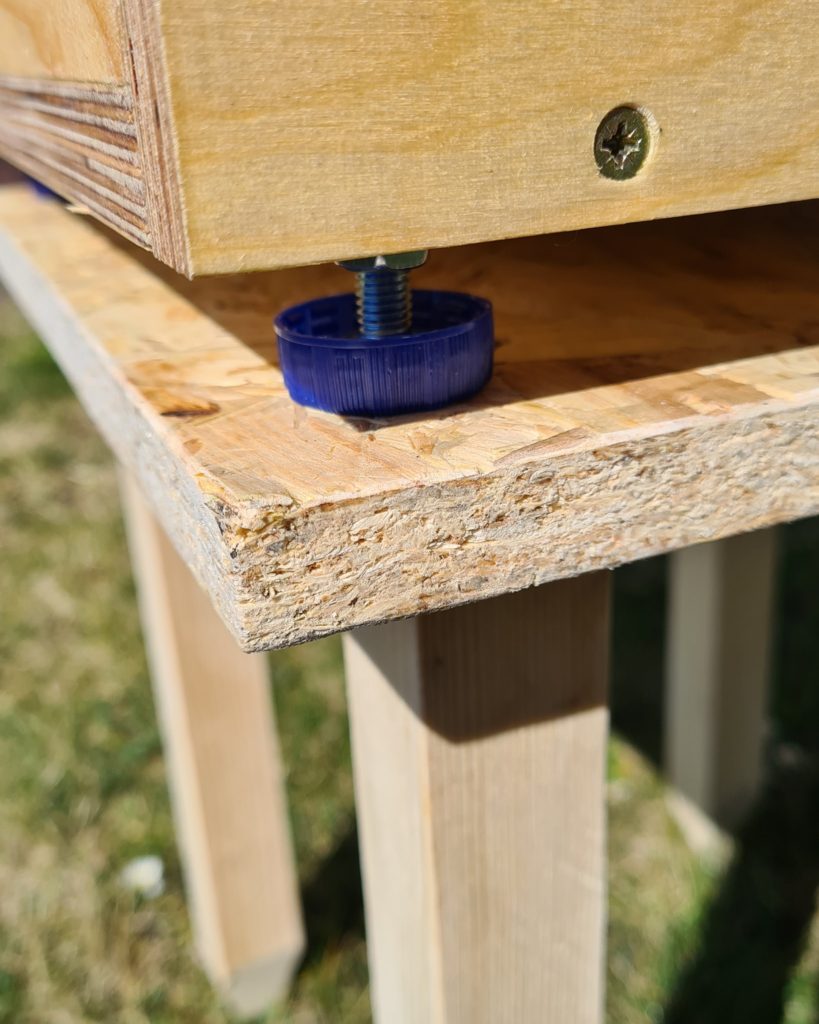
Table under the scare
Photo: O. Hercog (2022/030

Table under the scare
Photo: O. Hercog (17/03/2023)
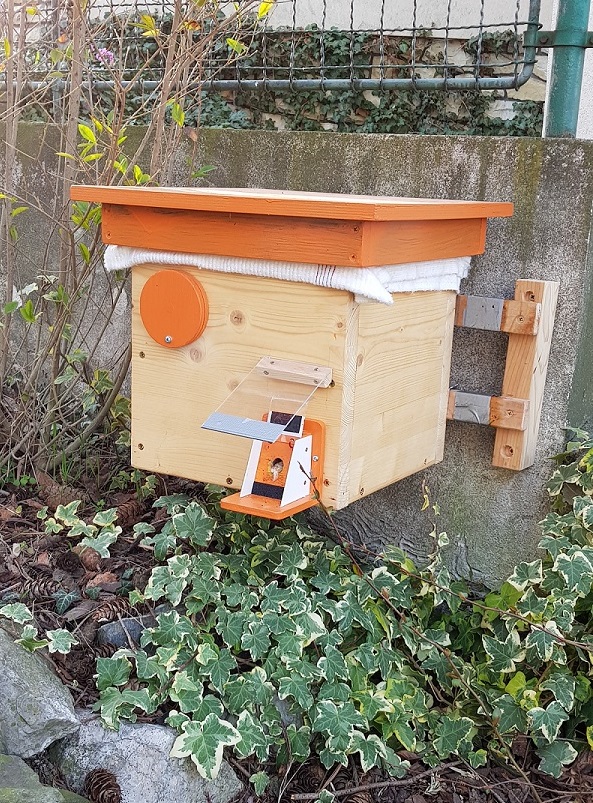
Protection against ants - scarecrow on the wall hangings
Photo O. Hercog
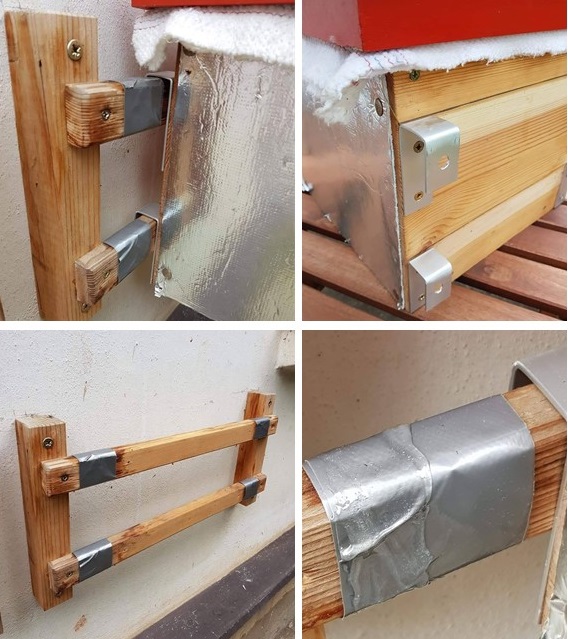
Hive on the wall hangings – detail of the solution and protection against ants
Photo O. Hercog
Placing the hive on the hangers on the fence wall
Photo O. Hercog

Commercially manufactured hive hanger
Photo manufacturer's website
A nest located indoors
With regard to the gradual increase in temperatures, we highly recommend - the shelter does not overheat and is well protected against weather fluctuations , low and high temperatures.
Solution
- The nest can be placed inside a building, apartment, shed, garage , etc.
- Be careful when placing the hive in small spaces and on walls exposed to the sun in lightweight structures (such as tool sheds). In these spaces, the hive is at risk of overheating, just like outdoors. A hive placed close to a wall exposed to the sun, e.g. made of only boards, behaves in the same way as a hive exposed to direct sunlight.
In these situations, it is necessary that the space can be effectively ventilated and that the hive does not touch the perimeter wall of the lightweight structure. - You can place the nest in an apartment and lead the passage to a balcony or wall, including a panel house.
- The passage is actually an external corridor leading through the wall . Outside there is only a flap and a door serving as an entrance.
- You can place the hive inside the building, complete with flap, but then you must ensure that the bumblebees can fly in and out freely. This works up to a maximum distance of 3 m, even in the dark. Longer distances in the building can be a problem for the bumblebees.
- If you have a hive in your apartment, the ants may not find it, but it is a good idea to keep an eye on it. If the hive is located in a shed or where ants move, you need to consider ant protection. You will probably use the solution listed HERE
- If you use a long corridor, it is necessary to apply a specific procedure for placing the mother, see
. - Information about solutions for long corridors can be found HERE .
Using the external corridor to place a hive indoors Photo J. Čížek
Location of the hive in the interior
Photo M. Stuchl and J. Čížek
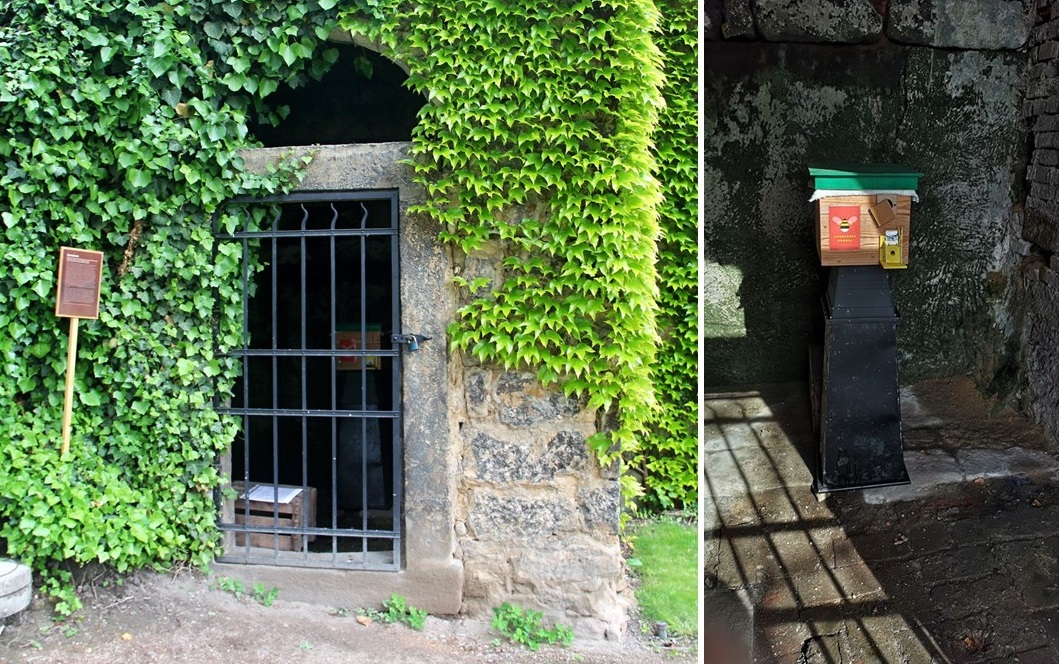
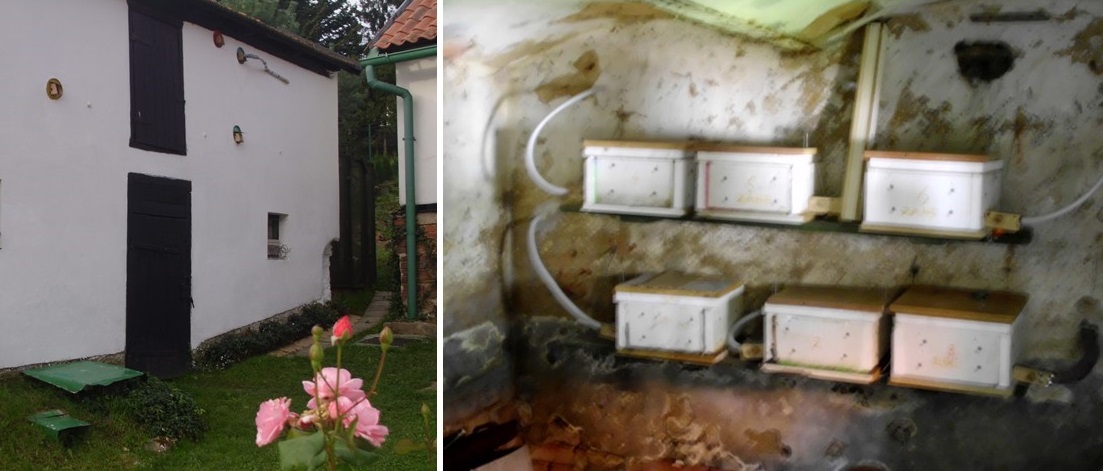
A hole in the cellar of Děčín Castle
Photo A. Ungerová
Placing the hive in a garage or basement with a flap led out through a long pipe
Photo E. Kalčíková
Placing the hive on the balcony
We recommend placing the hive on the balcony .
This location combines the advantages of being on an elevated spot and protected from the vagaries of the weather.
However, be careful not to let the sun shine on you. The south sides of houses are particularly problematic , as they heat up easily.
A certain limitation is that you have to accept the presence of bumblebee tenants and share your living space with them.
We do not recommend this solution if you are allergic to bumblebee stings and have small children of an age where they do not understand the rules of coexistence with bumblebees.
Placing them on a balcony is a solution for breeders who do not have their own garden. Bumblebees can be kept this way even on the 6th floor of a panel house. Bumblebees will reliably find their home and at the same time they will be better protected there against parasites that rarely reach such heights.
Many urban beekeepers use this solution and, together with their families, become frugal. Bumblebees only need a small free space to fly .
Solution:
- Place the hive in a place where you won't mind bumblebee traffic (arrivals and departures).
- You can place the shelter with a flap on the balcony or the shelter indoors and the flap on the balcony.
- You can also place the flap outside the balcony, but then you will be limited in observing the movement of bumblebees.
However, you should expect the flap to be subject to maintenance , which you must have easy access to even in this case. Also, pay attention to your own safety, so that our colleague Karel Kučera from the emergency services does not have to come for you... - The flap must not be exposed to weather extremes, especially wind and rain.
- If you have pets and children , we recommend placing the shelter on an elevated place .
- It is also necessary to think about protection against ants on balconies, especially in ground floor apartments. We recommend not to neglect this. For example, use the solution described HERE .
- Information about solutions for long corridors can be found HERE
Location of the hive on the balcony of a panel house
Photo by Š. Vácha
Location of the outlet in the interior with the flap removed
Photo K. Ráčková
Placing the hive indoors with the flap on the balcony
Photo Š. Vácha
Other solutions
There are a number of other solutions that are more suitable for experienced breeders.
Hives in the exterior under a shelter with a flap and with a flap behind a long corridor
Photo M. Stuchl and J. Čížek
Example of outdoor corridors of hives located inside the warehouse
Photo K. Kučera
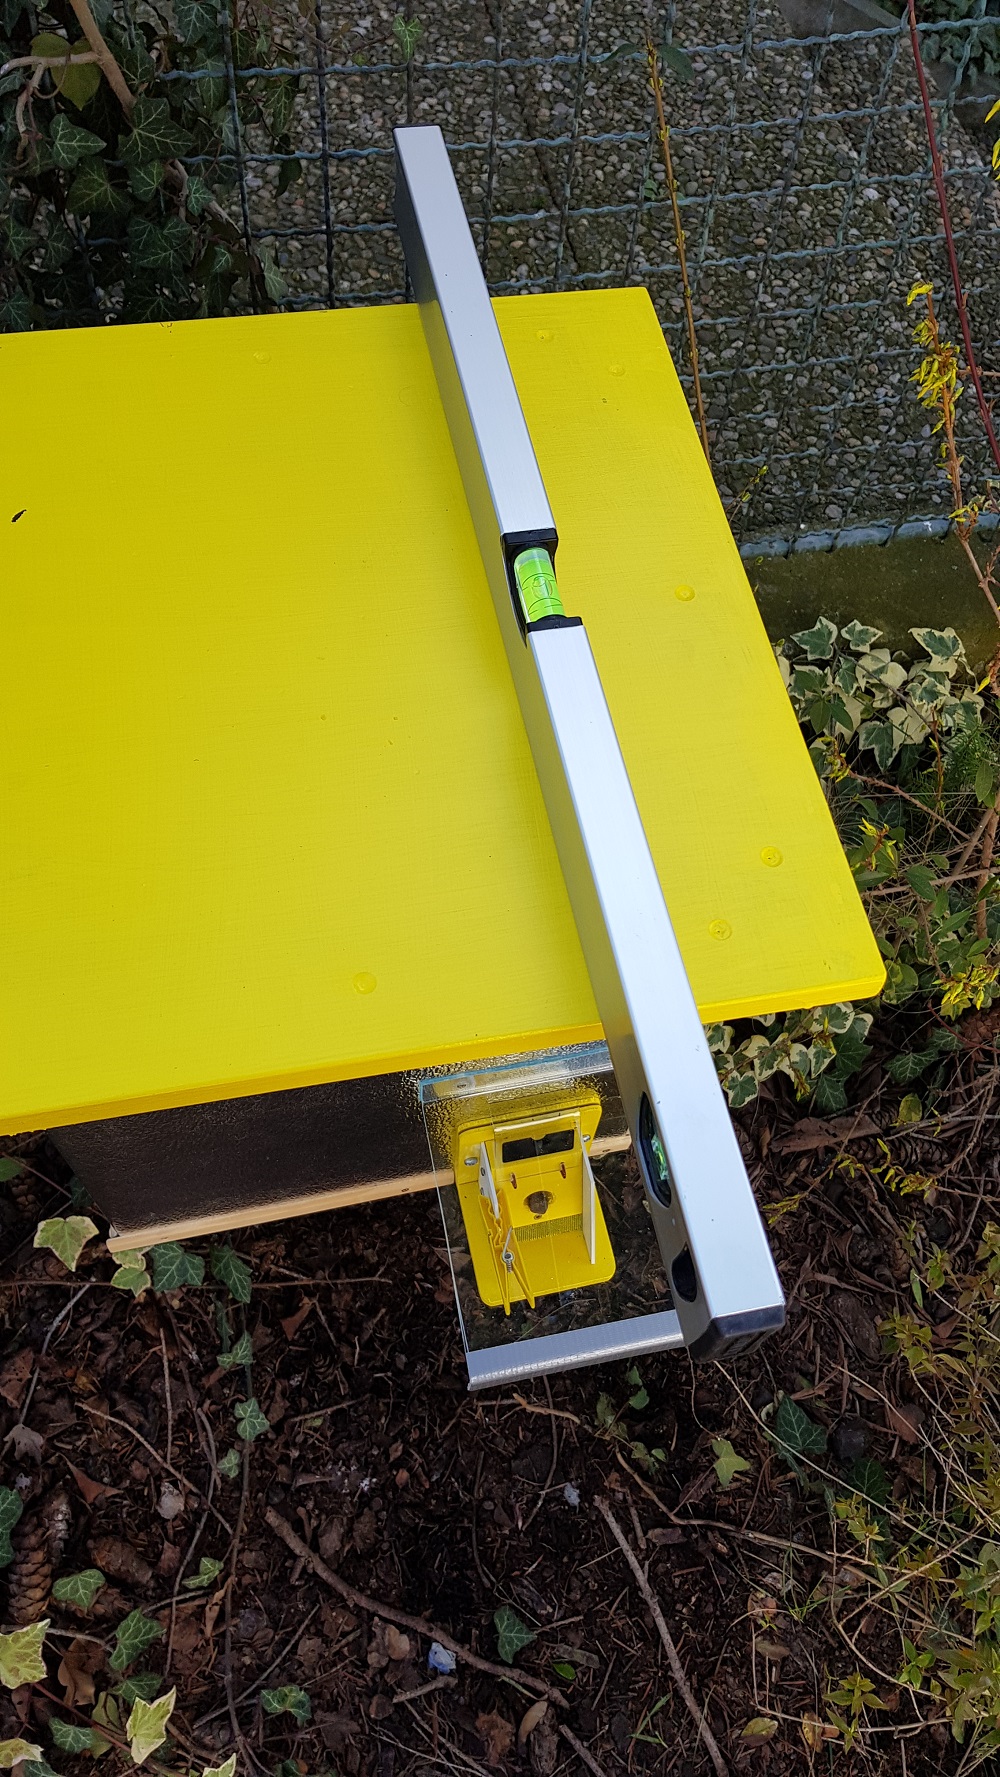
Leveling the hive
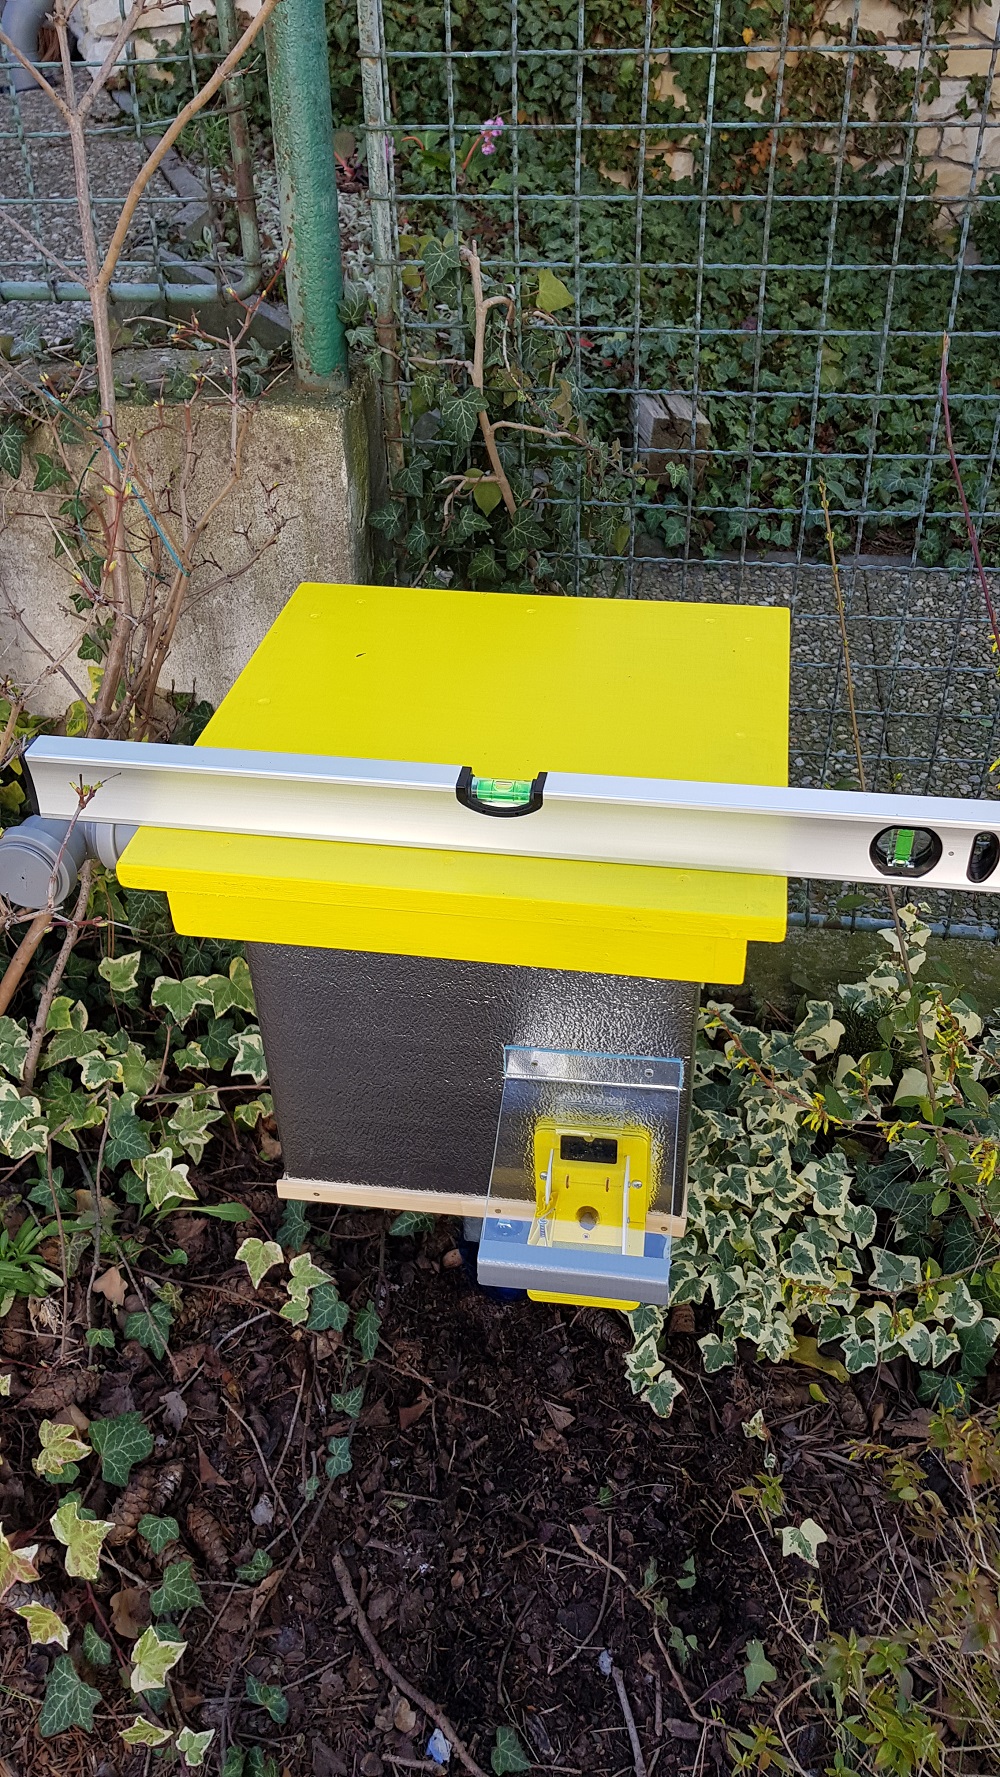
Leveling the hive